How to Change a Parking Light Bulb Step by Step
Replace a parking light bulb by opening the nearest access point on your vehicle, removing the bulb holder or lamp assembly, and installing the exact match bulb before you test it. A loose fit, wrong bulb type, or skipped connector check can leave the light dead and waste time. This guide shows the quickest access path by vehicle layout and the checks to run when the new parking light still does not work.
What a parking light does
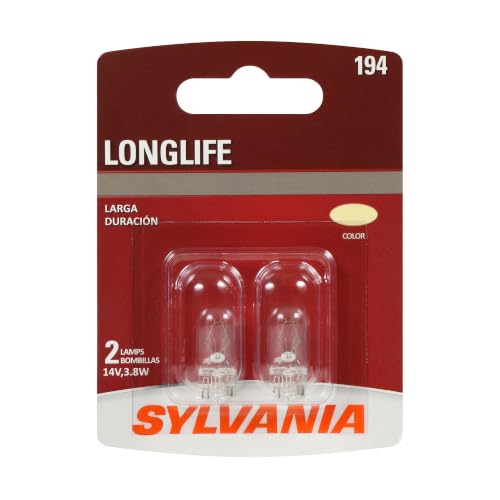


Parking lights are the front marker or position lights that make the vehicle visible in low light. They are usually separate from turn signals and daytime running lights, although some housings combine those functions in one unit. The exact bulb base, socket style, and access path depend on the year, make, model, and side.
Bulb types and fitment basics
Common parking light bulbs include halogen incandescent styles and LED replacements, with fitment tied to a specific base such as wedge, twist-lock, or integrated socket designs. Some cars use a single bulb for parking and marker light duty, while others share the housing with the turn signal. Left and right sides can differ if the housing is mirrored.
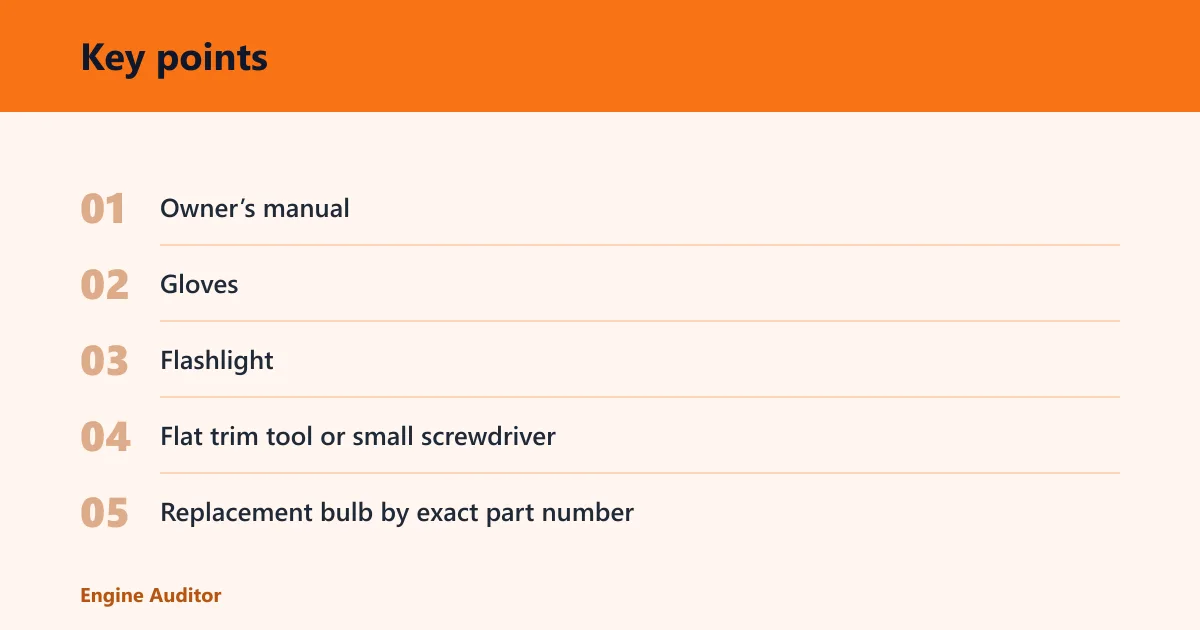
What you’ll need
- Owner’s manual
- Gloves
- Flashlight
- Flat trim tool or small screwdriver
- Replacement bulb by exact part number
- Clean cloth for handling and inspection
Safety checks before you start
Turn the car off and let the lamp cool before touching anything near the housing. Open the hood only after the lights are off, and keep metal tools away from exposed terminals. If the bulb is halogen, avoid touching the glass with bare fingers; oils can shorten bulb life.
How to confirm the bulb part number
Use the owner’s manual, the old bulb base, or a parts catalog that matches year, make, model, and side. Cross-check OEM and aftermarket numbers before buying. If the parking light is integrated with another function, confirm whether the replacement is for the parking lamp only or for the whole combined bulb.
How to change a parking light bulb step by step
Start with the simplest access point on your vehicle, then remove the bulb holder or lamp assembly and install the exact match bulb. Most jobs take 10 to 30 minutes through the engine bay, but wheel-well or bumper access can take longer. If the new bulb still fails, move to the fuse, socket, and connector checks.
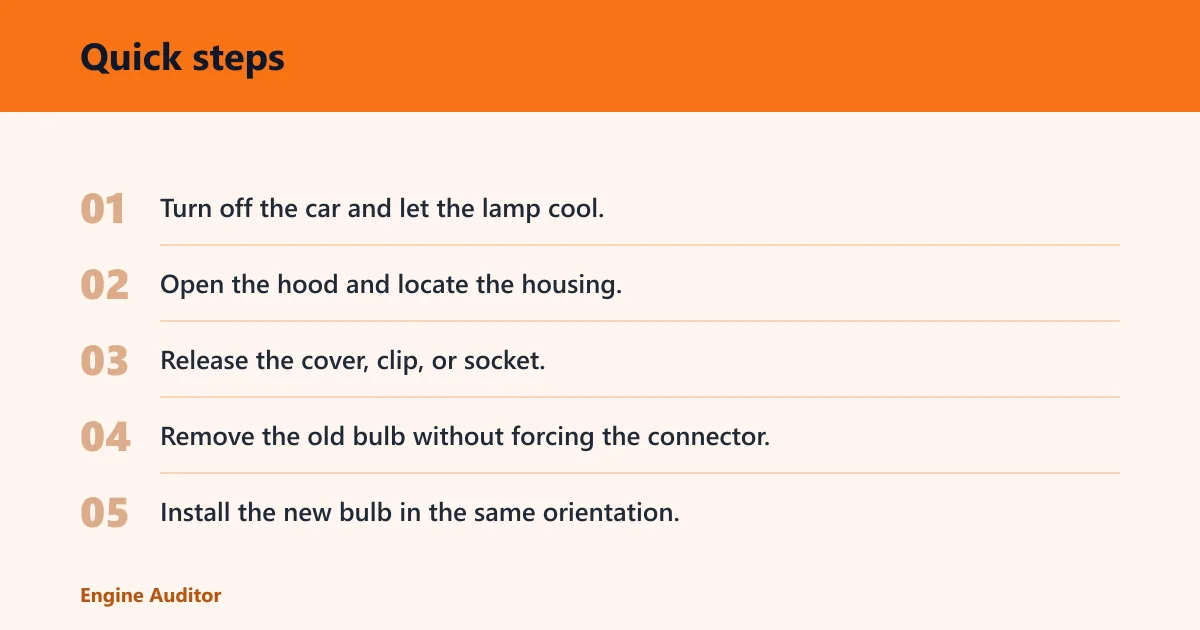
- Turn off the car and let the lamp cool.
- Open the hood and locate the housing.
- Release the cover, clip, or socket.
- Remove the old bulb without forcing the connector.
- Install the new bulb in the same orientation.
- Refit the seal or dust cover.
- Test the parking light before closing everything up.
Step 1: Turn off the car and let the lamp cool
Switch off the lights, remove the key or power the vehicle down, and wait for the lamp to cool. This matters most on halogen housings, where the bulb and reflector area can stay hot enough to burn skin or distort nearby plastic clips.
Step 2: Open the hood and locate the housing
Find the headlight housing or front marker lamp in the engine bay first. On many cars, the parking light socket sits behind a rear cover or within the headlight housing. Picture a common first-timer mistake: the bulb is right there, but the wrong rear cover gets pried off and a clip snaps.
Step 3: Release the cover, clip, or socket
Use a flashlight and your fingers first. If a tab is tight, use a flat trim tool or small screwdriver with light pressure. Many housings use a twist-lock socket that turns a fraction of a turn, while others use a push-fit connector with a release tab.
Step 4: Remove the old bulb
Pull the bulb straight out or rotate the socket as designed. Do not yank the wires. If the bulb base is swollen from heat or corrosion, stop and inspect the socket before forcing it, because a damaged socket can break the next bulb too.
Step 5: Install the new bulb
Match the base shape and insert the bulb fully before locking the socket back in place. If the bulb is LED, note the polarity; some units work only when flipped the other way. Suppose the old bulb was a T10 wedge and the new LED does not light on the first try. Turn it 180 degrees and recheck.
Step 6: Refit the seal or dust cover
Reinstall the lamp seal or dust cover so the housing stays dry. Make sure the edge sits flat all the way around. A misseated cover can let moisture enter, fog the lens, and corrode the socket over time.
Step 7: Test the light
Switch the parking lights on and confirm both sides illuminate. Check the beam through the lens and look for flicker, uneven brightness, or a warning on the dash. If the light works only when tapped, treat that as a socket or connector problem, not a bulb problem.
Which access path does your car use?
Most cars fall into one of three access types: engine-bay access, wheel-well access, or bumper or headlight removal access. The owner’s manual usually names the lamp housing, but the practical test is simple: if the rear cover is reachable from the engine bay, that is the quickest path. If not, inspect the wheel liner or front fascia fasteners.
Parking light access table
| Access type | Typical time | Tools | Top failure points |
|---|---|---|---|
| Engine-bay access | 10-20 minutes | Gloves, flashlight, owner’s manual, small screwdriver | Wrong rear cover, brittle retaining clip, tight socket, missing dust seal |
| Wheel-well access | 20-40 minutes | Gloves, flashlight, trim tool, small screwdriver | Wheel-liner fasteners, cramped reach, dirt in socket, connector tab damage |
| Bumper or headlight removal access | 45-90 minutes | Gloves, flashlight, trim tool, screwdriver, socket tools if required | Hidden clips, misaligned fascia, stripped fasteners, seal damage on reassembly |
Engine-bay access
This is the easiest path when the rear of the headlight housing is exposed. Look for a round or rectangular dust cover, then twist or unclip the socket. If the cover is tight, work around the edge instead of prying one spot hard enough to crack it.
Wheel-well access
Some vehicles make you reach through the wheel opening after turning the wheel or removing part of the liner. This path often adds dirt and awkward angles, so a flashlight helps more than force. If the liner blocks the socket, remove only the fasteners needed for access.
Bumper or headlight removal access
Some cars require bumper corner removal or full headlight removal to reach the parking light socket. That is common on tightly packaged front ends with integrated lamps. Stop if the removal order is unclear; breaking painted clips or misaligning the bumper usually costs more time than a shop visit.
How do you find the right bulb part number?
Match the bulb by year, make, model, and side before ordering anything. A parking light bulb that fits one trim or headlight package may not fit another. If the catalog lists several options, verify the base, wattage, and whether the housing uses a separate bulb or a combined lamp unit.
Cross-reference OEM and aftermarket numbers
Use the OEM number as the starting point, then match aftermarket equivalents by base and function. If the supplier lists different part numbers for left and right, do not assume they are interchangeable. The housing shape or wiring can differ.
Check for halogen and LED variants
Halogen replacements are usually direct swaps when the base matches. LED replacements may need polarity correction, load resistors, or a can-bus compatible design if the car monitors bulb current. If the vehicle warns about a failed bulb after the swap, the issue may be compatibility rather than installation.
Why the new bulb still does not work?
If the new bulb stays dark, the next checks are usually the fuse, socket, connector, and grounding path. That sequence matters because a dead parking light can come from a blown fuse, a heat-damaged socket, or corrosion in the connector even when the bulb itself is good.
Check the fuse
Find the parking light fuse in the interior or engine-bay fuse box, using the diagram on the cover or in the manual. A blown fuse can leave both sides out if they share the same circuit. Replace only with the listed amperage.
Inspect the socket and connector
Look for bent pins, loose fit, melted plastic, or a connector tab that no longer clicks. Twist-lock sockets should turn smoothly and lock firmly. Push-fit connectors should seat fully without the wires pulling back when you tug lightly.
Look for corrosion, heat damage, or a bad ground
Green corrosion, darkened terminals, or a browned socket body point to heat or moisture damage. Clean light surface corrosion only if the connector is intact; otherwise replace the socket. If the housing has a separate ground point, make sure the eyelet is tight and clean.
Verify LED polarity and load compatibility
LED replacements can fail to light because they are reversed, or they can trigger a warning because the car expects a higher electrical load. Reverse the bulb once to check polarity. If the bulb still flickers, use the proper compatible part number rather than forcing a generic LED fitment.
Say your parking light uses a T10 LED in the left headlight and the new bulb works only after flipping it in the socket. That points to polarity, not a bad fuse. If the right side works but the left does not, inspect the left socket for heat damage before replacing another bulb.
Common mistakes
The most common mistakes are easy to avoid, and they usually show up during removal or reassembly. Keep the housing sealed, match the bulb exactly, and do not force a clip that should move with light pressure.
- Breaking clips or tabs by prying in the wrong place
- Touching halogen glass with bare fingers
- Leaving the seal or dust cover out of position
- Using the wrong bulb base or wattage
- Ignoring a corroded socket when the new bulb fails
A common first-timer mistake is installing the bulb correctly but leaving the dust cover half-seated. The light may work for a day, then moisture gets in and the socket corrodes. Recheck the cover edge before closing the hood or wheel liner.
Frequently asked questions
How do I know which bulb size my parking light uses?
Use the owner’s manual first, then verify the old bulb base and the parts catalog entry for your exact year, make, model, and side. If the catalog lists multiple parking light bulbs, confirm whether your car uses a separate marker bulb or a shared turn-signal housing.
Do I need to remove the headlight assembly to change the bulb?
Not usually. Many cars allow engine-bay or wheel-well access to the socket. Remove the headlight assembly only when the housing is sealed behind the bumper or the rear cover cannot be reached without removing front-end parts.
Can I replace a parking light bulb with an LED bulb?
Yes, if the LED matches the base and fits the housing, but compatibility is not automatic. Check for polarity, CAN-bus or load-matching requirements, and enough clearance inside the socket area. If the dash warns about a failed bulb, the LED may need a compatible version.
How much does a parking light bulb replacement cost?
The bulb itself is often inexpensive, but the total cost depends on whether you buy a halogen replacement, an LED unit, or a socket repair part. Labor rises with wheel-well or bumper access, so the price can vary more by vehicle layout than by the bulb alone.
How do I test the parking lights after replacement?
Turn the parking lights on with the ignition in the required position for your vehicle, then walk around the front and check both sides. Look for equal brightness, a solid glow, and no flicker. If one side is dark, swap in the old bulb only if it was known to work and the socket looks healthy.
When should I stop and call a mechanic instead?
Stop if the access path requires bumper removal and the fastener order is unclear, if the socket is melted, or if the fuse blows again after replacement. Those signs point to wiring or housing damage, and forcing the repair can break clips, trim, or connectors that are harder to replace than the bulb itself.
Products related to this article
Sponsored / affiliate links. As an Amazon Associate I earn from qualifying purchases. I may earn additional commission from eligible campaigns.