Can You Bleed Car Brakes By Yourself? Yes, Here’S How
Having trouble with your car’s brakes? Maybe they feel soft or spongy. This is a common issue.
It often means air got into the brake lines. You need to get that air out. This process is called bleeding your brakes.
Many people wonder if they can do this job themselves. You might be one of them. We’re going to dive deep into this.
You’ll learn exactly what’s involved. You’ll understand how to do it safely. Let’s get your car’s braking system working like new.
You can bleed car brakes by yourself. This process removes air from the brake lines. It’s a common maintenance task. It requires careful steps and often a helper. You’ll need specific tools and brake fluid. Doing it right helps ensure your car stops safely.
What Does Bleeding Car Brakes Mean?
Bleeding brakes is simply a way to push old brake fluid out. It also pushes any air bubbles out of the brake lines. Think of it like flushing out old water from a pipe.
You want fresh, clean fluid in there. Air in the brake lines is a big problem. Air can be squeezed.
Brake fluid cannot. When you press the brake pedal, the air gets compressed. This makes the pedal feel mushy or go all the way to the floor.
This is very dangerous.
Why does air get into the brake system? It usually happens when you work on the brake system. This could be when you change brake pads.
It could be when you replace a brake line. It can also happen if the brake fluid level gets too low. If the master cylinder reservoir runs dry, air can get sucked in.
Sometimes, small leaks can also let air in over time.
The goal of bleeding is to replace all the old fluid. It’s also to get every tiny air bubble out. This makes sure your brake pedal feels firm.
It also ensures your car stops reliably every time. It’s a critical safety job for any vehicle owner.
My Own Brake Bleeding Scare
I remember one time, years ago. I had just changed the brake pads on my old truck. I thought I was done.
I topped off the brake fluid. I went to test the pedal. It went straight to the floor.
Panic set in. I had definitely messed something up. I realized I hadn’t bled the brakes.
I hadn’t even thought about it. It was a cold, rainy night. I was alone.
I felt so silly. I had to figure out how to fix it right then. I grabbed my dad’s old Chilton manual.
It seemed like a foreign language at first. But I managed. I got a friend to come over.
We worked through it. That sinking feeling when the pedal is soft is unforgettable. It taught me a big lesson about brakes.
Brake Bleeding vs. Flushing
Bleeding: This is mainly about removing air. You might do this after a brake repair. It also happens if the pedal feels soft.
Flushing: This is a complete fluid change. You remove all old fluid. You put in all new fluid.
This is usually done every few years.
They are similar. Both involve pushing fluid through the lines. But flushing is more thorough.
Different Ways to Bleed Your Brakes
There are a few common methods. Each one has its pros and cons. Knowing these helps you choose the best way for you.
Some methods are easier than others. Some need more special tools.
The Two-Person Method (Traditional)
This is the most common way. It’s been around forever. It needs two people.
One person stays in the car. They pump the brake pedal. The other person works at the wheels.
They open and close a small valve called a bleed screw. This screw is on each brake caliper or wheel cylinder.
Here’s how it basically works:
- Person in the car pumps the brake pedal several times.
- Then they hold the pedal down firmly.
- Person at the wheel opens the bleed screw slightly.
- Fluid and air come out.
- The person at the wheel closes the bleed screw quickly.
- The person in the car releases the pedal.
- Repeat this over and over.
You keep doing this until only clean fluid comes out. No more bubbles are seen. This method is effective.
It’s also quite cheap to do. You just need a wrench and a clear tube. A helper is key, though.
The Vacuum Bleeding Method
This method uses a special tool. It’s a vacuum pump. It attaches to the bleed screw.
You can get them at auto parts stores. Some are hand pumps. Others are powered by your shop air compressor.
With vacuum bleeding:
- You attach the tool to a bleed screw.
- You open the bleed screw.
- The pump creates suction.
- It pulls the old fluid and air out.
- You keep pulling fluid until no bubbles appear.
- Then you close the bleed screw.
This method can often be done by one person. This makes it very convenient. The pump does the work of pulling the fluid.
You just need to keep an eye on the master cylinder reservoir. You must not let it run dry. Running it dry will suck in more air.
This defeats the purpose.
One-Person Advantage
Vacuum bleeding lets one person do the job. This is great if you don’t have a friend to help. It can sometimes be faster, too.
Pressure bleeding is another one-person option. It uses a special tool to push fluid from the master cylinder. It’s very efficient.
The Pressure Bleeding Method
This is similar to vacuum bleeding. But it works in reverse. A special tool pressurizes the brake fluid reservoir.
This pushes the fluid through the lines. You then open the bleed screws at the wheels. The fluid is forced out.
You watch for bubbles.
This method also allows for one-person operation. It’s often seen as very effective. It ensures a firm pedal.
It’s a bit more of an investment for the tool. But for DIYers who do this often, it’s worth it.
Gravity Bleeding
This is the simplest method. It requires no special tools, really. You just let gravity do the work.
You open the bleed screw. The old fluid and air slowly drip out. You keep the master cylinder full.
This method is very slow. It might not be good for systems with a lot of air. It’s best for light maintenance.
It’s great for getting tiny amounts of air out. It’s less ideal for a full flush. It can take a long time to get all the air out this way.
When Do You Actually Need to Bleed Your Brakes?
Knowing when to bleed your brakes is important. It’s not something you do every oil change. But some signs tell you it’s time.
And sometimes, you just have to do it.
- Soft or Spongy Brake Pedal: This is the biggest clue. If your pedal sinks down easily when you press it, you likely have air.
- After Brake Repairs: Anytime you open the brake lines or remove a brake component, air can get in. This includes replacing brake hoses, master cylinders, or ABS components.
- Brake Fluid Looks Dark or Dirty: Over time, brake fluid can absorb moisture. It can also pick up tiny bits of metal from wear. Dirty fluid doesn’t work as well. It can also cause corrosion. A flush and bleed is good then.
- Low Brake Fluid Level: If your fluid level drops significantly, check for leaks. If you don’t find any, it’s possible air has entered the system.
- ABS System Work: If you’ve had work done on your Anti-lock Braking System (ABS), you’ll almost certainly need to bleed the brakes. ABS systems can trap air in complex ways. Some vehicles need a special scan tool to cycle the ABS pump during bleeding.
Don’t ignore these signs. Your brakes are your car’s most important safety feature. Keeping them in top shape is vital.
Brake Fluid Type Matters
Always use the correct type of brake fluid for your car. Check your owner’s manual.
Common types are DOT 3, DOT 4, and DOT 5.1. These are glycol-based.
DOT 5 is silicone-based and not compatible with other types.
Mixing wrong types can damage your brake system.
What You Need to Bleed Your Brakes Yourself
Gathering the right tools makes the job much easier. You don’t need a full mechanic’s shop. But a few key items are essential.
The Must-Haves:
- New Brake Fluid: Get the correct type and enough of it. It’s better to have extra.
- Wrench Set: You’ll need a wrench to fit the bleed screws. Box-end wrenches are often best. They grip better.
- Clear Plastic Tubing: This fits over the bleed screw. It lets you see the fluid and bubbles. A 1/4 inch or 3/8 inch size usually works.
- Catch Container: A clean jar or bottle to collect the old fluid. Make sure it’s clear so you can see bubbles.
- Gloves: Brake fluid can be rough on your skin.
- Safety Glasses: Protect your eyes from splashes.
- Rags or Paper Towels: For cleaning up spills. Brake fluid is corrosive to paint.
Helpful, But Not Always Required:
- A Helper: For the two-person method.
- Vacuum Bleeder or Pressure Bleeder: If you choose a one-person method.
- Turkey Baster or Fluid Extractor: To remove old fluid from the master cylinder reservoir.
- C-Clamps or Brake Caliper Spreader: Sometimes needed to push caliper pistons back.
Before you start, check your car’s manual. It will tell you the specific type of brake fluid. It might also have specific notes for your model.
This is always a good idea.
Step-by-Step Guide: Bleeding Brakes (Two-Person Method)
This is the classic way. It works well. It’s a good starting point if you’re new to this.
Preparation is Key:
- Park on a Level Surface: Make sure your car is on a flat, stable spot. Engage the parking brake.
- Locate the Master Cylinder: This is usually under the hood. It’s a plastic or metal reservoir. It has a cap marked “Brake Fluid.”
- Check and Top Off Fluid: Open the reservoir cap. Use a turkey baster to remove about half of the old fluid. Fill it to the MAX line with fresh, new brake fluid. This prevents air from being sucked in. Keep the cap off during the process.
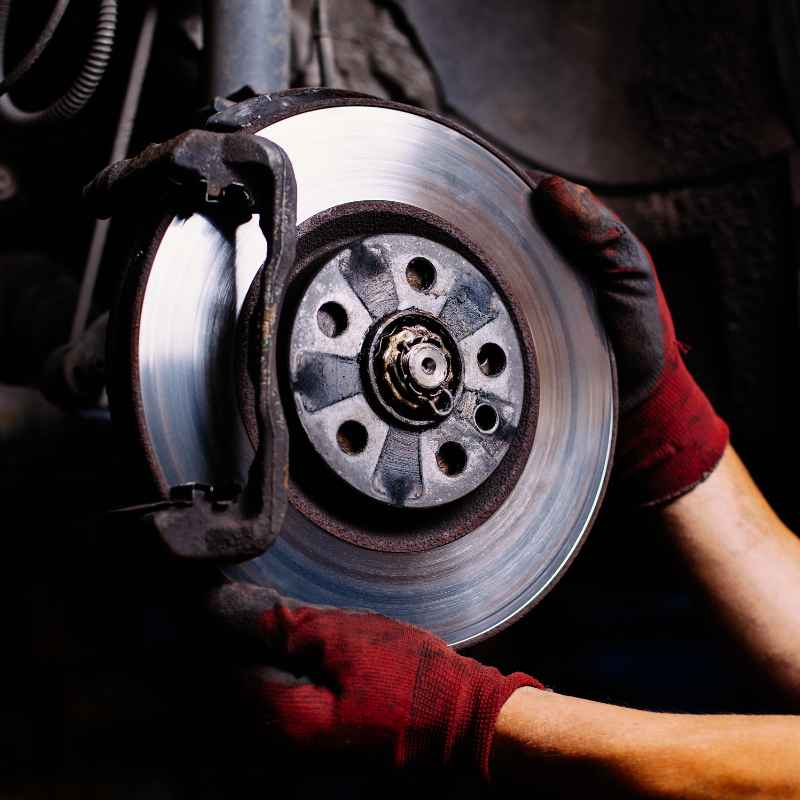
- Identify Bleed Screws: Go to each wheel. Find the brake caliper or wheel cylinder. You’ll see a small screw. This is the bleed screw. It often has a rubber cap on it. Remove the cap.
- Attach Tubing: Place the clear plastic tubing onto the bleed screw. Make sure it’s a snug fit. Submerge the other end of the tubing into your catch container. Fill the container with a little fresh brake fluid. This ensures the tube stays under fluid. It stops air from being sucked back in.
Bleeding Each Wheel:
You need to bleed the brakes in a specific order. This is important for getting all the air out efficiently. Start with the wheel furthest from the master cylinder.
Then move closer.
The usual order is:
- Right Rear
- Left Rear
- Right Front
- Left Front
Now, here’s the pump-and-hold action:
- Helper in Car: Have your helper get in the driver’s seat. Ask them to pump the brake pedal slowly and steadily about 3-5 times. Tell them to hold the pedal down firmly.
- You at Wheel: You, at the first wheel, now open the bleed screw about half a turn. Use your wrench.
- Watch the Fluid: You will see fluid and likely air bubbles come out through the tube.
- Close the Screw: As the fluid flow slows or stops, close the bleed screw tightly. Do this before your helper releases the pedal. This is crucial.
- Helper Releases Pedal: Now, tell your helper they can release the brake pedal.
- Check Reservoir: Before they pump again, check the master cylinder reservoir. Top it off if needed. Never let it get below the MIN line.
- Repeat: Repeat steps 1-6 at this wheel. Keep going until you see clear fluid coming out. No air bubbles should be visible in the tubing.
Once one wheel is done, move to the next. Follow the same order (Right Rear, Left Rear, Right Front, Left Front). Always keep the master cylinder reservoir topped up.
Always close the bleed screw before the pedal is released.
Finishing Up:
- Final Check: Once all wheels are bled, have your helper pump the brake pedal one last time. It should feel firm and solid. It should not go to the floor.
- Tighten Screws: Make sure all bleed screws are snug. Do not overtighten them.
- Replace Caps: Put the rubber caps back on the bleed screws.
- Fill Reservoir: Top off the master cylinder reservoir to the MAX line. Replace the cap tightly.
- Clean Up: Wipe up any spilled brake fluid immediately. It can damage paint. Dispose of old brake fluid properly. It’s hazardous waste.
- Test Drive: Take a slow, careful test drive. Test your brakes in a safe area. Make sure they feel firm and responsive. Listen for any strange noises.
Common Mistake: Releasing Pedal Too Soon
The most common error is the helper releasing the brake pedal before the bleed screw is closed. This sucks air back into the line. It undoes all your hard work.
Rule: Close bleed screw THEN release pedal.
Bleeding Brakes with a Vacuum Bleeder
This method is a bit different. It often makes the job easier for a solo mechanic.
Getting Ready:
- Park and Secure: Park on a level surface. Engage the parking brake.
- Master Cylinder Prep: Open the brake fluid reservoir. Remove old fluid and refill with fresh fluid to the MAX line. Keep the cap off.
- Connect the Tool: Attach the vacuum bleeder’s collection bottle to the bleed screw on the first wheel (again, start with the furthest one). Ensure a good seal.
The Vacuum Process:
- Open Bleed Screw: Loosen the bleed screw slightly.
- Apply Vacuum: Use the vacuum pump to create suction. You’ll see fluid being drawn through the clear tube. Watch for air bubbles.
- Keep Reservoir Full: Constantly monitor the master cylinder reservoir. Add fresh fluid as needed. Never let it drop too low.
- Close Screw: When you see clear fluid and no more bubbles for a few minutes, close the bleed screw tightly.
- Release Vacuum: Disconnect the vacuum bleeder.
- Move On: Repeat the process for the other wheels, in order from furthest to closest to the master cylinder.
Finishing Touches:
- Check Pedal Feel: Once all wheels are done, pump the brake pedal to check its firmness.
- Top Off: Fill the master cylinder to the MAX line. Replace the cap.
- Clean Up: Wipe down any spills. Dispose of old fluid properly.
- Test Drive: Test the brakes carefully.
Pressure Bleeding Tip
If you use a pressure bleeder, you’ll attach it to the master cylinder reservoir. Then you pressurize the system.
You’ll still open the bleed screws one by one.
Fluid will be forced out. Watch for bubbles.
Close the screw when done at each wheel.
Real-World Scenarios: When Things Get Tricky
Sometimes, bleeding brakes isn’t straightforward. A few common issues can pop up. Knowing these can save you frustration.
Stuck Bleed Screws
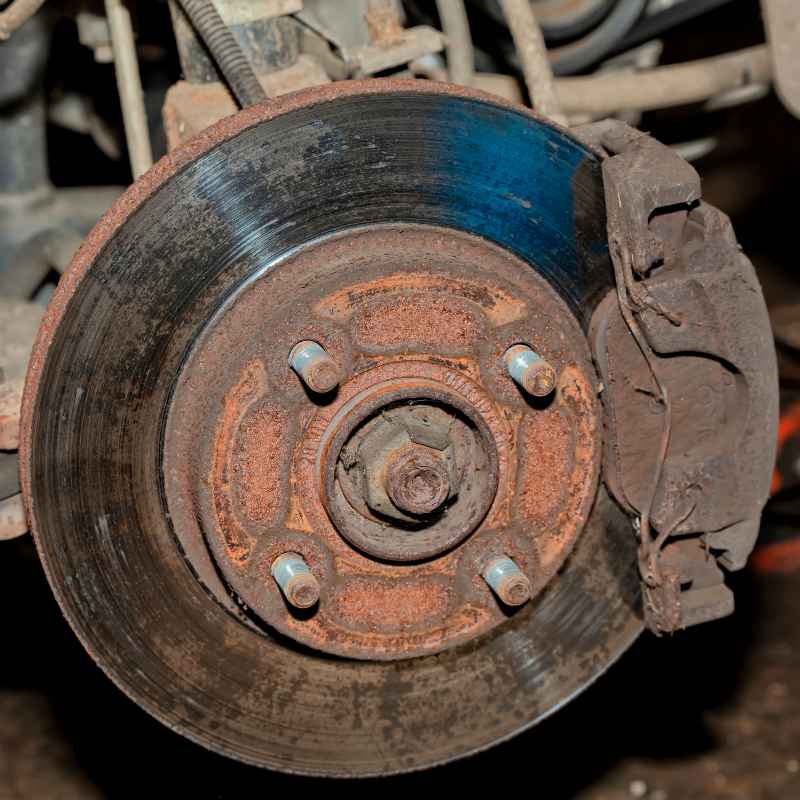
This is a common problem, especially on older cars. The bleed screw can get corroded and seized.
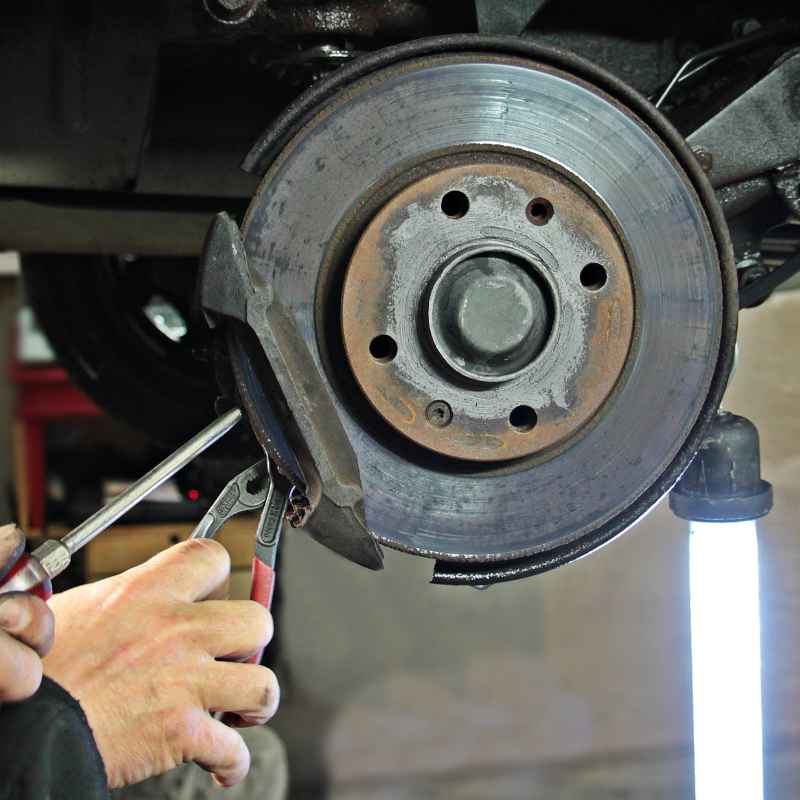
- What to do: Try applying a penetrating oil like PB Blaster. Let it soak. Gently tap the wrench with a hammer. Try to loosen it slowly. If it still won’t budge, you might need a special screw extractor. Or, you might have to replace the caliper or wheel cylinder.
Air in ABS System
Anti-lock Braking Systems have complex valves and pumps. Air can get trapped in these. Bleeding an ABS system can be harder.
- What to do: Some vehicles require a special diagnostic tool. This tool cycles the ABS pump. It helps push air out of those specific circuits. Check your car’s service manual. If you’re unsure, a professional shop might be needed for ABS bleeding.
Master Cylinder Issues
If your master cylinder is failing, you might have trouble bleeding. You might keep pumping fluid out. But the pedal still feels soft.
This could mean the seals inside the master cylinder are bad. Fluid might be bypassing them internally.
- What to do: If bleeding doesn’t firm up the pedal, and you’re sure there’s no air, suspect the master cylinder. You might need to replace it.
Corroded Brake Lines
In areas with a lot of road salt, brake lines can rust. A corroded line could have tiny holes. This lets air in.
It also makes bleeding difficult.
- What to do: You’ll need to replace the damaged brake line. This is a more involved repair.
Paint Protection is Crucial
Brake fluid is nasty stuff for car paint. It can eat through clear coats quickly.
Always have rags handy. Always wipe up spills immediately.
Some people spray the bleed screw area with water. This helps dilute any accidental spills.
What This Means for You and Your Car
Bleeding your brakes is a maintenance task that matters. It directly impacts your safety. It also impacts the longevity of your brake system.
When is it Normal?
It’s normal to bleed your brakes after certain repairs. It’s also normal if you notice a soft pedal. If you do it yourself, you save money.
You also gain confidence in your car.
When Should You Worry?
You should worry if you bleed the brakes. And the pedal still feels soft. Or if you can’t get all the air out.
This suggests a bigger problem. It could be a failing master cylinder. It could be a leak you haven’t found.
It could be internal ABS issues.
Simple Checks You Can Do
- Check Fluid Level: Regularly look at your brake fluid reservoir. Is it low?
- Inspect Lines: Look at the brake lines. Do you see any wet spots or corrosion?
- Pedal Feel: Pay attention to your brake pedal. Does it feel firm every time you drive?
If you’re ever unsure about your brakes, it’s best to consult a qualified mechanic. Better safe than sorry when it comes to stopping power.
Quick Tips for a Smoother Bleeding Process
Here are a few extra tricks. They can make the job go a bit better.
- Use a clear container with markings to see how much fluid you’re removing.
- Have extra rags ready. You will spill some fluid.
- Work in good light. You need to see what you’re doing.
- Don’t rush. Take your time. It’s a safety system.
- If your helper gets tired, take a break. Rushing leads to mistakes.
- Remember the order: furthest wheel to closest.
Frequently Asked Questions About Bleeding Car Brakes
Can I bleed my car brakes alone without special tools?
Yes, you can. The most common method is the two-person method. One person pumps the brake pedal while the other opens and closes the bleed screw at the wheel.
You’ll need a helper for this.
How often should I bleed my car brakes?
You typically don’t need to bleed your brakes on a fixed schedule. You usually bleed them after performing brake system repairs. Or when you notice a soft or spongy brake pedal.
Some people like to flush and bleed their brakes every 2-3 years as preventative maintenance.
What happens if I don’t bleed my brakes after changing a part?
If you don’t bleed your brakes after introducing air into the system, your brakes will likely feel soft or spongy. In some cases, the brake pedal may go all the way to the floor. This significantly reduces your car’s ability to stop safely.
It’s a dangerous situation.
Is brake fluid harmful to skin and paint?
Yes, brake fluid can be harsh on your skin. It can also damage car paint very quickly. Always wear gloves and safety glasses when working with brake fluid.
Wipe up any spills immediately with rags.
Can I mix different types of brake fluid?
No, you generally should not mix different types of brake fluid. DOT 3, DOT 4, and DOT 5.1 are usually compatible. However, DOT 5 (silicone-based) is not compatible with the others.
Always check your car’s owner’s manual for the recommended brake fluid type. Using the wrong type can damage your brake system.
What is the quickest way to bleed brakes?
Pressure bleeding or vacuum bleeding systems are typically the quickest methods for bleeding brakes. These often allow for one-person operation and can be more efficient than the traditional two-person method, especially for a complete flush.
Conclusion
Bleeding your car brakes yourself is a totally achievable task. With the right tools, a little patience, and clear steps, you can do it. It’s a vital maintenance job.
It keeps you and others safe on the road. Don’t let a soft pedal worry you. You’ve got this.
Happy wrenching!