How to Fix a Car Tire Air Valve: Quick Guide
Fixing a car tire air valve, also known as a Schrader valve, is a common car maintenance task that can save you time and money. A leaky valve stem is a frequent cause of slow tire deflation, and addressing it promptly ensures your safety on the road. This guide will walk you through the simple steps to identify and fix a faulty air valve, so you can keep your tires properly inflated and avoid unnecessary service calls.
Simply put, fixing a car tire air valve involves checking for leaks, removing the old valve core if necessary, and replacing it with a new one or the entire valve stem. This DIY process is straightforward and can be completed with basic tools, helping to maintain optimal tire pressure and vehicle safety.
Key Takeaways

Fix-A-Flat
Fix-A-Flat S60420 Aerosol Emergency Flat Tire Repair…
- Emergency flat tire repair solution, connect, inflate and go! The easiest and quickest way to temporarily repair a flat tire in an…
- Fix-a-Flat is designed to seal small tread tire punctures up to 1/4 of an inch in diameter in seconds and provide enough inflation…
- Flats happen, so be prepared with Fix-a-Flat, an easy-to-use, better alternative to the spare tire and perfect for roadside emerge…
As an Amazon Associate I earn from qualifying purchases.
- A leaking tire air valve is a common culprit for slow tire deflation and needs prompt attention for safety.
- Identifying a leaky valve can be done using soapy water to check for bubbles.
- You can often replace just the valve core, but sometimes the entire valve stem may need replacement.
- Fixing a car tire air valve can be a DIY task with the right tools and a little patience, saving money on mechanic visits.
- Proper tire inflation is crucial for fuel efficiency, tire longevity, and safe driving.
What is a Car Tire Air Valve?
The car tire air valve, most commonly the Schrader valve, is a small, spring-loaded mechanism that allows air to enter or exit a tire. It consists of a hollow metal or rubber stem that protrudes from the wheel rim, capped with a metal or plastic dust cap. The core of the valve is what actually seals the air inside; pressing down on the small pin in the center of the core releases the air.
These valves are essential for maintaining the correct tire pressure, which directly impacts your vehicle’s handling, braking, fuel efficiency, and the lifespan of your tires. Without a properly functioning valve, your tire will likely lose air gradually or rapidly, leading to underinflation and potential safety hazards.
Understanding the basic anatomy of the valve can help in diagnosing issues. The stem itself can sometimes crack or detach from the rim, while the internal valve core can become worn, damaged, or clogged with debris, preventing a proper seal. Recognizing the signs of a faulty valve is the first step towards a successful repair.
- Valve Stem: The rubber or metal tube that extends from the wheel.
- Valve Core: The small, brass component inside the stem that controls airflow.
- Dust Cap: Protects the valve core from dirt and moisture.
How to Identify a Leaky Tire Valve
The most common symptom of a leaky tire air valve is a slow but consistent loss of tire pressure. If you find yourself needing to inflate your tires more frequently than usual, especially if only one tire is affected, the valve is a prime suspect. Visual inspection might reveal cracks in the rubber stem, but often, the leak is internal and not immediately obvious.
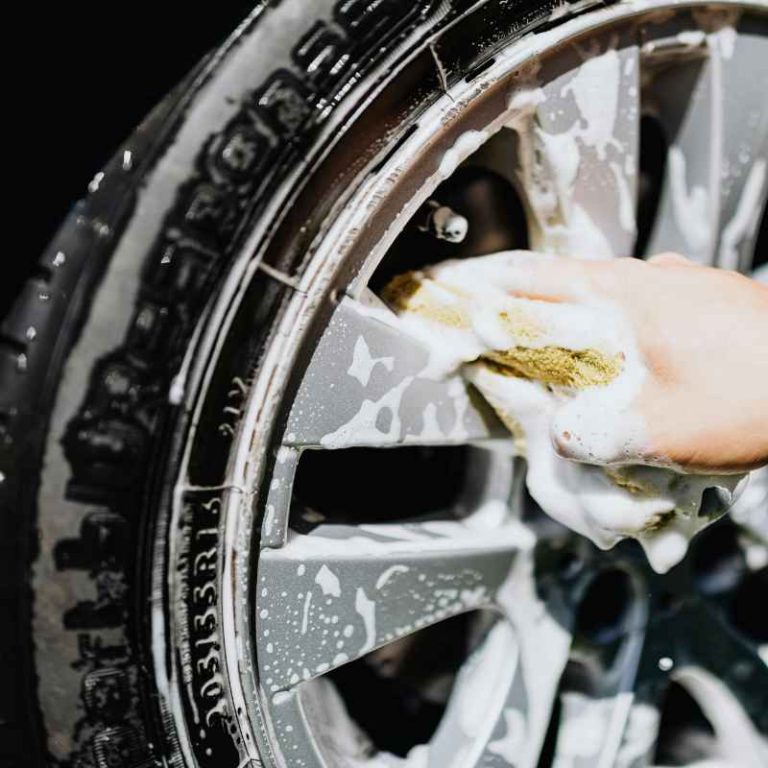
A simple and effective method to pinpoint a leak is the soapy water test. Mix a solution of dish soap and water in a spray bottle or small bucket. With the tire properly inflated, spray or daub the soapy water generously around the valve stem, paying close attention to where the stem meets the rim and the tip of the valve itself.
If you see small bubbles forming and growing, you’ve found your leak.
This method works because the soap in the water creates a visible indicator when air is escaping under pressure. Even a tiny leak will produce a stream of bubbles. If the leak is from the valve core, you might see bubbles emanating from the pin itself.
If the leak is from the base of the stem, the bubbles will appear where the rubber meets the metal of the wheel.
| Leak Detection Method | Procedure | Indication of Leak |
|---|---|---|
| Soapy Water Test | Spray or dab soapy water around the valve stem. | Visible bubbles forming and growing. |
| Listening | Place your ear close to the valve stem. | A faint hissing sound. |
While listening can sometimes detect a leak, the soapy water method is far more reliable for pinpointing the exact source of the air escape.
What You’ll Need to Fix the Valve
Fortunately, fixing a tire air valve is generally an accessible DIY task. You don’t need a professional mechanic’s toolkit to get the job done. The essential tool for removing and installing valve cores is a valve core tool, which is a small, inexpensive device that looks like a metal cap with notches.
Many auto parts stores sell these individually or as part of a tire repair kit.
If the entire valve stem needs to be replaced, the process is more involved. It typically requires removing the tire from the wheel, which often means you’ll need to take the wheel to a tire shop. However, if the leak is only from the valve core, you can often fix it without dismounting the tire.
You’ll also need a tire pressure gauge to check your work and ensure the tire is inflated to the correct pressure.
Having a few spare valve cores on hand is a good idea, as they are inexpensive and prone to wear. If you suspect the entire stem is compromised, you might need to purchase a new valve stem. It’s also wise to have a pair of pliers handy, as sometimes the old valve core can be a bit stubborn to remove.
Remember to always work in a well-ventilated area and ensure your vehicle is on a level surface with the parking brake engaged.
- Valve Core Tool: Essential for removing and installing valve cores.
- Spare Valve Cores: Inexpensive and good to have on hand.
- Tire Pressure Gauge: To verify correct inflation after the repair.
- Pliers: May be needed to help remove a stubborn core.
- Soapy Water: For leak detection.
- New Valve Stem (Optional): If the entire stem is damaged.
- Tire Inflator: To re-inflate the tire.
How to Replace Just the Valve Core
This is the simplest fix and often resolves issues with slow leaks. First, ensure the tire has sufficient air pressure, as deflating the tire completely can make the core harder to access and potentially damage the rim. Use your valve core tool.
It typically has a slotted end that fits over the valve core and a handle to grip. Screw the tool onto the valve core until it catches firmly.
Once the tool is securely attached, twist the tool counter-clockwise. The valve core should unscrew from the valve stem. Be prepared for a small, quick burst of air as the core comes loose.
Remove the old core and inspect it for any visible damage or debris. Now, take a new valve core and carefully screw it into the valve stem clockwise by hand until it’s snug. Do not overtighten, as this can damage the new core or the stem.
After the new core is installed, use your valve core tool to give it a final slight tightening. Then, use your soapy water solution to test the valve again. You should see no bubbles.
Finally, use your tire inflator to bring the tire pressure up to the manufacturer’s recommended level, and check the pressure with your gauge. Reinstall the dust cap to protect the new valve core.
- Ensure the tire is sufficiently inflated.
- Attach the valve core tool to the existing valve core.
- Unscrew the old valve core by turning the tool counter-clockwise.
- Remove the old valve core.
- Screw in the new valve core by hand clockwise until snug.
- Tighten slightly with the valve core tool.
- Test for leaks with soapy water.
- Inflate the tire to the correct pressure.
- Reinstall the dust cap.
How to Replace the Entire Valve Stem
Replacing the entire valve stem is a more involved process and often requires professional assistance or at least removing the tire from the wheel. If you’re comfortable with more advanced car maintenance, here’s a general outline. First, you’ll need to deflate the tire completely.
Then, using a tire machine or by hand with specialized tools, you’ll need to break the bead of the tire from the rim. This is the seal between the tire and the wheel.
Once the bead is broken, you can push the tire bead inwards towards the center of the wheel, exposing the back of the valve stem. On the inside of the wheel, there’s typically a nut or retainer holding the valve stem in place. You’ll need to remove this.
Then, grab the old valve stem from the outside and pull it through the rim. Sometimes, you might need pliers to help pull it out if it’s stuck.
To install the new valve stem, lubricate the rubber base of the new stem with a tire lubricant or soapy water. Push the new stem through the hole from the inside of the wheel, ensuring it sits flush against the rim. From the outside, pull the stem outwards gently until its base is seated securely against the rim.
Some stems have a retaining nut that needs to be tightened to hold it in place. Once the new stem is installed, you can then re-seat the tire bead onto the rim, inflate the tire, and balance the wheel if necessary.
- Deflate tire completely.
- Break tire bead from rim.
- Access valve stem from inside the wheel.
- Remove retaining nut or fastener (if applicable).
- Pull old valve stem out.
- Lubricate and insert new valve stem from inside.
- Seat new stem base against the rim.
- Re-seat tire bead onto the rim.
- Inflate tire and balance wheel.
Common Mistakes When Fixing Tire Valves
One of the most frequent errors is overtightening the valve core. While you want a good seal, excessive force can strip the threads or damage the new valve core, rendering it useless or even causing it to break. Always tighten it until snug, then just a quarter-turn more.
Over-reliance on just the valve core replacement is another mistake; sometimes the entire stem is damaged (cracked rubber, bent metal) and simply replacing the core won’t solve the leak.
Another common pitfall is not properly cleaning the valve stem opening before installing a new core or stem. Small bits of dirt or corrosion can prevent a proper seal. Likewise, forgetting to reinstall the valve dust cap is a minor but significant oversight.
The cap protects the valve core from dirt, sand, and moisture, which can cause it to corrode or become clogged over time, leading to future leaks. Not checking for leaks after the repair is also a critical mistake; always perform the soapy water test.
Attempting to replace the valve stem without the proper tools or experience is a recipe for disaster. This can lead to damaging the wheel rim, improperly seating the tire, or failing to achieve a proper seal, resulting in dangerous tire failures. Lastly, not inflating the tire to the correct pressure after the repair is crucial for vehicle safety and tire wear.
Always refer to your vehicle’s doorjamb sticker or owner’s manual for the recommended PSI.
| Mistake | Consequence | How to Avoid |
|---|---|---|
| Overtightening valve core | Damaged core, stripped threads, continued leak | Tighten until snug, then only a quarter-turn more. |
| Ignoring damaged valve stem | Persistent leaks, potential stem failure | Inspect stem for cracks or damage; replace if necessary. |
| Forgetting dust cap | Dirt/moisture ingress, premature core failure | Always reinstall the dust cap after any valve work. |
| Improper stem installation | Leaks at the rim, tire pressure loss, potential wheel damage | Use a tire shop for professional valve stem replacement. |
Being aware of these common errors can significantly increase your chances of a successful and safe tire valve repair.
What is the Lifespan of a Car Tire Valve?
The lifespan of a car tire valve can vary significantly depending on several factors, including the type of valve, the materials used in its construction, environmental exposure, and maintenance habits. Typically, rubber valve stems are expected to last about 3 to 5 years before they start to degrade due to UV exposure, ozone, and heat. Metal valve stems, while more durable, can be susceptible to corrosion or physical damage.
The internal valve core itself is a wear item. Cores are designed to be replaced periodically or when they show signs of leakage. While they don’t have a strict lifespan, they can become clogged with road debris, corrode, or their internal seals can wear out over time.
Manufacturers recommend checking tire valves during regular tire maintenance, such as when rotating tires, and replacing any that show signs of wear or damage.
It’s a good practice to consider replacing your valve stems when you replace your tires, especially if they are several years old. This proactive approach ensures you won’t have a valve issue shortly after investing in new tires. Many automotive experts suggest that valve stems should be replaced every time new tires are mounted on the wheels.
This is a small cost compared to the potential hassle and safety risks of a failing valve stem.
- Rubber Valve Stems: Generally last 3-5 years.
- Metal Valve Stems: Can last longer but are prone to corrosion.
- Valve Cores: Wear items; replace when leaking or damaged.
- Recommendation: Replace valve stems when getting new tires.
Why is Proper Tire Inflation Important?
Maintaining the correct tire pressure is fundamental for several critical aspects of vehicle operation and safety. Underinflated tires increase rolling resistance, meaning your engine has to work harder to move the vehicle. This directly leads to decreased fuel economy, costing you more at the pump.
For instance, underinflating tires by just 10 PSI can reduce fuel efficiency by up to 1%. According to the U.S. Department of Energy, maintaining proper tire pressure is one of the easiest ways to improve gas mileage.
Beyond fuel efficiency, proper inflation is paramount for tire longevity and safety. When tires are underinflated, the tire flexes excessively, leading to increased heat buildup within the tire. This can cause premature tread wear, sidewall damage, and significantly increase the risk of a blowout, especially at higher speeds.
Overinflated tires, on the other hand, reduce the contact patch between the tire and the road, leading to uneven wear, a harsher ride, and reduced traction, particularly in wet conditions.
The correct tire pressure ensures that the tire maintains its intended shape and contact patch with the road, distributing the vehicle’s weight evenly. This optimal condition maximizes grip, improves braking performance, and enhances steering responsiveness, all contributing to safer driving. Organizations like the National Highway Traffic Safety Administration (NHTSA) strongly emphasize the importance of checking tire pressure regularly, at least once a month, and before long trips.
| Factor | Impact of Underinflation | Impact of Overinflation |
|---|---|---|
| Fuel Economy | Reduced (higher rolling resistance) | Improved (lower rolling resistance) |
| Tire Wear | Increased wear on the outer edges and center (due to flexing) | Increased wear in the center of the tread |
| Handling & Braking | Reduced responsiveness, longer braking distances, increased blowout risk | Harsher ride, reduced traction (especially in wet), increased hydroplaning risk |
| Ride Comfort | Softer initial feel but can lead to instability | Bumpy and uncomfortable ride |
Regularly checking and adjusting tire pressure is a simple maintenance step that significantly contributes to your vehicle’s overall performance, safety, and economy.
Frequently Asked Questions
What if the valve stem is cracked but not leaking?
Even if a cracked valve stem isn’t actively leaking air, it’s a ticking time bomb. The crack will likely worsen over time, especially with the flexing and heat generated during driving, leading to a leak. It’s highly recommended to replace any valve stem that shows visible signs of cracking to prevent future problems and ensure safety.
Can I use a tire plug to fix a leaky valve stem?
No, tire plugs are designed to seal punctures in the tire tread, not for valve stems. A tire plug will not create a proper seal on a valve stem and could potentially damage the stem further. The correct repair involves replacing the valve core or the entire valve stem assembly.
How often should I check my tire pressure?
You should check your tire pressure at least once a month and before any long road trips. It’s also a good idea to check it if you notice a significant change in temperature, as temperature fluctuations can affect tire pressure.
What is the recommended tire pressure for my car?
The recommended tire pressure, often referred to as PSI (pounds per square inch), is usually found on a sticker located on the driver’s side doorjamb, in the glove compartment, or in your vehicle’s owner’s manual. Do not use the maximum pressure listed on the tire sidewall, as this is the tire’s maximum capacity, not the recommended pressure for your specific vehicle.
Are metal or rubber valve stems better?
Both have pros and cons. Rubber valve stems are often less expensive and more flexible, making them common on many passenger cars. Metal valve stems are more durable and less prone to cracking over time but can be susceptible to corrosion if not properly maintained.
For most standard vehicles, rubber stems are perfectly adequate, but metal stems are often preferred for high-performance or heavy-duty applications.
Final Thoughts
Maintaining your car’s tires is a vital aspect of safe and efficient driving. A leaky tire air valve, whether it’s the core or the entire stem, can be a simple fix that you can often handle yourself. By understanding how to identify the problem and employing the correct repair methods, you can save money and ensure your vehicle remains safe on the road.
Always prioritize checking for leaks after any repair and maintaining proper tire inflation for optimal performance.
Related pick: Check today's price on Amazon See also cheapest car tire change near you fast and affordable options.
Products related to this article
Sponsored / affiliate links. As an Amazon Associate I earn from qualifying purchases. I may earn additional commission from eligible campaigns.