Car Tire Slow Leak? What to Do Before It Goes Flat
Quick Answer: What Should You Do If a Tire Has a Slow Leak?
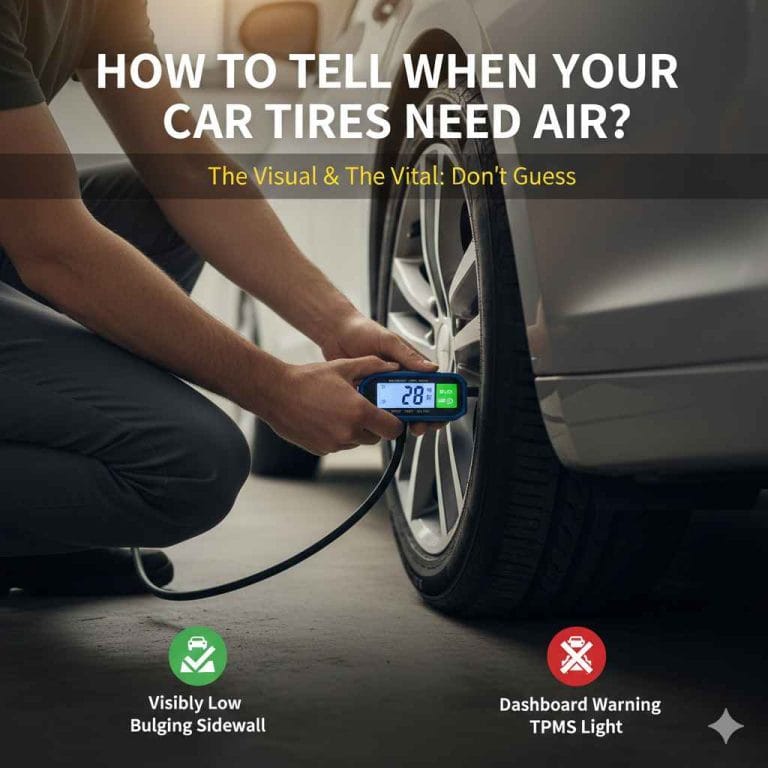
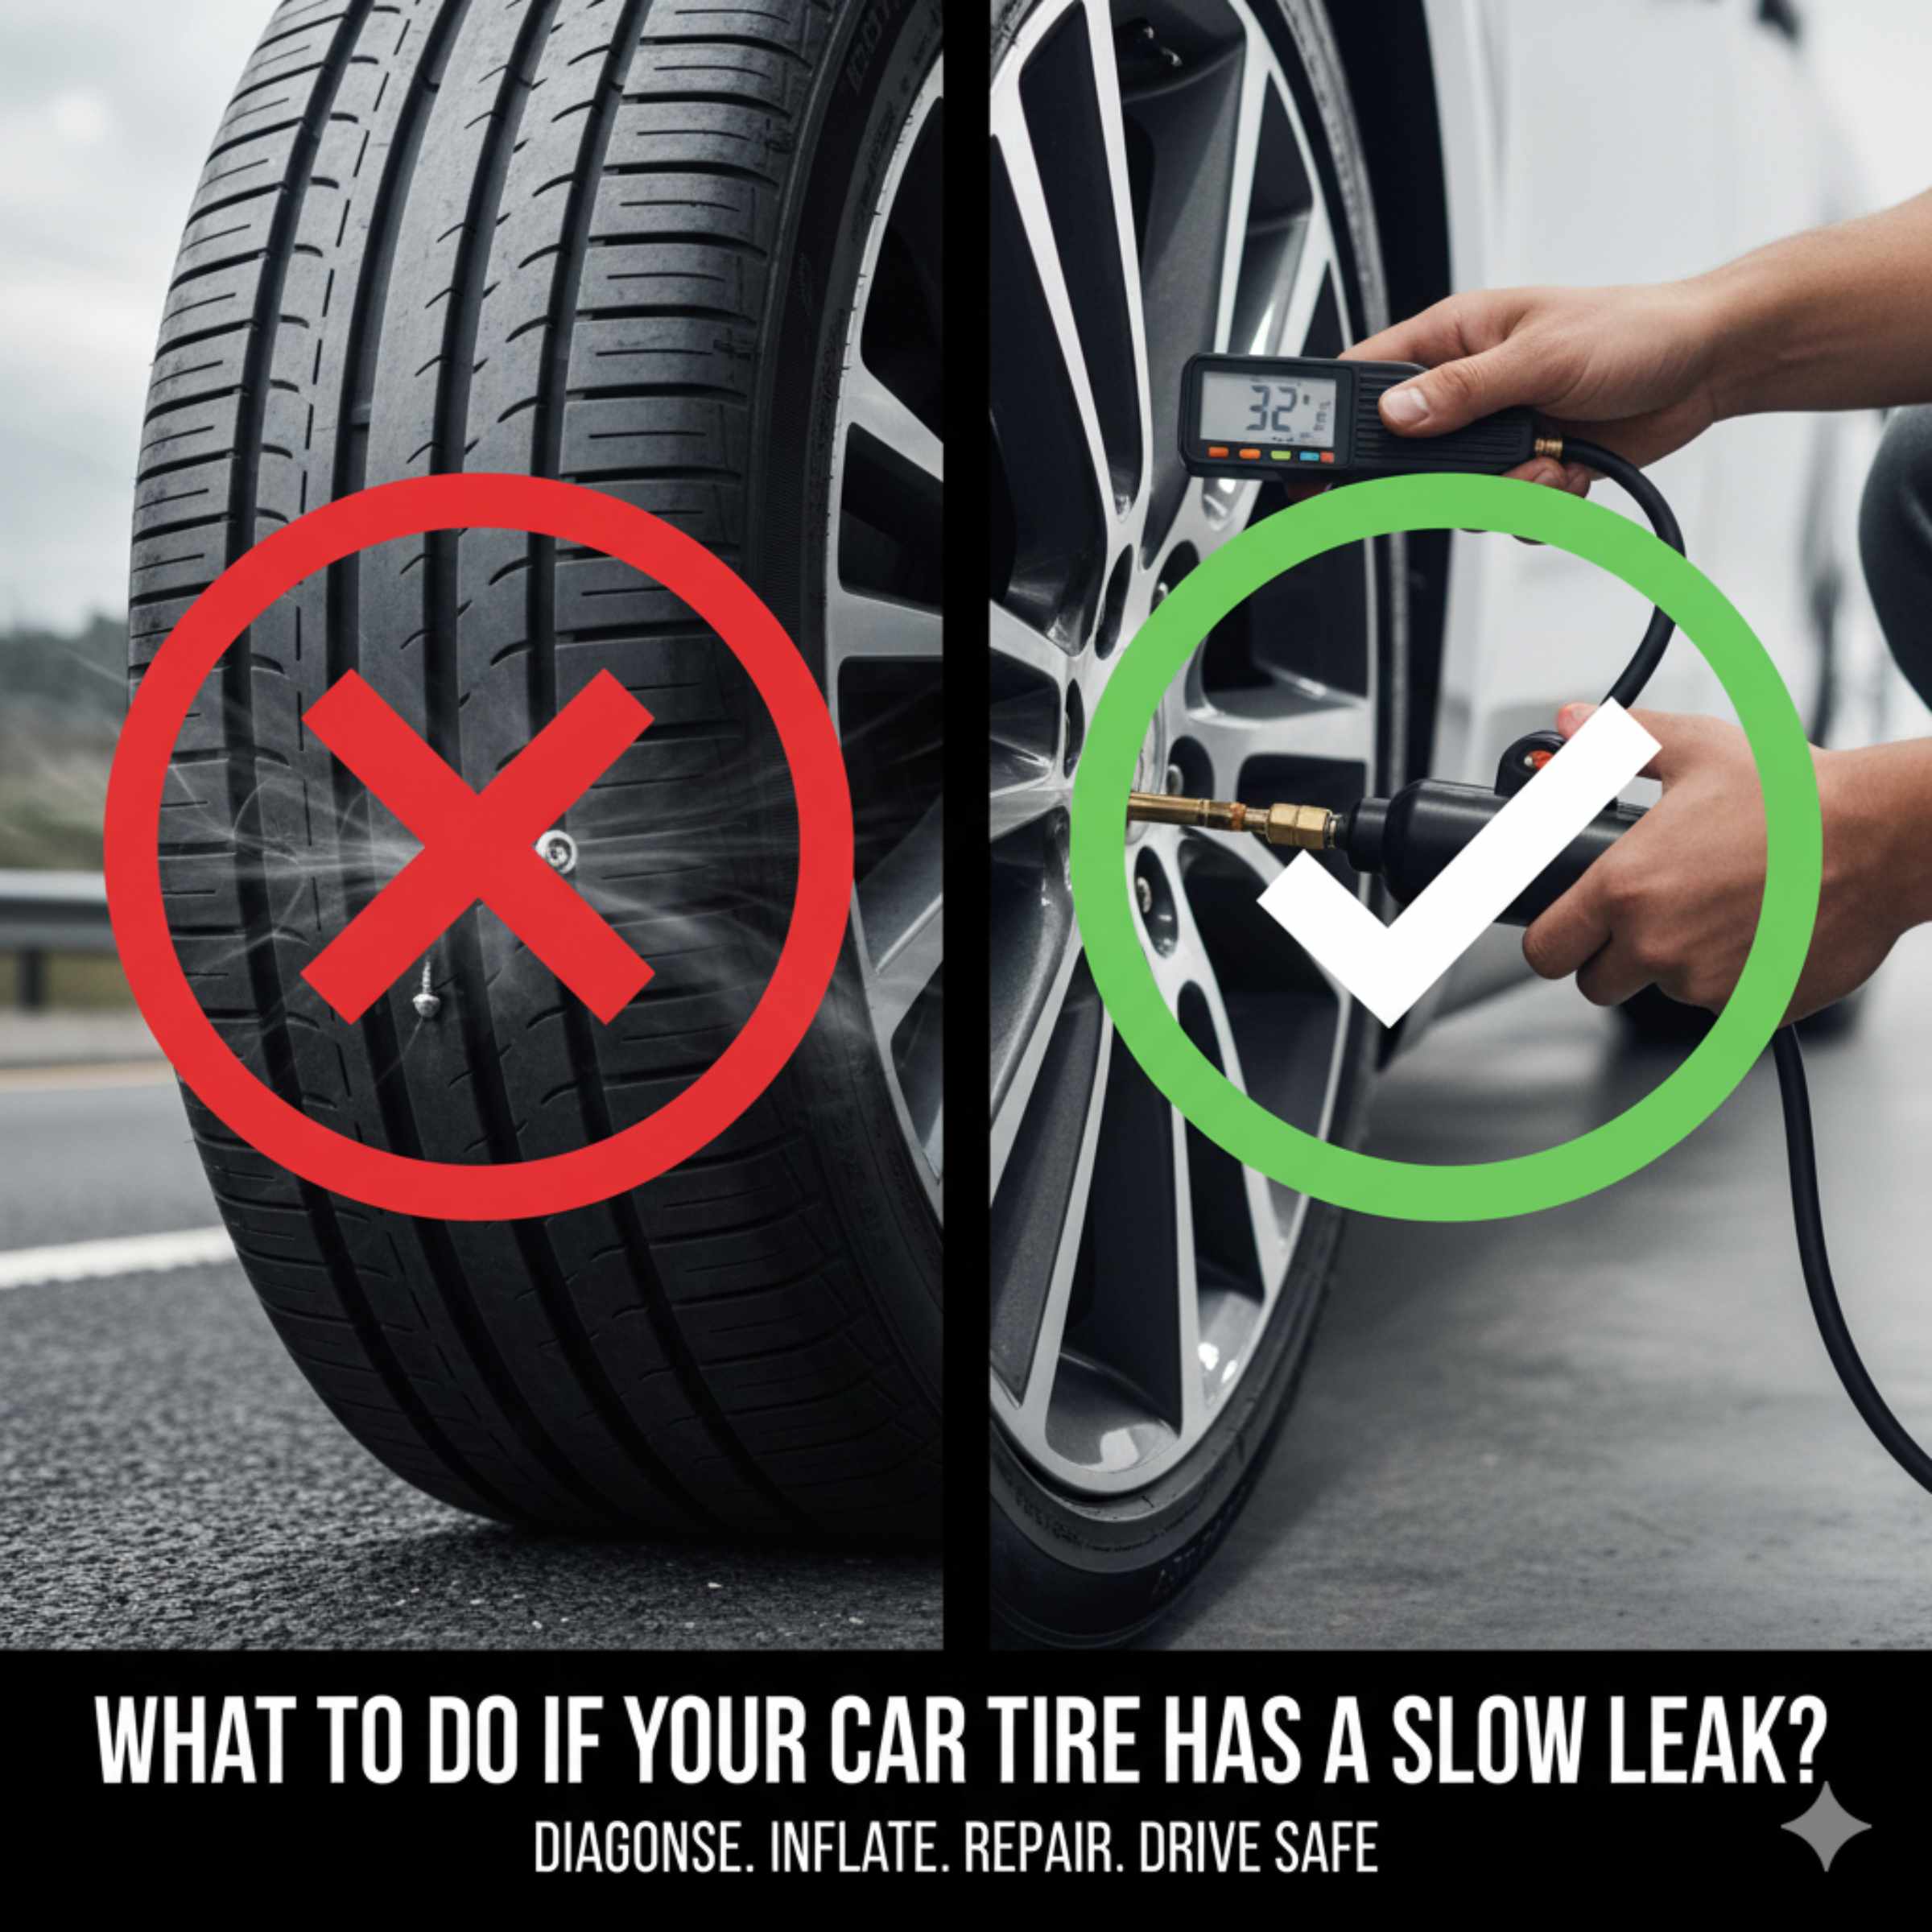
If your car tire has a slow leak, inflate it to the cold PSI on the driver-door placard, inspect the tread and valve stem, then spray soapy water around the tread, valve, bead, and rim to find bubbles. Do not keep driving on an underinflated tire. A small tread puncture may be repairable, but sidewall damage, shoulder damage, rim damage, or repeated pressure loss needs a tire shop inspection.
Slow Tire Leak First-Response Checklist
| What you see | What it usually means | Best next step |
|---|---|---|
| Pressure drops a few PSI overnight | Small tread puncture, valve stem leak, or bead leak | Inflate to the door-placard PSI and do the soapy-water test. |
| Bubbles from the valve area | Loose valve core or leaking valve stem | Have the valve core or valve stem serviced before long driving. |
| Bubbles at the tire edge near the rim | Bead seal leak, corrosion, or rim damage | A tire shop should reseat, clean, or inspect the wheel. |
| Bulge, cut, shoulder puncture, or sidewall damage | Unsafe tire damage | Replace the tire instead of plugging it. |
A slow tire leak usually comes from a small tread puncture, a leaking valve stem, or a bead-seal problem — not always a nail you can see. Ignoring it risks driving on a dangerously underinflated tire before you notice. This guide covers the soapy-water test, when a plug repair is safe, and when the tire needs replacing instead.
Understanding Slow Tire Leaks
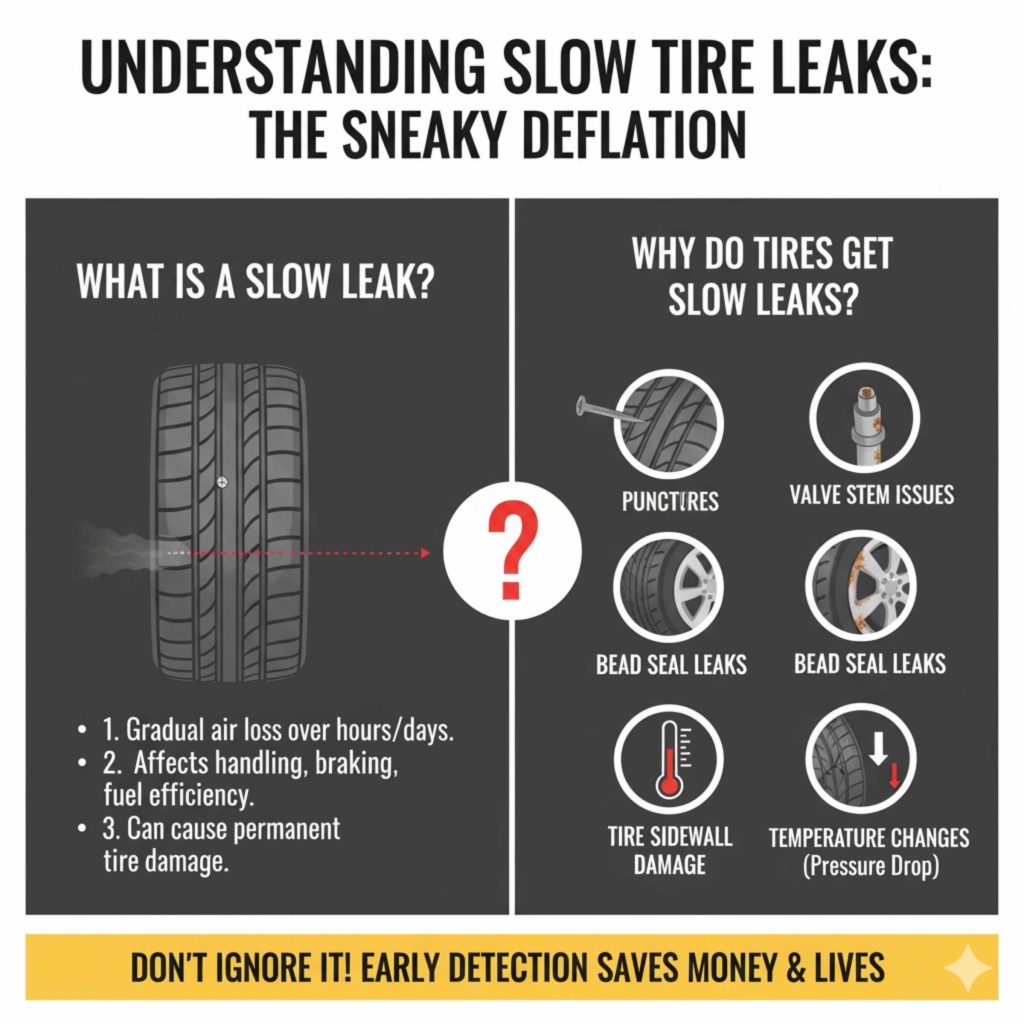
A slow tire leak is exactly what it sounds like: air is escaping your tire, but not in a rush. This means you might not hear an immediate hiss, and the tire pressure drops gradually over hours or even days. While less dramatic than a flat tire, a slow leak can still be a safety hazard. It affects your car’s handling, braking, and fuel efficiency. Plus, letting it go too long can damage the tire permanently, leading to more expensive repairs or replacements.
View Our Pick on AmazonWhy Do Tires Get Slow Leaks?
There are several common reasons why your tire might be developing a slow leak:
- Punctures: The most frequent culprit is a small nail, screw, or sharp object that has pierced the tire tread.
- Valve Stem Issues: The valve stem (where you add air) can become damaged, corroded, or have a loose valve core, allowing air to escape.
- Bead Seal Leaks: The seal between the tire and the wheel rim can sometimes leak, especially if there’s corrosion, dirt, or damage on the rim.
- Tire Sidewall Damage: While less common for slow leaks, cracks or damage on the sidewall can sometimes lead to air loss.
- Temperature Changes: While not a “leak” in the traditional sense, rapid temperature drops can cause tire pressure to decrease as air molecules move closer together. This is normal but can make a slight existing leak more noticeable.
How to Find a Slow Tire Leak: A Step-by-Step Guide
Spotting a slow leak is the first crucial step. It takes a little patience, but it’s fairly straightforward. Here’s how to do it:
Step 1: Check Tire Pressure Regularly
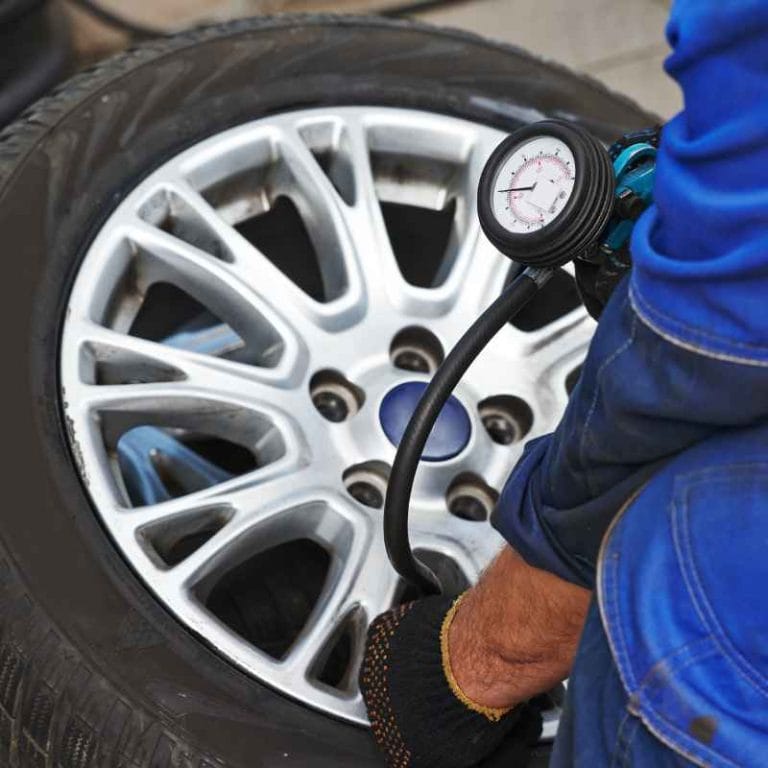
The easiest way to detect a slow leak is by monitoring your tire pressure. Use a reliable tire pressure gauge. Check your tires when they’re “cold” (meaning the car hasn’t been driven recently, or only for a very short distance). You can usually find the recommended tire pressure for your vehicle on a sticker inside the driver’s side doorjamb or in your owner’s manual. If one tire consistently reads lower than the others, you likely have a leak.
Step 2: Visual Inspection
Once you suspect a specific tire, give it a good look. Rotate the tire and examine the entire surface of the tread and the sidewalls. Look for any obvious signs of damage:
- Visible nails, screws, or sharp objects embedded in the tread.
- Cuts, gouges, or bulges on the sidewall.
- Cracks in the rubber, especially around the tread or sidewall.
Step 3: The Soapy Water Test
This is the most effective method for finding small leaks that aren’t visible. You’ll need a spray bottle filled with a mixture of water and dish soap (about half soap, half water). With the tire inflated to proper pressure:
- Generously spray the soapy water mixture all over the tire tread, sidewalls, and around the valve stem.
- Watch closely for bubbles. If there’s a leak, the escaping air will create small, persistent bubbles at the point of the leak.
- Also, check the valve stem itself and the valve core. If you see bubbles forming around the valve stem or if the valve cap is missing, that’s a strong indicator.
Keep in mind that some tiny leaks might not produce obvious bubbles, but this method catches most of them. If you don’t see bubbles, but the tire keeps losing pressure, the leak might be very small, or within the rim seal, which is harder to spot with this method.
Step 4: Listen Closely
In a quiet environment, with the car parked and the engine off, slowly walk around the car and listen very carefully to each tire. Sometimes, you can hear a faint hissing sound if the leak is significant enough.
Common Causes of Slow Leaks and How to Address Them
Once you’ve found the leak, you can better understand what needs to be done. Here are some common issues and their potential fixes:
1. Punctures in the Tread
This is the most common type of slow leak and often the easiest to fix, especially for beginners. If you found a nail or screw:
Temporary Fix: Tire Plug Kit
Affiliate picks
Useful Tire-Leak Tools To Compare
Use these picks as a starting point for checking tire pressure, adding air, and handling an emergency tread puncture before you visit a tire shop.
Disclosure: As an Amazon Associate, we may earn from qualifying purchases. Product details can change, so always check the latest price, availability, and specifications on Amazon before buying.

Best tire leak setup pick
DigitPro Digital Tire Pressure Gauge with Inflator, 3-250 PSI Air Compressor Accessories with Air Chuck Quick Connect Coupler, Car Attachments with Rubber Hose for Car, Truck, SUV, Cycle, RV
【Accuracy】The digital tire pressure gauge has 4 different measurement units: PSI, KPA, BAR, KG/CM². It reads within 1% of the exact tire pressure, with a r…
Best for: Checking pressure and topping up safely
Why we picked it: It fits the main buying criteria above and is useful for readers comparing practical options.
Main drawback: A gauge or inflator does not repair sidewall, bead, or rim damage.
Compare more tire leak tools


A tire plug kit is a popular DIY solution for tread punctures. These kits come with tools to clean out the hole and a rubber plug that you force into the puncture. It’s usually a temporary fix but many people use them until they can get a professional repair or replacement.
How to Use a Tire Plug Kit (General Steps):
- Locate and Remove the Puncturing Object: Use pliers to carefully pull out the nail or screw. Do this slowly to avoid making the hole larger.
- Prepare the Hole: Use the included reamer tool (it looks like a drill bit) to clean and enlarge the puncture slightly. Insert it and twist it in and out a few times. This helps the plug adhere better.
- Insert the Plug: Thread the rubber plug through the eye of the insertion tool.
- Plug the Tire: Push the insertion tool firmly into the puncture hole until only about half an inch of the plug remains visible outside the tire.
- Remove the Tool: Pull the insertion tool straight out rapidly. The plug should remain in the tire.
- Trim Excess and Inflate: Trim off any excess plug material sticking out. Then, inflate the tire to the correct pressure and check for leaks with soapy water again.
Important Note: Tire plug kits are generally only recommended for punctures in the tread area. They are not safe for sidewall damage or punctures too close to the sidewall (within about an inch of the edge of the tread). It’s always best to consult a professional if you’re unsure.
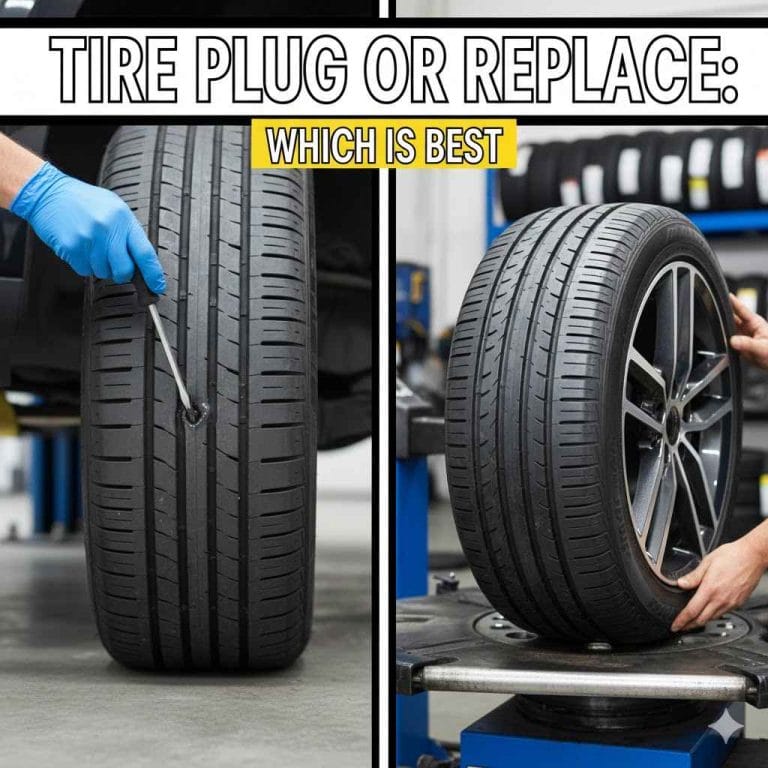
Professional Fix: Patch and Plug Combination
Many tire shops offer a more permanent repair called a “patch and plug” or “internal patch.” This involves removing the tire from the wheel, inserting a plug from the inside of the tire, and then applying a patch over the hole from the inside tread. This is considered a safer and more reliable long-term repair than an external plug alone. Reputable sources like Tire Safety Group emphasize that proper internal repair is essential for safety.
2. Valve Stem Leaks
If you found bubbles around the valve stem, it’s likely the cause. There are a few possibilities:
- Loose Valve Core: The small pin inside the valve stem can sometimes loosen. You can tighten it using a valve core tool (often included in plug kits or sold separately). This is a quick and easy fix.
- Damaged/Corroded Valve Stem: If the rubber of the valve stem is cracked, brittle, or if the metal part is corroded and won’t seal, the entire valve stem unit needs to be replaced. This is usually a job for a tire shop, as they need to remove the tire from the rim.
- Old Valve Caps: Ensure your valve caps are on and snug. They aren’t just for looks; they provide an extra seal against dirt and moisture, which can help prevent leaks.
3. Bead Seal Leaks
Sometimes, the tire doesn’t seal perfectly against the wheel rim. This can be due to dirt, corrosion on the rim, or a bent rim. The soapy water test might show bubbles all around that section of the wheel where it meets the tire.
Fix: This often requires a tire shop. They can unmount the tire, clean the rim’s sealing surface, and sometimes apply a sealant to help create a better seal when remounting the tire. If the rim is damaged or corroded, it might need repair or replacement.
4. Sidewall Leaks
Leaks on the sidewall of a tire are a serious concern. The sidewall flexes significantly when you drive, and a puncture or crack here is very difficult to repair safely. Most reputable tire shops will refuse to repair sidewall damage because it compromises the structural integrity of the tire. This usually means you’ll need a new tire.
Fix: Replacement is almost always necessary for sidewall damage.
When to Seek Professional Help
Can You Drive With a Slow Tire Leak?
You can usually drive a short distance to a safe place or a tire shop if the tire is only slightly low and still holds pressure after inflation. Do not drive if the tire is visibly flat, the sidewall is bulging, the steering feels heavy, or the TPMS light returns quickly after you add air. Underinflation builds heat inside the tire, and heat can turn a small leak into a tire failure.
While DIY fixes can be tempting and sometimes effective, it’s crucial to know your limits and when to call in the experts. Here’s when you should head to a tire shop or mechanic:
- Sidewall Damage: As mentioned, any leak or damage on the sidewall usually means the tire needs to be replaced.
- Large Punctures: If the object that punctured the tire was large (e.g., a hole bigger than a pencil eraser), it might be too big to plug or patch safely.
- Multiple Punctures: If your tire has more than one puncture, it may weaken the tire too much for a reliable repair.
- Uncertainty: If you can’t find the leak, or you’re unsure about the best course of action, it’s always safer to have a professional inspect it.
- Frequent Deflation: If you’ve tried a DIY fix and the tire continues to lose pressure, or if you can’t find any apparent cause for the leak, get it professionally checked.
- Internal Leaks: Sometimes the air escapes from within the tire structure itself, which is impossible to diagnose or fix without dismounting the tire.
A key resource for understanding tire safety and repair standards is the National Tire and Rubber Association (NTRA), which often provides guidelines and information on safe tire practices.
Costs and Considerations for Tire Repair vs. Replacement
Deciding between repairing and replacing a tire involves several factors, including cost, safety, and the age/condition of the tire.
Tire Repair Costs
A professional tire repair (like a patch and plug) is typically quite affordable. Costs can range from $20 to $50 per tire, depending on your location and the shop.
Tire Replacement Costs
Replacing a tire is significantly more expensive. The cost of a single tire can range from $100 to $300+, depending on the brand, size, and type of tire. You might also need to factor in the cost of mounting and balancing, which can add another $20-$50 per tire.
When Replacement Makes More Sense
Even if a tire is technically repairable, you might decide to replace it if:
- Tire Age: Tires degrade over time, even if they have good tread. Most manufacturers recommend replacing tires after 6-10 years, regardless of wear. Check your owner’s manual or tire manufacturer’s website for specific recommendations.
- Tread Depth: If the tire is already worn down significantly, a repair might extend its life only slightly, making replacement a better investment. The legal minimum tread depth in the U.S. is 2/32 of an inch, but traction is significantly reduced below 4/32 of an inch.
- Multiple Severe Issues: If a tire has both low tread and a significant puncture, replacement is often the wiser choice.
- Safety Concerns: If you have any doubt about the safety of a repaired tire, opt for a new one.
Table: Repair vs. Replacement Weighing the Pros and Cons
| Factor | Tire Repair (Patch & Plug) | Tire Replacement |
|---|---|---|
| Cost | Low ($20-$50) | High ($100-$300+ per tire) |
| Safety | Safe when done professionally for tread punctures. Not safe for sidewall. | New tire offers full safety and warranty. |
| Lifespan Extension | Can add thousands of miles to a tire. | Brand new tire with full tread life. |
| Time Commitment | Usually quick (30-60 minutes). | Can take longer, especially if ordering tires. |
| Ideal For | Small punctures in the tread area. | Sidewall damage, worn tread, large punctures, old tires. |
Preventing Future Slow Leaks
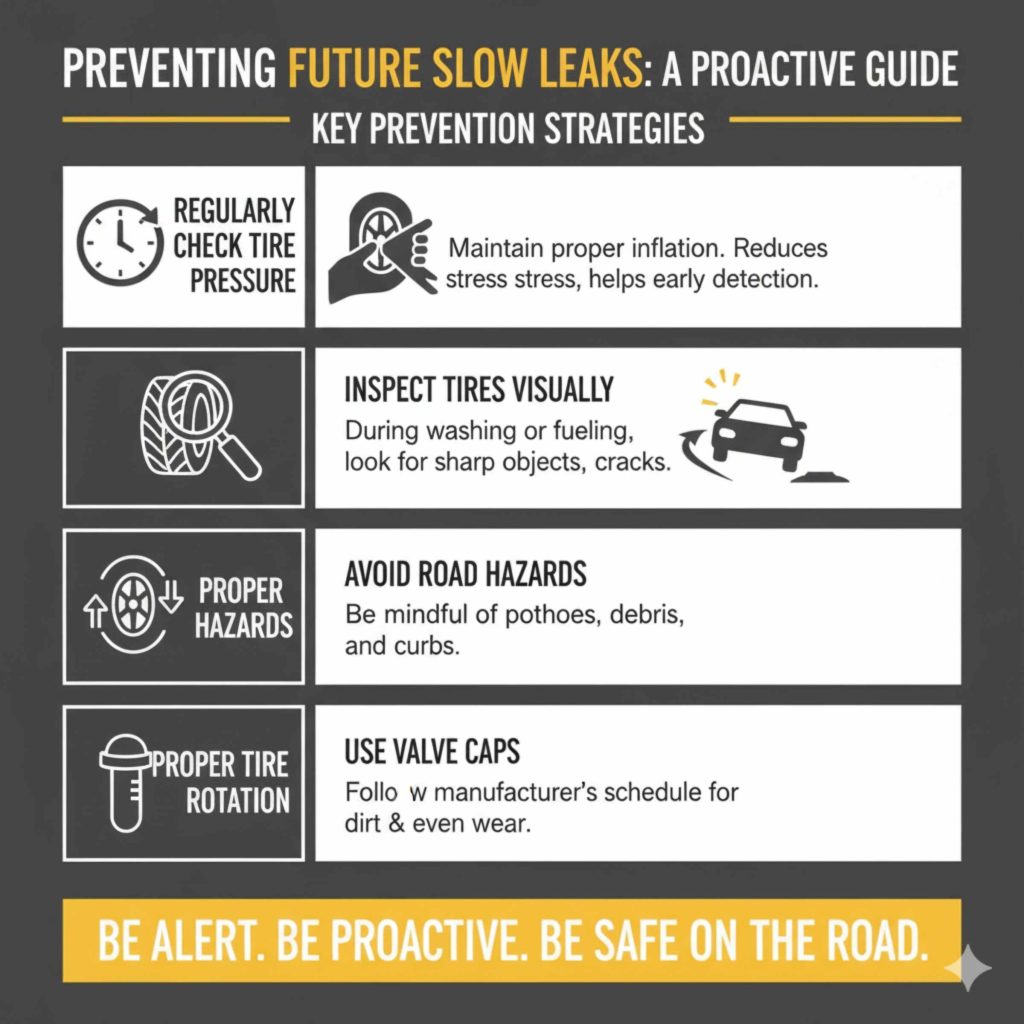
Once you’ve dealt with a slow leak, you’ll want to prevent them from happening again. Here are some proactive steps:
- Regularly Check Tire Pressure: This is your best defense. Maintaining proper inflation reduces stress on the tire and makes early detection of leaks easier.
- Inspect Tires During Washing: When you wash your car, take a moment to visually inspect your tires for any sharp objects or unusual wear.
- Avoid Road Hazards: Be mindful of potholes, debris on the road, and uneven surfaces.
- Proper Tire Rotation: Have your tires rotated according to your vehicle manufacturer’s recommendations. This ensures even wear and can help you spot issues early.
- Use Valve Caps: Always keep valve caps on your valve stems.
Frequently Asked Questions (FAQ)
Here are some common questions car owners have about slow tire leaks:
Q1: Can I drive on a tire with a slow leak?
A: It’s not recommended to drive extensively on a tire with a known slow leak. Even a small, gradual pressure loss can affect braking, steering, and tire wear. It’s best to address it as soon as possible.
Q2: How long does a tire plug fix last?
A: A temporary plug can last for a while, sometimes for the life of the tire, but it’s not guaranteed. They are considered a temporary solution, and a professional internal patch is a more permanent and safer repair.
Q3: What if I can’t find the slow leak?
A: If you’ve used soapy water and can’t locate the leak, it might be very small, within the rim seal, or even a slow leak from a bead. It’s time to take it to a tire shop for professional diagnosis.
Q4: Does driving on a low tire damage the rim?
A: Yes, driving on a significantly underinflated tire can cause the tire to flex excessively, leading to overheating and potential damage to the tire’s internal structure, the rim, and even the suspension components. It can also cause the bead seal to fail further.
Q5: Are tire sealants like Fix-a-Flat safe?
A: Tire sealants (can or liquid forms) can be effective for a temporary fix in emergencies, but they can make a professional repair more difficult and sometimes impossible. They can also cause damage to tire pressure monitoring system (TPMS) sensors. It’s best to use them only as a last resort to get to a repair shop.
Q6: How often should I check my tire pressure?
A: You should check your tire pressure at least once a month and before any long road trips. It’s also a good idea to check them if you notice a significant change in temperature, as this can affect pressure.
Conclusion
Dealing with a car tire that has a slow leak can seem daunting, but it’s a manageable issue for most drivers. By understanding the common causes and knowing how to locate the leak using simple methods like the soapy water test, you can take the first step toward a solution. Whether it’s a quick fix for a nail in the tread with a DIY plug kit, a professional patch and plug repair, or recognizing when a tire simply needs to be replaced due to sidewall damage or age, you now have the knowledge to make informed decisions.
Products related to this article
Sponsored / affiliate links. As an Amazon Associate I earn from qualifying purchases. I may earn additional commission from eligible campaigns.