How to Install a Heated Steering Wheel in a Can-Am Defender
Install a model-specific heated steering wheel kit for your Can-Am Defender, and confirm the hub, spline, and horn contact match before wiring. If the kit needs adapter rings or cuts the factory horn circuit, stop. A bad install can lose horn function, overload a switched circuit, or create a steering-wheel short that is hard to trace. This guide shows how to choose the right kit, wire it correctly, and verify fitment and function.
Heated steering wheel overview
A heated wheel helps most when you drive in a cab enclosure with cold hands and a lot of stop-and-go steering. The wrong part stack changes wheel depth, can block horn contact, and can leave heater leads rubbing the steering shaft.
What changes in cold weather
A heated wheel puts warmth where your hands stay for the whole drive. That matters more than gloves when you need frequent steering corrections, and it matters more than a heated cover when you want a fixed, integrated setup that does not slip or bunch up.
Where fitment and wiring usually go wrong
The common failure points are plain: the hub does not match the Defender spline, the stack height interferes with trim, the horn contact does not line up, or the heater lead is routed through the steering column in a way that can twist or pinch. If the kit has a separate power lead, you also need a safe path across the rotating section.
Why the Defender column needs model-specific checks
Defender columns vary by model year and trim in ways that affect hub depth, steering-wheel offset, and how much room you have behind the wheel. Some trims also change the horn contact layout or add factory steering wheel controls, which means a generic wheel swap can fit physically but fail electrically.
What you’ll need
- Heated steering wheel kit for your exact Defender model year and trim
- Hub or adapter matched to the Defender spline and bolt pattern
- Horn-contact adapter if the kit does not reuse the factory lead
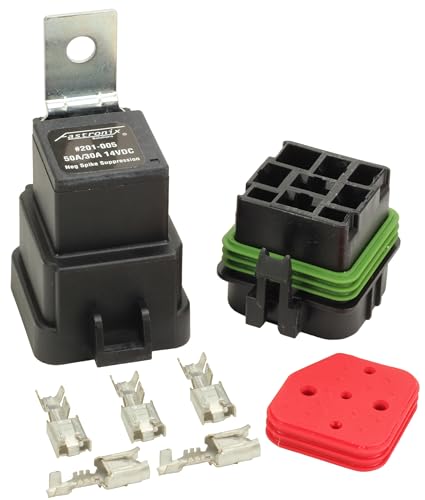
- Inline fuse holder and the fuse size specified by the kit manufacturer
- Relay if the kit draws more current than you want on a small switched circuit
- Steering wheel puller
- Socket and Torx set
- Torque wrench
- Trim tools
- Crimp tool, stripper, and insulated terminals
- Heat-shrink tubing and weatherproof loom or wrap
- Multimeter for continuity and voltage checks
Heated wheel decision matrix
| Defender model year or trim | Wheel or hub compatibility | Wire power source | Estimated fuse size | Likely install difficulty | Post-install checks |
|---|---|---|---|---|---|
| Base-style Defender trim without factory wheel controls | Needs a hub that matches the spline and preserves horn contact depth | Ignition-switched 12V accessory circuit through relay if the kit calls for one | Use the kit specification; do not guess | Moderate | Horn continuity, heater operation, wheel center, shaft clearance |
| Trim with factory steering wheel controls | Requires a wheel or adapter that preserves the control layout and connector access | Ignition-switched 12V with protected routing and strain relief | Use the kit specification; do not upsize without a reason | Moderate to hard | All controls respond, no warning lights, no wheel interference |
| Trim with tighter dash or column clearance | Needs low-offset hub or adapter to avoid pushing the wheel too far out | Switched 12V source with relay if heater current is higher than the circuit should carry | Use the kit specification | Hard | No rub at full lock, no contact with trim, horn button seats flush |
| Any trim with no factory pass-through for the wheel heater lead | Needs a purpose-built slip-ring or equivalent rotating power transfer; do not twist the lead around the shaft | Ignition-switched 12V through fuse and relay, with the rotating lead handled by the adapter | Use the kit specification | Hard | Steering turns freely, heater wire does not wind up, heat stays steady |
How do you install a heated steering wheel on a Can-Am Defender?
Start by matching the wheel, hub, and horn contact to your exact Defender trim, then remove the stock wheel, mount the adapter, route the heater lead through a proper rotating pass-through, and verify horn function before trail use. The install is straightforward only if the hub depth and wire path are correct from the start.
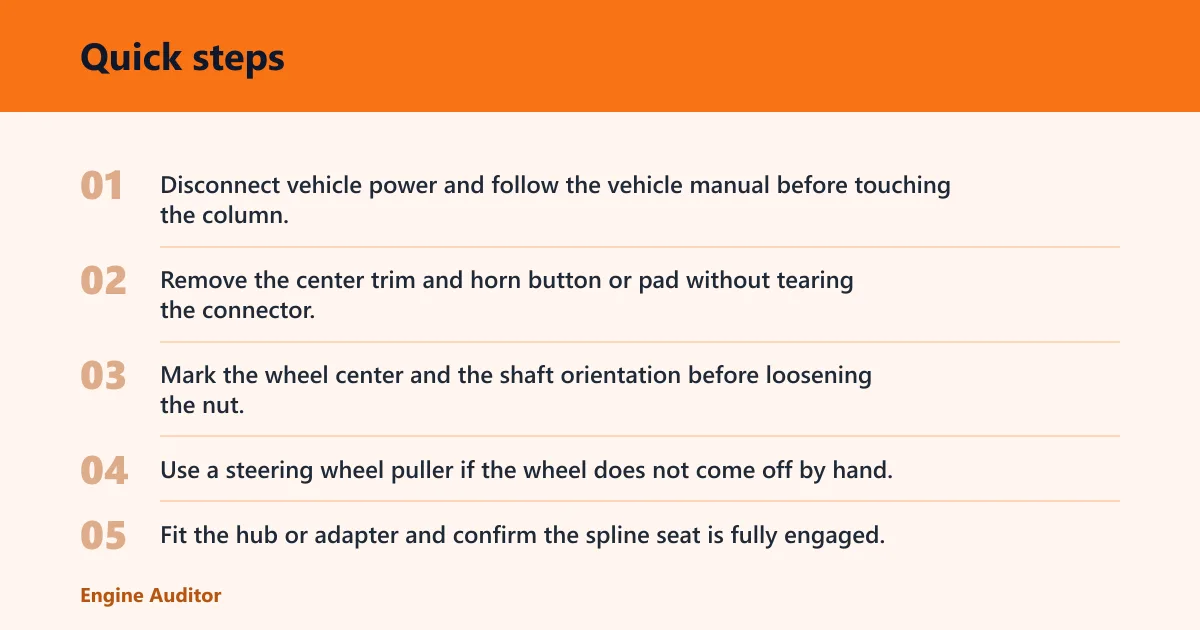
- Disconnect vehicle power and follow the vehicle manual before touching the column.
- Remove the center trim and horn button or pad without tearing the connector.
- Mark the wheel center and the shaft orientation before loosening the nut.
- Use a steering wheel puller if the wheel does not come off by hand.
- Fit the hub or adapter and confirm the spline seat is fully engaged.
- Route the heater lead through the correct rotating pass-through, not around the shaft.
- Mount the heated wheel and check that the horn contact lands on the correct pad or ring.
- Reconnect the horn wiring, then torque the fastener to the value in the service manual.
- Restore trim, center the wheel, and turn lock-to-lock to confirm no rub or bind.
- Power the heater only after the wiring is fused, secured, and strain-relieved.
Follow the vehicle/product manual, never work under a vehicle held only by a jack, never exceed the vehicle’s rated roof/hitch/tow limit, keep items out of airbag zones and the driver’s view, and check local laws. The Defender is airbag-free at the steering wheel, but the horn wiring, control connectors, and shaft clearances still matter.
Say your Defender has a cab enclosure and you want warmth for slow trail work. A heated wheel usually beats gloves because your hands stay on the wheel and the heat is immediate. Suppose you also wear insulated gloves on long plow runs; then a heated cover may feel redundant, while heated grips can help less if you hold the wheel at different positions.
Remove the factory wheel
Take off the center pad or horn button first. Keep the connector visible before you pull the wheel, because a rushed removal can tear the horn lead or a control connector if your trim has one.
Fit the hub or adapter
Install the adapter so the spline seat is full and the offset keeps the wheel clear of the dash. If the stack is too deep, the wheel can sit too close to the driver or contact the column shroud at full turn.
Mount the heated wheel and reconnect the horn
Reattach the horn contact, then mount the heated wheel and tighten the center fastener to the manual spec. A loose wheel is not a cosmetic issue; it can move, click, or shift horn contact under load.
Route and protect the wiring
Bring the heater lead to an ignition-switched 12V source through an inline fuse. If the kit needs a relay, use it. Add strain relief where the wire exits the moving section, and keep the lead away from sharp edges and pinch points.
How do you wire it safely?
Use an ignition-switched 12V source rather than a constant-hot feed, and protect the heater circuit with the fuse size specified by the kit maker. If the wheel heater current is more than the source circuit should carry directly, trigger a relay instead of loading the switch leg.
Find a switched source
Choose a circuit that turns off with the key so the heater cannot stay on after parking. That reduces battery drain and gives you a clean on-off behavior for winter use.
Size the fuse from the kit spec
Do not choose a fuse value from the wire alone. Use the manufacturer’s stated current draw or fuse recommendation, then match the fuse to that load and the wire gauge the kit includes.
Use the relay, ground, and strain relief the right way
Put the relay close to the power source, ground it to clean metal, and secure the wiring so steering movement cannot tug the terminals. If you have to choose between slack and support, choose supported routing with a small service loop, not loose loops that can catch or twist.
Picture a heater lead routed across the column without a true rotating pass-through. The wire may work for a few turns, then bind, fatigue, or open at the first full-lock turn. That is why the rotating section matters more than the heater switch itself.
What tools do I need to remove the stock Can-Am Defender steering wheel?
You need a steering wheel puller, the correct socket or Torx drivers for the center fastener and trim, a torque wrench, and basic trim tools. Add a multimeter and crimp tools if you are handling the heater lead, horn harness, or relay wiring.
Use trim tools on the horn pad or center cover, not screwdrivers, because you need the cover to snap back flat. A damaged cover can keep the horn button from seating or create a visible gap around the center pad.
Do I need the OEM steering wheel hub or adapter for a heated wheel?
Usually yes, unless the heated wheel kit is built for the Defender spline and horn layout without an adapter. The hub or adapter determines bolt pattern, offset, and how the horn contact lines up, so it is not an optional cosmetic part on most swaps.
Check three things before ordering: spline fit, hub depth, and whether the adapter preserves horn function. If the wheel needs a thicker stack to clear the heating element or a quick-release body, confirm that the final position still leaves room for the driver and the column shroud.
Quick-release systems
If you choose a quick-release, account for added stack height and extra play checks. The release must lock solidly with no wobble, and the heater wiring still needs a safe rotating path or a pass-through designed for that purpose.
What can go wrong during a heated steering wheel install?
The most common failures are wire wrap at the steering shaft, an over- or under-sized fuse, a loose ground, and horn contact misalignment. You can also lose wheel centering or create interference if the hub depth is wrong for the Defender trim.
| Symptom | Probable cause | First diagnostic step |
|---|---|---|
| Heater does not warm | No ignition-switched power, blown fuse, or open lead | Check fuse continuity and measure voltage at the heater input with the key on |
| Horn does not work | Horn contact misaligned, wrong connector style, or broken harness | Inspect the connector and test continuity from the horn button to the connector end |
| Steering feels tight at full lock | Wire routed too close to the shaft or a hub with wrong depth | Turn lock-to-lock and watch for wire movement or rubbing |
| Heat cuts in and out | Loose ground, poor crimp, or strain on the moving lead | Wiggle-test the wiring with the key on and recheck the ground point |
| Wheel sits too far out | Adapter stack too tall or quick-release added without clearance planning | Measure hub depth and compare it to the installed stack before reassembly |
If that didn’t work, try this next
First, recheck the horn wiring and the heater ground. Next, open the column area and inspect the wire path for pinch marks or twist. If the problem remains, remove the wheel and verify the hub depth, spline engagement, and connector style against the kit instructions before reassembly.
Common mistakes
One mistake is using a generic fuse value instead of the kit’s specified protection. Another is routing the heater lead where the steering shaft can wind it up. A third is ignoring horn fitment until after trim is back on, which can turn a small alignment issue into a full teardown.
Prevention is simple: secure the wiring with strain relief, then turn the wheel from stop to stop before you close the column back up. If the wire moves, rubs, or tightens, fix the route now.
How much does a heated steering wheel install typically cost?
Cost varies by the kit, the hub or adapter, and whether you need a relay, a better horn lead, or a quick-release system. Labor also depends on whether the Defender trim has clean access around the column or needs more disassembly to reach a switched power source safely.
In practice, the parts bill is usually driven by three items: the heated wheel, the correct hub or adapter, and the wiring hardware that lets the heater run on an ignition-switched circuit without abusing the steering column. If the kit does not include those pieces, the price climbs quickly.
Frequently asked questions
Will a heated steering wheel fit my Can-Am Defender model year?
Only if the spline, hub depth, and horn contact match your year and trim. Check the kit listing against your Defender’s exact model designation, and compare the column layout in the owner’s manual before you order anything.
How do I wire a heated steering wheel to ignition power on a Defender?
Use an ignition-switched 12V source, an inline fuse sized to the kit specification, and a relay if the heater current is more than the source circuit should carry directly. Ground to clean metal and add strain relief where the lead exits the moving section.
Can I install a heated steering wheel without removing the whole dash?
Often yes, because the work is centered on the steering column, wheel, and trim around the hub. You may still need to remove nearby panels to reach a clean switched power source and to route the wiring without pinch points.
How do I keep the horn and controls working after the swap?
Keep the horn connector matched to the new wheel, verify continuity before reassembly, and make sure the adapter preserves the contact depth. If the trim has steering wheel controls, confirm the connector style and button layout before tightening the hub.
Is a heated steering wheel better than gloves or a heated cover?
For frequent steering and cab use, a heated wheel is usually the cleaner option because the warmth stays on the wheel and does not shift around. Gloves are cheapest. A heated cover can be a middle step, but it adds bulk and can affect grip consistency.
Products related to this article
Sponsored / affiliate links. As an Amazon Associate I earn from qualifying purchases. I may earn additional commission from eligible campaigns.