Can-Am Wheels and Steering Upgrades
For many Can-Am upgrades, choose wheels after the tire plan is set, keep tire diameter about 1 inch from stock unless steering assist is already part of the plan, and match offset to the model’s clearance so rubbing or extra rack load is less likely. Get that wrong and you may buy parts twice, fight heavy steering, scrub fenders, and shorten rack, tie-rod, and EPS life. This guide compares Defender, Maverick X3, Commander, and Spyder fitment, tire-size limits, offset choices, and the point where steering upgrades should come before bigger rubber.
Start with the upgrade chain


Why tire diameter changes steering before wheel size does
Tire diameter usually changes steering load more than wheel diameter alone because the tire adds leverage, rotating mass, and often more tread bite. Moving from a stock-adjacent tire to one about 1 inch taller raises effective gearing and asks the power steering system to do more at parking-lot or rock-crawl speeds.
Section width matters too. A wider tire builds a larger contact patch at low speed, especially on hard ground, so the steering wheel feels heavier even if offset stays close to stock.
How offset can add steering load even when tire diameter stays close to stock
Offset changes where the tire centerline sits relative to the hub. A more aggressive offset moves the tire outward, increases scrub radius, and gives the steering system a longer lever arm to control. That can make a stock-diameter tire steer worse than a slightly taller tire on a wheel with a milder offset.
Backspacing describes the same change from the inboard side. Less backspacing usually means more poke, more inner fender room, and more steering effort outside.
The safest sequence
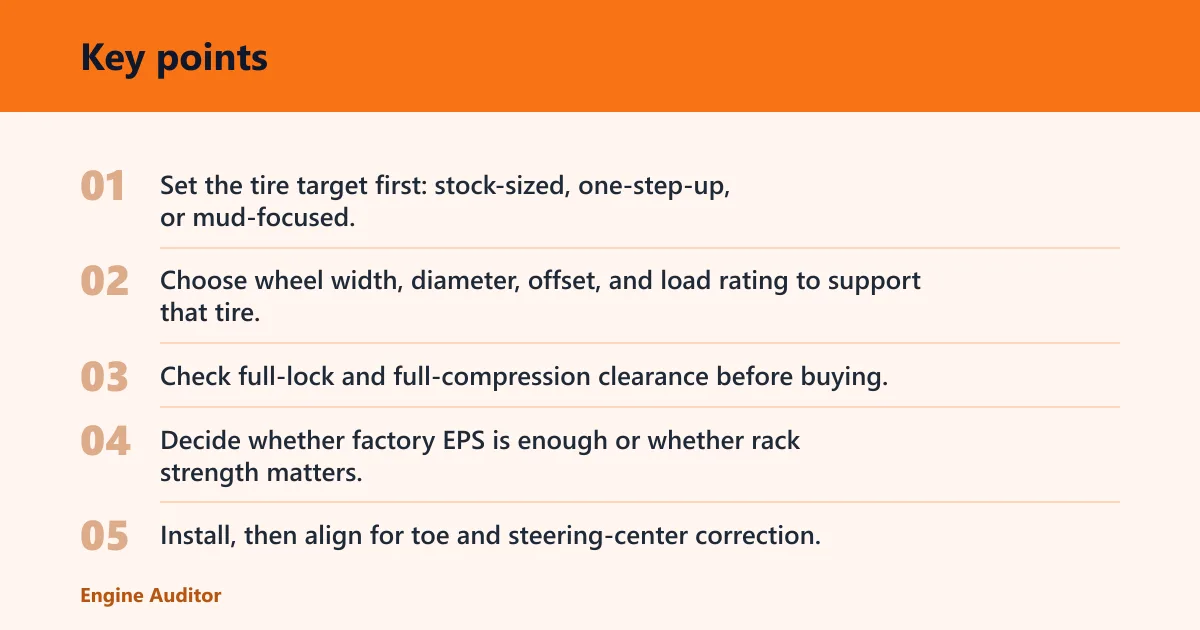
- Set the tire target first: stock-sized, one-step-up, or mud-focused.
- Choose wheel width, diameter, offset, and load rating to support that tire.
- Check full-lock and full-compression clearance before buying.
- Decide whether factory EPS is enough or whether rack strength matters.
- Install, then align for toe and steering-center correction.
This order matters because tires set the load, wheels set the geometry, and steering feel and wear follow from there. Reverse the order and you often end up with wheels that look correct on paper but cause rubbing or heavy steering once the tires are mounted.
What fits each Can-Am model family?
Defender, Maverick X3, Commander, and Spyder are not one fitment group. Defender builds usually care most about low-speed steering and load rating, X3 builds care about suspension travel and width, Commander builds sit between those uses, and Spyder fitment is far more road-specific and trim-sensitive.
Defender
Defender setups spend a lot of time at low speed with cargo, towing, and repeated steering input on firm ground. That makes steering effort show up early. Many aftermarket listings for Defender use the common 4/137 bolt pattern found across several Can-Am UTV lines, but offset, wheel load rating, and tire width still decide if a package actually works.
A Defender usually handles stock-adjacent diameters best if the goal is easy steering and longer rack life. Once tire diameter moves into the next size step and offset gets more aggressive, rack load climbs quickly.
Maverick X3
The X3 brings wider stance options, more suspension travel, and higher speed. Clearance is not only a static rub check. It also depends on what happens at bump and steering lock. A wheel that clears at ride height can still make contact under compression if backspacing and tire width are wrong.
Many X3 listings also use 4/137, but exact trim width and suspension package change what fits cleanly. A mild tire step with careful offset is usually easier on steering feel than a wheel that pushes scrub radius farther outward.
Commander
Commander buyers often want one machine for trail rides, chores, and mixed terrain. That makes the wheel-and-steering balance more sensitive than on a dedicated mud build. Most Commander owners are better served by a stock-adjacent or one-step-up tire, moderate tread weight, and an offset chosen to clear the machine at lock and compression rather than to widen stance.
This is where can am commander wheels get people into trouble. A trail-ready wheel with the wrong offset can make a Commander feel darty on hardpack and heavy in tight turns even before tire diameter gets extreme.
Spyder
Spyder fitment is a separate case. It is on-road, the steering assist strategy is different, and wheel choices must match the exact model and trim. Front and rear wheel fitment, tire construction, and steering calibration are much less forgiving than on the UTV side.
For Spyder, keep the focus on exact OEM-equivalent sizing, load index, and approved fitment. Chasing width or offset for appearance is a poor trade if it changes tracking, steering effort, or electronic system behavior.
Wheel fitment that actually matters
Bolt pattern, hub bore, and load rating
On many Can-Am UTV applications, aftermarket wheel catalogs commonly list a 4/137 bolt pattern. That number alone is not enough. The hub bore must clear the hub correctly, and the wheel must carry enough load for the machine plus cargo, accessories, and terrain impact.
Hub-centric fitment is worth checking because some aftermarket wheels depend mainly on the lugs to center the wheel. If the center bore is wrong or the lug-seat style does not match, the wheel can sit off-center and create vibration or fastener problems.
Offset vs backspacing
Offset is the mounting pad location relative to wheel centerline. Backspacing is the pad-to-inner-lip distance. Offset is the faster shorthand when you compare how far a wheel will push out or tuck in, while backspacing helps predict inner-clearance issues near shocks, knuckles, and trailing arms.
For Can-Am wheels and steering upgrades, the practical rule is simple: more outward placement usually improves inner clearance but raises steering effort and bearing load. More inward placement can keep steering feel closer to stock but may create rubbing at the frame or suspension.
Diameter options and sidewall tradeoffs
Common UTV wheel diameters include 14-inch and 15-inch choices, with 14s often leaving more sidewall for ride compliance and rim protection. Moving to a larger wheel while keeping the same overall tire diameter cuts sidewall height, which sharpens steering response somewhat but reduces cushion and can expose the wheel to impact damage.
Suppose a Commander owner keeps overall tire diameter the same but swaps from a 14-inch wheel to a 15-inch wheel and a shorter sidewall tire. Steering effort may stay close to the same, yet impact harshness can rise because the sidewall flexes less.
Wheel studs, thread pitch, seat type, and stud length checks
Aftermarket wheel problems often start with hardware details, not bolt pattern. Many Can-Am UTV listings use M12x1.5 lug threads, but the exact model and year should be checked before buying studs or nuts. Seat type matters just as much: a taper-seat lug on a ball-seat wheel, or the reverse, is a bad fit even when the threads match.
Stud length matters too. Thick wheel centers or spacers can leave too few threads engaged. Check that the lug nut fully seats, that stud engagement is adequate for the nut design, and that the wheel center bore does not interfere with the hub or cap.
Torque spec awareness is part of fitment. Follow the vehicle and wheel maker guidance, then re-check after the first heat cycle and early miles.
Why steering wheel fitment and centering matter
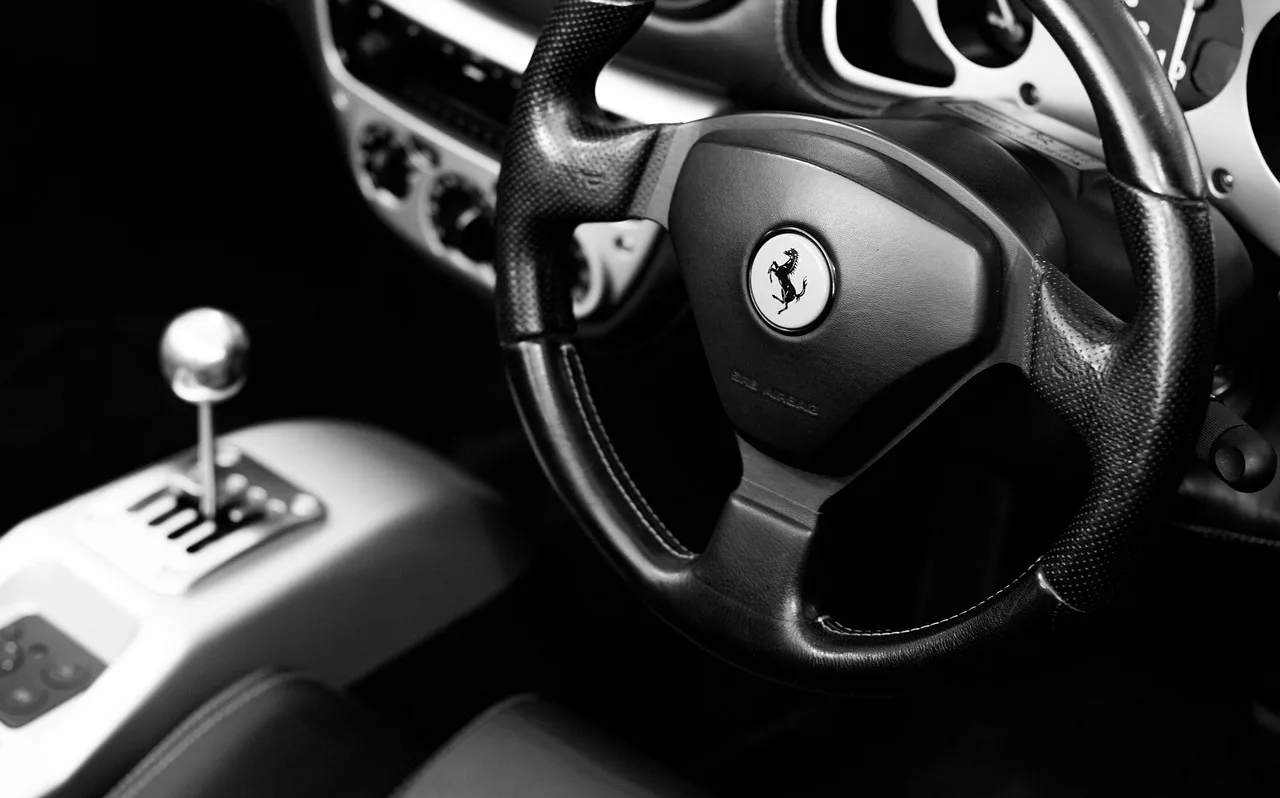
If you’re changing the cockpit feel, the steering wheel swap only works when the Can-Am spline, hub, and horn wiring match the model. The supporting guide explains how to pick the right hub, remove the factory wheel, clock the new hub so the wheel sits straight, and verify the final alignment before you tighten everything down.
That matters because a wrong hub can leave you with a crooked wheel, a dead horn, or controls that are harder to use. For the step-by-step process, see Can-Am steering wheel install.
What wheel and tire size should you buy?
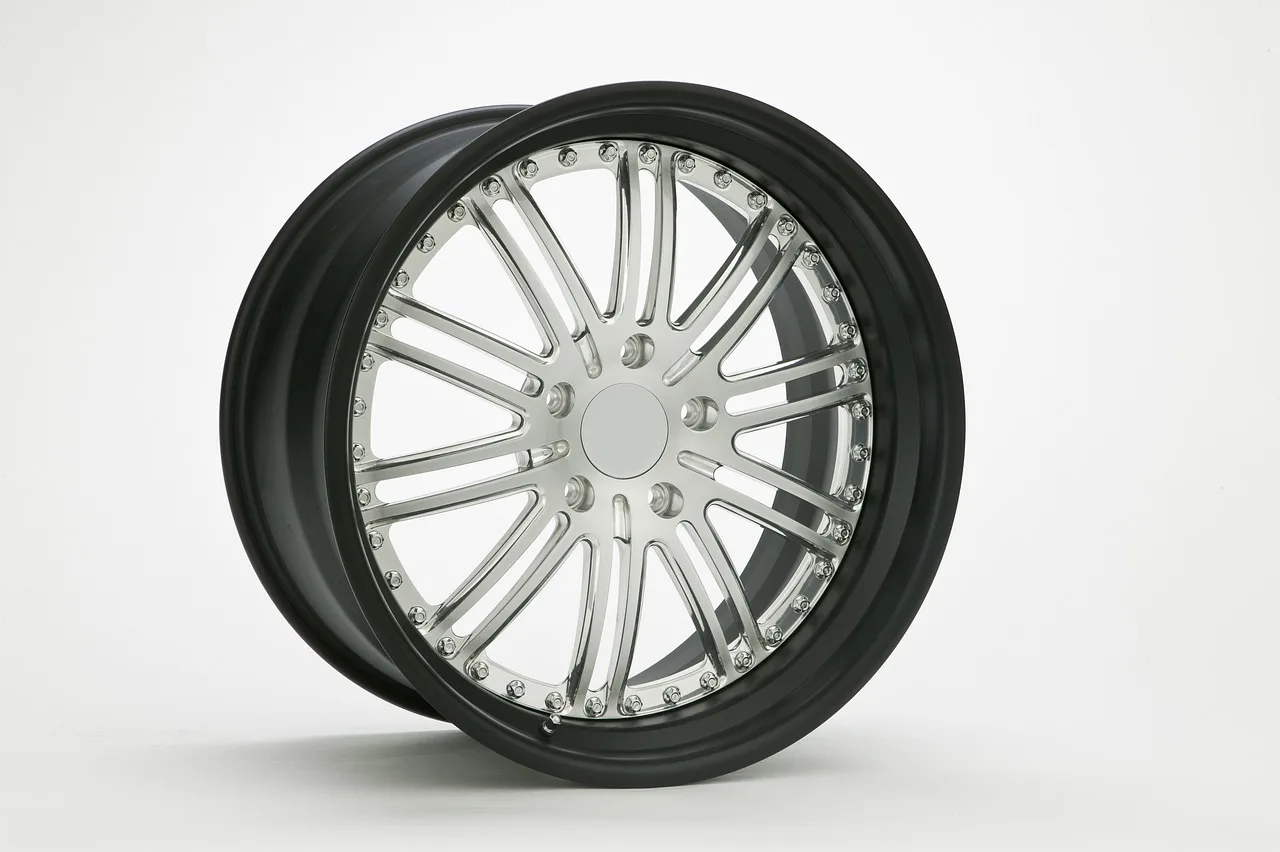
A common safe choice is usually a stock-adjacent package with tire diameter about 1 inch from stock, wheel width matched to the tire, and moderate offset. Go larger only if the terrain actually calls for it and the next step in the chain is already planned: clearance, EPS support, or rack strength.
Stock-adjacent packages for minimal steering penalty
For work use and mixed trail use, stock-adjacent packages usually make the most sense. That means staying near the factory overall diameter, avoiding very heavy mud tires, and choosing an offset that does not push the tire far outside the hub line.
These setups also preserve speedometer accuracy better. A taller tire covers more ground per revolution, so indicated speed and effective gearing change. Even a small diameter increase shifts how the machine launches and crawls.
One-step-up tire sizing for trail and mixed terrain
A one-step-up tire is often a practical limit before steering support becomes the next purchase. On Defender and Commander builds, that may mean moving up about 1 inch in overall diameter with moderate section width. On X3 builds, you still need to check travel and body clearance under compression, not only at ride height.
Terrain-specific tread matters. A closely spaced trail tread usually keeps steering lighter than a heavy, deep-lug mud pattern of the same size because the mud tire often weighs more and bites harder at low speed.
Mud-focused and clearance-first packages
Mud tires ask the most from the steering system. They are often taller, heavier, and more aggressive in tread block shape. If mud is the goal, plan for higher steering effort and faster wear on tie-rods, rack components, and wheel bearings than with a trail package of the same nominal diameter.
Say your Defender runs a stock-adjacent offset and a manageable all-terrain tire with acceptable steering feel. Change only one variable to a heavier mud tire in the same diameter and low-speed steering can still get noticeably heavier because tread and carcass weight changed.
Beadlock vs non-beadlock, pre-mounted vs separate purchase
Beadlocks make sense when you run lower pressures in rocks, sand, or technical terrain where bead retention matters. They add weight and cost, so they are rarely the best first move for a work rig or moderate trail setup. Non-beadlock cast wheels usually keep steering lighter.
Pre-mounted packages cut install time and reduce mounting hassle, but they also lock you into the seller’s tire-wheel pairing and hardware assumptions. Buying separately takes longer but gives tighter control over load rating, lug-seat type, and exact tire model.
In broad market terms, cast non-beadlock packages usually sit in the lower budget tier, while beadlock packages and heavy-duty steering support push the total build toward the high tier.
Why steering gets heavier after wheel changes
Steering gets heavier because larger or wider tires increase the contact patch and leverage, while aggressive offset increases scrub radius. The EPS then has more work to do at low speed, and the rack, tie-rods, and wheel bearings see higher load with every turn.
Scrub radius, contact patch, and low-speed effort
Scrub radius is the main practical reason offset matters so much. Push the wheel outward and the tire tries harder to swing the steering around its pivot path. You feel that as heavier steering, more kickback, and more effort when crawling over rock or turning on pavement.
That is why can am power steering complaints often start after a wheel change, not after an EPS failure. The steering system may be working as designed, but the new geometry asks more from it.
Tread type, tire weight, and EPS demand
Factory EPS is usually tuned for factory-size tires and modest wheel changes. Add taller tires, heavy carcasses, or deep mud tread, and assist demand rises at the exact moment the machine is moving slowest. That is also when owners notice wheel fight and reduced low-speed control.
Picture an X3 on a trail package that turns easily with a moderate all-terrain. Swap only to a same-size mud tire with a heavier casing and deeper lug. Steering effort at low speed rises, while high-speed stability may feel slower to react because tread squirm is greater.
Speedometer error, gearing feel, and turning response
Taller tires usually make the speedometer read lower than true road speed because each revolution travels farther. They also soften acceleration and crawl ratio feel. A wider or heavier tire can make steering response feel slower even if diameter stays close to stock.
Early signs of rack, tie-rod, and bearing stress
Watch for steering wheel kickback, vague on-center feel, a new clunk at wheel transition, torn rack boots, uneven toe wear, and repeated need for toe correction. Those are not proof of rack failure by themselves, but they are common signs that tire load and wheel geometry are getting ahead of the stock steering hardware.
Do suspension changes need to come first?
Suspension changes should come first only when clearance is the limiting factor with your target tire and a sensible wheel offset cannot solve it. If rubbing is mild and happens inboard, offset correction may fix it. If rubbing happens at compression or full lock, a lift alone may not be enough.
Lift kits for clearance
A lift can create vertical space, but it does not move the tire away from every rub point. It can also change axle angles, CV stress, and alignment. That matters most on work-focused Defender builds and mixed-use Commander builds where smooth steering counts every day.
Offset correction vs lift for rubbing reduction
Offset correction changes lateral tire position. A lift changes ride height. If the tire rubs a spring perch or inner suspension piece, offset can help. If the tire hits a fender at compression, a lift may help, but only if the actual contact path changes enough through travel.
A common mistake is bolting on wider Can-Am wheels before checking steering clearance at full lock. When offset and ride height change together, it becomes harder to tell which change caused the new steering feel or the remaining rub point.
Alignment impact, axle angles, and handling tradeoffs
After any lift, offset change, or larger tire install, alignment should be checked. Toe error can make steering feel heavier or nervous, and it speeds up tire wear. Lifted setups can also increase axle angle, which may shorten component life if the machine spends a lot of time at droop or under load.
When EPS or rack upgrades make sense
Factory EPS vs upgraded power steering options
Factory EPS is often enough for stock-sized or near-stock packages with sensible offset. Once tire diameter goes up, tread gets heavier, or the machine sees repeated low-speed technical work, an upgraded EPS assist unit can restore easier wheel input and better low-speed control.
The right can-am power steering upgrade depends on what changed. If the complaint is effort at the steering wheel and the rack is still tight, more assist may solve it. If the complaint includes play, clunk, or repeated toe drift, assist alone will not fix worn mechanical parts.
When larger tires need more than assist alone
Assist helps the driver. It does not reduce every load inside the steering linkage. If the build uses larger tires, more outward offset, and hard terrain use, the rack and tie-rods can still wear faster even when steering effort at the wheel feels acceptable.
Steering rack strength, travel, geometry, and tie-rod compatibility
A stronger rack makes sense when tire load and use case regularly shock the steering. Check compatibility with the vehicle’s travel range, inner and outer tie-rod design, and steering geometry. A rack that is stronger but mismatched in travel or mounting can create its own problems.
Travel matters because the rack must match the knuckle and suspension path. Tie-rod compatibility matters because weak or mismatched rod ends can become the next failure point.
Bump steer, alignment, and wear points after changes
Rack swaps, lifts, and offset changes can all shift toe through suspension travel. That is bump steer in practical terms. If the machine darts as the suspension cycles, the geometry is off. Common wear points include rack bushings, inner joints, tie-rod ends, and wheel bearings made busier by added scrub radius.
Upgrade path matrix
How to read the matrix
Read across by model family, then compare tire diameter target and wheel offset choice to steering effort risk and clearance risk. The recommended next step shows what should happen before the purchase turns from safe to expensive.
| Model family | Tire diameter target | Wheel offset direction | Steering effort risk | Clearance risk | Budget | Recommended next step | Do this before buying |
|---|---|---|---|---|---|---|---|
| Defender | Stock to +1 inch | Near-stock | Low | Low | Low | Stay stock-sized or one step up; align after install | Confirm 4/137 listing if applicable, hub bore, load rating, and full-lock clearance |
| Defender | More than +1 inch | More outward | High | Medium | Medium to high | Correct offset first, then plan EPS support; rack may be next if used hard | Check tire weight, lug-seat type, stud engagement, and rub at compression |
| Maverick X3 | Stock to +1 inch | Near-stock to mild correction | Low to medium | Medium | Medium | Prioritize travel clearance and alignment; keep geometry mild | Cycle suspension or verify bump clearance with exact tire width and backspacing |
| Maverick X3 | More than +1 inch | More outward | High | High | High | Add clearance planning first; EPS and stronger rack become realistic needs | Check tie-rod compatibility, bump steer risk, and full-compression fender clearance |
| Commander | Stock to +1 inch | Near-stock | Low to medium | Low to medium | Low to medium | Best trail-use balance; keep tread weight moderate | Verify section width, backspacing, and whether lug nuts match wheel seat design |
| Commander | More than +1 inch | More outward | High | Medium to high | Medium to high | Expect heavier steering; consider EPS before rack unless play already exists | Measure lock-to-lock rub points and re-check toe after install |
| Spyder | OEM-equivalent only | Exact fitment only | Medium if changed | Medium | Medium | Keep stock-equivalent sizing and exact trim fitment | Confirm exact model-year wheel specs, tire load index, and electronic-system compatibility |
Buying mistakes that cost money later
Choosing aggressive offset before checking steering load
An aggressive offset often gets blamed on the tire because the symptoms show up together. In reality, the wheel may be the bigger problem. If the machine steered fine on the same tire with a milder offset, scrub radius is the likely reason the steering went heavy.
Ignoring lug-seat style and stud engagement
The wrong seat style can loosen hardware or damage the wheel. Short engagement can strip threads or reduce clamp load. Both failures are avoidable, and both are common when buyers focus only on bolt pattern and diameter.
Buying for diameter without checking full-lock and full-compression clearance
Garage clearance checks miss real suspension movement. A wheel and tire package can clear while parked and still rub the fender liner, control arm, trailing arm, or inner body at full lock and bump.
Skipping alignment after lift, offset, or tire-size changes
Alignment is the last step, not an optional extra. Toe change after wheel or suspension work can make a machine feel unstable, heavy, or vague. It also hides the true result of the hardware change because steering feel is now distorted by alignment error.
Frequently asked questions
What can-am power steering upgrade is worth it for my model?
The worthwhile upgrade is the one that matches the problem. For stock-adjacent tires with heavy wheel effort, stronger EPS assist is usually the first step. For larger tires plus looseness, clunk, or toe drift, a rack inspection or rack upgrade matters more than extra assist alone.
What can-am wheels and tires fit my Defender or X3?
Many Defender and X3 aftermarket listings share the common 4/137 bolt pattern, but fit is decided by offset, backspacing, width, and suspension clearance. Defender builds usually prefer stock-adjacent tires and mild offset. X3 builds need careful full-travel clearance checks before moving beyond a one-step-up tire.
Which can-am commander wheels and tires are best for trail use?
For trail use, can am commander wheels work best when they keep offset close to stock and support a moderate all-terrain tire no more than 1 inch over stock diameter. That combination keeps steering manageable, reduces rub risk, and avoids the weight penalty of a mud-focused tire.
Do I need a can-am steering rack upgrade for larger tires?
Not always. If tire size rises modestly and offset stays sensible, EPS assist may be enough. A steering rack upgrade becomes easier to justify when larger tires are paired with more outward offset, repeated hard impacts, or symptoms such as play, clunking, torn boots, and unstable toe.
Which can-am fuel wheels fit without rubbing?
No single Fuel wheel fits every Can-Am without rubbing because wheel family, width, and offset decide the result. Match the exact Fuel wheel specs to your model family, target tire width, and full-lock clearance. The safe path is mild offset first, then tire width, then clearance verification.
What can-am wheel studs do I need for aftermarket wheels?
Use studs and lug nuts that match the exact vehicle thread pitch, the wheel’s seat type, and the wheel center thickness. Many Can-Am UTV listings use M12x1.5 hardware, but exact model-year verification still matters. Check stud length so the nut gets proper engagement after the wheel is installed.
Products related to this article
Sponsored / affiliate links. As an Amazon Associate I earn from qualifying purchases. I may earn additional commission from eligible campaigns.