Navigating the world of off-road vehicles can sometimes feel like learning a new language. Especially when it comes to parts and upgrades. One area that often causes a bit of head-scratching is the wheel bolt pattern.
This is true for the popular Can-Am Defender line. Getting this right is key to a safe and proper fit for your wheels. We’ve all been there, staring at a shiny new set of rims, only to find they just won’t bolt up.
It’s a frustrating moment. This guide aims to clear up all the confusion about the Can-Am Defender wheel bolt pattern. We’ll break down what it means, how to find it, and what you need to know for any upgrades or replacements.
What is a Wheel Bolt Pattern?
Think of a wheel bolt pattern as a wheel’s handshake. It’s the way the wheel connects to your vehicle’s hub. This pattern is made up of two main numbers.
The first number tells you how many bolt holes are on the wheel. The second number tells you the diameter of the circle those holes make. You’ll often see it written as something like “4×137”.
This means there are 4 bolt holes. These holes are arranged in a circle that measures 137 millimeters across. Every vehicle model has its own specific bolt pattern.
This is to ensure wheels only fit on compatible hubs. It’s a safety feature. It also helps manufacturers keep parts specific to their designs.
Why Does the Bolt Pattern Matter So Much?
Getting the bolt pattern wrong means the wheel won’t fit. It sounds simple, but it has big consequences. If a wheel doesn’t sit flush against the hub, it can cause serious problems.
The most immediate is that you won’t be able to bolt it on at all. But even if you could force it, it’s incredibly dangerous. The wheel could wobble.
It could even come loose while you’re driving. This can lead to accidents. Beyond safety, the correct bolt pattern ensures the wheel is centered properly.
This is vital for balance. It also affects how your suspension works and how your vehicle handles on rough terrain. For Can-Am Defender owners, this is especially important.
You rely on your machine to be tough and stable.
The Can-Am Defender’s Specific Bolt Pattern
For the vast majority of Can-Am Defender models, the standard wheel bolt pattern is 4×137. This is a very common pattern for many ATVs and UTVs made by Can-Am. It applies to most years and trim levels of the Defender lineup.
This includes popular models like the Defender Max, Defender XMR, and the standard Defender. So, when you’re looking for new wheels or even just spare parts, keep that 4×137 number front and center. This is your golden ticket to a perfect fit.
It’s always good to double-check your owner’s manual if you’re unsure. But generally, 4×137 is the magic number for your Defender.
Finding Your Defender’s Bolt Pattern (If You’re Unsure)
Check Your Owner’s Manual: This is always the first and best place to look. It has all the specs for your vehicle.
Look at Your Current Wheels: Sometimes, the bolt pattern is stamped directly onto the wheel. It might be on the back of a spoke or near the valve stem. You might need to clean it up to see it.
Measure It (Carefully!): If you can’t find it written down, you can measure it. Measure from the center of one bolt hole to the center of the next one. Then, multiply that number by the number of bolt holes.
This gives you the bolt circle diameter. For a 4-lug pattern, measure from the center of one hole across to the center of the hole directly opposite it. For 5-lug patterns, you measure from the center of one hole to the center of the adjacent hole, then multiply by a specific factor.
For the Defender’s 4-lug, it’s usually straightforward.
Consult a Dealer or Online Resources: Your local Can-Am dealer can tell you for sure. There are also many reputable online forums and parts websites dedicated to Can-Am vehicles. They often have databases of bolt patterns for specific models.
Understanding Bolt Sizes and Offsets
While the bolt pattern is crucial, it’s not the only thing that matters when choosing wheels. You also need to consider the bolt size and the wheel offset. The bolt size refers to the thread size and length of the lug nuts or bolts that hold the wheel on.
For most Can-Am Defenders, you’ll use lug nuts. They need to be the correct thread size for the wheel studs on your hub. And they need to be the right length to properly secure the wheel.
Wheel offset is a bit more technical. It’s the distance from the mounting surface of the wheel (where it bolts to the hub) to the centerline of the wheel. A positive offset means the mounting surface is closer to the outside of the wheel.
A negative offset means it’s closer to the inside. The correct offset helps ensure the wheels don’t rub against suspension components or the bodywork. It also affects the vehicle’s stance and handling.
For the Can-Am Defender, most factory wheels have a specific offset designed for optimal performance and fit. When choosing aftermarket wheels, it’s essential to match or stay within a recommended range for the offset.
My Own Wheel Debacle
I remember a time when I was upgrading the wheels on my old ATV. It wasn’t a Defender, but the lesson was the same. I found a set of slick-looking wheels online.
They were on sale, and the description said they “fit most ATVs.” Big mistake. I ordered them without confirming the bolt pattern. When they arrived, I excitedly went to put them on.
They looked right, but the bolt holes just didn’t line up. Not even close. I felt so silly.
I had to pay for return shipping, and I lost a bit of money. That experience taught me to be incredibly thorough. Now, I always verify the bolt pattern, bolt size, and offset before I even think about clicking “buy.” It saved me a lot of future headaches and potential safety risks.
For my Defender, I learned this lesson early.
Aftermarket Wheels for Your Can-Am Defender
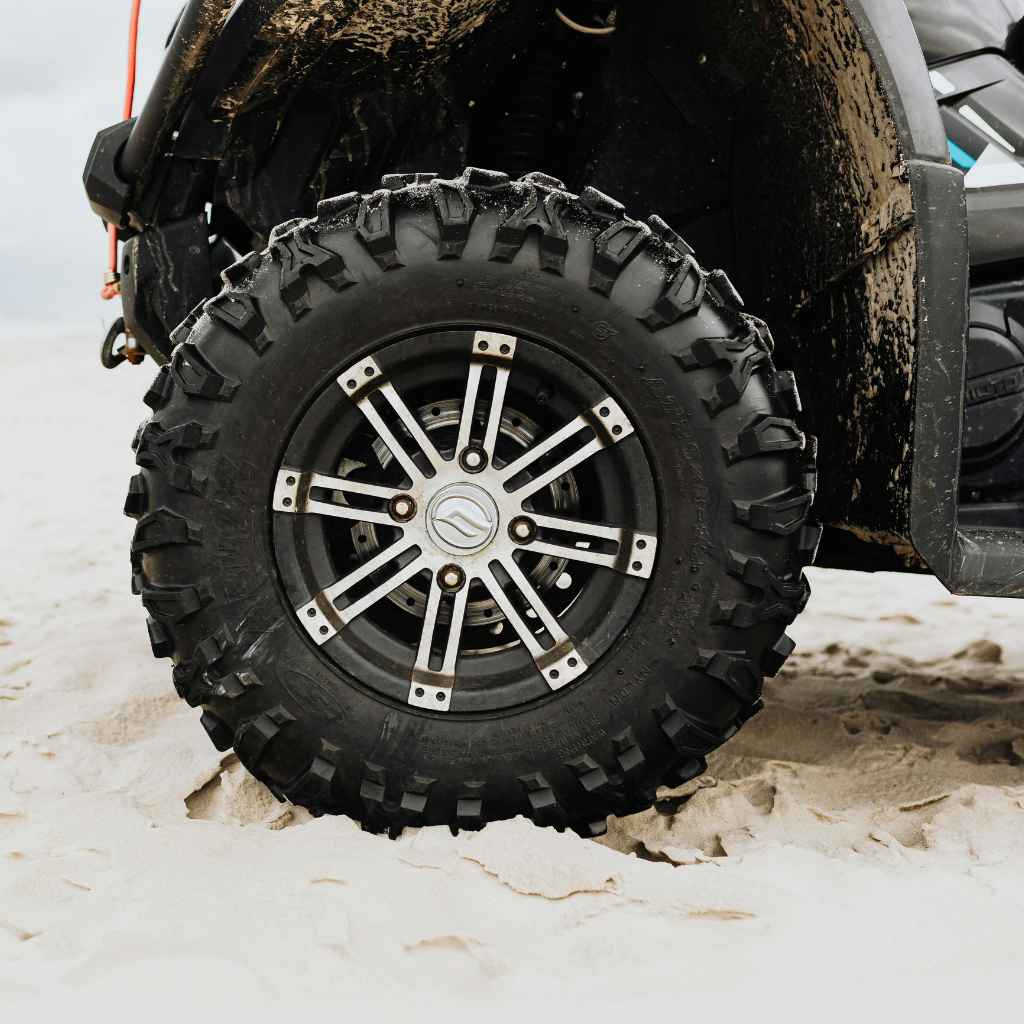
The great thing about the Can-Am Defender is the vast aftermarket support. Many companies make fantastic wheels designed specifically for this machine. When you’re shopping for aftermarket wheels, you’ll find a huge variety of styles.
You’ll also find different materials like aluminum alloys. These can be lighter and stronger than stock wheels. When you look at these wheels, you’ll see the bolt pattern listed clearly.
Always look for “4×137” for your Defender. You’ll also see details about the bolt size, usually in millimeters (e.g., M10x1.25). The offset will also be listed, often as a positive or negative number in millimeters (e.g., +10mm or -10mm).
Common Wheel Upgrades for the Defender
Aggressive Off-Road Wheels:
These are built tough for mud, rocks, and trails. They often have a wider stance and more durable construction.
Mud Tires and Wheels:
Designed for maximum grip in muddy conditions. The wheels usually have a specific bead lock style to keep tires on at low pressures.
Lightweight Performance Wheels:
Made from stronger, lighter materials. These can improve acceleration and handling.
Aesthetic Upgrades:
Wheels that simply look good. They come in various colors and finishes to customize your Defender’s look.
What About Lug Nuts?
You’ve got the right wheels. Now, what about the nuts that hold them on? For the Can-Am Defender, you’ll typically use lug nuts.
These screw onto the wheel studs that come out of your hub. The lug nuts have a specific taper or seat that matches the shape of the wheel’s bolt holes. This ensures the wheel is drawn in evenly and sits flush against the hub.
The most common type for UTVs like the Defender is a conical or acorn seat lug nut. Make sure you get the correct thread size. This is usually stamped on the packaging.
It needs to match your Defender’s wheel studs. Also, ensure they are the right length. Too short, and they won’t get enough threads engaged.
Too long, and they might bottom out or stick out too far.
It’s also important to use the right number of lug nuts. Since the Defender has a 4-bolt pattern, you’ll use four lug nuts per wheel. Tighten them in a star pattern.
This ensures even pressure on the wheel. First, tighten one nut. Then tighten the one directly across from it.
Repeat for the remaining nuts. This helps seat the wheel correctly and prevents it from becoming unevenly stressed. You’ll want a torque wrench to tighten them to the manufacturer’s specification.
This is usually found in your owner’s manual. For many Can-Am models, the torque spec is around 100-120 lb-ft (135-160 Nm). Always confirm this for your specific model.
Quick-Scan Table: Defender Wheel Basics
| Feature | Standard for Can-Am Defender | What to Check |
|---|---|---|
| Bolt Pattern | 4×137 | Always confirm this number. |
| Lug Nut Type | Conical/Acorn Seat | Ensure correct taper for wheel. |
| Lug Nut Thread Size | Check owner’s manual (e.g., M10x1.25) | Must match wheel studs. |
| Wheel Offset | Varies by model, check specs | Crucial for fit and avoiding rub. |
| Torque Spec | Check owner’s manual (e.g., 100-120 lb-ft) | Use a torque wrench. |
Can I Use Wheels from Other Brands?
This is a common question. If you see wheels from a different ATV or UTV brand, you might wonder if they’ll fit. The answer is: sometimes, but not usually without modification or adapters.
If another brand uses the exact same 4×137 bolt pattern, the holes will line up. However, there are other factors. Wheel width, diameter, offset, and the hub bore (the center hole of the wheel) all need to be compatible.
A hub bore that’s too small won’t fit over your Defender’s hub. A hub bore that’s too large means the wheel won’t be centered properly by the hub, and it will rely solely on the lug nuts for centering. This can lead to vibrations and stress on the studs.
Some people use wheel adapters. These are spacers that bolt to your vehicle’s hub and have a different bolt pattern on the other side. This allows you to use wheels with a different bolt pattern.
However, adapters add complexity. They can also weaken the connection if not installed perfectly. They can push the wheel out further, affecting steering and suspension geometry.
For most users, sticking with wheels designed for the Can-Am Defender or with the correct 4×137 pattern is the safest and simplest route. It ensures the best performance and integrity of your machine.
What About Different Defender Models and Years?
Can-Am has been making the Defender for a while now, and there have been different models and updates. Does this affect the wheel bolt pattern? Generally, no.
The 4×137 bolt pattern has been a consistent standard across most of the Can-Am UTV lineup for many years. This includes the Defender, Maverick, and Outlander models. However, it’s always wise to be aware of potential minor variations or special editions.
For instance, some very early models or unique factory packages might have had different specifications. But for the vast majority of Can-Am Defender models, from the base models to the XT, XMR, and Max versions, the 4×137 pattern is the rule.
When in doubt, always refer to your specific Defender’s owner’s manual. The manual is the definitive source for all technical specifications. If you’ve bought a used Defender, the previous owner might have made modifications.
They could have installed wheels with a different pattern or used adapters. In such cases, you’ll need to identify what’s currently on the vehicle. You can do this by measuring or checking the markings on the wheels themselves.
Once you know what you have, you can decide whether to stick with it or return to the factory standard.
Myth vs. Reality: Bolt Patterns
Myth: All UTVs from the same brand use the same bolt pattern.
Reality: While Can-Am is consistent with its 4×137 pattern on many UTVs, different brands, and sometimes even different vehicle classes within the same brand, can use different patterns. Always verify.
Myth: If the bolt holes look like they line up, the wheel will fit safely.
Reality: Bolt pattern is just one piece. Wheel offset, backspacing, and hub bore size are equally important for a safe and proper fit. Forcing a wheel that doesn’t align perfectly is dangerous.
Myth: Any wheel with a 4-bolt pattern will fit my Defender.
Reality: The second number in the pattern (e.g., the 137 in 4×137) specifies the bolt circle diameter. A 4×110 pattern, for example, will not fit a 4×137 hub, even though both have 4 bolts.
Ensuring a Safe Fit: My Process
To avoid any confusion and ensure safety, I have a pretty strict process when I consider new wheels for any of my vehicles, including my Can-Am Defender. First, I pull out the owner’s manual. I flip straight to the section on wheels and tires.
I jot down the exact bolt pattern, the recommended offset range, and the stud thread size. If I’m looking at aftermarket wheels, I go to reputable sites. These sites usually have a vehicle selector tool.
I input my specific Defender model and year. The site will then show me wheels that are guaranteed to fit.
If I’m ever unsure, I don’t guess. I’ll call the manufacturer’s customer service or a trusted local parts shop. I ask them to confirm the specifications.
I also check online forums where other Defender owners share their experiences. Seeing pictures and reading about their successful upgrades can be very helpful. When the new wheels arrive, I do a test fit before fully mounting the tires.
I bolt one wheel on by hand, just a few turns. I check for any binding or misalignment. I make sure it sits perfectly flat against the hub.
Only then do I proceed with proper mounting and torquing. This extra step has saved me from making costly mistakes and ensures my Defender is always safe to ride.
Key Considerations for Wheel Fitment
Bolt Pattern:
This is non-negotiable. For the Can-Am Defender, it’s 4×137.
Offset:
Influences how the wheel sits in the wheel well. Crucial for clearance and handling.
Backspacing:
Similar to offset, it’s the distance from the mounting surface to the inner edge of the wheel. Affects clearance.
Hub Bore:
The center hole size of the wheel. Should ideally match the vehicle’s hub for proper centering.
Tire Size:
The wheel must be compatible with the tire size you plan to run. Larger tires may require wider wheels and different offsets.
What Happens If I Get It Wrong?
As I’ve mentioned, getting the wheel bolt pattern wrong has serious consequences. The most immediate is that the wheel simply won’t mount. You might try to force it, which is a terrible idea.
This can damage the wheel studs, the wheel itself, or even the hub assembly. Even if you manage to get a bolt partially in, it won’t be secure. This leads to an unsafe condition.
The wheel could vibrate. It could develop a wobble. In the worst-case scenario, the wheel could detach from the vehicle while in motion.
This is extremely dangerous and can cause severe accidents, leading to injury or damage to your vehicle and property.
Beyond the immediate safety risks, incorrect wheels can cause other problems. They can put uneven stress on your suspension and steering components. This can lead to premature wear and tear.
Your vehicle might handle poorly, feel unstable, or pull to one side. Tire wear can also become uneven. If you’re planning on tackling challenging trails with your Defender, these issues can be amplified.
Always prioritize the correct fitment. It’s a matter of safety, performance, and the longevity of your vehicle.
Common Misconceptions and Red Flags
One big misconception is that if a wheel has the same number of bolts, it must fit. For example, thinking a 4×110 wheel might work on a 4×137 hub just because both have four bolts. This is false.
The bolt circle diameter is the critical second number. Another red flag is seeing wheels advertised as “universal fit.” While some lug nuts or bolts might be universal, wheel bolt patterns are not. True universal wheels usually have more than 5 bolts and use adapters, which is not ideal for a UTV like the Defender.
Always look for the specific bolt pattern. If a deal seems too good to be true, or the seller can’t clearly state the bolt pattern, be very cautious.
Another sign of trouble is if a wheel requires significant force to be mounted, or if there are gaps between the wheel and the hub after installation. Even small gaps can be a major issue. It means the wheel isn’t seated properly.
This can lead to vibrations and stress. Always trust your instincts. If something feels off, it probably is.
Double-checking is always better than regretting a mistake. For the Can-Am Defender, the 4×137 bolt pattern is your reliable standard.
When It’s Time to Worry: Signs of Wheel Issues
Vibrations:
If you feel unusual vibrations through the steering wheel or the vehicle, it could be a sign of an improperly seated or balanced wheel.
Wobbling:
A noticeable wobble in a wheel while driving is a serious safety concern. Stop immediately and inspect.
Uneven Tire Wear:
If your tires are wearing out faster on one side or in a strange pattern, it could be related to wheel alignment or fitment issues.
Rubbing Sounds:
Hearing your tires rub against the fenders or suspension components indicates a clearance problem, often due to incorrect offset or wheel width.
Loose Lug Nuts:
If you hear clunking or rattling sounds, check your lug nuts. They may have loosened due to improper installation or vibration.
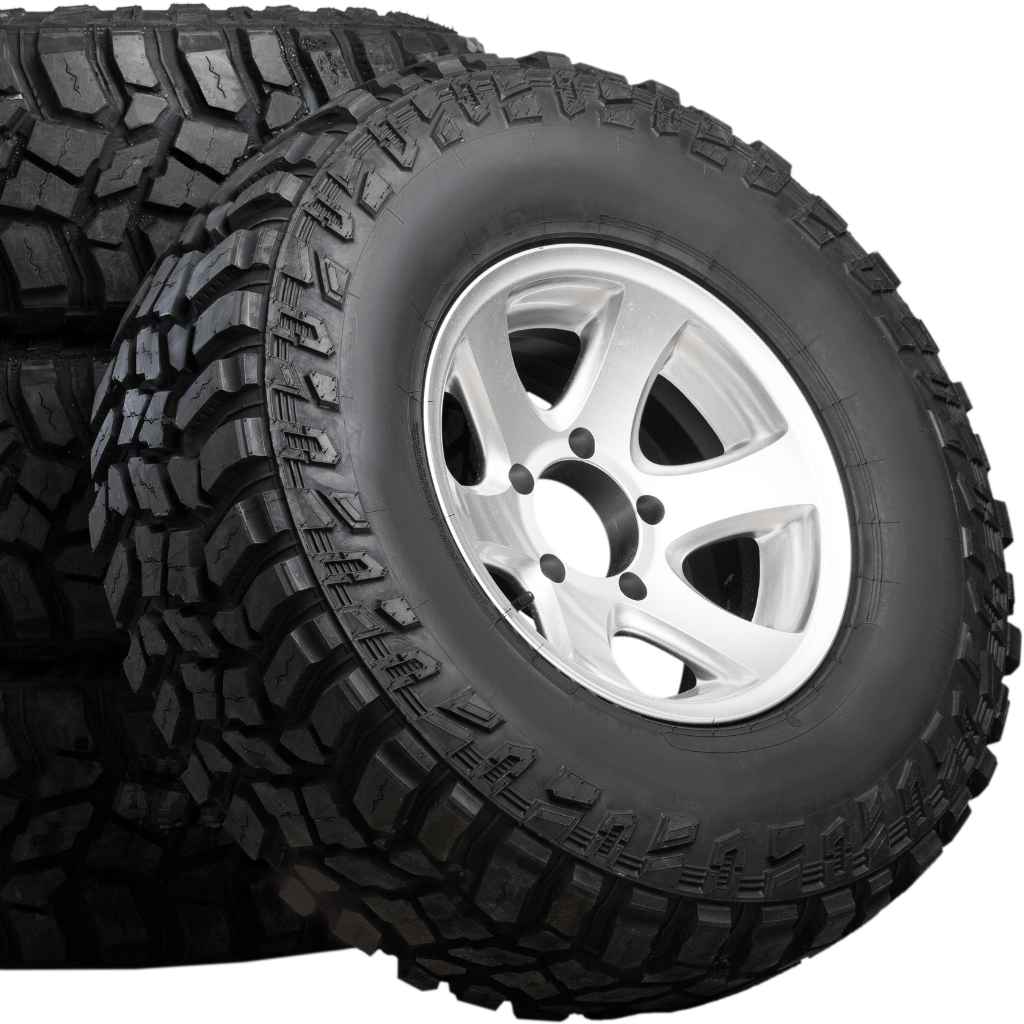
The Importance of Tire Size with Wheels
Wheels and tires work together as a system. When you choose new wheels, you also need to consider the tire size that will be mounted on them. The width of the wheel needs to be compatible with the width of the tire.
A tire that’s too narrow for a wide wheel, or too wide for a narrow wheel, can be unsafe. It can lead to the tire bead not seating properly, or it can affect handling and tire wear. Most wheel manufacturers will list the recommended tire size range for their wheels.
For example, if you have a 14-inch diameter wheel with a 4×137 bolt pattern, you might be able to fit a range of tire sizes, like 28×10-14 or 30×10-14. The “10” indicates the tire’s width in inches, and the “14” indicates the wheel diameter. The tire height is also a factor.
Larger tires can sometimes require adjustments to offset or might rub on your Defender’s fenders or suspension components, especially when turning or on full compression. Always consult your owner’s manual or a reputable tire and wheel dealer to ensure your chosen wheel and tire combination is safe and optimal for your Can-Am Defender.
Conclusion: Confidence in Your Choice
Choosing the right wheels for your Can-Am Defender is an exciting part of ownership. It’s a chance to personalize your ride and enhance its performance. By understanding the Can-Am Defender wheel bolt pattern, which is consistently 4×137, you’re already ahead of the game.
Remember to also consider offset, bolt size, and tire compatibility. Taking a little extra time to verify these details will ensure a safe, proper fit. It will help you enjoy your Defender to its fullest, on any trail.
Go forth with confidence in your upgrades!