How to Fix a Loose Car Light Socket
Fix a loose car light socket by finding the cause first: reseat the bulb if the fit is poor, clean mild corrosion, replace melted or heat-cracked sockets, and repair or replace weak terminals if the connector no longer grips. Ignoring it can cause flickering lights, intermittent failure, blown fuses, melted plastic, or a repeated no-light condition. This guide shows how to diagnose the fault, inspect the socket, and choose repair, pigtail replacement, or full socket replacement.
What a loose socket means
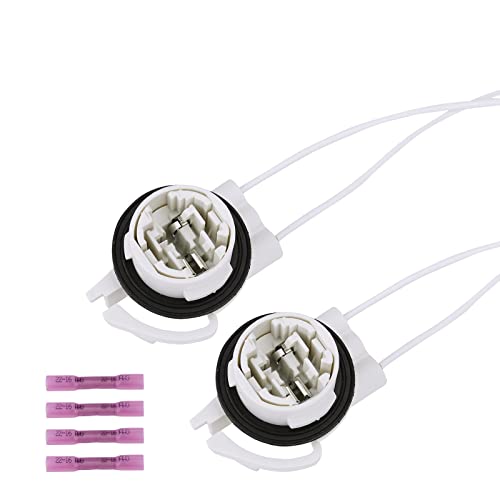


A loose socket is usually a fit problem, a contact problem, or both. In automotive lamps, the socket housing must hold the bulb base firmly enough for the terminal contact tension to stay stable, while the connector fit and bulb retention keep vibration from breaking contact. A twist-lock bulb holder adds alignment tabs and locking ears, so looseness can come from the holder itself, not only the bulb.
Tail lights, brake lights, turn signals, and some headlamps often use different socket styles. A bayonet-style bulb, a wedge-base bulb, and a twist-lock socket do not fail the same way. Treating every loose socket as the same problem leads to bad repairs.
Loose fit versus weak contact tension
If the bulb moves in the socket, the fit is loose. If the bulb stays seated but the light flickers, the terminal contact tension may be weak. A brass contact tab inside the socket presses against the bulb base when installed. Overtightening bulbs can bend that tab down, and a poor contact can arc and damage the bulb contact point.
Why flicker and wobble point to different causes
Flicker often points to intermittent electrical contact, corrosion, or a weak terminal. Wobble usually points to worn retention tabs, a cracked housing, or an incompatible bulb base. A socket can do both when heat damage has softened the plastic and the terminal no longer stays aligned.
What you’ll need
- Needle-nose pliers for small terminal correction
- Multimeter for continuity and resistance checks
- Clean cloth
- Contact-safe cleaner
- Replacement socket or pigtail if the housing or terminals are damaged
- Correct bulb for your vehicle’s socket type
- Dielectric grease for non-conductive surfaces only, if the design calls for it
How do you diagnose the socket?
Start with the bulb base, then move outward. Check whether the light bulb base matches the socket type, whether the brass tab still presses on the base, and whether the socket housing shows heat damage, cracks, or green corrosion. If the lamp is dark, a fuse and wiring fault can sit anywhere in the same circuit, so do not assume the socket is the only cause.
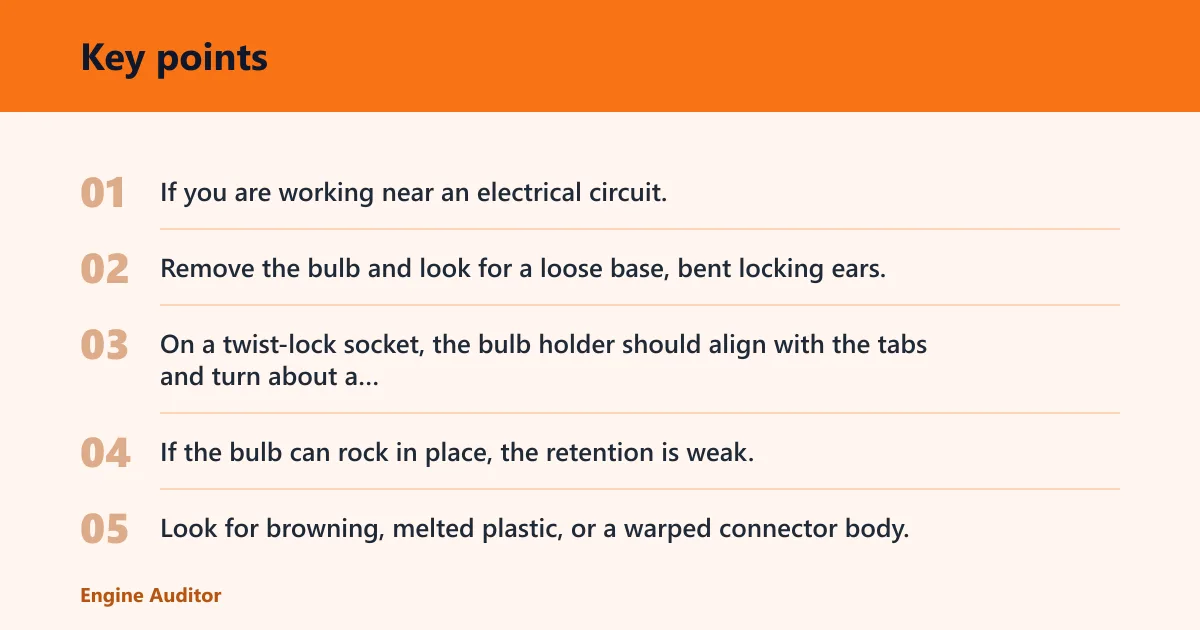
Follow the vehicle manual. If you are working near an electrical circuit, turn power off first and disconnect the battery when the manual calls for it. Never short the lamp circuit with a tool.
Check the bulb base and retention tabs
Remove the bulb and look for a loose base, bent locking ears, or a quarter-turn holder that no longer locks firmly. On a twist-lock socket, the bulb holder should align with the tabs and turn about a short distance to lock. If the bulb can rock in place, the retention is weak.
Inspect the socket housing for heat damage and cracks
Look for browning, melted plastic, or a warped connector body. Heat damage often means the socket has been running hot from poor contact or overcurrent. Once the housing is deformed, the terminal position usually shifts too, and repair becomes unreliable.
Look for green corrosion and browned terminals
Green corrosion at the terminals or browned metal around the contact area points to resistance in the circuit. That resistance can create flicker, dim output, or a bulb that fails early. A blackened bulb can also point to dirt or damage in the socket, so inspect both the bulb and the cavity.
Check fuse continuity and wiring before opening the socket
Use a multimeter to check continuity through the fuse, and inspect the connector and nearby wiring for broken insulation, pulled pins, or heat marks. If the fuse is blown, the socket may be fine. If continuity is poor at the connector, the socket can be only one part of the fault. (Wikihow)
Socket decision table
| Symptom | Likely cause | Safe test | Repair action | Replace-now threshold |
|---|---|---|---|---|
| Flicker | Weak terminal contact, corrosion, or loose bulb fit | Wiggle test with power off, then continuity check with a multimeter | Clean the terminal, reseat the bulb, and restore contact tension | Replace if flicker returns after cleaning and retensioning |
| Intermittent outage | Loose connector fit, broken wire, or heat-softened terminal | Check continuity at the socket and fuse, then move the lead gently | Repair the terminal or pigtail if the wire and connector fail together | Replace if the housing is warped or the terminal will not hold position |
| Bulb wobble | Worn retention tabs or wrong bulb base | Compare the bulb base to the socket shape and locking ears | Install the correct bulb and correct minor tab wear | Replace if the holder no longer locks the bulb securely |
| Melted connector | Overheat from poor contact or excess current | Inspect for warped plastic and darkened terminals | Replace the socket or pigtail; do not reuse a melted housing | A melted connector should usually be replaced right away. |
| Green corrosion | Moisture intrusion at the contacts | Open the connector and inspect for green residue and pitting | Clean light corrosion and protect non-contact surfaces only | Replace if corrosion has eaten into the terminal metal |
| Repeated bulb failure | Poor contact tension, arcing, or wrong bulb type | Check for blackened contacts and fuse condition | Repair the contact, verify the correct bulb, and retest | Replace if the socket keeps damaging bulbs after repair |
How do you repair it?
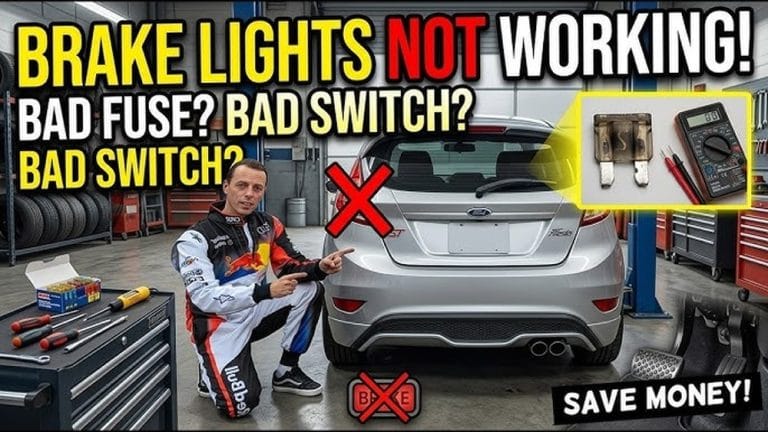
If the socket is only loose because the terminal lost tension or picked up light corrosion, repair may be enough. If the housing is cracked, melted, or the locking ears are broken, skip repair and replace the pigtail or socket assembly. A brake light bulb socket can be the reason a brake light does not work.
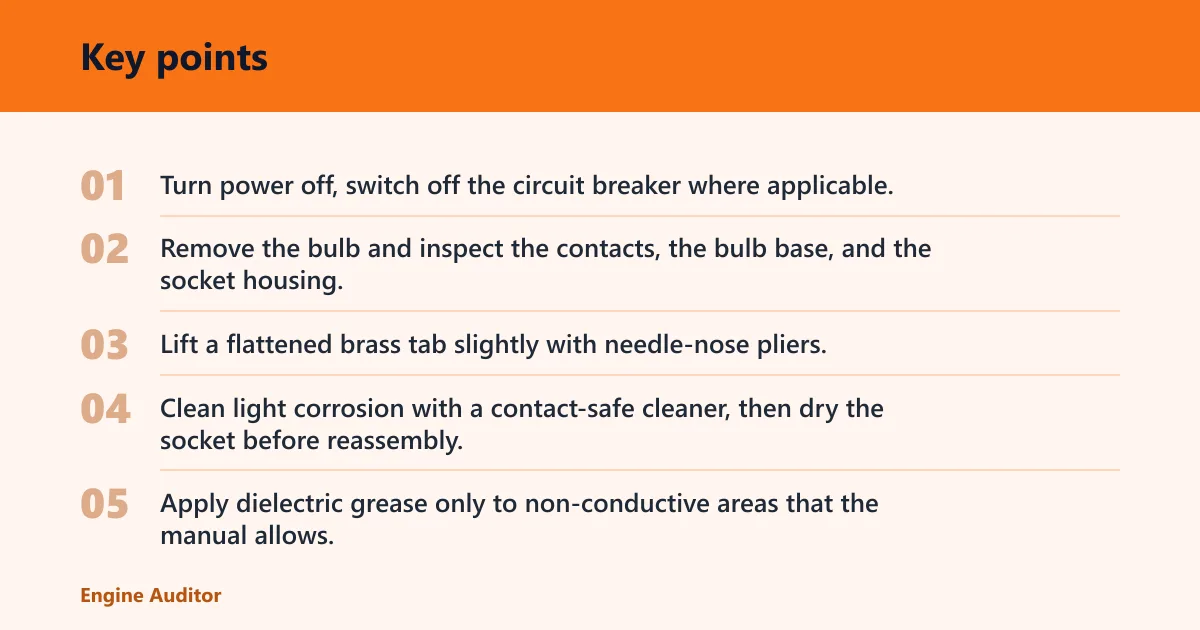
- Turn power off, switch off the circuit breaker where applicable, and access the lamp assembly.
- Remove the bulb and inspect the contacts, the bulb base, and the socket housing.
- Lift a flattened brass tab slightly with needle-nose pliers, using only enough pressure to restore spring tension.
- Clean light corrosion with a contact-safe cleaner, then dry the socket before reassembly.
- Apply dielectric grease only to non-conductive areas that the manual allows, and keep it off electrical contact points.
- Reinstall the correct bulb, lock the holder with the quarter-turn tabs if present, and test the light.
Suppose a tail light socket flickers only when the hatch closes. That points to intermittent contact, not a dead bulb. A slight retension of the brass tab and a clean terminal often solve it. Suppose the socket body is brown and the locking ears are soft. That is a replacement case, not a bend-back case.
If that didn’t work, try this next
If the light still fails after cleaning and contact adjustment, replace the socket or pigtail assembly. A repair that leaves the terminal loose will usually fail again under vibration. If continuity is still poor after replacing the socket, inspect the wiring loom, ground path, and fuse again with the multimeter.
When should you replace the socket?
Replace the whole socket when the housing is cracked, the plastic is melted, the terminals are burned, or the bulb no longer locks in place. If the brass tab has lost spring tension badly enough that it will not stay in position, replacement is generally safer than repeated bending. That also applies when corrosion has pitted the contact surface or the connector fit keeps loosening.
Use a replacement socket or pigtail that matches the vehicle’s lamp type. For twist-lock designs, the alignment tabs and locking ears must match the lamp opening. For threaded or bayonet styles, the bulb base must match the socket contacts exactly. Forcing the wrong part in place creates heat and poor retention.
Common mistakes
Do not bend the brass tab too far. That can create a poor fit, higher resistance, and more heat. Do not put grease on the electrical contact points. Do not ignore a fuse or wiring fault just because the socket looks dirty. Do not force the wrong socket type into the housing.
A common first-timer mistake is cleaning a corroded tail light socket, reinstalling the bulb, and skipping the fuse check. If the same lamp goes dark again, the fault may be in the wiring loom or the connector, not the bulb itself.
Prevention
Keep moisture out of the connector, use the correct bulb type, and seat the bulb fully so the terminal pressure stays even. During bulb replacement, avoid overtightening, because that is one of the easiest ways to flatten the brass tab and start the cycle again.
Frequently asked questions
How do I fix a loose car light socket?
Check whether the bulb is wrong, the terminal is weak, or the housing is damaged. Clean mild corrosion, restore light spring tension in the brass tab with needle-nose pliers, and replace the socket if the plastic is melted or cracked. Test the lamp after reassembly and verify the fuse if the light still fails.
How do I repair a light socket?
Use the vehicle manual to remove the lamp, then inspect the connector, bulb base, and retention tabs. Clean the contacts, correct minor terminal flattening, and reinstall the correct bulb. If the socket is a twist-lock holder, confirm that the alignment tabs and locking ears engage fully before power is restored.
How do I remove a broken light socket?
For a twist-lock bulb holder, turn it counterclockwise if the design calls for quarter-turn removal. If the socket is stuck or the locking ears are broken, work carefully to avoid cracking the lamp housing. If the connector is heat damaged, replacement of the socket or pigtail is usually safer than reuse.
How do I replace a light socket?
Disconnect power as the manual directs, unplug the old connector, and install the matching replacement pigtail or socket assembly. Match the bulb type, then secure the wiring with the correct connector path and test for continuity. A replacement should fit tightly without forcing the tabs or bending the brass contact.
How do I clean a car light bulb socket?
Use a clean cloth and a contact-safe cleaner to remove light dirt or residue, then let the socket dry fully. Keep cleaner and dielectric grease off the actual contact points unless the manual says otherwise. If corrosion is green or pitted, cleaning may not restore enough contact pressure for reliable service.
Can a loose bulb socket cause a light to flicker?
Yes. Flicker often comes from weak terminal contact, a bulb base that rocks, or corrosion that interrupts current flow. If the lamp flickers only on bumps or when the lead moves, suspect contact tension or connector fit before blaming the bulb. A multimeter can confirm whether continuity drops out.
Products related to this article
Sponsored / affiliate links. As an Amazon Associate I earn from qualifying purchases. I may earn additional commission from eligible campaigns.