
How to Fix Corroded Car Light Connectors
Clean and save a corroded car light connector only if the terminals are lightly oxidized and the wire strands stay bright. Replace the pigtail if pins are pitted, loose, or heat-darkened, and repair the wire loom if damage reaches the insulation. Using the wrong fix can leave you with dim lights, intermittent failures, blown fuses, or a connector that overheats and melts again. This guide shows how to inspect, test, clean, seal, and decide between connector cleaning, pigtail replacement, or a wire loom splice.
What you’ll need


- Electrical-safe contact cleaner
- Multimeter
- Small brush, pick, or terminal tool
- Dielectric grease
- Heat-shrink splice connectors
- Wire cutters and strippers
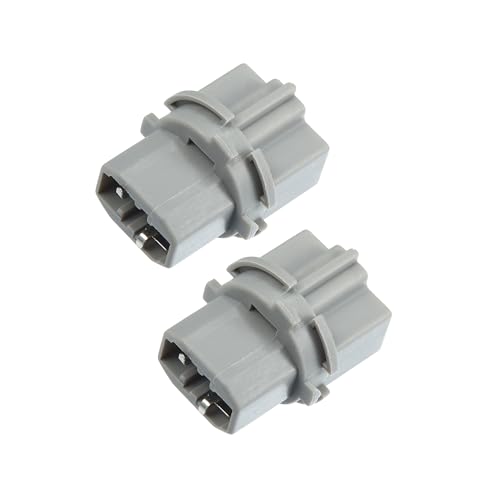
- Replacement pigtail or connector housing, if needed
- New fuse with the correct amp rating, if the old one is blown
Is the socket getting power?
If the socket has no power, start at the fuse and then measure voltage at the connector under load to help separate connector issues from upstream faults. That separates a connector problem from an upstream fault. A dead socket can come from a blown fuse, a failed relay, an open wire, or a corroded connection that cannot carry current.
Check the fuse first
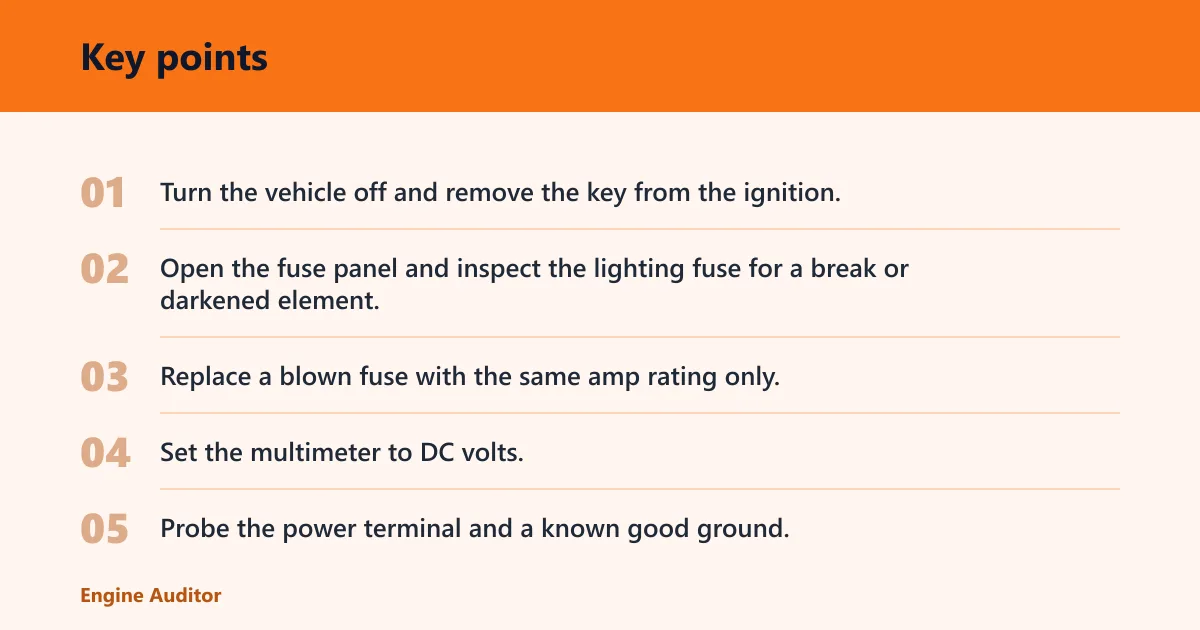
- Turn the vehicle off and remove the key from the ignition.
- Open the fuse panel and inspect the lighting fuse for a break or darkened element.
- Replace a blown fuse with the same amp rating only, and fit the new fuse fully into the same slot.
Measure voltage at the socket
- Set the multimeter to DC volts.
- Probe the power terminal and a known good ground.
- Switch the light on and read the meter with the bulb installed or the circuit loaded.
- If voltage is present at the fuse but missing at the socket, trace the wire and connector next.
Suppose a tail lamp has voltage at the fuse but almost nothing at the socket. That points away from the bulb and toward a connector, splice, or ground fault. If multiple lamps fail together, check the relay and shared feed before replacing any socket parts.
What causes the connector to corrode?
Moisture entry is common, but it is not the only cause. Housing leaks, missing seals, high resistance, bulb heat, and a bad ground can all leave green or white oxidation on terminals. Corroded earth connections are one of the most common causes of odd electrical faults, and a single bad earth can cause many symptoms.
Look for moisture entry and heat damage
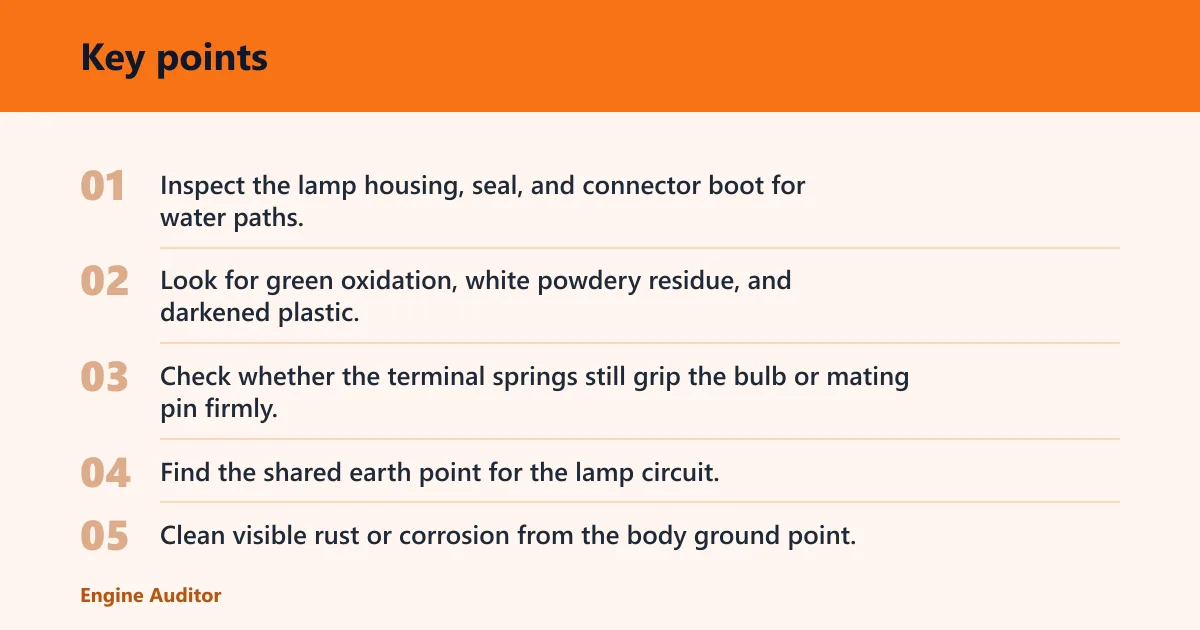
- Inspect the lamp housing, seal, and connector boot for water paths.
- Look for green oxidation, white powdery residue, and darkened plastic.
- Check whether the terminal springs still grip the bulb or mating pin firmly.
Check the ground point
- Find the shared earth point for the lamp circuit.
- Clean visible rust or corrosion from the body ground point.
- Measure resistance under load with the light switched on.
- If the light flickers or dims at idle, treat the ground as suspect.
Picture a front marker lamp that works only after the connector is wiggled. That usually means the terminal is making and breaking contact, not that the bulb is bad. If the plastic around the pin is softened or browned, heat damage is the real fault and cleaning alone will not hold.
Can you clean the socket and reuse it?
Yes, if the damage is limited to light oxidation and the terminals still hold shape and tension. Use contact cleaner first, then brush away loosened residue, and let the connector dry fully before power-up. Dielectric grease helps seal weather-exposed connectors after cleaning, but it does not conduct electricity or fix a weak terminal fit.
Clean the terminals
- Disconnect the battery negative terminal first, then the positive if you must open the circuit near exposed wiring.
- Spray electrical-safe contact cleaner onto the socket and mating terminals.
- Use a small brush or pick to remove loosened oxidation.
- Blow out residue and wait until the cleaner has fully evaporated.
Reassemble and seal lightly
- Fit the correct bulb type and confirm the socket holds it tightly.
- Apply a thin film of dielectric grease around the seal area and outer contact surfaces only.
- Reconnect the circuit and test the lamp.
Do not pack grease onto the contact faces. A thin coating around the weather seal helps keep moisture out; a thick layer can mask a weak mechanical connection and leave the lamp dim or intermittent.
When should you repair the wire loom?
Repair the wire loom when the wire itself is damaged, the terminal can no longer stay tight, or the connector body is melted. Use a multimeter to confirm continuity and voltage drop, because the fault may sit in the wire loom, not the socket. If the plastic is heat-damaged, replace the pigtail or section of wire loom rather than reusing it.
Test continuity and voltage drop
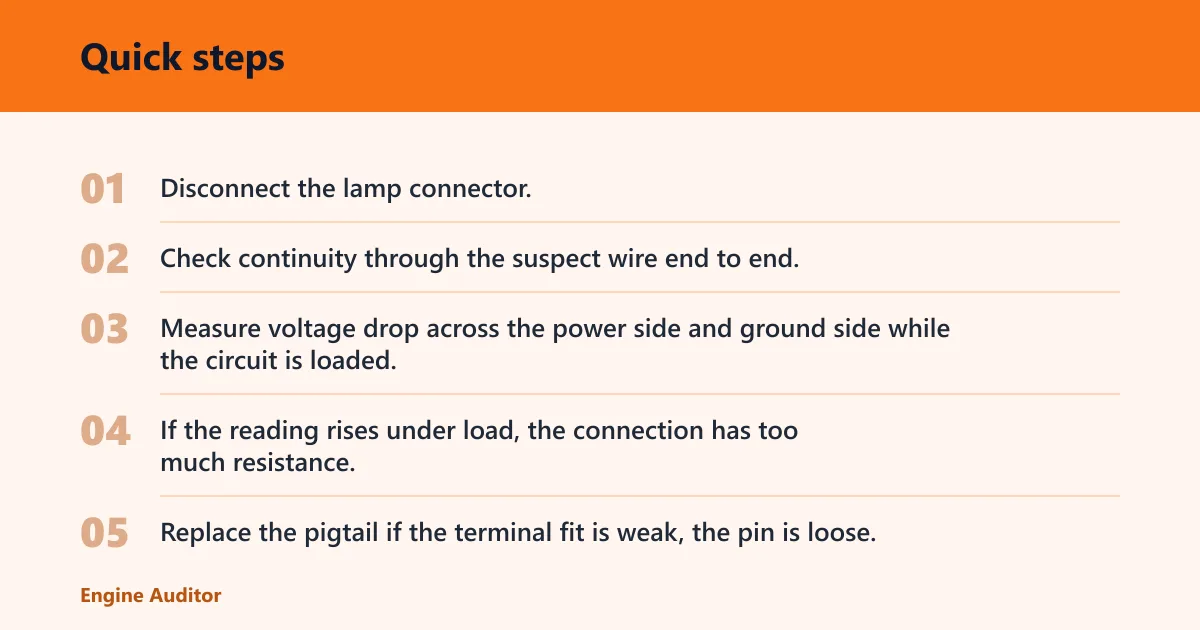
- Disconnect the lamp connector.
- Check continuity through the suspect wire end to end.
- Measure voltage drop across the power side and ground side while the circuit is loaded.
- If the reading rises under load, the connection has too much resistance.
Choose pigtail or splice repair
- Replace the pigtail if the terminal fit is weak, the pin is loose, or the housing is cracked.
- Use a heat-shrink splice connector for damaged wire sections.
- Match the connector to the correct wire gauge.
- Crimp, heat, and seal the joint so moisture cannot enter.
Because most electrical faults are caused by corrosion, not actual broken wires, a clean connector can fix many lighting issues. But once the pin is pitted, loose, or heat-darkened, the contact area is gone. That part should not go back into service.
Common mistakes
- Reusing melted or loose terminals. Replace them; cleaning will not restore spring tension or contact area.
- Powering the circuit before the cleaner has evaporated. Wait until the socket is dry.
- Using tape-only repairs on exposed wiring. Use a heat-shrink splice connector instead.
- Skipping the ground test. A corroded earth point can mimic a bad socket.
- Assuming the bulb is bad first. Check power, ground, and load before you swap parts.
Clean, repair, or replace?
| Symptom | Visible terminal condition | Test result | Recommended fix | Do-not-reuse warning signs |
|---|---|---|---|---|
| Green oxidation | Light green film on terminal surface | Power and ground present, but contact is weak | Clean with contact cleaner, brush, dry, then retest | Pitting, heat-darkened metal, loose fit |
| White powdery corrosion | Dry white residue on pins or socket | Continuity returns after cleaning | Clean and seal with a thin layer of dielectric grease | Cracked housing, bent terminal, burned plastic |
| Melted plastic | Soft, browned, or warped connector body | High resistance or repeated overheating | Replace the pigtail or connector housing | Any softened shell or loose terminal cavity |
| Intermittent flicker | Terminals appear dull or loose | Connection makes and breaks when moved | Repair terminal tension or replace the pigtail | Burn marks, melted plastic, broken retaining tabs |
| No power at socket | Clean connector but no voltage at terminal | Fuse, relay, or upstream feed fails under test | Trace power supply before replacing the socket | Do not swap the bulb or connector first |
| Corroded ground point | Rust, green residue, or loose body earth | Voltage drop rises under load | Clean or repair the body ground point | Repeated dim or flickering lights after cleaning |
Frequently asked questions
How to remove corrosion from car light socket
Spray electrical-safe contact cleaner into the socket, scrub the oxidation with a small brush, and let it dry fully before reinstalling the bulb. If the metal is pitted or the terminal no longer grips, stop there and replace the pigtail instead of forcing reuse.
What causes car light connectors to corrode?
Water intrusion, failed seals, heat, and high resistance are the main causes. A bad ground can add flicker and extra heat, while housing leaks let moisture attack the terminals and start green or white corrosion.
Can I clean a corroded bulb socket instead of replacing it?
Yes, if the terminals are only lightly oxidized and still hold the bulb tightly. Replace the socket or pigtail when the plastic is heat-damaged, the terminal is loose, or cleaning does not restore stable contact.
When should I replace a melted or green corroded connector?
Replace it when the plastic is warped, the terminal is pitted, or the contact stays loose after cleaning. Green corrosion on a sound terminal can be cleaned; heat-darkened metal and melted plastic should not go back into a lighting circuit.
Do I need dielectric grease on car light connectors?
Use it sparingly after cleaning and drying, mainly on weather-exposed connectors. It seals out moisture, but it does not carry current, so it cannot fix a weak terminal or a damaged pin.
How do I test if the connector or bulb is the real fault?
Measure voltage at the socket with the bulb installed, then check continuity and ground under load. If power and ground are present and the socket still fails, the bulb or terminal fit is the next place to look.
Is corrosion in a light connector usually caused by water or a bad ground?
Both matter. Water often starts the corrosion, while a poor ground can raise resistance, create heat, and turn a small issue into dim or flickering lights. Check the body earth point whenever a lamp fault keeps coming back.
Products related to this article
Sponsored / affiliate links. As an Amazon Associate I earn from qualifying purchases. I may earn additional commission from eligible campaigns.