Brake Pad Thickness Chart: When to Replace Them
Brake pads at 3 mm or less are commonly treated as replace-now territory; 4–5 mm is often considered a warning zone, and around 2 mm or lower is usually urgent. Thin pads can score rotors, stretch stopping distances, and turn a pad swap into a far costlier brake repair. This guide gives a brake pad thickness chart, uneven-wear checks, and rotor-risk checkpoints so you can decide whether to replace pads now or keep monitoring them.
Brake pad thickness decision table
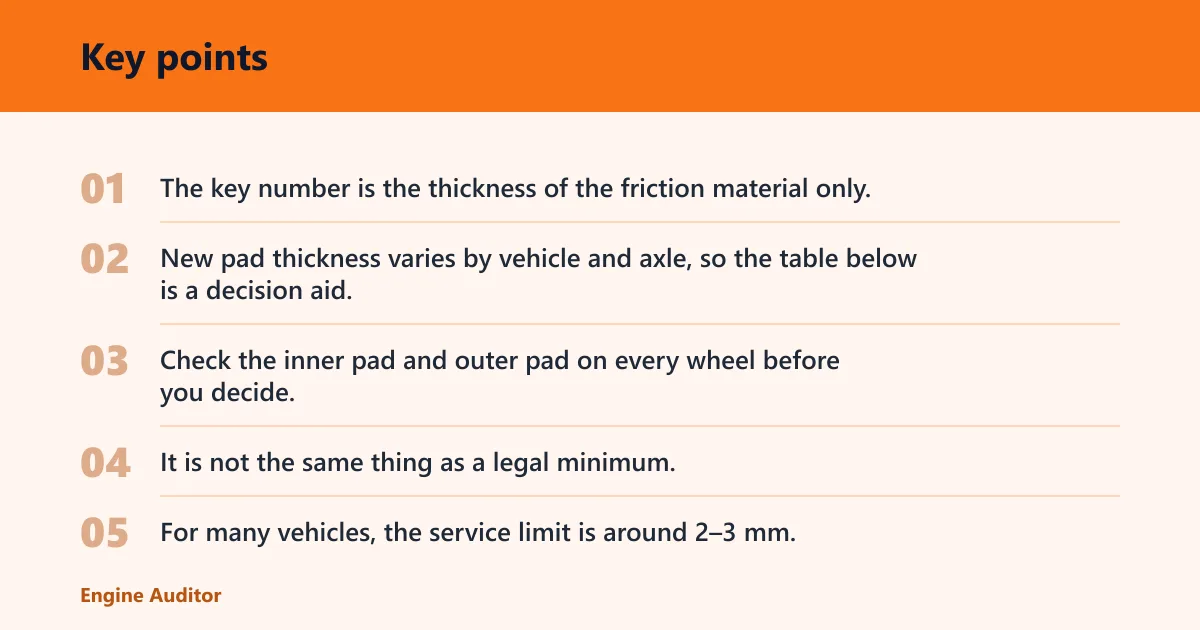


The key number is the thickness of the friction material only, measured without the backing plate. New pad thickness varies by vehicle and axle, so the table below is a decision aid, not a substitute for the vehicle maker’s specification. Check the inner pad and outer pad on every wheel before you decide.
| Thickness band | Usual driver feel | Drive or replace? | Rotor and caliper check |
|---|---|---|---|
| Healthy: 6 mm or more | Braking often feels normal. A wear indicator is usually silent. | Keep driving and recheck at the next service interval. | Look for even pad wear, smooth rotor faces, and free caliper slide movement. |
| Plan replacement: 4–5 mm | Braking can still feel normal, but the reserve is shrinking. | Schedule a pad job soon. Do not wait for noise. | Inspect rotor thickness and surface condition. Check for side-to-side or inner-vs-outer wear gaps. |
| Replace soon: 2–3 mm | Wear noise may start, or the wear tab may begin to scrape. | Book service as soon as practical. The pads are near the common service limit. | Inspect rotors for scoring, heat spots, and lip wear. Check caliper pins and hardware for sticking. |
| Replace immediately: below 2 mm | Grinding, squeal, warning light, or pedal change may appear. | Stop delaying. Pads are at high risk of damaging the rotor. | Inspect rotors and calipers before driving farther. Metal-to-metal contact can damage both. |
That table uses a practical owner threshold. It is not the same thing as a legal minimum, and it is not the same thing as a manufacturer service limit. For many vehicles, the service limit is around 2–3 mm, while local inspection rules can differ by region.
How thick should brake pads be?
Most owners should replace pads by the time friction material reaches 3 mm or less, and many vehicles call for replacement around 2–3 mm. New pad thickness can vary by axle: many mass-market cars are reported to start with front pads around 10–12 mm and rear pads around 8–10 mm, so the same remaining thickness can mean different life left front to rear.
New pad thickness varies by axle
Front pads usually wear faster because the front axle does more braking work. Rear pads often start thinner, but they still need their own reading and their own decision. Do not assume the rear axle can follow the front axle’s limit, or that one axle’s remaining thickness predicts the other’s.
Minimum safe thickness vs. warning threshold
A manufacturer service limit is the best target for replacement, and that limit is vehicle-specific. A warning threshold is earlier, when thickness is still usable but getting close enough that you should plan the repair. A pad at 4–5 mm belongs in the warning zone. A pad at 2–3 mm belongs in the service zone.
For commercial brake systems, published minimums can vary by brake type and axle, and those limits are not replacement targets. They are inspection limits for that specific system. For passenger cars, use the vehicle manual or the manufacturer listing for the exact spec.
Why 2–3 mm is a common service point
Many manufacturers set replacement near 2–3 mm because rotor risk rises as the friction material gets thin. Below 3 mm, the chance of rotor damage increases. The pad may still stop the car, but the safety margin is smaller, the wear indicator may be active, and caliper hardware problems become easier to miss.
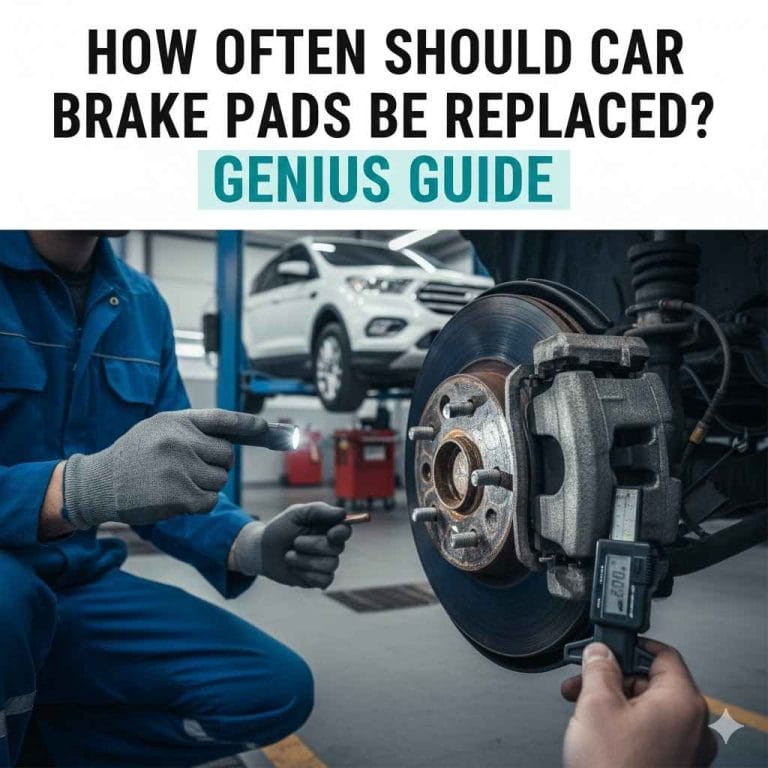
Use a digital vernier caliper or a brake pad thickness gauge for accurate readings. Measure the friction material only, not the backing plate, and check the inner pad and outer pad on each wheel. A quick look through the wheel can help you spot a problem, but it is not accurate enough for a replacement decision.
Use a digital vernier caliper
A digital vernier caliper gives a direct millimeter reading and works well when you can reach the pad edge. Open the jaws, place them across the friction material, and read only the pad compound thickness. Do not include the backing plate, anti-squeal shim, or any attached hardware in the measurement.
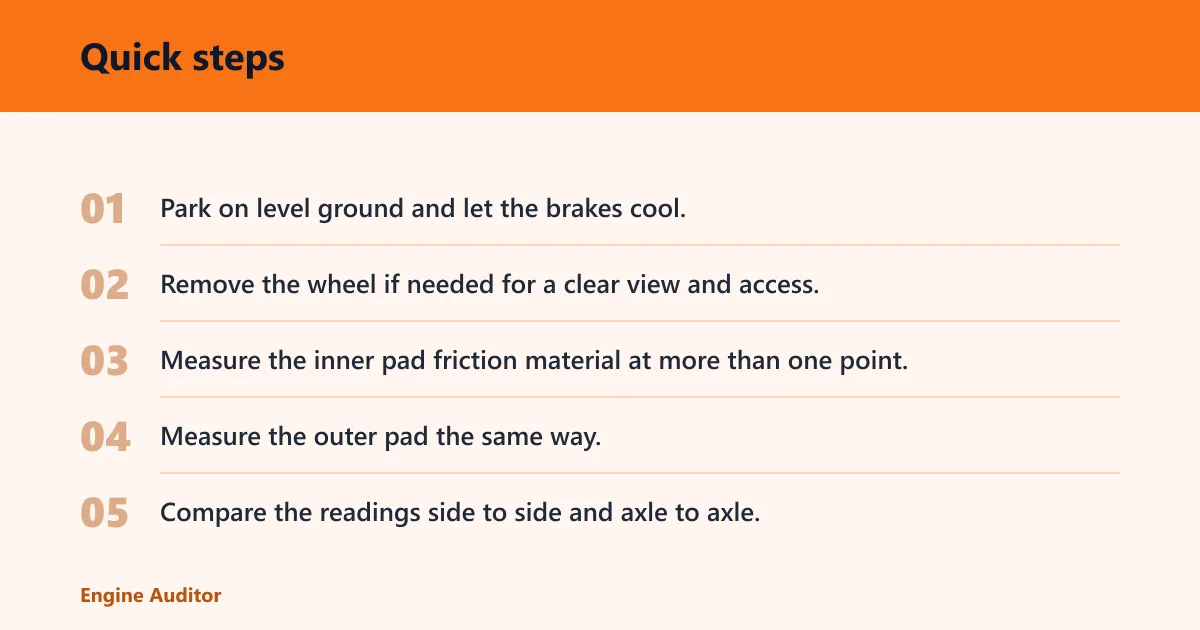
- Park on level ground and let the brakes cool.
- Remove the wheel if needed for a clear view and access.
- Measure the inner pad friction material at more than one point.
- Measure the outer pad the same way.
- Compare the readings side to side and axle to axle.
A common first-timer mistake is measuring only the most visible edge. Some pads wear tapered or unevenly, so one edge can read thicker than the rest of the pad. Take at least two readings on each pad face if the shape allows it.
Use a brake pad thickness gauge
A dedicated brake pad thickness gauge is built for inspection work and can be easier to use in tight wheel openings. It helps confirm millimeter readings when the caliper is awkward to position. Service shops use it often, but it is also useful at home if you want a quick check before removing the wheel.
Say your front left pad reads 4.5 mm on the outer edge and 3.2 mm on the inner edge. The inner pad is the real decision point, because it is thinner and closer to the common service limit. In that case, the axle should be treated as a plan-replacement job even if the outer pad looks healthier.
What not to trust through the wheel
Do not rely on a view through the wheel spokes alone if you need a replacement decision. The wheel design can hide the inner pad, and the outer pad may not match the inner pad. A pad can look acceptable from one angle and still be near the limit on the opposite side.
Wear indicators can help, but they are only a warning cue. A squeal, screech, or sensor alert means the pads are low or low enough to trigger the system. It does not tell you the exact remaining thickness, and it does not replace a measurement.
Front vs. rear pad wear
Front brake pads usually wear faster than rear pads, so the front axle is often the first one to reach minimum thickness. Rear pads still need separate checks because they can wear differently by vehicle, driving pattern, and brake design. Uneven inner-vs-outer wear can change the decision on either axle.
Why front pads often wear faster
During hard stops, the front axle carries more load transfer and more braking effort. That is why many front pads begin thicker than the rears, often around 10–12 mm compared with 8–10 mm at the rear. The front axle also tends to show wear symptoms first.
Why rear pads need separate checks
Rear pad wear can be slower, but that does not mean rear pads are fine by default. Some vehicles use brake systems or stability controls that change rear wear patterns. Check the rear axle on its own and compare both pads on that axle, not just the average of all four corners.
What uneven wear changes
If the inner pad is much thinner than the outer pad, look at the caliper slide pins, guide hardware, and piston movement. Differences of more than 1 mm may point to seized slide pins or uneven caliper action. That kind of wear can make one pad look fine while the other is already in the replace-soon band.
Picture a rear wheel where the outer pad still shows 5 mm but the inner pad is down to 2.5 mm. That wheel is not a 5 mm wheel. The thinner pad sets the decision, and the caliper should be inspected before new pads go on.
When thin pads stop being safe
Thin pads can still stop the car, but the margin for heat, wear, and rotor protection gets smaller. The most important change is not always pedal feel. The bigger concern is that thin friction material can expose the rotor to faster wear, scoring, and heat damage, especially if the pad wears into metal contact.
Rotor damage risk
Below 3 mm, rotor damage risk increases. If the pad reaches the backing plate or the wear material is nearly gone, the rotor can be scored and may need replacement or machining. That turns a routine pad job into a larger brake repair.
Caliper and hardware checks
When pads are thin, inspect the caliper and related hardware at the same time. Check the slide pins for free movement, confirm the piston retracts normally, and look for torn boots, uneven pad angle, or heat discoloration. These checks matter even more if one pad wears faster than the other.
Warning signs that need quick action
Squealing, screeching, grinding, a brake warning light, or a sudden change in pedal feel all deserve prompt attention. The wear indicator may already be contacting the rotor or nearing that point. If you hear grinding, treat it as urgent and inspect the brakes before more driving.
Suppose the pads still stop the car in normal traffic, but a high-pitched squeal appears every time you brake at low speed. That is not a reason to wait for the pads to fail. It is a sign to measure them now, because the wear indicator may be warning you before the legal or service limit is reached.
Can brake pads still stop fine?
Yes. Thin pads can still feel normal for a while, especially before the wear indicator starts to scrape or before the rotor gets damaged. That is why waiting for poor stopping feel is a bad plan. Thickness is a wear measure first, and a feel issue only later in some cases.
Normal braking with thin pads
Brake feel can stay acceptable even at 4–5 mm, and sometimes even lower, depending on the vehicle and driving style. That does not mean the pads are healthy. It means the system still has enough material to work, but the next wear stage can come quickly.
Why waiting is risky
Waiting until the brakes feel weak can leave little room before rotor damage begins. The pad may still stop the vehicle, but the rotor can already be at risk if the remaining material is low or uneven. Once the backing plate touches the rotor, repair costs rise fast.
When to book service even without noise
Book service when the thinnest measured pad is in the 4–5 mm band, even if braking still feels normal. If any pad is 3 mm or lower, move from planning to replacement. If one side is much thinner than the other, add a caliper inspection to the work order.
Frequently asked questions
How thick should brake pads be before replacing them?
A good owner-side trigger is 3 mm or less, with 4–5 mm treated as a plan-replacement zone. Many manufacturers list a service limit around 2–3 mm, but the exact number varies by vehicle. The safest call is the one that matches the vehicle’s own specification.
What is the minimum brake pad thickness for safe driving?
There is no single universal minimum for every vehicle. Many passenger cars use a service limit around 2–3 mm, while some inspection rules and brake designs use different thresholds. The right number is the one in the owner’s manual or the manufacturer listing for that axle.
How do I measure brake pad thickness at home?
Use a digital vernier caliper or a brake pad thickness gauge and measure the friction material only. Check both the inner pad and outer pad on each wheel, because one side can wear faster. Remove the wheel if needed for a clear view, and do not trust a quick look through the spokes.
Can I tell brake pad thickness through the wheel?
Only roughly. A wheel opening may let you spot a badly worn pad, but it often hides the inner pad and can distort what you see. For a replace-or-keep-driving decision, remove the wheel or use a proper gauge so you can measure the actual friction material.
How much brake pad material is left at 3 mm?
At 3 mm, the pad is near a common service limit and close to where rotor risk may start rising. It may still stop the car normally, but it should not be treated as healthy reserve. Measure both pads on the axle and plan replacement soon.
Do front and rear brake pads wear at the same rate?
Usually not. Front pads often wear faster because they do more braking work, and many vehicles start with thicker front pads than rear pads. Rear pads still need their own inspection, because vehicle design, load transfer, and caliper condition can change the wear pattern.
Products related to this article
Sponsored / affiliate links. As an Amazon Associate I earn from qualifying purchases. I may earn additional commission from eligible campaigns.