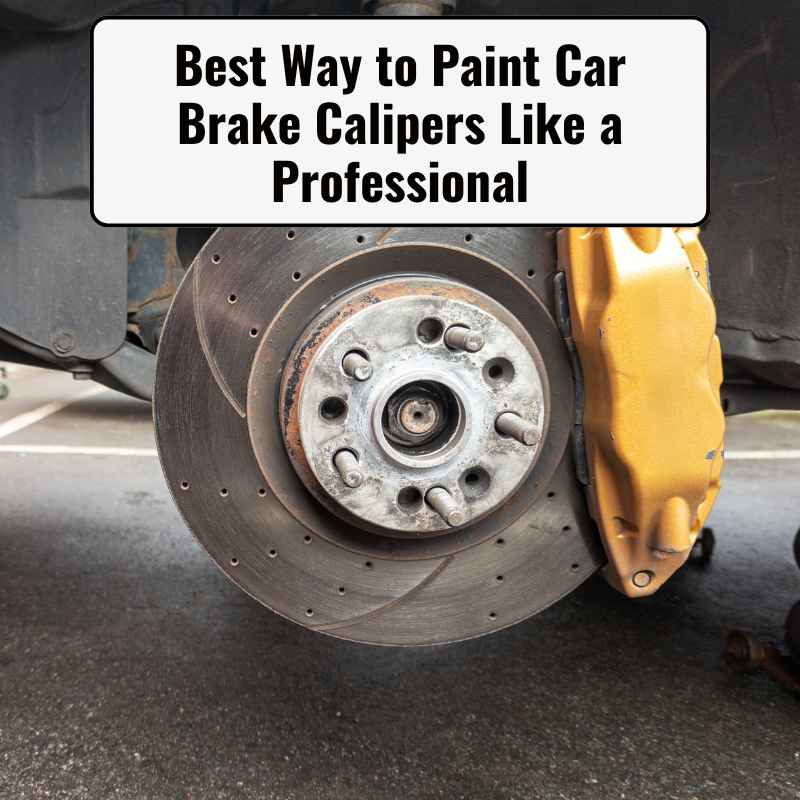
Best Way to Paint Car Brake Calipers Like a Professional
Painting your car’s brake calipers can make a huge difference in appearance and even protect the calipers from corrosion. Many people think painting brake calipers is easy, but if you want a truly professional result, there’s much more to it than just grabbing a spray can. This guide will show you the best way to paint car brake calipers like a professional, with clear steps, useful tips, and practical advice. Whether you drive a sports car or just want your daily ride to look better, this process will help you achieve a clean, durable finish. Let’s dive into everything you need to know.
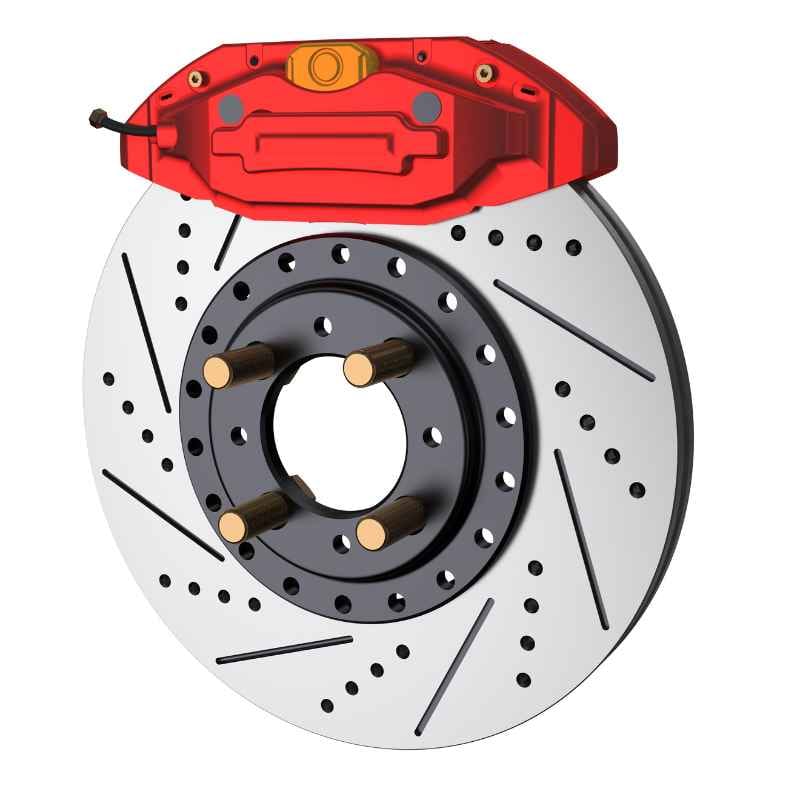
Why Paint Your Brake Calipers?
Most car enthusiasts paint their calipers for style. The bright red, yellow, or even custom colors add a sporty look. But painting is not only for appearance. Factory calipers are usually bare metal or painted with low-quality coatings. Over time, these can rust, fade, or chip. Painting your calipers with the right method can:
- Protect them from corrosion
- Make them easier to clean
- Increase resale value
- Personalize your car’s look
A professional paint job stands out compared to quick DIY efforts. It lasts longer, resists brake dust, and won’t peel under heat.
Understanding Brake Caliper Paint Types
Before starting, you need to pick the right paint. Not all paints can handle the extreme heat and conditions of a brake caliper. Here are the most common types:
| Paint Type | Heat Resistance | Durability | Ease of Use | Typical Cost (USD) |
|---|---|---|---|---|
| Spray Paint | Up to 500°F | Moderate | Easy | $10–$20 |
| Brush-on Caliper Paint | Up to 900°F | High | Medium | $25–$50 |
| High-Temp Powder Coating | 1200°F+ | Very High | Difficult | $200–$400 |
Spray paint is easy for beginners but may not last as long. Brush-on paint is made for calipers and is more durable. Powder coating is the ultimate professional option but requires special equipment and is expensive.
Tools And Materials You Need
For most people, brush-on caliper paint gives the best balance between quality and cost. Here’s what you’ll need:
- Caliper paint kit (brush-on or spray)
- Wire brush and sandpaper (grit: 300–600)
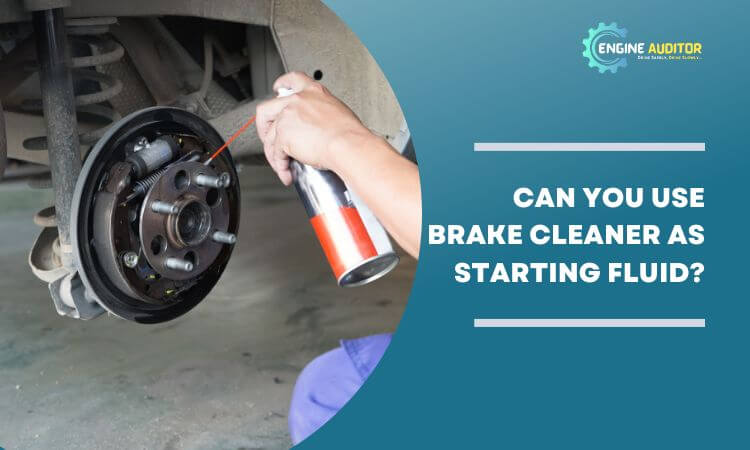
- Brake cleaner spray
- Masking tape and plastic sheeting
- Jack and jack stands
- Socket wrench for wheel removal
- Gloves and eye protection
- Small paint brushes (if using brush-on paint)
- Nitrile gloves
- Disposable rags
- Torque wrench (for reinstalling wheels)
- Optional: Caliper decals for custom logos
For powder coating, you’d need a sandblaster, oven, and more, so we’ll focus on brush-on and spray methods.
Preparing Your Workspace
Painting calipers is messy and involves chemicals. Choose a well-ventilated area, preferably a garage with space to work. Avoid painting outdoors if it’s windy or dusty. Make sure you have enough lighting.
Clear the area around your car and keep all tools within reach. Put on your safety gear before starting.
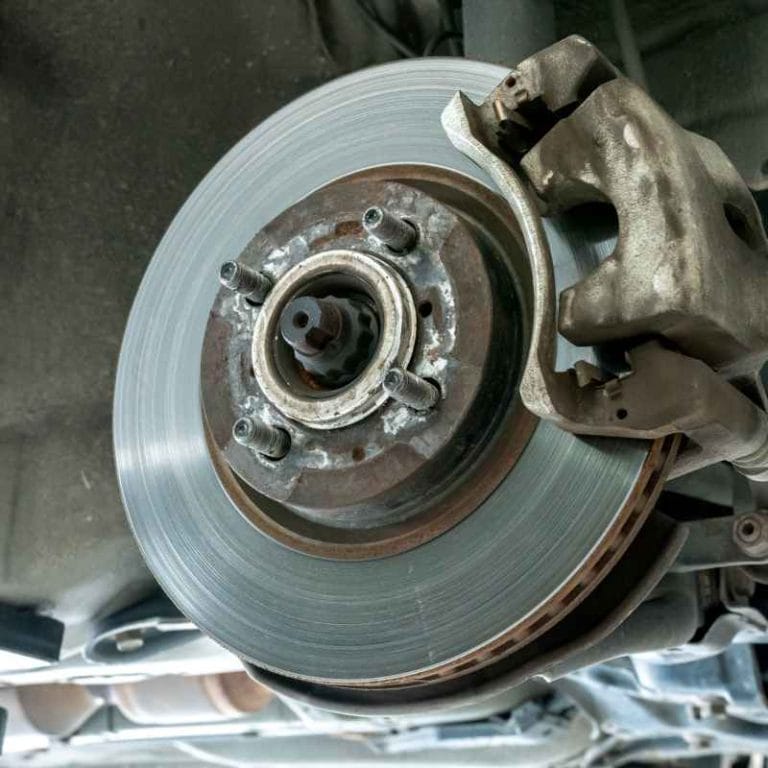
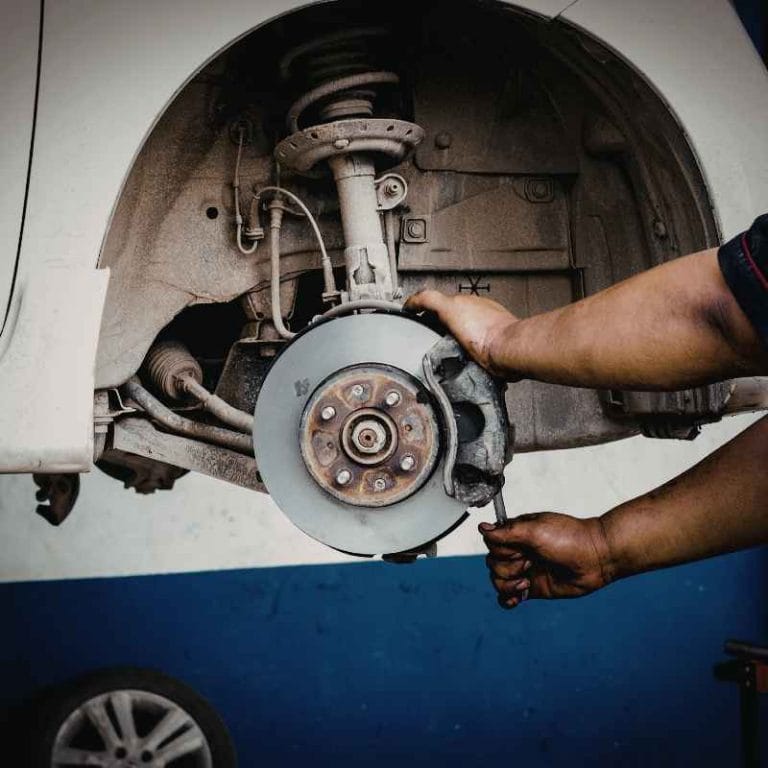
Removing The Wheels And Accessing Calipers
You must remove the wheels to paint the calipers properly. Never try to paint them while they’re still mounted.
- Loosen lug nuts with the car on the ground.
- Jack up the car and secure with jack stands.
- Remove wheels and set aside.
Now you have full access to the calipers. If you want the most professional result, remove the calipers from the car. However, you can paint them while still attached, as long as you mask carefully.
Should You Remove Calipers?
Removing calipers gives you full access and ensures you don’t get paint on brake parts. However, it’s more complex and may require bleeding the brakes afterward. For most people, masking the calipers is enough. If you’re comfortable with brake work, go ahead and remove them.
Cleaning And Preparing Calipers
A professional finish starts with clean calipers. Brake calipers are usually dirty, greasy, and covered in brake dust. Paint will not stick to dirty surfaces.
- Scrub calipers with a wire brush to remove loose dirt and rust.
- Sand the caliper surface to create a rough texture for paint to stick.
- Spray with brake cleaner and wipe off.
- Repeat until calipers are completely clean.
Don’t rush this step. Any oil, dust, or rust left will ruin your paint job.
Masking Surrounding Parts
It’s important to mask areas you don’t want painted. Use masking tape and plastic sheeting to cover:
- Brake discs (rotors)
- Brake lines
- Suspension parts
- Wheel hub
Be patient. Good masking prevents paint overspray and makes your job look professional.
Applying The Paint: Step-by-step
Now, you’re ready to paint. The process is simple, but getting a smooth, even finish takes skill.
Brush-on Caliper Paint
Brush-on paint is thick and designed to withstand heat. Here’s how to apply:
- Stir the paint thoroughly. Do not shake, as bubbles can form.
- Apply the first coat using a small brush. Cover all visible surfaces.
- Let it dry (follow manufacturer’s instructions, usually 30–60 minutes).
- Apply a second coat for deep color and durability.
- Let the calipers dry completely—at least 2–3 hours before touching, and 24 hours before driving.
Spray Paint
If you use spray paint:
- Shake the can well for at least 2 minutes.
- Spray a light first coat from 8–12 inches away.
- Wait 15–30 minutes, then apply second and third coats.
- Let dry for several hours.
Spray painting is fast but can be tricky. Watch for drips or uneven coverage.
Powder Coating
Powder coating is a specialized process. You must remove the caliper, sandblast it, apply powder, and bake at high temperature. It creates the most durable finish. However, it’s expensive and best left to professionals.
Drying And Curing
Paint needs time to cure. Even if it feels dry after a few hours, the paint may not be fully hardened. Most caliper paints recommend:
- 2–3 hours before handling
- 24–48 hours before driving
- 7 days for full cure
Avoid washing your wheels or braking hard during the first week.
Reinstalling Wheels And Finishing Touches
After paint dries, carefully remove masking tape and plastic. Check for any missed spots or overspray. Reinstall the wheels:
- Hand-tighten lug nuts
- Lower the car
- Torque lug nuts to manufacturer’s specs
If you want extra style, apply caliper decals once paint is fully cured.
Common Mistakes Beginners Make
Painting calipers seems easy, but many beginners make mistakes that ruin the finish or even affect braking. Here are some mistakes to avoid:
- Painting dirty calipers: Paint won’t stick to dirt or grease.
- Not masking properly: Overspray can get on rotors or brake pads.
- Using regular paint: Only high-temp caliper paint works.
- Rushing drying time: Paint needs time to cure for durability.
- Touching calipers before dry: Fingerprints or smudges can ruin the finish.
- Applying thick coats: Thick coats can drip and peel.
- Ignoring safety: Working under a car without jack stands is dangerous.
Pro Tips For A Perfect Finish
There are a few tricks professionals use to get a flawless look.
- Sand between coats: Light sanding with 600 grit helps paint stick and removes imperfections.
- Use a tack cloth: Wipe calipers before painting to remove dust.
- Warm paint: Slightly warming the paint (not hot) improves flow and reduces brush marks.
- Paint in low humidity: Moisture can cause bubbling or dull finish.
- Apply thin coats: Multiple thin coats are better than one thick coat.
Many beginners miss the importance of sanding between coats and checking humidity. These steps make the finish last much longer.
Comparing Diy Vs. Professional Caliper Painting
Is it worth paying a pro to paint your calipers, or can you do it yourself? Here’s a comparison to help you decide:
| Method | Cost | Quality | Durability | Time Required |
|---|---|---|---|---|
| DIY Brush-On | $25–$50 | Good | 3–5 years | 4–6 hours |
| DIY Spray Paint | $10–$20 | Moderate | 1–2 years | 3–4 hours |
| Professional Powder Coating | $200–$400 | Excellent | 5–10 years | 1–2 days |
DIY methods are affordable and can look great if you follow the steps carefully. Professional powder coating is costly but lasts much longer and offers a flawless finish.
Choosing The Right Color
Color is personal, but there are a few things to consider:
- Red: Most popular, sporty look.
- Yellow: Bright, eye-catching.
- Blue: Subtle, goes well with silver or black cars.
- Black or Silver: Clean, understated, hides dirt.
Some car brands use unique colors for their performance models. For example, Porsche uses red, BMW M uses blue, and Lamborghini often uses yellow.
How Color Affects Maintenance
Bright colors show brake dust more easily. Black or silver calipers need less cleaning. If you drive in dusty areas, consider a color that’s easy to maintain.
Safety Considerations
Painting brake calipers involves chemicals and working under the car. Always:
- Use jack stands, never rely only on a jack.
- Wear eye protection and gloves.
- Keep brake cleaner away from skin.
- Avoid inhaling paint fumes.
If you remove calipers, be careful not to damage brake lines or spill brake fluid. After reinstalling, check brakes for proper function before driving.
How Long Does Painted Calipers Last?
A professional paint job can last 3–5 years with brush-on paint, and up to 10 years with powder coating. Spray paint may last just a year or two. Durability depends on:
- Quality of paint
- Preparation steps
- Driving conditions
- Cleaning habits
If you wash your car often and avoid harsh chemicals, painted calipers will look good for years.
Maintenance And Cleaning Tips
Painted calipers need simple care:
- Clean with mild soap and water, not harsh wheel cleaners.
- Avoid pressure washing directly on calipers.
- Wipe brake dust regularly.
Brake dust can dull the finish. Use a soft brush and avoid abrasive pads. Never use acidic cleaners—they can damage paint.
Real-world Examples
Many car owners report excellent results with brush-on caliper paint. For example, a 2015 Ford Mustang owner painted his calipers red using brush-on paint. After three years, the finish was still glossy, with only minor chips from gravel. Another owner of a BMW 3 Series used spray paint, but saw fading after one year.
Professional shops often use powder coating for high-end cars. A Lamborghini Huracan caliper powder coated yellow stayed bright after five years, even with frequent track use.
Can Painted Calipers Affect Braking?
If you follow the right steps, painting calipers does not affect braking. The key is to avoid getting paint on rotors or pads. Caliper paint is designed to handle heat and won’t melt or interfere with brake function.
However, spraying paint without masking can lead to overspray on pads or rotors, which is dangerous. Always mask carefully and keep paint away from moving parts.
Environmental Impact
Brake caliper paint contains chemicals that can harm the environment if not disposed of properly. Never pour leftover paint or brake cleaner down the drain. Take unused paint and rags to a local hazardous waste center.
Some brands offer eco-friendly caliper paint with fewer harmful solvents. If you care about the environment, look for these options.
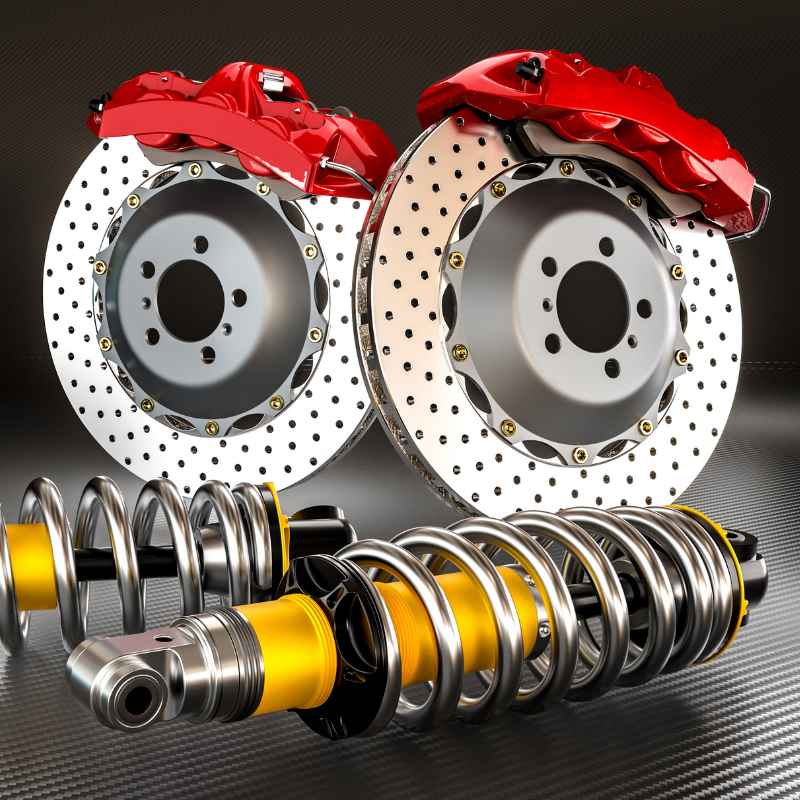
Upgrading Calipers Vs. Painting
Some people wonder if it’s better to buy new calipers instead of painting. Upgrading to performance calipers can improve braking and change the look, but it’s expensive—often $500 or more per axle.
Painting is affordable and gives a custom look without changing brake performance. Unless your calipers are damaged, painting is usually the best choice for style.
Paint Brands To Consider
Some brands have a good reputation for caliper paint:
- G2 USA: Brush-on kit, high durability
- VHT: Spray paint, widely available
- Dupli-Color: Spray and brush-on options
- POR-15: Tough, resistant to chemicals
Read reviews and follow instructions. Some paints require special primers or topcoats.
Step-by-step Summary
Here’s a quick summary of the professional painting process:
- Choose the right paint and gather tools.
- Set up a safe, clean workspace.
- Remove wheels and (optionally) calipers.
- Clean and sand calipers thoroughly.
- Mask surrounding parts carefully.
- Apply paint in thin, even coats.
- Let paint dry and cure fully.
- Reinstall wheels and check brakes.
- Maintain calipers with regular cleaning.
Don’t skip any steps. Preparation is more important than painting itself.
Non-obvious Insights
Many beginners overlook these key points:
- Humidity matters: Painting in high humidity causes paint to dry slowly and can lead to bubbles.
- Caliper shape affects painting: Complex caliper shapes need smaller brushes and patience. Rushing leads to uneven coverage.
- Brake fluid is paint’s enemy: Any brake fluid on the caliper will ruin paint. Wipe off spills immediately.
Advanced Customization
If you want to go beyond color, consider:
- Adding caliper decals for logos or text
- Using two-tone paint for a unique look
- Applying ceramic clear coat for extra shine and protection
These options require more skill but make your calipers stand out even more.
Frequently Asked Questions
How Long Does Caliper Paint Take To Dry?
Most caliper paints dry to the touch in 2–3 hours, but need 24–48 hours for full curing. Avoid driving during this period. Some brands recommend waiting up to 7 days for maximum durability.
Is It Safe To Use Regular Spray Paint?
No. Regular spray paint cannot handle the heat from braking. Always use high-temperature caliper paint. Using regular paint can cause peeling, fading, or even melting.
Can I Paint Calipers Without Removing Them?
Yes, but you must mask all nearby parts very carefully. Removing calipers gives the best result, but masking works well if you take your time.
Will Painted Calipers Chip Or Peel?
If you use the right paint, prepare the surface properly, and allow full curing, painted calipers should not chip or peel easily. Avoid harsh cleaners and pressure washing directly on calipers.
What Is The Best Paint Brand For Calipers?
Some of the most recommended brands include G2 USA, VHT, and Dupli-Color. These are designed for calipers and offer high durability. Check reviews and instructions before buying. For more details on automotive paints, see Wikipedia.
Painting brake calipers like a professional is a rewarding project. The right tools, patience, and careful steps will give your car a clean, custom look that lasts. Whether you choose bright red, sleek black, or a custom color, following this guide will ensure your calipers stand out and stay protected for years.
Take your time, follow each step, and enjoy the results every time you look at your wheels.