It’s a frustrating feeling. You’ve spent money on your car, and it looks great. But then you notice your headlights.
They’re hazy, yellow, and just don’t look right. This makes your car look older. It also makes driving at night harder and more dangerous.
You’ve probably seen products that promise to fix this. One of them is car lamp recovery emulsion.
But how do you use it? And does it really work? We’re going to break it all down.
You’ll learn exactly how to get your headlights looking clear and bright again. It’s simpler than you might think.
Car lamp recovery emulsion helps restore yellowed or hazy car headlights to a clearer state. It works by gently cleaning and polishing the plastic lens, removing oxidation and UV damage. Proper application involves cleaning the lens, applying the emulsion, and buffing to a shine, often followed by a protective coating.
What is Car Lamp Recovery Emulsion?
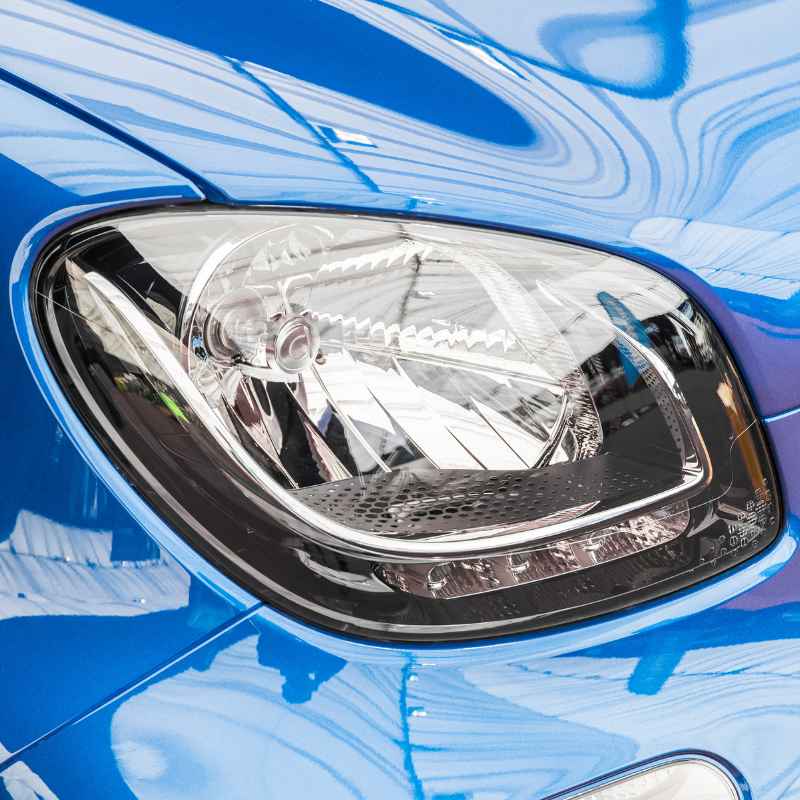
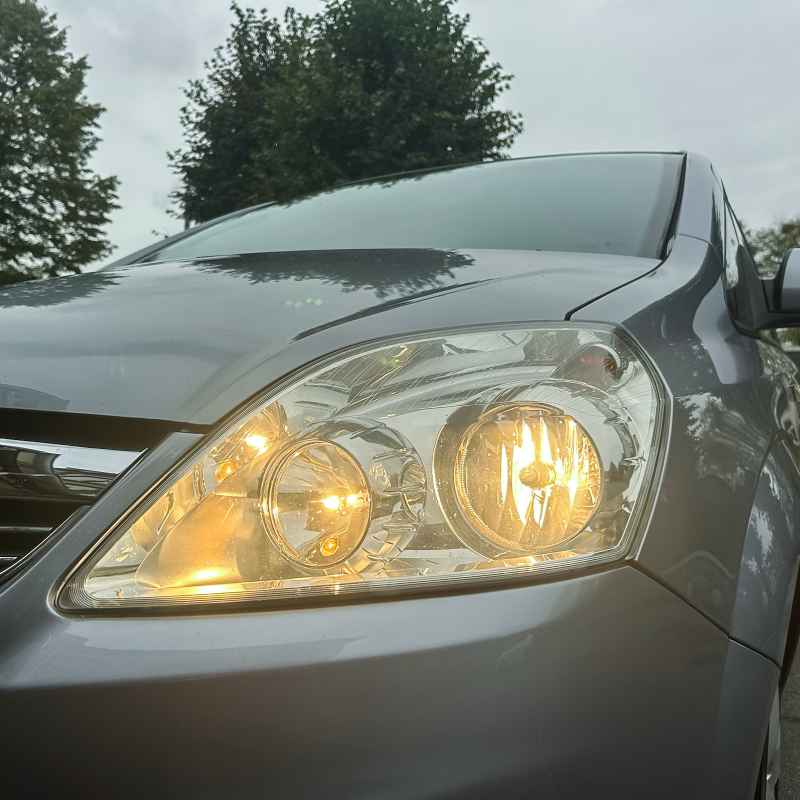
Think of car lamp recovery emulsion as a special cleaner and polisher for your car’s headlights. The plastic lenses on your headlights can get dull over time. This happens because of the sun’s rays.
It’s called UV damage. Rain, dirt, and road salt also play a part. They scratch the surface.
This makes the plastic look foggy or yellow.
The emulsion has tiny particles in it. These particles are like very fine sandpaper. They rub away the damaged outer layer of the plastic.
This reveals a clearer plastic underneath. Many emulsions also have a protectant in them. This helps stop the headlights from getting foggy again too quickly.
It’s not a paint. It doesn’t change the color of your car. It simply cleans and smooths the existing plastic.
It makes them look almost new again. This is much cheaper than buying new headlight assemblies.
My Own Headlight Headaches
I remember one time, I was getting ready for a road trip. My car was packed, and I was excited. But as I pulled out of my driveway at dusk, I noticed how dim my headlights were.
They were so hazy. I could barely see the road. I felt a knot of worry in my stomach.
I knew driving at night would be unsafe. I had always meant to fix them. I just never seemed to have the time.
I saw an ad for recovery emulsion. I bought a bottle, hoping for the best. It arrived, and I decided to try it right then.
The process wasn’t hard, but I made a mistake. I didn’t clean the headlights well enough first. I just sprayed the emulsion on.
The results weren’t great. It was better, but still cloudy. I was so annoyed with myself.
I had to start over. This taught me a valuable lesson: preparation is key!
Why Headlights Get Hazy
Sun’s Rays (UV): The sun is the main enemy. Its ultraviolet light breaks down the plastic. This causes oxidation.
It looks like a yellow or cloudy film.
Road Grime: Dirt, tar, and bug guts stick to your lights. They can scratch the surface over time.
Weather: Rain, snow, and ice can also wear down the plastic. This is especially true in harsh climates.
Minor Scratches: Small nicks from car washes or debris add up. They make the light scatter.
How the Emulsion Works
The magic of recovery emulsion is in its formula. It’s a mix of mild abrasives and chemicals. The abrasives are very, very fine.
They are designed to be gentle. They buff away the damaged plastic surface. It’s like giving your headlights a soft polish.
This process removes the oxidized layer. It also smooths out minor scratches. This allows light to pass through clearly again.
Many emulsions also contain cleaning agents. These help lift away dirt and grime. Some have sealants or protectants mixed in.
These help guard the newly cleared plastic. They offer a shield against future UV damage. They make the results last longer.
The key is that it works on the surface. It doesn’t change the plastic’s structure. It just removes the outer layer that has been damaged by the environment.
The Real-World Application Process
Using car lamp recovery emulsion is a step-by-step process. If you follow these steps, you’ll get the best results. It’s not complicated.
It just takes a little care.
First, you need to gather your supplies. You’ll want the emulsion itself. You’ll also need clean cloths.
Microfiber cloths are best. They are soft and won’t scratch. You might need some car wash soap and water.
Some kits come with sandpaper. If yours does, use that too. You might also need painter’s tape.
The first step is washing the headlights. Use car wash soap and water. Get them really clean.
Make sure to remove all dirt and grime. Dry them completely with a clean cloth. This is important.
Any dirt left can cause scratches when you rub.
Next, you might want to mask off the area around the headlights. Use painter’s tape. This protects your car’s paint.
It keeps the emulsion off areas you don’t want it on. This is a small step that makes a big difference.
Step-by-Step Guide
1. Clean the Headlights: Wash with soap and water. Rinse and dry thoroughly.
2. Mask the Area: Use painter’s tape to protect surrounding paint.
3. Apply Emulsion: Put a small amount on a clean cloth. Rub in circles.
4. Buff to a Shine: Use a clean part of the cloth or a new cloth to buff.
5. Optional: Apply Sealant: If your kit has one, apply the protective coating.
Now, you’ll apply the emulsion. Put a small amount onto a clean microfiber cloth. Don’t use too much.
A little goes a long way. Start rubbing the emulsion onto the headlight lens. Use firm, circular motions.
Cover the entire surface. Work in sections if needed. Spend a few minutes on each headlight.
After rubbing, you need to buff. Take a clean, dry part of the cloth. Or use a fresh, clean cloth.
Buff the headlight lens. You’ll start to see a difference. The haze should be reducing.
Keep buffing until it looks clear and shiny.
Many kits include a final step. This is a sealant or protectant. Apply this after buffing.
It helps keep your headlights clear longer. Follow the product’s instructions for this step.
When Sandpaper is Needed
Sometimes, headlights are very badly damaged. They are deeply yellowed or have heavy oxidation. In these cases, emulsion alone might not be enough.
Many recovery kits come with fine-grit sandpaper. This is used to first remove the worst of the damage.
If you use sandpaper, do it before the emulsion. Start with the coarsest grit that comes with the kit. Wet sanding is often recommended.
This means dipping the sandpaper in water. Keep the headlight surface wet as you sand. Sand in one direction.
Then sand in the opposite direction. This helps remove the old, damaged plastic.
After using the coarsest grit, you move to finer grits. This smooths the surface. It removes the marks from the coarser paper.
You’ll be left with a dull, but smooth, plastic surface. It will look blurry. This is good!
It means the sandpaper did its job.
Sandpaper Grit Explained
Coarser Grits (e.g., 1000-1500): These remove heavy oxidation and scratches. They leave a more visible surface texture.
Medium Grits (e.g., 2000-2500): These start to smooth out the marks left by coarser grits. The plastic becomes less blurry.
Fine Grits (e.g., 3000+): These create a very smooth surface. The plastic will look much clearer before the emulsion step.
Once you’ve sanded with all the grits provided, you’ll clean the headlight again. Then you can use the recovery emulsion. The emulsion will finish the job.
It will polish the surface smooth and clear. The sandpaper opens the door for the emulsion to do its best work.
Always follow the specific instructions for your product. Some kits are designed for use without sandpaper. Others require it for severe damage.
Common Mistakes to Avoid
People often mess up this process. It’s usually because they rush. Or they skip a step.
Let’s look at what not to do.
The biggest mistake is not cleaning the headlights first. If you apply emulsion to a dirty surface, you’ll grind dirt into the plastic. This creates new scratches.
Always wash and dry thoroughly. This is non-negotiable.
Another common error is not masking. Getting emulsion on your car’s paint can be a problem. It might stain or dull the paint.
It’s easy to prevent this with painter’s tape. Take the extra five minutes. It’s worth it.
Using too much product is also a mistake. You don’t need a lot of emulsion. A small amount on your cloth is enough.
Using too much just makes a mess. It doesn’t make it work better.
Mistake vs. Solution
Mistake: Skipping the wash. Solution: Always wash and dry thoroughly first.
Mistake: Not masking. Solution: Use painter’s tape around the headlight edges.
Mistake: Using too much emulsion. Solution: Apply a small amount to the cloth.
Mistake: Not buffing enough. Solution: Buff until the lens is clear and shiny.
Mistake: Skipping the sealant. Solution: Apply sealant for longer lasting results.
Finally, some people don’t buff enough. Or they don’t use a clean cloth for buffing. You need to buff the haze away.
And you need a clean cloth. This step makes them shine. Don’t stop too soon.
If your kit includes a sealant, don’t skip it. It adds protection.
Real-World Context: Different Cars, Different Lights
The state of your headlights can vary a lot. I’ve seen cars that look like they’ve been through a sandstorm. The plastic is completely opaque.
Then there are cars where the yellowing is very light. It’s barely noticeable.
A 20-year-old truck that sits outside all year will have much worse headlights than a 5-year-old car kept in a garage. The climate matters too. In sunny states like Arizona, UV damage is much faster.
In places with lots of salt in the winter, road grime is a big factor.
The type of plastic used also plays a role. Some plastics are more resistant to UV rays than others. But all plastics will degrade over time when exposed to the elements.
Even fancy LED or HID headlights have plastic covers. These can also become hazy.
So, while the process is the same, the amount of work needed can differ. A car with light hazing might only need a quick wipe with emulsion. A very old, neglected headlight might need the full sanding and sealing treatment.
Factors Affecting Headlight Degradation
Age of Vehicle: Older cars often have more wear.
Exposure to Sun: Constant UV rays accelerate damage.
Climate: Harsh weather (hot sun, salty roads) increases wear.
Storage: Garaged cars fare better than those parked outside.
Material Quality: Some plastics are more durable than others.
What This Means for Your Car
When your headlights are clear, it does more than just make your car look good. It makes a real difference in safety. Clear headlights mean better visibility at night.
You can see the road, signs, and other cars more clearly. This reduces the risk of accidents. Especially on dark, winding roads.
It also helps your car pass inspection. In many places, dim or hazy headlights are a reason to fail. Getting them clear can save you from having to fix them later to pass inspection.
Think about the cost. New headlights can cost hundreds of dollars each. Using a recovery emulsion is a fraction of that price.
It’s a great way to save money and get a good result. It’s a DIY project that anyone can do.
When is it Time to Worry?
Most of the time, hazy headlights are just a cosmetic issue. They are also a safety issue. But there are times when you need to think about replacing the whole headlight unit.
If the plastic is cracked or has deep pits, emulsion might not help. The damage goes too deep. If water gets inside the headlight housing, it’s a bigger problem.
This can damage the bulbs and electronics. You’ll see moisture or condensation inside.
If the plastic is crumbling, it’s also time for new ones. If the emulsion doesn’t make a noticeable difference after a few tries, the damage might be too severe. Also, if the lens is very foggy, and you can see the bulbs inside are dim, it might be the bulbs, not just the plastic.
But usually, hazy plastic is the main culprit.
Signs You Might Need New Headlights
Cracks or Pitting: Deep damage that emulsion can’t fix.
Moisture Inside: Indicates a seal failure.
Crumbling Plastic: The lens material is breaking down.
No Improvement: If emulsion fails after repeated attempts.
Internal Damage: If the reflector or bulb housing is visibly damaged.
Quick Tips for Best Results
Here are some easy tips to get the most out of your recovery emulsion.
Work in the Shade: Don’t do this in direct sunlight. The heat can dry out the emulsion too fast. It can make buffing harder.
A cool, shaded spot is best.
Use Multiple Cloths: Have plenty of clean cloths handy. You’ll need them for applying, buffing, and wiping away residue. Dirty cloths can cause more problems.
Follow the Product Instructions: Every product is a little different. Read what the manufacturer says. They know their product best.
Repeat if Necessary: For very bad headlights, you might need to do the process twice. Or you might need to do an extra sanding step. Don’t give up if it’s not perfect the first time.
Protect After Cleaning: If you don’t have a sealant in your kit, consider buying one. Or even applying a coat of car wax after cleaning. It helps maintain the shine and protects the plastic.
Pro Tips for Headlight Restoration
Shade is Best: Avoid direct sun for application.
Plenty of Cloths: Use clean cloths for each step.
Read the Manual: Follow product-specific directions.
Second Pass for Tough Cases: Don’t be afraid to repeat the process.
Post-Care is Key: Seal or wax to protect the results.
Frequently Asked Questions
How long does the effect of car lamp recovery emulsion last?
The duration varies. It depends on the product used, how much you applied, and your car’s environment. Typically, results can last from a few months to a year.
Using a sealant after application helps extend the life of the shine.
Can I use car lamp recovery emulsion on plastic headlights that are just dirty?
Yes, but it’s not the main purpose. A good car wash should remove dirt. Emulsion is for oxidation and haziness.
Using it on just dirt might be overkill and waste the product. Always start with a thorough wash.
Is car lamp recovery emulsion safe for all types of plastic headlights?
Generally, yes. These products are designed for polycarbonate plastic, which is what most modern headlights are made of. However, always test a small, inconspicuous area first if you are unsure.
Avoid using it on painted or coated surfaces.
What is the difference between headlight restoration kits and just emulsion?
Many kits include emulsion along with other items like sandpaper, masking tape, and sealants. Emulsion is often the core polishing product. Kits offer a more complete solution for various levels of damage.
Should I use sandpaper even if my headlights are only slightly hazy?
No. If the haziness is very light, you might get great results with just the emulsion and buffing. Sandpaper is for more severe oxidation.
Using it when it’s not needed can create unnecessary scratches that then need to be polished out.
Can I use a power drill or buffer with car lamp recovery emulsion?
Some advanced kits recommend using a power tool with specific pads. However, for most basic emulsions, hand application is sufficient and safer. If you choose to use a power tool, be very careful.
Use low speeds and avoid overheating the plastic, which can cause damage.
Final Thoughts on Clear Headlights
Restoring your car’s headlights with recovery emulsion is a rewarding task. It improves your car’s look and your safety. You now know the steps.
You know how to avoid common pitfalls. With a little effort, you can bring back the clarity. Enjoy brighter nights and a sharper-looking car!