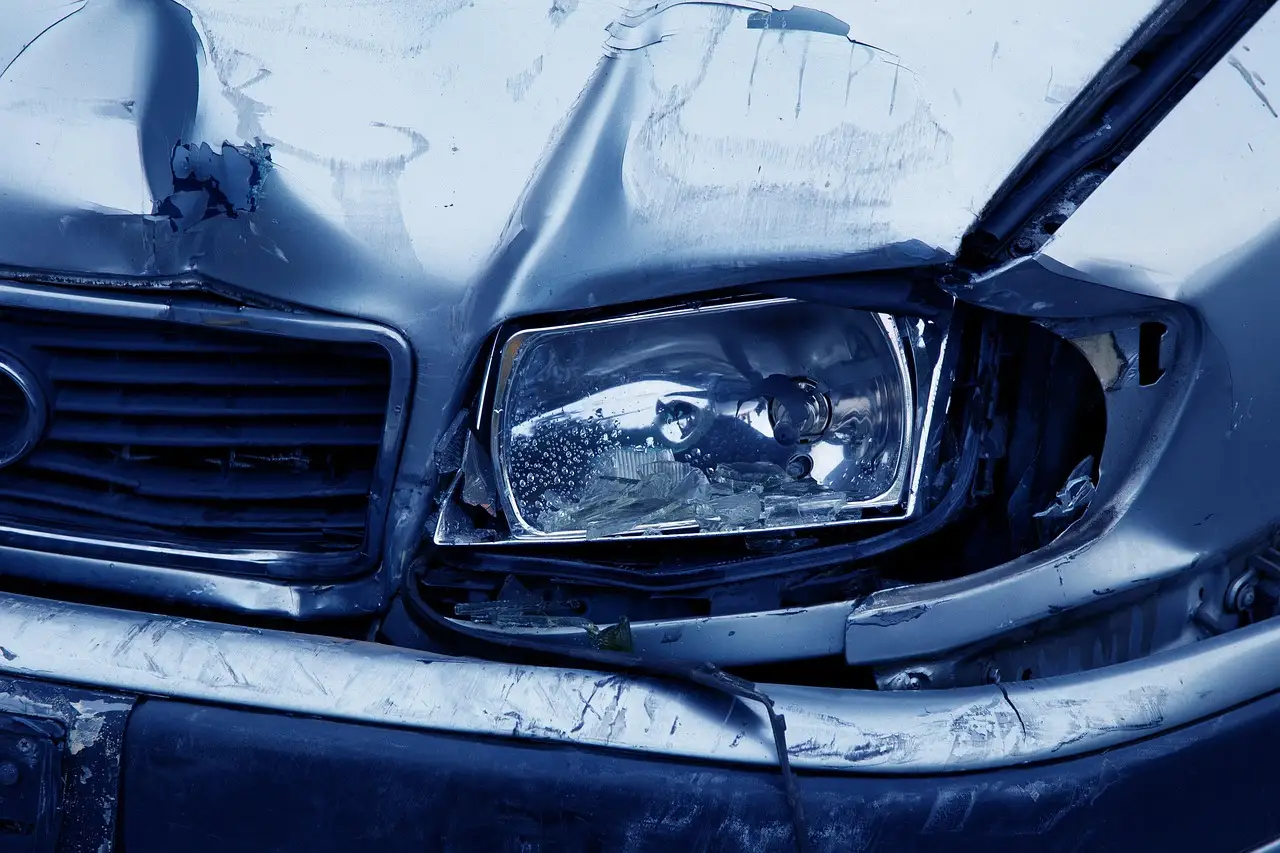
How to Fix a Water Leak in a Car Light Housing
Standing water in a light housing usually points to active water intrusion rather than normal condensation. Find the leak path first, then fix the smallest failed seal, vent, bulb gasket, or housing crack; if the housing is cracked, replace it with a new housing. Ignoring it can corrode connectors, fog the lens, and burn out bulbs. This guide shows how to pinpoint the entry point and choose the least invasive repair that stops repeat moisture.
What causes water in a light housing

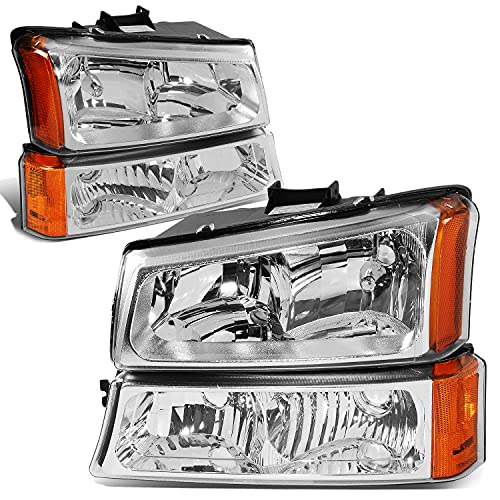
Light housings are sealed enclosures with a lens, a back shell, and a few common entry points. Moisture may come from condensation after a cold night or from an opening at the lens seam, bulb socket, vent, drain, or mounting points. The repair changes once you know which one it is.
Condensation versus active leak
Light misting after a temperature swing can clear on its own. Droplets, puddles, or water that reappears after drying point to a true leak. Front lamps often show seam and vent issues, while rear lamps often leak at the bulb socket, rear cover, or body seal.
Why the leak comes back
A blocked breather vent can trap moisture and make a housing that is otherwise sound look bad. A flattened foam gasket, a hardened O-ring, or a warped shell will also let water back in after a quick reseal. Silicone used in the wrong place can make future repair harder if the lamp later has to come apart.
What you’ll need
- Clean water in a spray bottle
- Tissue or paper towel
- Flashlight
- Low-pressure air source or compressed air with a gentle regulator setting
- Trim tool or screwdriver for the lamp cover, if needed
- Replacement foam gasket or rubber seal that matches the housing shape
- Replacement bulb socket O-ring, if the socket is removable
- Butyl sealant for lens-to-housing reseal after separation
- Automotive-safe, non-corrosive sealant only if the lamp maker allows it
How do you find the leak?
Start with a dry lamp and test one path at a time. Move from the most likely entry points to the least. That keeps you from resealing a seam when the real problem is a rear cover, vent, or cracked shell. Use water only after the housing has been dried first.
- Open the access cover or remove the lamp assembly, then inspect the lens seam, rear cover, bulb socket, vent, drain, and mounting points.
- Spray the outside with clean water in short passes, then check inside with a flashlight and tissue for the first wet point.
- Use low-pressure air around the suspected area to watch for bubbles or movement at a seam or cover edge.
- Mark the exact spot, then stop. Repair only that point.
Inspect the lens seam
Look for separated butyl, a visible crack, or a gap where the lens meets the back shell. If the leak appears along the joint line, a butyl reseal is often the right fix. If tabs are broken or the shell is warped, sealant alone will not hold.
Check the bulb socket and rear cover
Twist-lock and bayonet sockets depend on full seating and an intact O-ring. If the socket sits crooked, the O-ring is hard, split, or missing, or the rear cap does not lock fully, water can track straight in. A loose bulb cover on a taillight can do the same.
Test the vent and drain
Find the breather vent before you call it a leak. Dirt, road film, or wax can clog the vent and trap humidity inside the lamp. A vent that lets no air pass may need cleaning or replacement, not more sealant. Drain openings should stay open and clear.
Look for cracks and broken tabs
Inspect corners, mounting ears, and the lens edge for impact damage. A split housing, missing tab, or warped shell often leaks under pressure and vibration. When the plastic shape is no longer true, a reseal usually fails again.
Can you drive with water inside the light?
Light condensation without pooling is usually a lower risk than a full leak, but it still needs a fix if it repeats. Standing water can damage connectors, weaken bulb bases, and cut light output. If the lamp is flickering, the beam is distorted, or a connector is wet, stop and inspect before more driving.
When moisture is low risk
A thin haze after a cold soak may clear once the lamp warms. That is more consistent with condensation than intrusion. If the mist disappears and does not return after the housing dries, the vent may be working and no seal repair may be needed.
When to stop driving and inspect
Do not ignore droplets, sloshing, or water at the bottom of the lens. If the bulb socket or connector is wet, disconnect power where needed and dry the assembly before further use. Electrical corrosion can start quickly in a sealed enclosure.
Why electrical damage matters
Water inside a lamp can attack terminals, socket contacts, and ground points. That can create intermittent lighting, blown bulbs, or a melted connector. The repair should prevent the next wet cycle, not only clear the current fog.
Dry the housing first
Drying is part of the repair, not a finish step. Remove the bulb and disconnect power where needed before any heat or air flow. Let the lamp dry fully before sealing, or trapped moisture can stay inside and return as fog.
- Remove the bulb, cover, or lamp assembly as needed.
- Blot visible water with tissue or a paper towel.
- Use low heat only, such as a gentle hair dryer setting held at a safe distance, to avoid warping plastic.
- Allow full air-dry time until no droplets remain on the lens, shell, or socket area.
- Recheck the housing with a flashlight before any reseal.
Say your left tail light has a tablespoon of water pooled at the bottom after rain. Drying it without fixing the rear cover will only buy time. Suppose the same lamp still fogs after a clean vent and a dry shell; that points back to a socket seal or cracked seam, not to simple condensation.
When should you reseal or replace it?
Reseal only when the housing is sound and the leak is at a join or seal surface. Replace the gasket, O-ring, or rear cover seal when those parts have flattened, split, or shrunk. If the shell is cracked, warped, or missing tabs, replacement is often the more reliable fix.
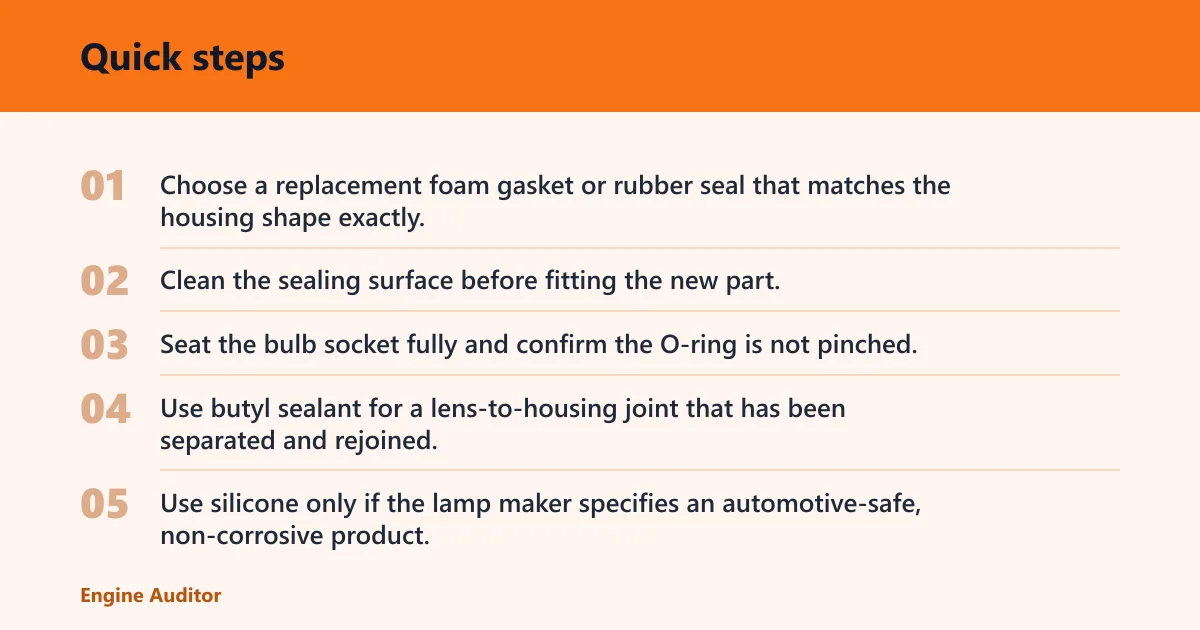
- Choose a replacement foam gasket or rubber seal that matches the housing shape exactly.
- Clean the sealing surface before fitting the new part.
- Seat the bulb socket fully and confirm the O-ring is not pinched.
- Use butyl sealant for a lens-to-housing joint that has been separated and rejoined.
- Use silicone only if the lamp maker specifies an automotive-safe, non-corrosive product.
Butyl sealant versus silicone
Butyl stays flexible and is the common choice for resealing light lenses after separation. Silicone is not always suitable for automotive lamps, and the wrong type can complicate future disassembly or attack nearby materials. If silicone is used, it should be non-corrosive and explicitly labeled for automotive use.
Front lamps and rear lamps differ
Front headlamps often leak at the lens seam, vents, or rear access caps. Rear lamps often fail at the bulb carrier, socket seal, or body gasket. Aftermarket assemblies may have looser fitment than original parts, so check the mounting points and cover fit before assuming the lens itself is bad.
Common mistakes
Most repeat leaks come from a repair that missed the true entry point. A clean-looking seam can still be sound while a vent is blocked or a rear cover is loose. Keep the repair narrow and match the fix to the part that failed.
- Resealing the whole lamp when the leak is only at the bulb socket.
- Using sealant before the housing is fully dry.
- Ignoring a clogged breather vent.
- Installing the wrong gasket shape or reusing a flattened one.
- Trying to seal a warped shell that needs replacement.
Leak diagnosis checklist
| Symptom | Likely leak source | Best fix |
|---|---|---|
| Light misting after a cold night, then clears | Normal condensation or a mildly restricted vent | Check vent flow; pass if it clears within a drive cycle and returns only with temperature swings |
| Droplets along the lens edge | Lens seam leak | Dry the lamp, then reseal the seam with butyl; pass if a water spray no longer wets the joint |
| Water at the rear of the lamp or around the bulb | Bulb socket or rear cover leak | Replace the O-ring or gasket; pass if the socket seats fully and stays dry after a water test |
| Fog that keeps returning after drying | Blocked breather vent | Clean or replace the vent; pass if air moves through the vent and the fog does not return |
| Pooled water after rain or wash | Cracked housing, split tab, or warped shell | Replace the housing; pass only when a replacement unit stays dry under the same water test |
Frequently asked questions
How do I fix a water leak in a car light housing?
Dry the lamp, find the exact entry point, and fix only that part. A seam gets butyl, a rear cover gets a gasket, and a socket gets a new O-ring. If the shell is cracked or warped, replace the housing instead of stacking more sealant on it.
Why is water getting into my tail light or headlight?
The most common causes are a failed lens seam, a loose bulb socket, a blocked vent, or damaged plastic at a mounting point. Rear lamps often leak around the bulb carrier and body seal. Front lamps more often show seam or vent problems.
Can I drive with water inside a car light?
If it is only a thin haze and the lamp works normally, short-term driving may be possible. If water pools, the bulb flickers, or a connector is wet, stop and inspect. Electrical corrosion can spread quickly and create a bigger repair.
How do I dry out a fogged car light housing?
Remove the bulb, open the access cover, and let the housing air-dry fully. Use low heat only, held well away from the plastic. A sealed lamp that still fogs after drying needs a leak check at the seam, socket, or vent.
Should I reseal the light or replace the gasket?
Replace the gasket or O-ring when it is flattened, split, or shrunken. Reseal with butyl when the lens seam has separated but the housing shape is still true. If the plastic is warped or broken, replacement is the better path.
When does a cracked light housing need replacement instead of repair?
Replace it when you see a fracture, broken mounting tab, or shell warp that prevents a flat seal. A crack at the lens edge or a distorted rear cover usually leaks again after resealing. A new housing is the reliable fix in that case.
How do I stop moisture from coming back in car lights?
Clear the vent, fit the correct gasket or O-ring, and confirm every cover and socket seats fully. After the repair, spray the lamp with clean water and recheck for seepage. If moisture returns, the leak path was not fully fixed.
Products related to this article
Sponsored / affiliate links. As an Amazon Associate I earn from qualifying purchases. I may earn additional commission from eligible campaigns.