Why Is My Car Rattling When Going Over Bumps?
Byline: Reviewed by ASE-certified technician Daniel Ruiz, who has 15+ years of experience diagnosing suspension, steering, and exhaust noise concerns in independent repair shops.
This guide is part of our Car Noise Diagnosis by Symptom: Where the Sound Comes From and How Serious It Is series.
If the rattle happens mainly over bumps, start with sway-bar links, strut mounts, control-arm bushings, exhaust hangers, or loose trim; a wheel bearing is usually a secondary possibility unless the noise changes with speed or cornering, not just bumps (NHTSA, manufacturer service guidance, and MOOG/Monroe technical references). Ignore it, and a cheap bushing or hanger can turn into tire wear, poor handling, or a failed inspection. This guide helps you sort the noise by sound, location, and steering or braking input so you can narrow the fault fast.
How the type of bump helps pinpoint the source


When a car rattles only on bumps, looseness in the suspension, exhaust, or body hardware is the usual cause (NHTSA vehicle safety guidance; OEM chassis inspection procedures). The fastest clue is whether the sound is a sharp clunk, a loose rattle, a creak, or a metallic chatter, because those patterns point to different parts and different urgency.
What the sound usually means
A clunk usually suggests play in a loaded joint or mount. A rattle often points to something loose, thin, or lightly attached, such as a sway bar link or heat shield. A creak usually tracks with pivoting rubber or mounting parts, especially when the suspension moves or the steering turns (MOOG/Monroe suspension diagnosis references).
A metallic chatter sounds like fast, light tapping over small road edges or washboard pavement. That pattern often fits a loose bracket, shield, or interior panel more than a major suspension joint. A quick underbody tap test can help confirm whether the sound is from a thin shield rather than a loaded suspension joint, but final diagnosis still depends on inspection with the vehicle safely lifted and supported per manufacturer procedure.
How road input narrows the source
If the noise happens on every bump, start with parts that move with the wheel and suspension travel. If it happens only on small bumps, sway bar links and loose trim move higher on the list. If it appears when braking into a bump, control arm bushings and brake hardware deserve attention.
Front-only noise usually comes from the struts, mounts, ball joints, tie rod ends, or front sway bar hardware. Rear-only noise often points to rear shocks, trailing arm bushings, rear sway bar links, brake hardware, or exhaust hangers near the axle or rear subframe.
When the noise points to safety-related wear
Ball joints and tie rod ends can create bump-related noise and instability, and severe wear can lead to loss of steering or control. Federal safety guidance and OEM service manuals treat looseness in these parts as a serious concern, not a comfort issue (NHTSA; manufacturer service information). If the car pulls, wanders, or feels vague, stop treating the sound as a comfort issue.
Bump noise diagnostic matrix
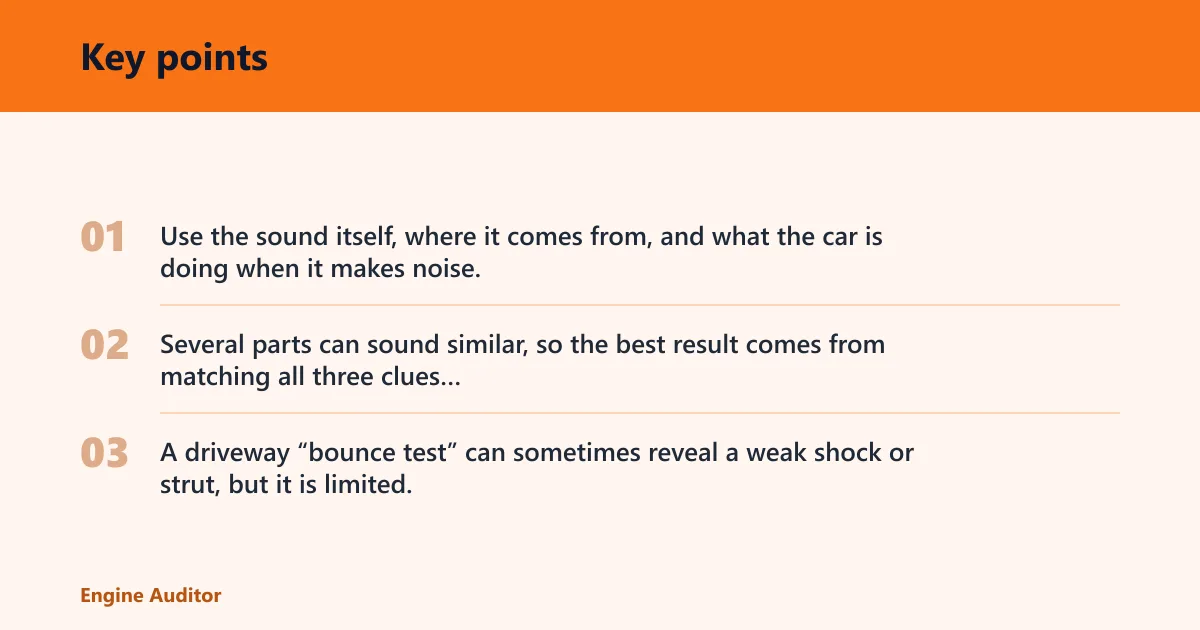
Use the sound itself, where it comes from, and what the car is doing when it makes noise. Several parts can sound similar, so the best result comes from matching all three clues before replacing anything. A driveway “bounce test” can sometimes reveal a weak shock or strut, but it is limited; many worn parts only show play when loaded at ride height or when the suspension is pried in the correct direction during inspection.
| Sound type | Where it is heard | When it happens | Most likely component | What usually rules it out | DIY-safe vs shop-only | Do not drive if | Quick check | Urgency |
|---|---|---|---|---|---|---|---|---|
| Sharp clunk | Front end | Single bump or pothole | Strut mount or strut assembly | No noise with steering at rest, no leakage, no top-mount movement, and the sound is clearly from another corner | DIY-safe for visual inspection; shop-only for loaded strut/top-mount diagnosis and replacement | Yes, if steering feels loose, the tire contacts the wheel well, or the body drops after bumps | Look for top mount damage, leaking oil, or looseness at the tower | High if handling feels loose |
| Rattle | Front or rear, under the car | Small bumps at low speed | Sway bar link | The noise changes mostly with engine RPM, disappears when the bar is unloaded, or the link boots and joints are intact with no play | DIY-safe for visual shake check on level ground; shop-only if the link must be checked with suspension loaded/unloaded correctly | Yes, if the wheel is unstable, the link is broken, or the noise becomes a hard knock | Check for loose end links or broken boots | Moderate; often inexpensive but should not wait long |
| Creak | Front end | Turn and bump together | Strut mount | The sound happens only on brake application, only at speed, or clearly comes from trim or exhaust contact | DIY-safe for listening at a stop; shop-only for suspension-loaded inspection and torque verification | Yes, if steering bind, popping, or wandering develops | Listen while turning the wheel at a stop | Moderate to high |
| Clunk | One front corner | Bump plus braking or acceleration | Control arm bushing | The arm stays centered under prying, the bushing is intact, and the sound tracks to brake hardware or a loose shield instead | DIY-safe for visual cracking check; shop-only for pry-bar load testing and alignment-related diagnosis | Yes, if the wheel shifts, the car darts under braking, or the tire rubs | Look for cracking, separation, or arm shift | High if steering changes |
| Knock | Front end | Repeated bump input | Ball joint | No free play is found with correct jacking/loading method, and the sound is isolated to another component | Shop-only for proper play check; do not rely on a simple shake alone | Yes, if play is present or the steering wheel feels disconnected | Check for play at the wheel and joint area | High; severe wear is unsafe |
| Metallic chatter | Underbody | Rough road or speed bumps | Heat shield | The noise stays with the wheel end after the shield is secured, or the shield shows no looseness when tapped | DIY-safe for visual check and gentle hand/tap inspection; shop-only if shield removal or exhaust support is needed | No, unless the shield is contacting a tire, brake line, or driveshaft | Tap the shield lightly and check for rusted fasteners | Low to moderate |
| Rattle | Rear underbody | Rough pavement | Exhaust hanger or bracket | The exhaust is isolated from the body, hangers are intact, and the noise remains after the exhaust is supported | DIY-safe for visual check; shop-only if welding or exhaust support repair is needed | Yes, if the exhaust can contact the body, axle, or fuel-tank area | Inspect rubber hangers and broken brackets | Moderate |
| Hum, growl, or grind with bump change | One corner | Turns or lane changes over bumps | Wheel bearing | No change with cornering, no speed-related hum, and the sound is a single bump-only clunk rather than a bearing-type growl | DIY-safe for listening tests; shop-only for hub/bearing play checks and noise isolation | Yes, if the wheel develops play, ABS faults appear, or noise rises quickly with speed | Note whether the pitch changes when steering | High |
| Vague knock with steering movement | Front end | Turning over a bump | Tie rod end | The sound does not change with steering angle, and no looseness is found at the joint or steering rack connection | Shop-only for correct play check; DIY-safe only for visual boot inspection | Yes, if steering response becomes delayed, loose, or unpredictable | Check for play and steering looseness | High |
| Loose rattle | Rear seat area or cargo area | Bumps only, no steering input | Interior trim or loose cargo | The sound remains after the cabin is emptied, cargo is secured, and trim clips are checked | DIY-safe | No, unless the item can become a projectile or strike metal | Empty the trunk and foldable storage areas | Low, unless something is striking metal |
| Clunk on holes or speed bumps | Front or rear suspension | Deep bump or one-wheel drop | Shock absorber or strut | No leakage, no body contact, and the bounce/return behavior is normal for the vehicle | DIY-safe for visual checks; shop-only for ride-height and damping diagnosis | Yes, if the vehicle bottoms out, sways excessively, or tire contact appears | Look for leaking oil, dented housings, or repeated bounce | Moderate to high |
| Creak plus clunk | One side of the car | Turning and bumping at the same time | Upper suspension hardware or mount | Noise is present only with brake pedal input or only from a loose underbody panel | Shop-only if upper mount hardware must be loosened, torqued, or inspected under load | Yes, if steering feel changes or a top mount is visibly damaged | Check for cracked rubber and torn boots | High if steering feel changes |
| Thud or clatter | Near wheel or axle line | Brake application over bumps | Brake hardware or loose pad clip | The noise is absent when the brakes are not applied and the rotor/pad hardware is secure | DIY-safe for visual pad/clip inspection if the wheel is removed safely; shop-only for brake service or torque verification | Yes, if braking performance changes or the pedal pulsates with noise | Check pad clips, caliper bolts, and anti-rattle hardware | High |
| Rattle | At one corner, often top of wheel well | Over bumps or when body twists | Coil spring isolator or spring seat | The spring is seated correctly, the noise is absent on other corners, and no broken seat pad or isolator is visible | Shop-only for spring seat inspection if the spring must be unloaded or removed | Yes, if the spring is displaced, broken, or contacting the body | Inspect the spring seat and isolator for cracks or displacement | Moderate to high |
| Clunk from under floor | Center or rear underbody | One-wheel bump or driveway approach | Subframe bolts or subframe bushings | Torque is correct, witness marks are absent, and no subframe shift is visible | Shop-only for torque check and subframe alignment verification | Yes, if the vehicle pulls, shifts, or steering wheel center changes suddenly | Look for witness marks, shifted hardware, or failed bushings | High |
| Light metallic rattle | Wheelhouse, bumper edge, or undertray area | Small bumps, splash, or road vibration | Loose splash shield | No contact with the tire, suspension arm, or exhaust, and fasteners are intact after re-seating | DIY-safe | No, unless it rubs the tire or gets pulled into moving parts | Check clips, screws, and lower liners | Low |
Which suspension parts make the most common bump noise?
Worn suspension parts are a frequent source of bump-related rattles, but it is better to diagnose by pattern than by assumption. Shocks and struts, ball joints, sway bar links, and bushings are the first parts to check, with brake hardware, spring isolators, and subframe mounts also worth attention when the noise is tied to a single corner or a specific load transfer. Match each part to a specific sound and movement pattern before ordering replacements.
Shock absorbers and struts
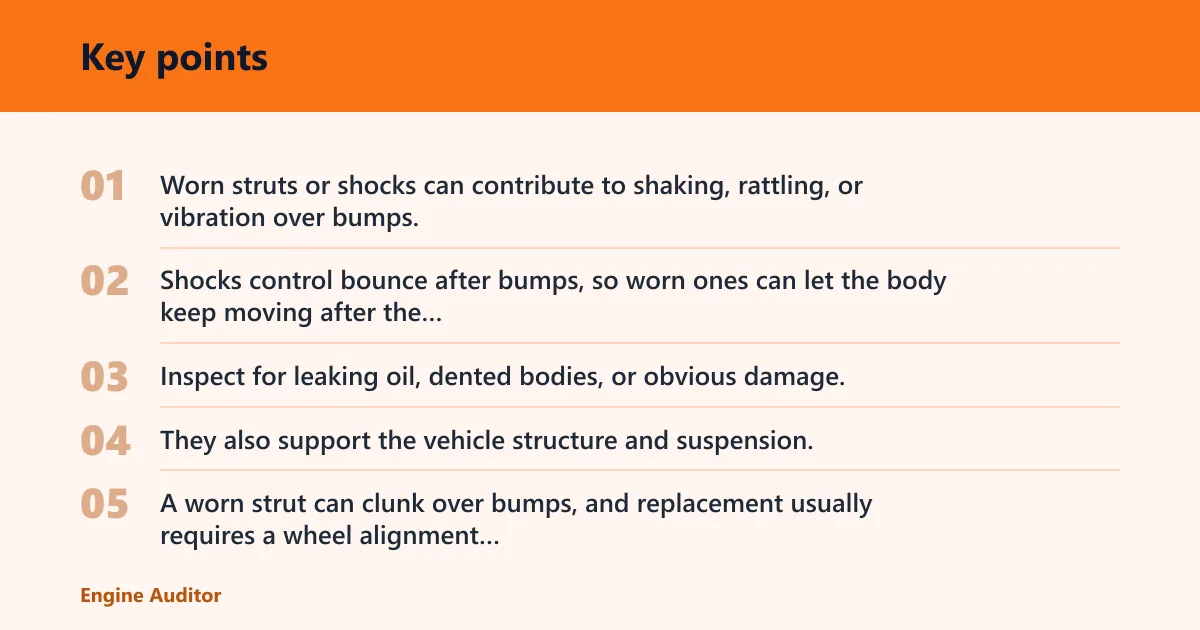
Worn struts or shocks can contribute to shaking, rattling, or vibration over bumps. Shocks control bounce after bumps, so worn ones can let the body keep moving after the wheel should have settled. Inspect for leaking oil, dented bodies, or obvious damage, and replace them in pairs when worn (OEM service guidance and Monroe technical references).
Struts do more than damp motion. They also support the vehicle structure and suspension. A worn strut can clunk over bumps, and replacement usually requires a wheel alignment afterward. Torque on strut fasteners matters; final tightening should follow the manufacturer procedure, often at ride height for related bushings, so the suspension is not preloaded incorrectly.
Strut mounts and top hardware
Strut mounts sit at the top of the strut assembly. They can produce clunking over bumps and creaking when turning the steering wheel. These mounts often fail with age, and they are commonly replaced with the struts because the labor overlaps.
Suppose the front left corner clunks over driveway lips and also creaks when the steering is turned at a stop. That combination points more strongly at the strut mount than at a loose exhaust shield. A shop may confirm this by checking for top-mount movement while the suspension is loaded and by listening for a spring “wind-up” or release sound during steering input.
Ball joints, control arm bushings, and sway bar links
Ball joints connect the steering knuckle to the control arm. Play in the joint can cause clunking or knocking over bumps, and severe wear can cause wheel separation. This is a safety issue, not a noise-only repair. Proper inspection usually involves lifting and supporting the vehicle per service manual procedure, then checking for movement with a pry bar or approved test method rather than relying on a simple wheel wiggle alone (NHTSA; OEM service manuals).
Control arm bushings reduce vibration and allow pivoting motion. Cracking or separation creates play and clunks, especially during acceleration or braking. Alignment is needed after replacement. Control-arm bushings can also be deceptive because they may look intact while the inner sleeve has separated; that is why shop-level pry-bar loading and ride-height inspection matter.
Sway bar links connect the sway bar to suspension components. Broken or worn links can create a rattling or clunking noise over bumps, often over small bumps first. They are commonly inexpensive and straightforward to replace. On some vehicles, the link only reveals play when the suspension is loaded or when the bar is twisted during diagnosis.
Brake hardware, coil spring isolators, subframe bolts, and splash shields
Brake pad clips, caliper pins, and anti-rattle hardware can make a sharp clatter that shows up mostly over bumps and sometimes only when the brakes are lightly applied. If the sound disappears after a proper brake hardware check, suspension parts may not be the problem.
Coil spring isolators and spring seats can crack or shift and create a rattle or thud from the top or bottom of the spring. This is easy to miss because the spring can look fine while the seat pad or isolator is worn. A failed isolator can also make the car sound like a loose strut mount.
Subframe bolts and bushings are less obvious but important. If the subframe has shifted, the noise may come with steering offset, tire wear, or a changed wheel center position. This is typically a shop-only diagnosis because the hardware must be checked against torque specs and alignment marks.
Loose splash shields are common and easy to overlook. They can rattle on bumps, catch airflow, and sound louder than they are. Still, they should be secured correctly because a loose liner can rub a tire or snag a brake line protector if ignored.
Why does it rattle underneath the car?
Rattling underneath the car usually means the noise is not coming from the wheel end of the suspension at all. Heat shields, exhaust hangers, brackets, clamps, and loose underbody hardware can sound very similar to suspension parts, especially on rough roads or over speed bumps.
Heat shields and exhaust hangers
Heat shields are exhaust-related sheet metal shields. Rust and oxidation can loosen them, and the resulting rattle can mimic suspension noise. Loose or broken heat shields are a recognized source of underbody rattle, and OEM exhaust service instructions commonly call for checking the shield fasteners, contact points, and surrounding mounts before replacing major parts.
Exhaust hangers and brackets support the exhaust system under the car. Loose or broken mounts can rattle on rough roads, and rusted parts may need welding rather than a simple bolt replacement.
Brackets, clamps, and loose underbody hardware
Loose clamps, broken brackets, or unsecured shields often make a lighter, faster rattle than a suspension clunk. If the sound changes when the engine shifts on its mounts or when the exhaust is tapped by hand, that points away from control arms and toward the exhaust path.
Interior trim or cargo that mimics suspension noise
Do not ignore cabin sources. Spare tire hold-downs, jack kits, seat latches, rear trim panels, and cargo that moves in the trunk can all rattle over bumps. A common first-timer mistake is replacing a suspension link before emptying the trunk and checking the rear trim clips.
Why does it creak when turning over bumps?
Creaking while turning over bumps usually points to parts that pivot under load. The most likely causes are strut mounts, upper suspension hardware, tie rod ends, or a wheel bearing that changes noise as cornering load shifts. The steering input is the clue that separates this from a simple straight-line rattle.
Strut mounts and upper suspension movement
Strut mounts can creak when the steering wheel turns because the top of the strut is rotating under load. If the same corner also clunks over bumps, the mount or the upper strut hardware becomes a stronger suspect than the exhaust or trim.
Tie rod ends and steering play
Loose or worn tie rod ends can cause vibration over bumps and wandering steering. They connect the steering rack to the steering knuckle, so wear often shows up as vague steering feel before it becomes a loud knock. That is why a turn-related bump noise deserves a steering check, not just an ear test.
Wheel bearings when the noise changes with cornering
Bad wheel bearings can produce humming, growling, or grinding noise that may worsen over bumps. The pitch may change when turning, which is the clue that separates a bearing from a sway bar link or strut mount. A bearing issue is less about a single clunk and more about a changing road-and-load noise.
How should you inspect it at home?
Start with a visual walkaround and loose-item check, then move to tires, wheels, and suspension hardware. Look for leaks, cracked bushings, broken mounts, and anything that shifts when nudged. If the noise affects steering, braking, or one wheel corner feels loose, stop there and schedule a shop inspection. Manufacturer procedures typically specify supporting the vehicle correctly, then checking for play with the suspension loaded or unloaded as required by the component being tested.
Start with a visual walkaround and loose-item check
- Empty the cabin, trunk, and cargo area.
- Check the spare tire, jack, and hold-downs.
- Look under the bumper for hanging shields or loose clips.
- Scan for obvious exhaust contact or dangling hangers.
Check tires, wheels, and suspension hardware for play
Look for tire damage, missing wheel weights, or anything rubbing inside the wheel well. Then check visible sway bar links, strut bodies, spring seats, and control arm bushings for tears, separation, or oil. If a part moves more than it should, that is a stronger clue than sound alone. A pry bar can reveal joint or bushing movement that a hand shake misses, but the direction and load matter; some parts only show play when supported at ride height or when the suspension is compressed.
Look for leaks, cracked bushings, and broken mounts
Worn shocks or struts often show oil leakage or physical damage. Worn springs can make a car sag on one side and bounce excessively, which changes how the car lands after a bump. If you see one corner sitting lower, the source may be more than a loose rattle.
Say your front right corner clunks over a speed bump, and the car also leans slightly that way in the driveway. That pattern fits a suspension issue better than a loose interior panel, because the symptom is tied to one corner and to body support.
Know when to stop and schedule a shop inspection
Stop driving to diagnose if the steering feels vague, the car wanders, the noise gets louder quickly, or a wheel corner feels loose. A bad ball joint, tie rod end, or severe suspension wear can move from noisy to unsafe. If the sound worsens, the next step is inspection, not more guessing.
Frequently asked questions
Why is my car rattling when going over bumps?
Worn suspension parts are a frequent cause, especially sway bar links, struts, shocks, ball joints, and bushings. If the noise only happens on bumps, start with loose hardware under the car and around the suspension. If it changes with steering or braking, narrow it further before replacing parts.
Why is my car creaking when going over bumps?
Creaking usually points to rubber or pivoting parts under load, such as strut mounts, control arm bushings, or upper suspension hardware. It often sounds different from a sharp clunk. If the creak appears with steering movement, the front strut mount or tie rod area deserves priority.
Why is my car rattling underneath when I go over bumps?
That usually points to heat shields, exhaust hangers, brackets, or other underbody hardware. These parts can sound like suspension damage because they shake on rough pavement. Check for rust, loose fasteners, and broken hangers before assuming the suspension is at fault.
Why is my car creaking when I turn and go over bumps?
This pattern often points to strut mounts, tie rod ends, or other steering-linked suspension parts. The turn adds steering load, and the bump adds vertical movement, so the noise happens when both forces meet. That combination is less typical of a simple loose shield.
Why is the front end of my car rattling?
Front-end rattles often come from struts, sway bar links, ball joints, control arm bushings, or tie rod ends. The front suspension carries steering load, so it can make more distinct noises when the car hits a bump. If steering feels loose too, treat the issue as urgent.
What is rattling under my car when I hit a bump?
Common sources are loose heat shields, exhaust hangers, brackets, or underbody trim, though suspension parts can also be responsible. The key clue is location: a hollow metal rattle under the floor often points away from the wheel end and toward the exhaust path or body hardware.
Related reading: bad strut symptoms, sway bar link replacement, wheel bearing noise, control arm bushing failure, and exhaust heat shield rattles.
Sources
National Highway Traffic Safety Administration (NHTSA) vehicle safety and steering/suspension guidance; OEM service information and chassis inspection procedures; Monroe technical library on shocks/struts and suspension diagnosis; MOOG technical articles on steering and suspension wear patterns; ASE-style suspension and steering inspection guidance.
Products related to this article
Sponsored / affiliate links. As an Amazon Associate I earn from qualifying purchases. I may earn additional commission from eligible campaigns.