Microsquirt Can Transmission Controller: Full Setup Guide
Setting up an automatic transmission for optimal performance can be a challenging process, especially when you want to move beyond stock limitations. Many car enthusiasts and tuners have discovered the power and flexibility of the Microsquirt CAN Transmission Controller. This compact, advanced device lets you control electronic automatic transmissions with precision, making it possible to swap, upgrade, or customize your transmission setup for street, drag, or off-road applications.
But the journey from unboxing the controller to having your car shift smoothly is not always straightforward. Mistakes can lead to poor shifting, transmission damage, or frustrating troubleshooting sessions. This guide provides a complete, step-by-step walkthrough for setting up the Microsquirt CAN Transmission Controller, covering wiring, configuration, tuning, and common pitfalls. Whether you’re an experienced tuner or just starting, you’ll find practical tips and insights that most guides overlook.
Understanding The Microsquirt Can Transmission Controller
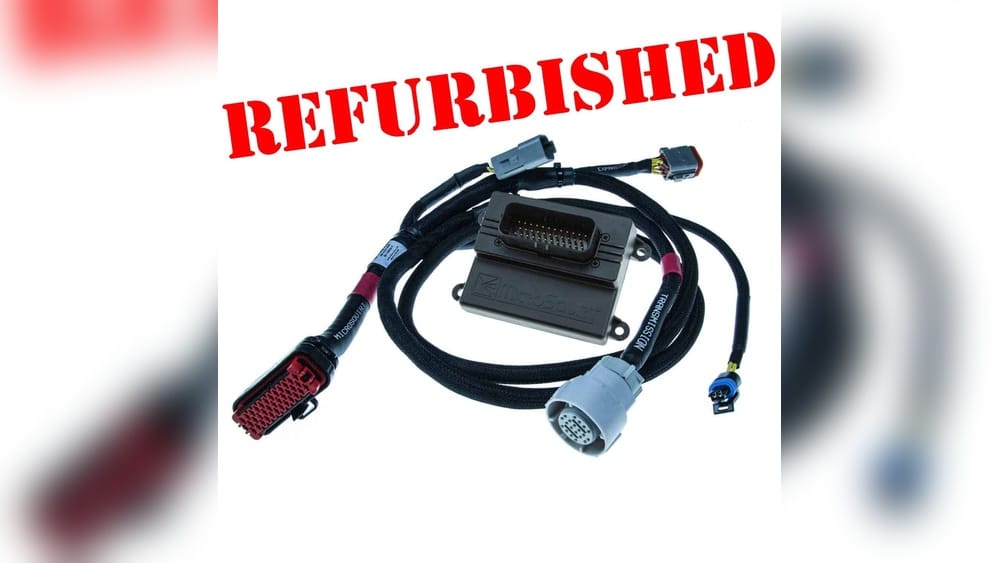
Before diving into the setup, it’s important to understand what the Microsquirt CAN Transmission Controller is and why it’s a game-changer. Unlike factory transmission control modules (TCMs), the Microsquirt unit offers flexibility with a small footprint. It’s designed to control popular electronic automatic transmissions like the GM 4L60E, 4L80E, and Ford 4R70W. The “CAN” in the name refers to the Controller Area Network protocol, which allows the controller to communicate with engine management systems and dashboards.
Key features:
- Compact size for easy installation in tight spaces
- Fully programmable for custom shift points and torque converter lockup
- CAN bus compatibility for integration with aftermarket ECUs
- Data logging for performance analysis and troubleshooting
This controller is popular for engine swaps, racing builds, and any application where you want complete control over your transmission’s behavior.
Planning Your Setup
A successful installation begins with good planning. Before touching any wires, consider these core questions:
1. Which Transmission Are You Controlling?
The Microsquirt CAN controller supports several transmissions, but each has unique wiring and solenoid requirements. Confirm your transmission model and check for any modifications or previous repairs.
2. What Is Your Vehicle’s Wiring Situation?
Are you starting from scratch, or are you adapting an existing harness? Building a clean, labeled harness saves time and reduces errors.
3. What Integration Do You Need?
Will you connect the controller to an aftermarket ECU, a dash, or just want standalone transmission control? Plan your CAN connections and sensor sharing.
4. What Tuning Tools And Equipment Do You Have?
You’ll need a laptop, USB-serial cable, and the free TunerStudio software. Make sure your computer can connect to the controller.
Pro tip: Beginners often overlook the importance of a clean electrical system. Electrical noise, poor grounds, or shared power feeds can cause unpredictable transmission behavior.
Wiring The Microsquirt Can Controller
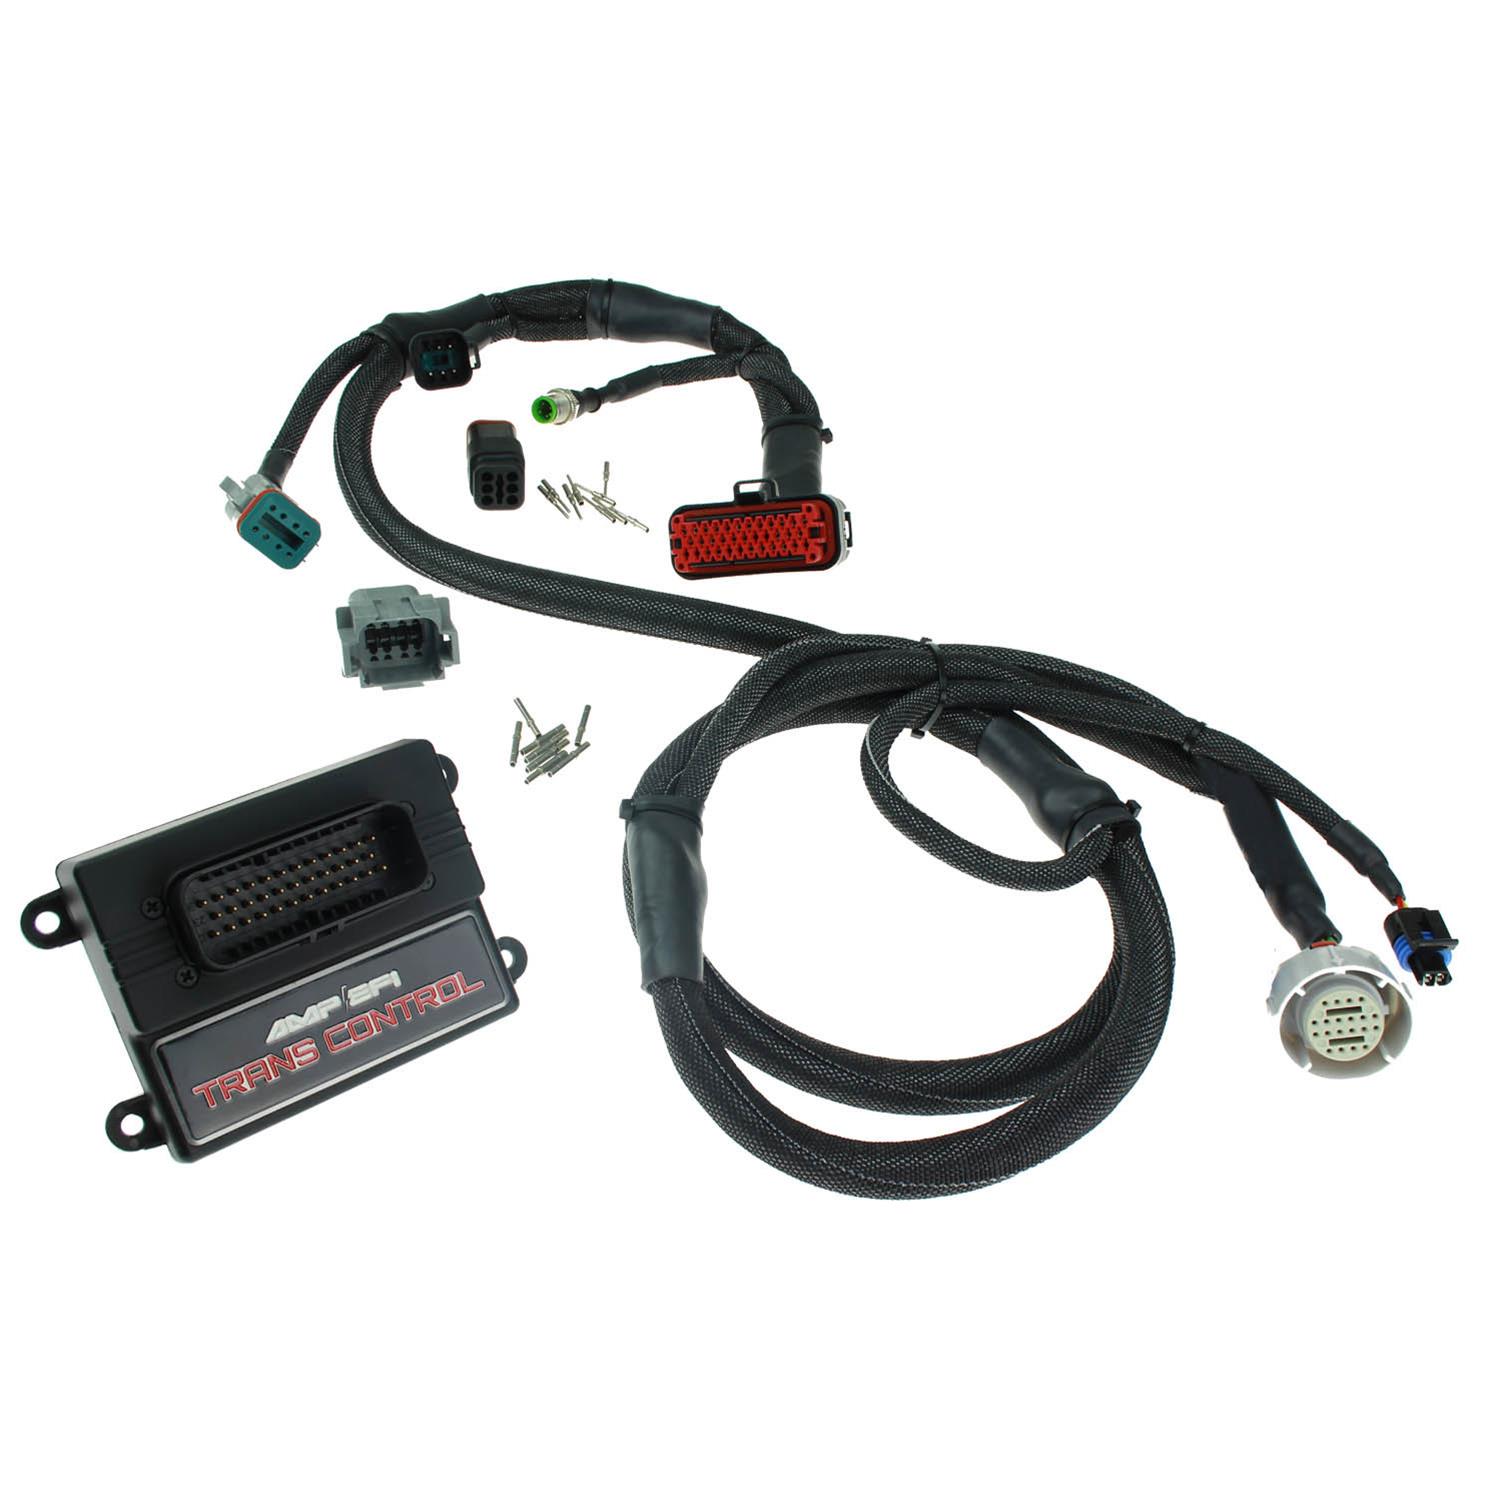
Wiring is the foundation of your transmission control system. The Microsquirt controller has a weatherproof AMPSEAL connector with labeled pins. You can buy a pre-made harness or build your own.
Essential Connections
- Power and Ground: Use a reliable 12V switched power source (not battery direct) and a solid ground connected to the vehicle chassis.
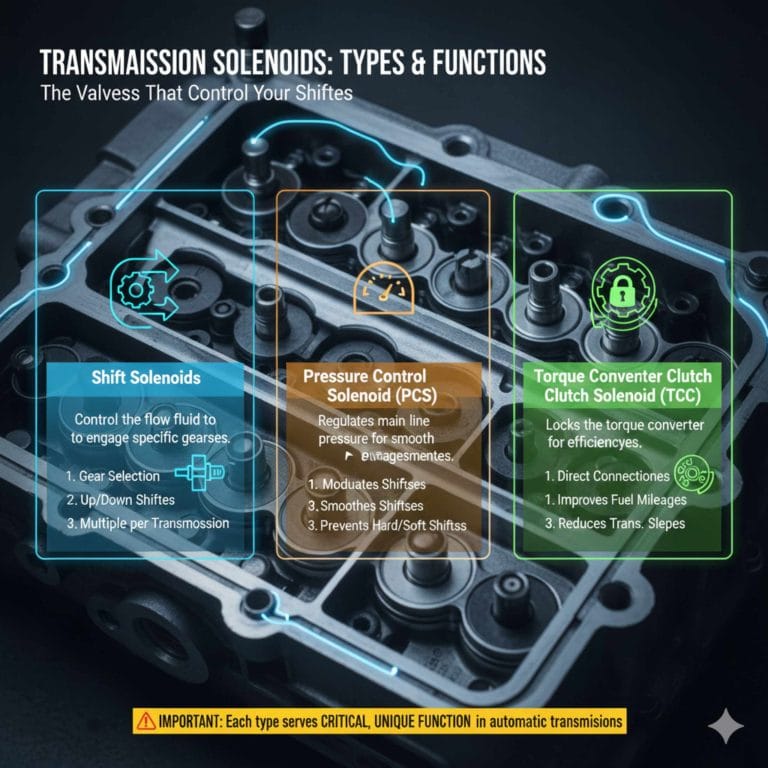
- Transmission Solenoids: Each solenoid (shift, pressure, lockup) must be connected to the assigned output pins.
- Inputs: Connect to transmission sensors (speed, temperature, range switch, etc. ).
- CAN Bus: If connecting to an ECU, wire the CAN High and CAN Low pins correctly.
- Diagnostic LED: Useful for troubleshooting during setup.
Example Wiring For Gm 4l80e Transmission
| Function | Microsquirt Pin | 4L80E Wire Color |
|---|---|---|
| Shift Solenoid A | PIN 7 | Pink |
| Shift Solenoid B | PIN 8 | Light Green |
| Pressure Control | PIN 9 | Orange |
| Lockup Solenoid | PIN 10 | Tan |
| VSS (Vehicle Speed Sensor) + | PIN 20 | Purple |
| VSS – | PIN 21 | Yellow |
Tip: Always double-check pinouts with your transmission’s diagram. Some transmissions have year-to-year wiring differences.
Common Wiring Mistakes
- Reversing VSS wires (causes speed reading errors)
- Missing grounds (leads to erratic shifting)
- Powering the controller from a weak or noisy source
- Forgetting to connect the range switch (prevents proper gear selection)
Initial Setup And Firmware Installation
Once wiring is complete, it’s time to install firmware and connect the controller to your computer.
- Download the latest Microsquirt transmission firmware from the official website.
- Install TunerStudio on your laptop. This is the main software for configuration and tuning.
- Connect via USB-serial adapter. Ensure the correct drivers are installed.
- Power up the controller. TunerStudio should recognize the device.
- Flash the firmware if necessary. Follow on-screen instructions carefully.
Non-obvious insight: Some users skip firmware updates, but running the latest version often fixes bugs and adds useful features.
Base Configuration In Tunerstudio
With the controller powered and recognized, you’ll need to load a base tune file. This sets the starting parameters for your transmission.
Steps For Base Tune Setup
- Choose your transmission type in the project settings (e.g., GM 4L80E).
- Set solenoid and sensor parameters according to your transmission.
- Calibrate inputs like TPS (Throttle Position Sensor) and VSS.
- Configure CAN communications if you’re connecting to an ECU or dash.
- Verify shift solenoid logic (some transmissions use “on-off”, others “PWM”).
Example: Setting Shift Points
| Gear Change | Min MPH | Max TPS (%) | Condition |
|---|---|---|---|
| 1-2 Shift | 10 | 30 | Light throttle |
| 2-3 Shift | 22 | 35 | Light throttle |
| 3-4 Shift | 40 | 40 | Light throttle |
Remember: These are just starting values. You’ll fine-tune them based on real-world driving.
Key Calibration Steps
- TPS calibration: With the ignition on, press and release the gas pedal. Follow TunerStudio prompts to set min and max readings.
- VSS calibration: Confirm that the speed reading matches actual vehicle speed (use GPS or a known speed for reference).
- Range switch: Check that the controller detects PRNDL positions correctly.
Non-obvious insight: If your transmission uses a cable-driven speedometer, you may need a VSS adapter or custom sensor.
Advanced Configuration: Tuning For Performance And Comfort
Once the basics are working, you can start customizing shift strategies. This is where the Microsquirt controller shines compared to stock TCMs.
Adjusting Shift Firmness And Timing
- Line pressure curves: You can increase line pressure under high throttle for firmer shifts, or lower it at light throttle for smoothness.
- Shift tables: Set RPM or speed-based shift points for each gear and throttle position.
- Torque converter lockup: Program when the converter locks and unlocks (e.g., only in 4th gear at cruise speed).
Example: Custom Shift Logic
- Drag racing: Set aggressive, high-RPM shift points and firm line pressure for fast shifts.
- Street driving: Use lower shift points and gentle pressure curves for comfort.
- Towing: Delay lockup and increase line pressure to handle heavy loads.
Integrating With Engine Management
The CAN feature allows the transmission controller to share data with your ECU or dashboard. For example, you can display transmission temperature, gear, or lockup status on a digital dash.
Steps:
- Connect CAN High/Low lines as per both devices’ diagrams.
- Set correct CAN IDs and baud rates in both the Microsquirt and your ECU/dash.
- Enable data sharing in TunerStudio.
Practical tip: Some ECUs require custom CAN templates or firmware updates to communicate with the Microsquirt controller.

Credit: diyautotune.com
Testing And Troubleshooting
Never test your new setup on public roads right away. Start with the vehicle safely on jack stands (wheels off the ground) to verify that all gears engage and shift as expected.
Testing Checklist
- Confirm the controller powers up and connects to TunerStudio
- Check for error codes or warning lights
- Cycle through all PRNDL positions and verify detection
- Run through gears at low speed
- Monitor live data for TPS, VSS, and line pressure
Common Issues And Fixes
- No shifting: Check solenoid wiring, power, and grounds
- Erratic shifts: Recalibrate TPS and VSS, inspect for electrical noise
- Slipping: Increase line pressure or check for worn clutches
- No communication with ECU: Verify CAN wiring and settings
Advanced tip: Use the data logging feature in TunerStudio to record issues during test drives. Review logs to spot patterns or sensor glitches.
Fine-tuning For Best Results
The base tune will get you moving, but real performance and drivability come from careful fine-tuning. This process can take several days or weeks, depending on your goals.
Key Areas To Tweak
- Shift Points
- Adjust for personal preference, vehicle weight, and powerband
- Use street and highway driving to test comfort and response
- Line Pressure
- Increase for firmer shifts during high power or towing
- Lower for daily driving comfort
- Torque Converter Lockup
- Set lock/unlock speeds to maximize fuel efficiency without lugging the engine
- Adaptive Tables
- Some firmware versions support adaptive shift strategies based on driving style
Real-world Example
A tuner swapped a 4L80E into a vintage muscle car with a turbocharged engine. Using the Microsquirt CAN controller, they set the line pressure to rise sharply over 50% throttle, eliminated early lockup to prevent bogging, and set shift points 500 RPM higher than stock.
The result was reliable, crisp shifts and improved 1/4 mile times by 0. 2 seconds.
Tip: Always take notes of changes and revert if performance worsens. Small adjustments often work better than large ones.
Credit: www.summitracing.com
Maintenance And Long-term Considerations
Once you’ve dialed in your transmission, ongoing maintenance is minimal but important.
- Update firmware as new versions are released for bug fixes and features
- Back up your tune files regularly
- Inspect wiring connections every few months, especially in high-vibration vehicles
- Monitor data logs for early signs of transmission wear (e.g., slipping at high line pressure)
Overlooked insight: Heat is the enemy of automatic transmissions. Always install a quality transmission cooler and monitor temperatures in TunerStudio. Prolonged temps over 200°F can reduce transmission life.
Comparison: Microsquirt Can Controller Vs. Stock Tcm And Other Aftermarket Controllers
Choosing the right controller depends on your needs and budget. Here’s a quick side-by-side to help you decide:
| Feature | Microsquirt CAN | Stock TCM | Other Aftermarket (e.g., Compushift) |
|---|---|---|---|
| Programmability | Full | Limited | Full |
| Size | Very compact | Large | Medium |
| CAN integration | Yes | No/limited | Some |
| Price | Low | Free (if included) | High |
| User community | Large | Small | Medium |
Bottom line: The Microsquirt CAN controller offers high flexibility at a budget-friendly price. It does require more DIY setup than some plug-and-play units, but the level of control is hard to beat.
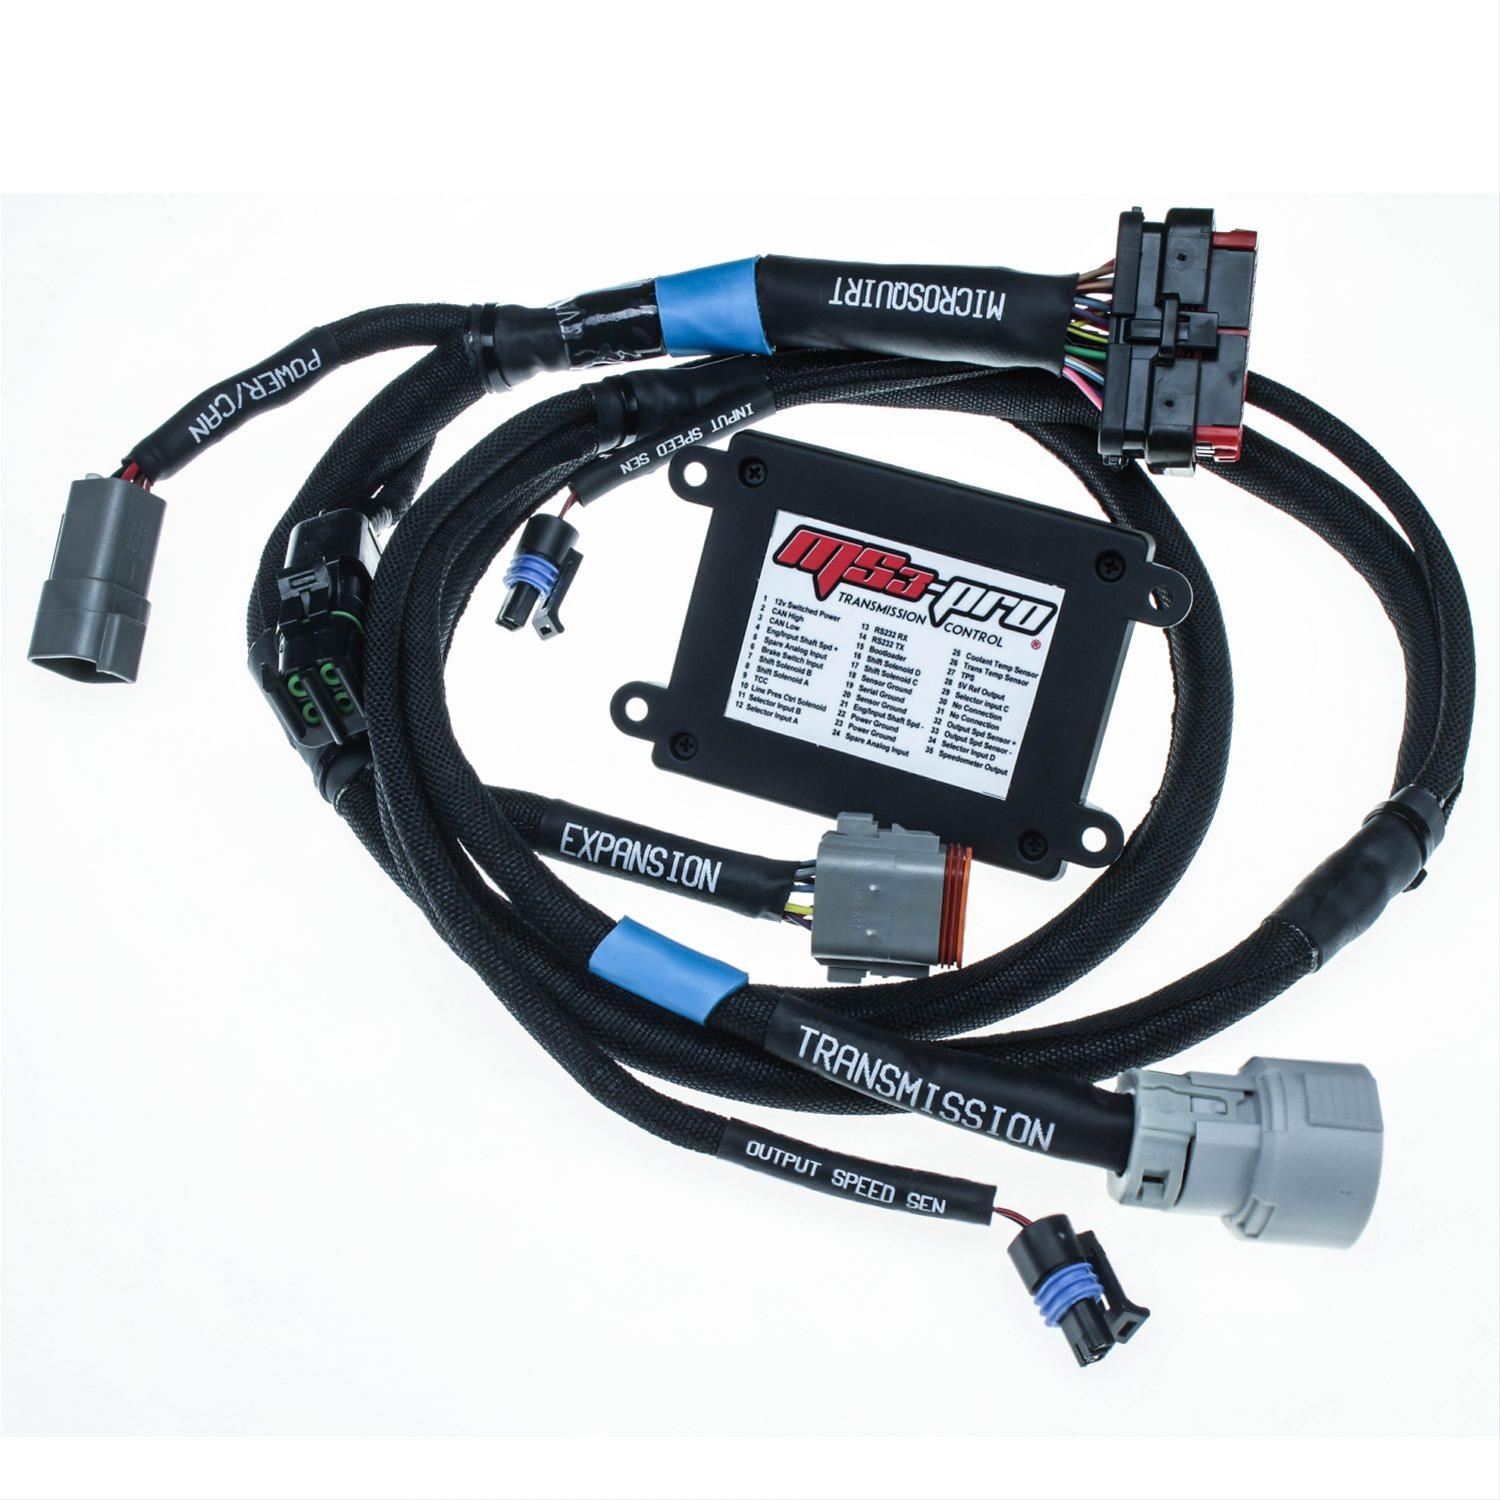
Credit: www.summitracing.com
Safety Tips And Common Beginner Mistakes
Working with transmission controllers involves risks. Here’s how to avoid costly errors:
- Never drive without confirming all gears work properly
- Never skip fusing the power supply
- Double-check all grounds—bad grounds are a common source of mystery problems
- Don’t mix up CAN wiring polarity
- Always use shielded cable for VSS and CAN wiring to prevent signal noise
- Don’t tune shift points aggressively until the transmission is proven reliable
Beginner mistake: Leaving the old TCM connected “just in case” can cause signal conflicts. Remove or fully disconnect unused controllers.
Resources For Ongoing Support
The Microsquirt community is large and active. For help, check out:
- Official Megasquirt forums
- TunerStudio documentation
- Transmission-specific build threads on automotive forums
- Product documentation and wiring diagrams
For Firmware Downloads And Manuals, Visit The Products related to this article
Sponsored / affiliate links. As an Amazon Associate I earn from qualifying purchases. I may earn additional commission from eligible campaigns.
Products related to this article
Sponsored / affiliate links. As an Amazon Associate I earn from qualifying purchases. I may earn additional commission from eligible campaigns.