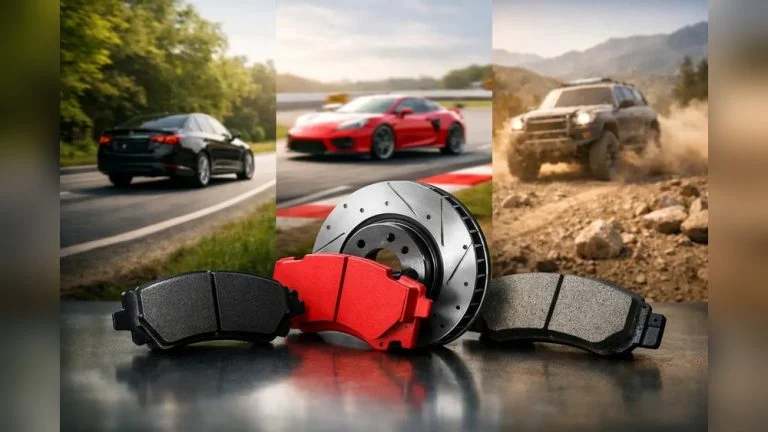

How to Measure Brake Rotor Thickness at Home
Measure rotor thickness with a brake disc micrometer at several points across the swept area, then compare the smallest reading to the rotor’s stamped minimum thickness. If any reading meets or drops below that stamp, replace the rotor. Wrong measurements can hide worn spots, let brake pulsation stay unresolved, and send you back for parts you did not need. This guide covers thickness, DTV, and runout, plus the point where a shop check makes sense.
What you’ll need

- Professional brake safety and versatile measurement with precision design
- Triple-unit display eliminates conversion errors with digital resolution
- Rechargeable power and workshop-tough stainless steel construction
- Brake disc micrometer with pointed anvils, for the final thickness check
- Digital calipers, only for a rough check
- Jack stands and wheel chocks
- Lug wrench or the vehicle’s wheel tools
- Flashlight
- Clean rag or brake-safe cleaner
- Dial gauge, if you plan to check runout after thickness is confirmed
Where is the minimum thickness stamped on a brake rotor?
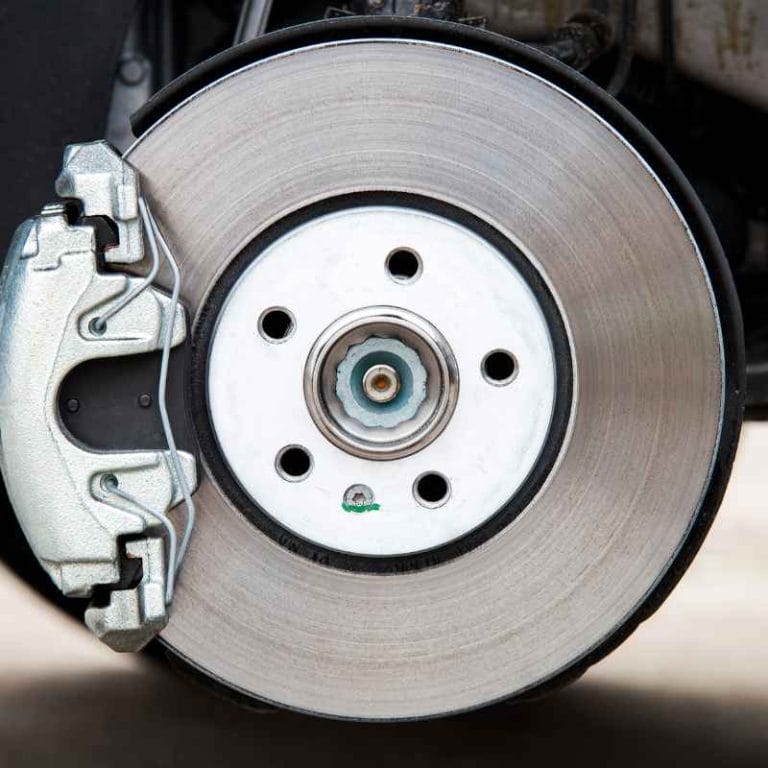
Look for MIN TH or a discard mark on the rotor’s outer circumference edge or on the center bell mounting face. Some rotors use a slightly different label, but the point is the same: compare your measured thickness to the actual stamp on that rotor, not a generic number from another vehicle.
The mark is usually small and dirty. Wipe the edge and the bell face with a rag, then rotate the rotor by hand until the stamp comes into view. If the stamp is unreadable, a shop can verify the specification before any machining or replacement decision.
How do you measure brake rotor thickness?
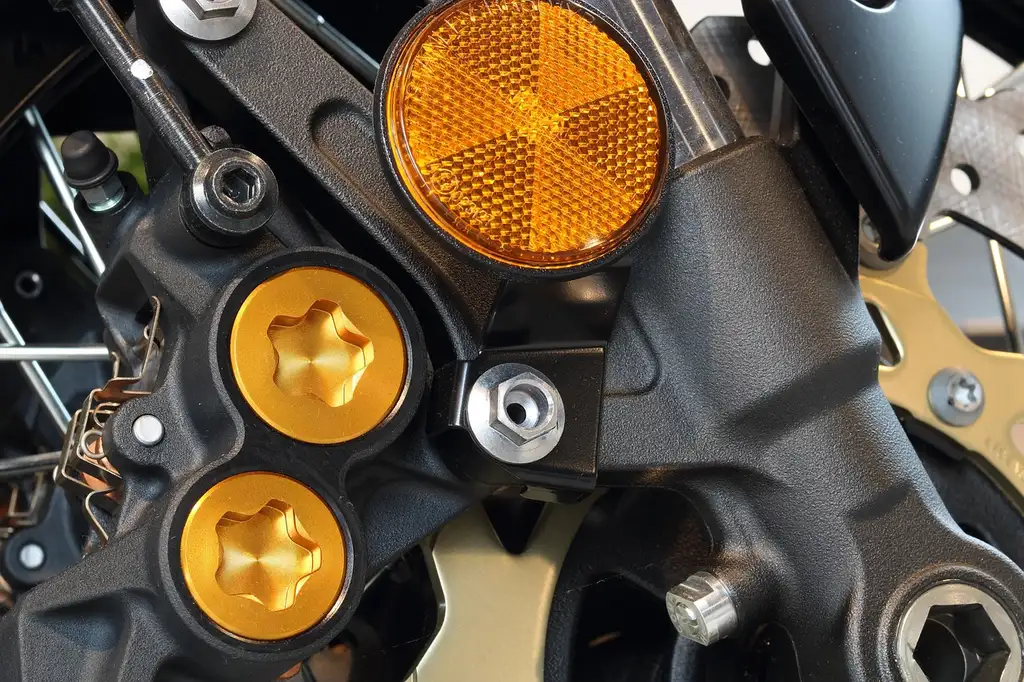
Support the vehicle on jack stands before wheel removal, clean the rotor face, then measure inside the swept area and away from the outer lip. Use the thinnest reading against the stamped MIN TH spec. That reading decides pass, recheck, shop verify, or replace.
- Chock the wheels, loosen the lug nuts slightly, and lift the vehicle.
- Set the vehicle on jack stands and confirm it is stable before removing the wheel.
- Wipe rust and dust from the rotor face and edge.
- Find the stamped minimum thickness on the rotor.
- Measure about 15 mm inward from the outer edge, not on the lip.
- Take readings at six points around the rotor and record each one.
- Compare the lowest reading to the stamped limit.
- If the rotor is close to the limit, recheck at the same points with the rotor cool and clean.
Say your front rotor has a visible wear ridge and one reading looks low at the outer edge. Move the micrometer inward into the swept zone. A ridge can make a rotor look thinner than it is, or make a caliper read high if it bridges the lip instead of the worn face.
Thickness, DTV, and runout are different checks
Rotor thickness is the metal left in the disc. DTV is the difference between the thickest and thinnest points around that disc. Runout is lateral wobble, and it is checked with a dial gauge, not with a thickness tool. Keep those checks separate so a wobble problem does not get mistaken for wear.
Disc thickness variation can lead to brake judder or pedal shake. The source guidance here says thickness should be measured at 8 different points around the circumference, with readings roughly 15 mm inward from the outer edge, and that thickness variation above 0.015 mm can cause brake judder. For home use, six points is still useful if you keep the same spot pattern each time and compare the lowest point to the stamp.
Can you measure brake rotors with calipers?
Yes, but only for a rough check. Digital calipers can bridge the outer lip on a worn rotor and read falsely high, so they are less reliable when the disc has a ridge or uneven wear. A brake disc micrometer with pointed anvils is the better final tool because it reaches into the swept area without riding on the lip.
Use calipers only when you need a quick triage reading and the rotor surface is fairly even. If the caliper result is near the stamped limit, confirm it with a brake disc micrometer before deciding the rotor is safe to keep.
What tool do you need to measure brake rotor thickness? Start with a brake disc micrometer. A flashlight and rag help you find the stamp and clean the disc. Add a dial gauge only if you want to check runout after thickness is known. That order matters, because a dial gauge does not tell you whether the rotor is already below minimum thickness.
Rotor thickness worksheet
| Point | Reading | Within swept area? | Notes |
|---|---|---|---|
| 1 | _____ mm | Yes / No | ____ |
| 2 | _____ mm | Yes / No | ____ |
| 3 | _____ mm | Yes / No | ____ |
| 4 | _____ mm | Yes / No | ____ |
| 5 | _____ mm | Yes / No | ____ |
| 6 | _____ mm | Yes / No | ____ |
Stamped MIN TH: _____ mm
Pass/fail against MIN TH: Pass / Fail
DTV notes: Record the highest and lowest thickness readings here: _____ mm and _____ mm. Note any pulsation, squeal, or pedal shake here: ____________________
Decision tree: If every reading is above MIN TH and the spread is small, measure again later if symptoms are mild. If the thinnest reading is near the stamp or the tool placement was uncertain, recheck with a micrometer. If any reading is at or below MIN TH, replace the rotor. If thickness passes but vibration remains, shop verify runout and hub condition.
How many points should you measure on a rotor?
Measure at least six points around the rotor, and more if the disc shows visible wear spots or there is a strong pulsation complaint. The point is to catch the thinnest area, not to average away a bad spot. If the rotor has a heavy lip, keep every reading inside the swept zone at the same inward distance.
Suppose a rear rotor measures fine in four spots but drops at two opposite points. That pattern can point to uneven wear, pad imprinting, or a rotor near its limit. A shop can help if the readings are inconsistent or if the rotor face has heat spots, grooves, or cracks.
What is disc thickness variation on brake rotors?
Disc thickness variation is the difference between the thickest and thinnest points on the rotor. It matters because the brake pads pass over a disc that is no longer uniform, which can create pedal pulsation or brake judder. It is a thickness problem, not a flatness problem.
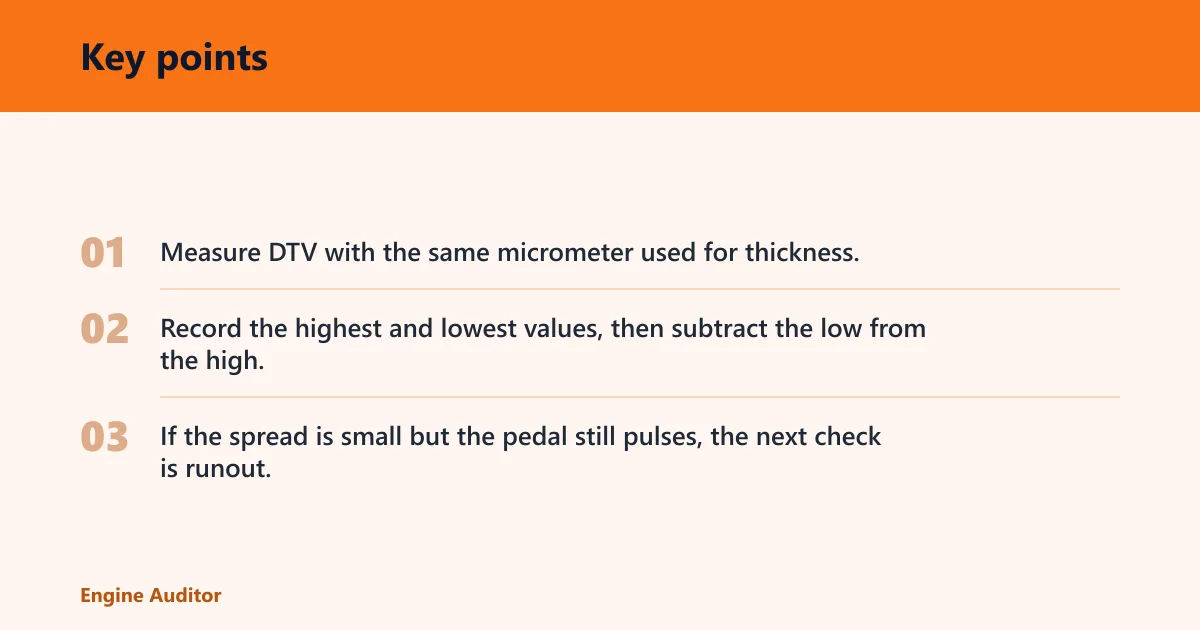
Measure DTV with the same micrometer used for thickness, at several points around the circumference. Record the highest and lowest values, then subtract the low from the high. If the spread is small but the pedal still pulses, the next check is runout, because the hub or rotor may wobble even when thickness is within spec.
When should a rotor be replaced instead of resurfaced?
Replace the rotor when any thickness reading is at or below the stamped minimum, when cracks or deep heat checks are present, or when runout and DTV remain after cleaning and proper mounting. Resurfacing only helps if the rotor will still stay above minimum thickness after machining.
Do not guess with a generic number. The stamped spec on that rotor decides the floor. If the rotor has a heavy lip, it is possible that enough material has already been removed that machining would push it under the limit. In that case, replacement is the safer call.
Common mistakes
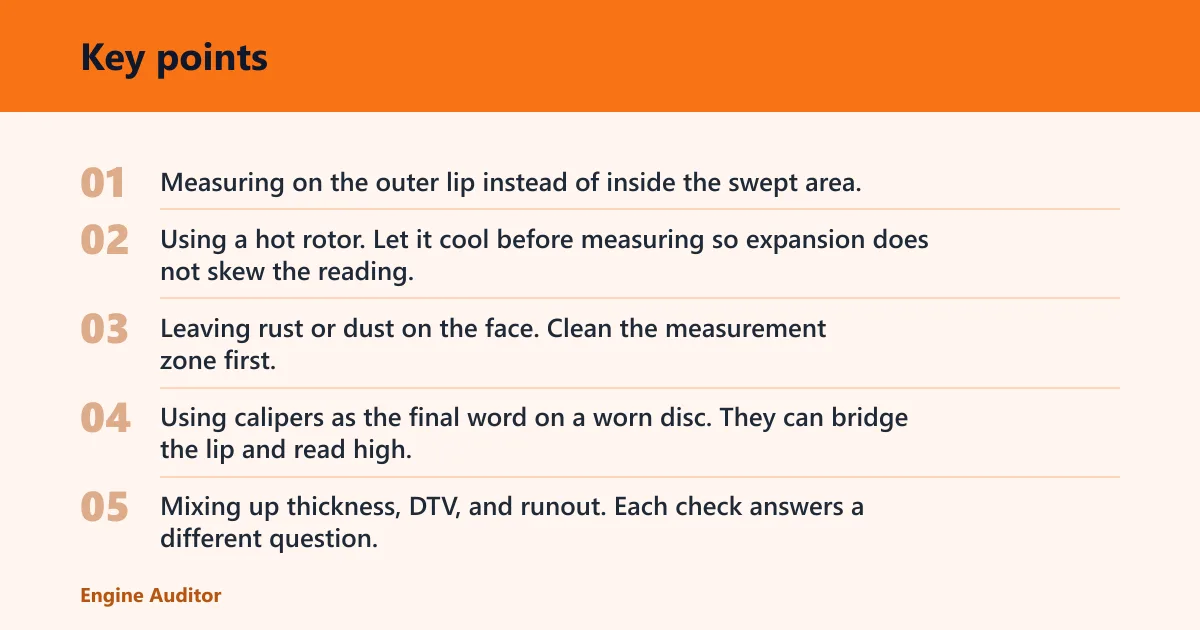
- Measuring on the outer lip instead of inside the swept area. Move inward to avoid ridge error.
- Using a hot rotor. Let it cool before measuring so expansion does not skew the reading.
- Leaving rust or dust on the face. Clean the measurement zone first.
- Using calipers as the final word on a worn disc. They can bridge the lip and read high.
- Mixing up thickness, DTV, and runout. Each check answers a different question.
- Checking runout before the wheel is torqued correctly. Uneven lug torque can create false readings.
Before any runout check, tighten the wheel to the correct lug torque pattern. If the readings change after proper torque, the problem may be the mounting condition rather than the rotor itself. If they do not change, the hub or rotor still needs closer inspection.
Common first-timer mistake
A common first-timer mistake is seeing a deep outer ridge and assuming the whole rotor is too thin. Measure inside the swept area first. If the reading is still near the stamped minimum, that is a real wear issue. If it is safely above the stamp, the lip alone is not proof of failure.
Products related to this article
Sponsored / affiliate links. As an Amazon Associate I earn from qualifying purchases. I may earn additional commission from eligible campaigns.