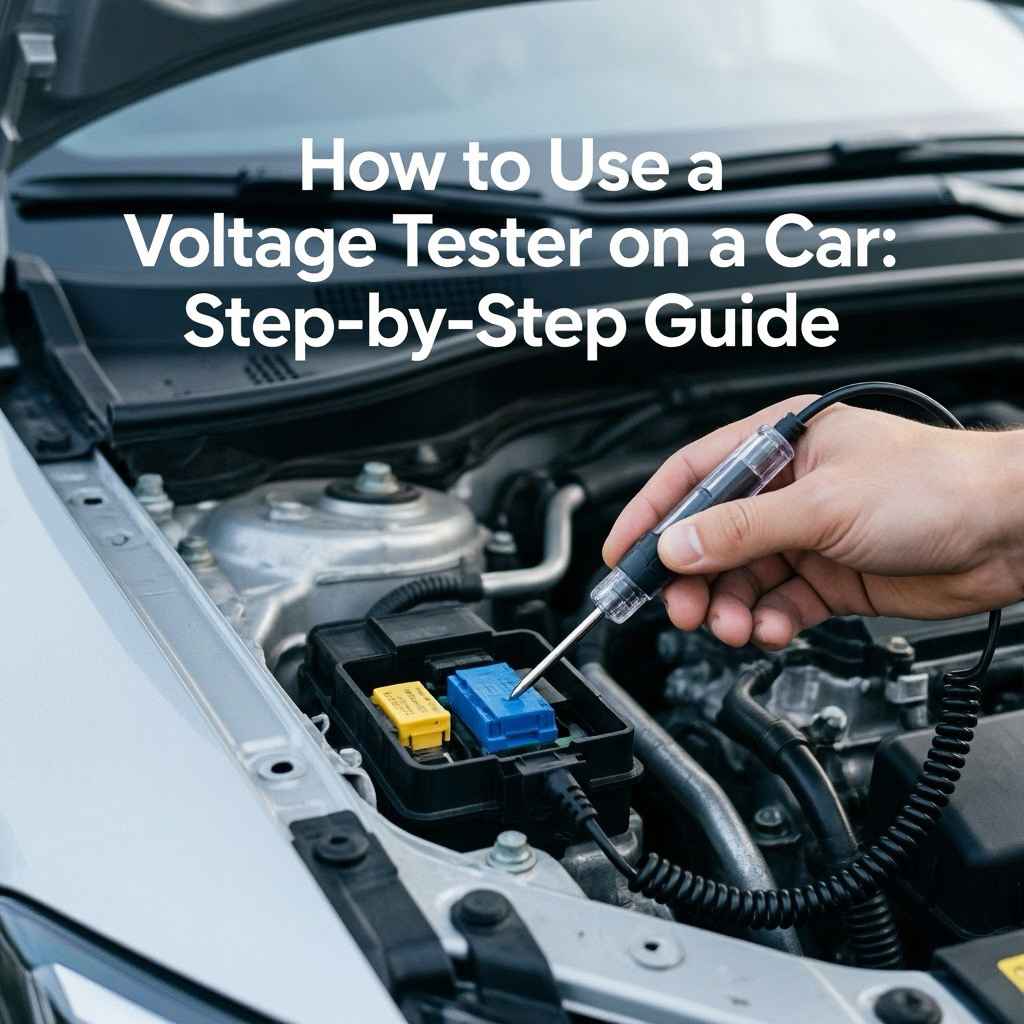
How to Use a Voltage Tester on a Car: Step-by-Step Guide
Every car owner knows the frustration of electrical problems. Maybe your headlights won’t turn on, your radio is silent, or your car won’t start at all. These issues are often related to the electrical system, and finding the cause quickly can save time and money. That’s where the voltage tester comes in. This simple tool helps you check voltage, find bad connections, and test fuses or wires. If you want to solve car electrical problems yourself, learning how to use a voltage tester is a must-have skill.
The process may seem technical, but with a bit of guidance, anyone can use a voltage tester safely and effectively. This guide will walk you through everything you need to know, from picking the right tester to step-by-step instructions and practical tips.
By the end, you’ll feel confident diagnosing basic electrical faults in your car. Let’s dive in and make electrical troubleshooting less mysterious.
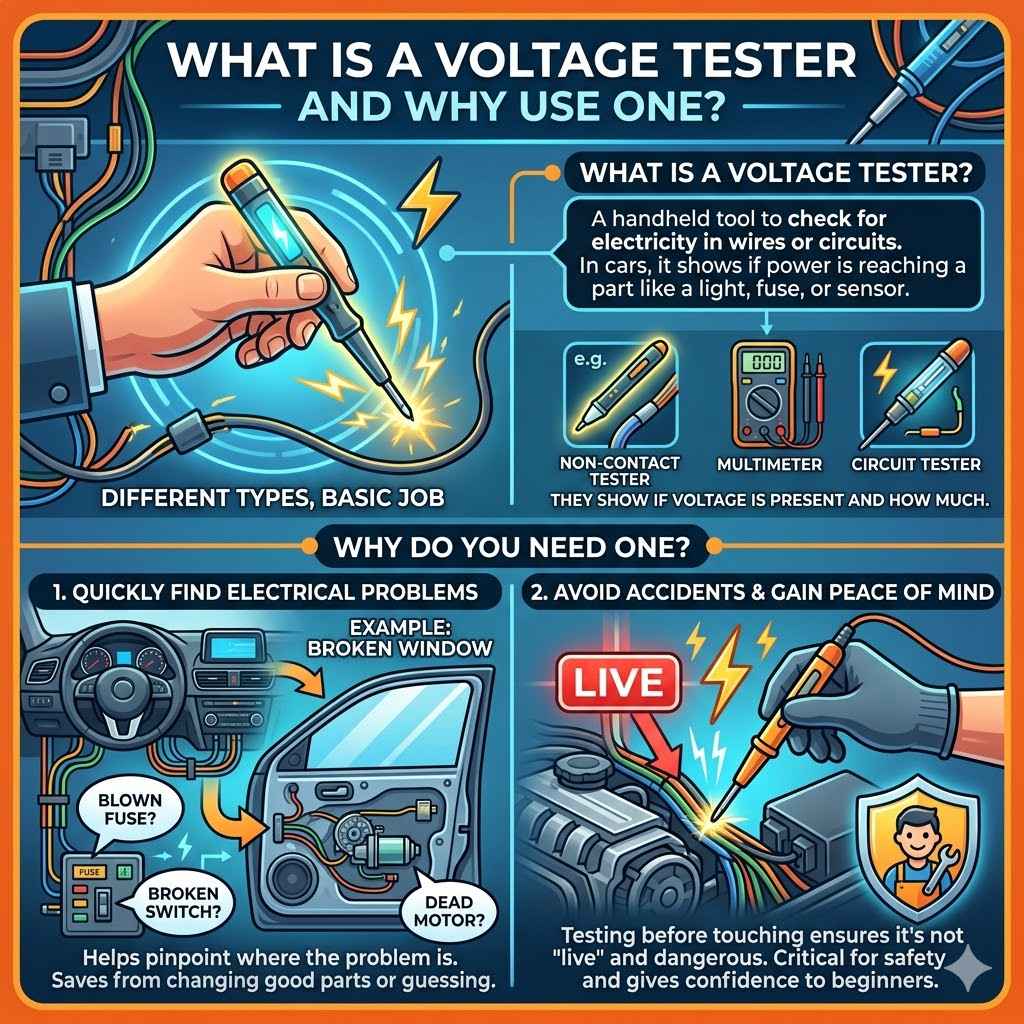
What Is A Voltage Tester And Why Use One?
A voltage tester is a handheld tool that helps you check if there is electricity in a wire or circuit. In cars, it tells you if power is reaching a part—like a light, fuse, or sensor. There are different types, but all do the same basic job: they show if voltage is present and how much.
Why do you need one? Because many car problems are electrical. For example, a window that won’t move might have a broken switch, a dead motor, or just a blown fuse. A voltage tester helps you quickly find out where the problem is, saving you from changing good parts or guessing.
More importantly, using a voltage tester can help you avoid accidents. For example, testing before touching a wire ensures it’s not “live” and dangerous. For beginners, this gives peace of mind.
Types Of Voltage Testers For Cars
Understanding the types of voltage testers helps you pick the right one for your needs. Each has its pros and cons. Here are the main types:
| Type | How It Works | Best For | Example Use |
|---|---|---|---|
| Test Light | Bulb lights up if voltage is present | Simple checks (12V systems) | Testing fuses or wires |
| Multimeter (Digital or Analog) | Gives exact voltage reading | Detailed troubleshooting | Checking battery voltage |
| Non-contact Tester | Senses voltage without touching wires | Quick safety checks | Detecting live wires (less common in cars) |
The test light is cheap, simple, and easy to use. It’s perfect for most car electrical jobs, especially if you only need to know if power is present. The multimeter is more advanced. It measures voltage, resistance, and current, giving you more information. This is great for checking batteries or complex faults. The non-contact tester is used more in home wiring, but some people use it for fast checks in cars.
Choosing The Right Voltage Tester For Your Car
When picking a voltage tester for car use, keep these points in mind:
- Voltage Range: Most cars use a 12-volt system. Make sure your tester works with 12V DC. Some testers are made for house wiring (110V/220V AC) and won’t work well in cars.
- Display Type: A test light is simple—light on or off. A multimeter gives a number. If you want details, get a multimeter.
- Build Quality: Look for a strong probe, good wires, and a solid handle. Cheap testers can break or give wrong results.
- Size and Ease of Use: If you’re new, choose a tester with clear instructions and simple controls.
- Extra Features: Some testers have added functions like buzzer sounds, backlights, or the ability to test continuity.
A good starting option for most is a basic test light and a digital multimeter. This covers almost all car jobs, from checking fuses to testing sensors.
Safety Precautions Before Using A Voltage Tester
Working on car electrical systems is usually safe, but you must take care. Here are important safety tips:
- Turn off the ignition: When possible, switch off the car to avoid short circuits or accidental starts.
- Disconnect the battery: For major repairs, unplug the negative battery terminal to avoid sparks.
- Wear gloves and eye protection: This protects against shocks and sharp edges.
- Check your tester first: Test it on a known power source (like the battery) before using it.
- Work in a dry area: Water and electricity don’t mix. If you’re working outdoors, avoid rain or wet conditions.
- Use proper settings: If using a multimeter, always set it to the correct range (DC volts, not AC).
- Avoid jewelry: Metal rings or watches can cause shorts if they touch live wires.
Many beginners forget to test their voltage tester before use. If your tester is broken or the battery is dead, you might get false results. Also, always read the car’s manual for any special warnings about airbags or sensitive electronics.
Some modern cars have high-voltage systems (like hybrids), which require special precautions.
Step-by-step: How To Use A Voltage Tester On A Car
Now, let’s get practical. Here’s a detailed guide for using a voltage tester, whether you have a test light or a digital multimeter.
1. Identify What You Want To Test
Decide which part or circuit you need to check. Common examples include:
- Battery voltage
- Fuses
- Wires to lights or switches
- Connectors or sensors
Knowing the target helps you plan where to place the tester’s probes.
2. Access The Circuit
Open the hood or remove covers as needed. Make sure you can see and reach the wire, connector, or fuse.
Tip: Use a flashlight or headlamp for better visibility. Secure loose clothing or jewelry.
3. Prepare The Voltage Tester
If using a test light, clip the alligator clamp to a clean metal part of the car (this is “ground”). The probe goes to the wire or terminal you want to check.
If using a digital multimeter:
- Set the dial to DC Volts (often marked as “V” with a straight line).
- Plug the black lead into “COM” (common).
- Plug the red lead into “VΩmA” (for voltage).
- Select a range higher than 12V if your meter is not auto-ranging.
Note: Always check your tester on the car battery first. The battery terminals are easy to find and should read about 12.6 volts if fully charged.
4. Test The Circuit
Touch the tester’s probe (or multimeter leads) to the part you want to check.
- For a fuse, touch each end. If both ends light up (test light) or show voltage (multimeter), the fuse is good.
- For a wire, touch the metal part inside the connector.
- For a light socket, touch the center terminal while grounding the other lead.
If using a test light, the bulb should glow if power is present.
If using a multimeter, you’ll see a voltage reading. Most car systems should show between 12V and 14V when running.
5. Interpret The Results
- Test light ON, or voltage present: Power is reaching this point. The problem is likely further down the circuit.
- Test light OFF, or zero voltage: Power is missing. The fault is before this point—maybe a blown fuse, broken wire, or bad connection.
- Low voltage (less than 12V): This can mean poor connections, corroded wires, or a dying battery.
Practical Example: If your car’s headlight won’t work, test the fuse. If it has voltage, test the wire at the headlight. If there is voltage, the bulb is probably bad. If not, trace the wire back until you find where voltage stops.
Common Car Electrical Tests With A Voltage Tester
Let’s look at some real-world examples:
Testing Car Battery Voltage
To check your car battery, set your multimeter to DC Volts.
- Connect the black lead to the negative (-) terminal.
- Connect the red lead to the positive (+) terminal.
A healthy battery reads 12.6V or higher when the car is off. Below 12V usually means a weak or dead battery. When the engine is running, you should see 13.7V to 14.7V due to the alternator charging.
Checking A Fuse
Remove the fuse or test it in place.
- Clip the test light to ground.
- Touch the probe to both metal ends of the fuse.
If the light comes on both sides, the fuse is good. If only one side lights up, the fuse is blown.
Diagnosing A Broken Wire
If a part gets no power, test along the wire at different points. Where voltage stops, that’s where the break or bad connection is.
Testing Switches And Relays
You can also use a voltage tester to check switches and relays. For example, test if power enters and leaves a window switch as you operate it. If power goes in but not out, the switch is faulty.
Troubleshooting Steps For Common Problems
Let’s break down how a voltage tester can solve typical car electrical faults:
1. Lights Not Working
- Test the fuse for that light.
- Check for voltage at the light socket.
- If there’s voltage but no light, replace the bulb.
- If no voltage, check the switch and wiring.
2. Car Won’t Start
- Test battery voltage (should be over 12V).
- Check for voltage at the starter motor when you turn the key.
- Test fuses and relays related to the starting system.
3. Power Windows Or Locks Not Working
- Test fuses first.
- Check for voltage at the window/lock switch.
- Test wires at the motor.
4. Stereo Or Accessories Dead
- Test the fuse and wiring at the back of the stereo.
- Check for voltage at the accessory’s power wires.
5. Sensors And Ecu Problems
- Use a multimeter to check for the correct voltage at sensors.
- Compare your readings to specifications in the car’s manual.
Tips For Accurate And Safe Voltage Testing
Accuracy and safety are key. Here are expert tips for better results:
- Clean contacts: Dirt or corrosion gives false readings. Clean with a wire brush if needed.
- Secure the ground: A poor ground can make the test light not work. Always clip to shiny metal.
- Test under load: Some problems only show up when the part is working. For example, a wire may show voltage with no load, but drop when the light is on.
- Use the right range: On a multimeter, set the range just above 12V for the best accuracy.
- Avoid poking wires: Use back-probing at connectors instead of poking holes in wires, which can cause future corrosion.
- Compare left and right sides: For things like headlights or taillights, compare both sides to spot differences.
- Record your results: Write down voltage readings. This helps if you need to ask for help later.
- Replace tester batteries: A weak battery in your tester can lead to wrong results.
Many people forget to check the ground connection. A bad ground is a common cause of electrical faults, so always test both power and ground.
When To Use A Professional Mechanic
While a voltage tester solves many problems, sometimes it’s best to get help. Call a professional if:
- You’re dealing with airbags or hybrid systems (these can be dangerous).
- You see melted wires or burning smells.
- You can’t find the fault after several tests.
- The car manual says “special tools required.”
Modern cars have complex electronics, and some faults need advanced tools. Don’t risk damaging your car or your safety—know your limits.
Advanced Uses Of Voltage Testers In Cars
If you’re ready to learn more, voltage testers can do extra jobs:
- Testing alternator output: Measure voltage at the battery with the engine running. If it’s under 13.7V, the alternator may not be charging.
- Checking voltage drop: Place one lead at the battery, one at the end of a wire, and compare voltage. A big drop means a bad connection.
- Testing sensors: Some sensors (like oxygen sensors) need specific voltages. Use your multimeter to check if they work as expected.
- Diagnosing parasitic drain: If your battery keeps dying, use a multimeter to check for unwanted current draw with the car off.
Comparing Test Light And Multimeter: Which Is Better?
Here’s a side-by-side comparison to help you choose:
| Feature | Test Light | Digital Multimeter |
|---|---|---|
| Ease of Use | Very easy | Moderate |
| Information Given | Power/no power | Exact voltage and more |
| Price | Low | Medium to high |
| Best Use | Quick checks | Detailed diagnosis |
| Risk of Damage | Low | Possible if set wrong |
For most DIY users, having both tools is ideal. Use the test light for fast checks and the multimeter for deeper troubleshooting.
Common Mistakes To Avoid
Even experienced users make mistakes. Watch out for these:
- Testing the wrong circuit type: Car systems use DC, but some testers are for AC only.
- Not checking tester operation: Always test your voltage tester on a known live wire before starting.
- Ignoring safety: Never touch both leads to the battery terminals with your bare hands.
- Setting multimeter wrong: On a multimeter, using the amps setting instead of volts can blow the fuse or damage the meter.
- Forgetting to reconnect parts: After testing, make sure all fuses, connectors, and covers are put back.
- Not double-checking grounds: A poor ground connection can make you think a part is dead when it’s not.
Many beginners skip reading the car’s wiring diagram. It’s worth taking a few minutes to find the right wires or fuses—guesswork leads to mistakes.
Essential Tools And Supplies For Voltage Testing
Besides the voltage tester, keep these tools handy:
- Wire brush or sandpaper (for cleaning contacts)
- Pliers or small wrenches (for removing fuses or panels)
- Flashlight or headlamp (for seeing in dark spaces)
- Notebook or phone (to record readings)
- Car manual or wiring diagram (for reference)
- Spare fuses (in case you find a blown one)
Some people find it helpful to use alligator clip extensions for the tester’s leads—this lets you test hard-to-reach spots.
Real-life Example: Diagnosing A Dead Power Window
Imagine your car’s power window won’t work. Here’s how you’d use a voltage tester:
- Check the fuse for the power windows. Test both ends with a test light.
- If the fuse is good, remove the door panel.
- With the window switch pressed, test for voltage at the motor connector.
- If there’s voltage and the motor doesn’t work, the motor is bad.
- If there’s no voltage, test at the switch.
- If power is present at the switch but not at the motor, check the wiring in the door hinge—it may be broken.
This method saves hours compared to guessing and replacing parts.
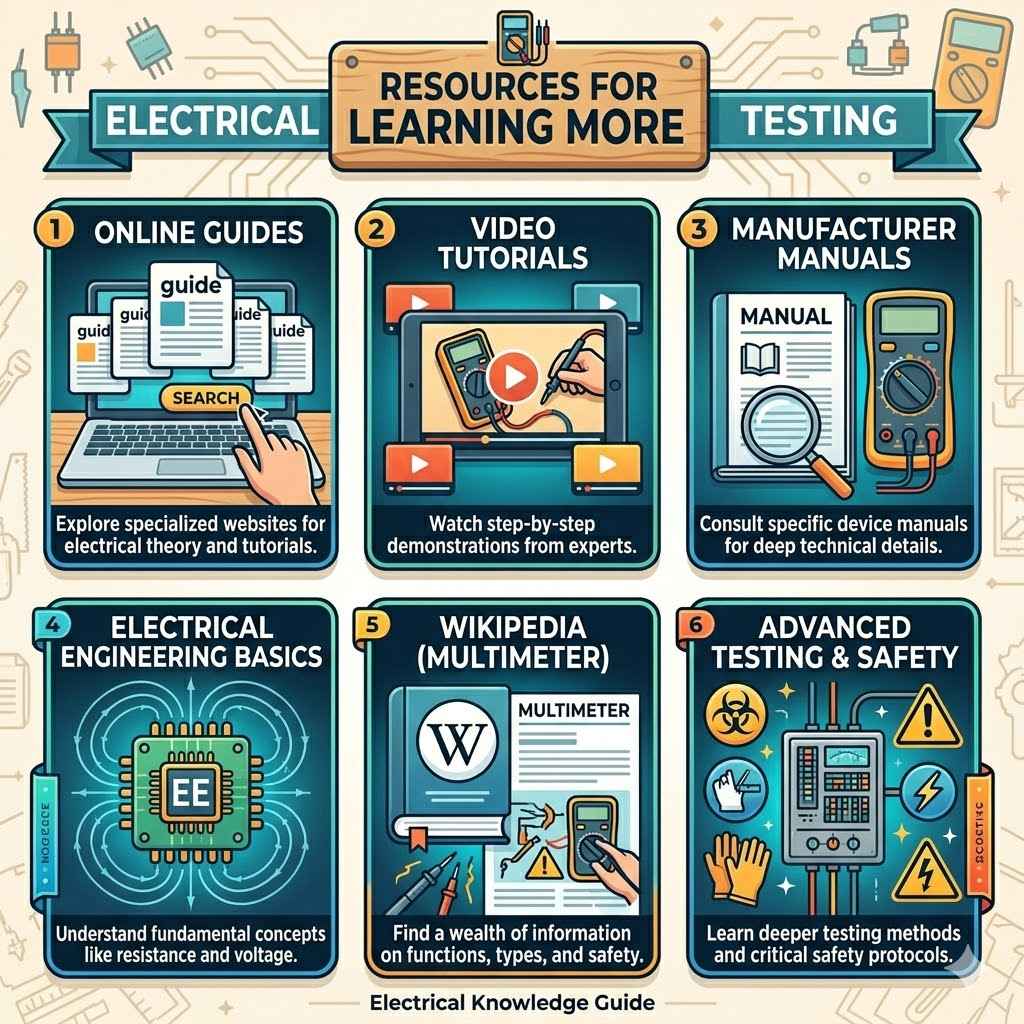
Resources For Learning More
Learning to use a voltage tester is just the start. For those who want deeper knowledge, there are many online guides and videos. One excellent resource is the Wikipedia page on multimeters, which explains more advanced testing and safety.
Frequently Asked Questions
How Do I Know If My Voltage Tester Is Working?
Test your voltage tester on a known live source, like the car battery. For a test light, the bulb should glow. For a multimeter, you should see a reading close to 12V. If nothing happens, check the tester’s battery and connections.
Can I Use A Voltage Tester On All Car Types?
Most standard voltage testers work on 12V systems found in cars, vans, and light trucks. For hybrid or electric vehicles, use only testers rated for high-voltage systems and follow special safety rules.
What Does It Mean If I Get A Low Voltage Reading?
Low voltage (below 12V) can mean a weak battery, corroded wires, or a bad connection. Clean the contacts and test again. If the reading is still low, check the battery and charging system.
Is It Safe To Use A Voltage Tester On Airbag Circuits?
No. Avoid testing airbag wires or connectors. Airbags can deploy if triggered by electrical signals. Leave airbag system faults to a trained mechanic.
Why Does My Test Light Glow Dimly?
A dim glow usually means there is some voltage, but not enough current. This often points to a corroded or weak connection. Clean the area and retest. If still dim, check the wiring and grounds.
Using a voltage tester on your car can turn a mystery problem into a quick fix. With a bit of practice, you’ll feel confident handling most basic electrical faults and saving money on repairs. Remember, safety comes first—when in doubt, ask a professional.