Honda Civic Radiator: What You Need to Know & Replace
The Honda Civic has earned its reputation as a reliable, efficient, and versatile vehicle for drivers worldwide. However, even the most dependable cars require regular maintenance, and the radiator is one of the most crucial components to monitor. A failing radiator can lead to engine overheating, expensive repairs, and even permanent engine damage. Understanding your Honda Civic’s radiator, knowing when to replace it, and how to choose the right replacement can save you time, money, and stress.
Whether you’re a seasoned Honda owner or a newcomer to car maintenance, mastering the essentials of radiator care is vital. This guide provides an in-depth look at the Honda Civic radiator, including how it works, warning signs of failure, replacement steps, and tips for maximizing your radiator’s lifespan. You’ll also find real-world examples, expert tips, and data-driven comparisons to help you make informed decisions for your vehicle.
Key Takeaways
- The Honda Civic radiator is essential for cooling the engine and preventing overheating.
- Signs of a failing radiator include coolant leaks, rising temperature gauge, and visible corrosion.
- Replacement radiators vary in material, price, and performance, selecting the right one is crucial.
- DIY radiator replacement is possible with proper tools and safety precautions, but professional help is recommended if you’re unsure.
- Regular maintenance significantly extends radiator life and overall engine health.
- Choosing OEM vs. aftermarket radiators involves trade-offs in cost, fit, and longevity.
Understanding The Honda Civic Radiator
What Does The Radiator Do?
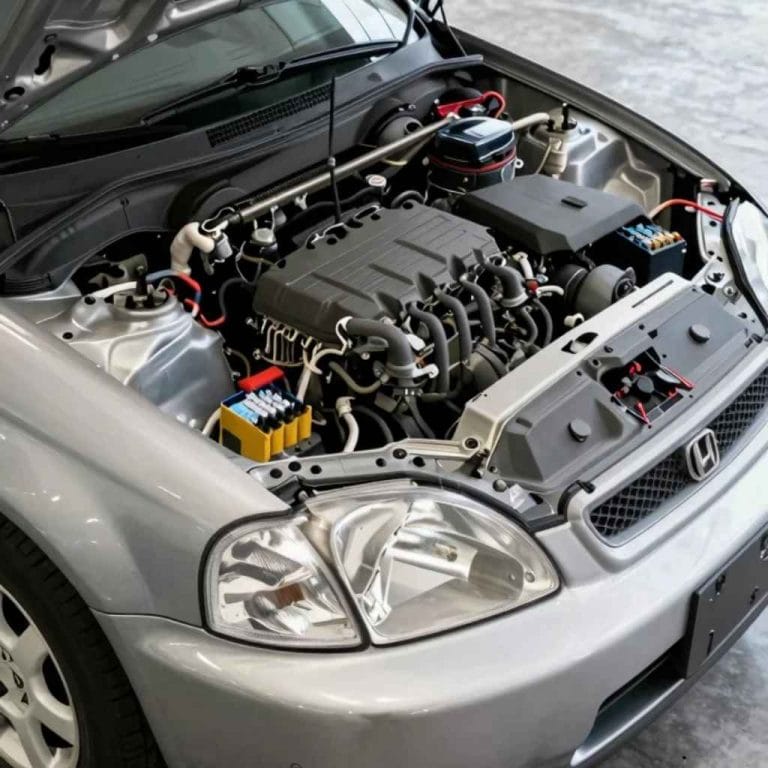
The radiator is a heat exchanger located at the front of your Honda Civic’s engine bay. Its primary function is to dissipate heat from the engine coolant, which absorbs heat as it circulates through the engine. As the coolant passes through the radiator’s thin tubes and fins, air flows across the surface, cooling the fluid before it returns to the engine.
This cycle prevents the engine from overheating and maintains optimal operating temperature. Without a functioning radiator, your Honda Civic’s engine could quickly overheat, leading to potential head gasket failure or even a seized engine.
Radiator Placement In Honda Civic Models
Honda Civics from the 1990s through current models (including the 10th and 11th generations) feature the radiator positioned directly behind the front grille. This placement maximizes airflow while the car is moving and allows the electric cooling fan to help regulate temperature when idling.
Common Radiator Materials
Radiators are constructed from different materials, each with pros and cons:
- Aluminum core with plastic tanks: Most modern Civics use this design for lightweight efficiency and cost savings.
- All-aluminum: Found in some performance upgrades, provides improved durability and heat dissipation.
- Copper/brass: Rare in new vehicles, but occasionally seen in older Civics or heavy-duty aftermarket options.
How The Radiator Integrates With Cooling System
The radiator operates in tandem with these key components:
- Thermostat: Regulates coolant flow based on temperature.
- Water pump: Circulates coolant through the engine and radiator.
- Cooling fan(s): Draw air across the radiator at low speeds.
- Coolant hoses: Transfer coolant between the radiator, engine, and heater core.
A failure in any of these components can impact radiator performance and overall cooling efficiency.

Credit: www.youtube.com
Signs Your Honda Civic Radiator Needs Replacement
Common Symptoms Of Radiator Failure
Detecting radiator problems early prevents costly repairs. Look for these warning signs:
- Coolant Leaks: Puddles under your Civic or visible wet spots around the radiator often indicate cracks or failed seals.
- Rising Temperature Gauge: If your gauge approaches the red zone, your radiator may not be removing heat efficiently.
- Visible Corrosion or Deposits: White, green, or rust-colored buildup on the radiator or its cap suggests internal corrosion or mineral scaling.
- Frequent Overheating: Even if the system is topped off, repeated overheating often points to radiator issues.
- Low Coolant Levels: If you’re constantly refilling coolant with no visible leaks, it may be escaping through small radiator cracks.
- Sludge in Coolant: Thick, discolored coolant can result from internal radiator failure, mixing with transmission fluid (in radiator-integrated transmission coolers), or engine oil.
Case Study: 2013 Honda Civic With Chronic Overheating
A 2013 Honda Civic owner noticed frequent overheating, especially during stop-and-go traffic. Inspection revealed small cracks in the plastic radiator tank, allowing coolant to escape. After replacing the radiator with a direct-fit OEM part, overheating issues disappeared, and the engine temperature stabilized.
Pro Tip
If you see steam or smell sweet, syrupy odors from under the hood, safely pull over and check for signs of coolant leaks, continuing to drive with an overheating engine can cause severe damage.
When To Replace Vs. Repair
Minor issues like loose clamps or small hose leaks can often be repaired. However, if the radiator core or tank is cracked, corroded, or clogged with internal deposits, replacement is usually more cost-effective and reliable.

Credit: unitstudy.com
Choosing The Right Replacement Radiator For Your Honda Civic
Oem Vs. Aftermarket Radiators
When it’s time to replace your radiator, you’ll face a choice between Original Equipment Manufacturer (OEM) and aftermarket options.
| Feature | OEM Radiator | Aftermarket Radiator |
|---|---|---|
| Fit & Compatibility | Guaranteed precise fit | May require minor adjustments |
| Quality & Materials | High, consistent with Honda standards | Varies by brand; some use superior materials |
| Warranty | Typically 1 year or more | Ranges from 90 days to lifetime |
| Price | Higher (usually $200, $400) | Lower ($80, $250) |
| Availability | Dealerships, authorized retailers | Online, auto parts stores, specialty shops |
OEM radiators are best for daily drivers who prioritize reliability and a perfect fit. Aftermarket radiators can be suitable for older Civics, budget-conscious owners, or those seeking performance upgrades.
Key Specifications To Check
- Model Year & Engine Compatibility: Always match the radiator to your Civic’s exact model year, trim, and engine type (e.g., 1.8L vs. 2.0L).
- Transmission Type: Some radiators include integrated transmission coolers, ensure compatibility with automatic or manual transmissions.
- Core Dimensions & Mounting Points: Confirm that the new radiator matches the original in size and mount location.
- Number of Rows: More rows mean higher cooling capacity, important for performance or extreme climates.
Top Brands For Honda Civic Radiators
- Denso (OEM supplier for Honda)
- Mishimoto (performance/all-aluminum options)
- Spectra Premium
- Koyo
- CSF
Example: Upgrading To A Performance Radiator
A 2008 Honda Civic Si owner participating in weekend track events upgraded from the stock radiator to a Mishimoto all-aluminum unit. The performance radiator provided better cooling capacity under extreme conditions, reducing the risk of overheating during spirited driving.
Warning
Avoid radiators with questionable fitment or no clear warranty. Poor-quality aftermarket units may cause leaks, poor cooling, or even engine failure.

Credit: www.youtube.com
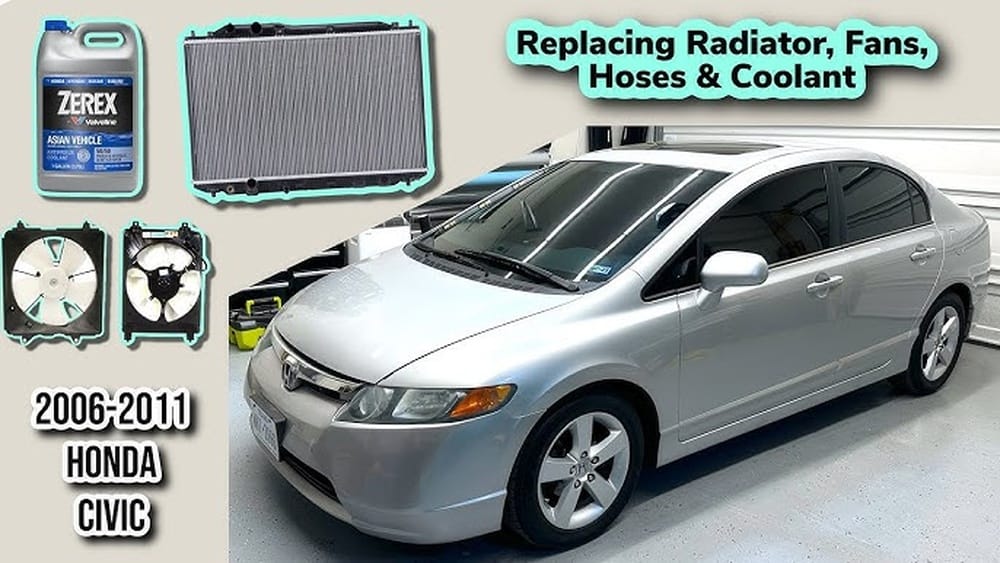
How To Replace Your Honda Civic Radiator: Step-by-step Guide
Tools & Materials Needed
- Replacement radiator (correct for your Civic)
- Basic socket set and wrenches
- Screwdrivers (flat and Phillips)
- Coolant (Honda-recommended type)
- Drain pan
- Pliers
- Hose clamp pliers (recommended)
- Safety glasses and gloves
Step 1: Preparation
- Ensure the engine is completely cool.
- Disconnect the battery for safety.
- Raise the front of the car and secure it with jack stands if necessary.
- Remove the radiator cap to release any residual pressure.
Step 2: Drain Coolant
- Place a drain pan under the radiator drain plug (usually at the bottom corner).
- Open the plug and allow coolant to drain completely.
- Dispose of old coolant according to local environmental regulations.
Step 3: Remove Hoses And Connections
- Disconnect the upper and lower radiator hoses using pliers.
- Remove any attached transmission cooler lines (automatic models only).
- Unplug the radiator fan electrical connectors.
- Remove mounting bolts and brackets securing the radiator.
Step 4: Remove The Radiator
- Lift the radiator straight up, being careful not to spill residual coolant or damage the cooling fins.
- Transfer the radiator fan and shroud (if needed) to the new unit.
Step 5: Install The New Radiator
- Carefully lower the new radiator into place, aligning all mounting points.
- Reconnect hoses, clamps, electrical connectors, and any transmission lines.
- Secure the radiator with bolts and brackets.
Step 6: Refill And Bleed The Cooling System
- Fill the radiator with the correct coolant mixture.
- Start the engine and run with the heater on high.
- Bleed air from the system using the designated bleeder valve or by squeezing hoses gently.
- Top off coolant as needed.
Step 7: Final Checks
- Reinstall the radiator cap.
- Check for leaks or drips.
- Monitor the temperature gauge on a test drive.
Pro Tip
In my experience, always inspect hoses and the radiator cap during replacement. Replacing these inexpensive items along with the radiator can prevent future leaks and ensure a perfect seal.
Maintenance Tips For Maximum Radiator Life
Regular Coolant Changes
Old or contaminated coolant loses effectiveness and can cause internal corrosion. Honda recommends flushing and replacing coolant every 5 years or 60,000 miles (check your owner’s manual for specifics).
Inspect For Damage And Leaks
At every oil change, visually inspect the radiator, hoses, and connections for:
- Wet spots or drips
- Cracked hoses
- Swollen or soft hose areas
- Corrosion around the radiator cap or tank seams
Keep Fins Clean
The radiator’s thin fins can become clogged with debris, bugs, or dirt, reducing airflow. Carefully clean the front of the radiator with low-pressure water or compressed air, being gentle to avoid bending the fins.
Use The Correct Coolant
Always use Honda-approved coolant. Mixing different types can cause sludge, reduce cooling efficiency, and lead to corrosion.
Monitor The Temperature Gauge
If you notice the engine temperature rising above normal, investigate promptly. Persistent high temperatures may signal a developing radiator issue.
Example: Preventive Maintenance Pays Off
A 2017 Honda Civic owner scheduled regular cooling system inspections and coolant flushes every 50,000 miles. This attention to maintenance extended the life of the original radiator to over 160,000 miles with no issues, well above the typical lifespan.
Cost Analysis: Honda Civic Radiator Replacement
Breakdown Of Costs
Radiator replacement costs can vary widely based on model year, labor rates, and parts selection.
| Item | DIY Cost | Professional Shop Cost |
|---|---|---|
| Radiator (OEM) | $200, $400 | $200, $400 |
| Radiator (Aftermarket) | $80, $250 | $80, $250 |
| Coolant (2 gallons) | $30, $60 | $30, $60 |
| Labor | , | $150, $300 |
| Total Estimated Cost | $110, $460 | $260, $760 |
Factors Affecting Price
- Model year and engine type: Newer Civics and performance trims may have more expensive radiators.
- OEM vs. aftermarket: OEM parts cost more but may last longer.
- Labor rates: Vary by region; dealerships usually charge more than independent shops.
Example: 2015 Civic Radiator Replacement
A 2015 Honda Civic owner in California opted for an aftermarket radiator and performed the work at home. The total cost was just under $200, compared to a dealer estimate of $650 for parts and labor.
Pro Tip
Always request a detailed estimate and ask if hoses, clamps, or the thermostat should also be replaced, these small additional costs can prevent future breakdowns.
Radiator Upgrades And Modifications For Performance Honda Civics
When Should You Upgrade?
If you drive your Civic in demanding conditions, high-performance, racing, or extreme heat, a stock radiator may not offer enough cooling capacity. Upgrading can provide peace of mind and enhanced engine protection.
Types Of Performance Radiators
- All-aluminum radiators: Superior heat dissipation and durability; ideal for track and turbocharged Civics.
- Dual or triple-row cores: More coolant volume and surface area for cooling.
- Integrated oil/transmission coolers: For automatic or high-power applications.
Popular Brands And Fitment
Performance-focused manufacturers like Mishimoto, Koyo, and CSF offer direct-fit upgrades for most Civic generations. Check for compatibility with your trim and any modifications (e.g., turbo kits, engine swaps).
Installation Considerations
Upgraded radiators often require minor modifications, such as trimming shrouds or rerouting hoses. Always confirm fitment with the seller and read user reviews before purchasing.
Example: Track Day Civic
A 2006 Civic Si owner, preparing for regular track use, installed a CSF dual-row aluminum radiator. Post-upgrade, coolant temperatures stayed within safe limits, even during long high-RPM sessions in hot weather.
Warning
Performance radiators may not be necessary for daily commuting. They can be more expensive and may require custom installation. Evaluate your needs before upgrading.
Environmental Considerations And Proper Coolant Disposal
Why Proper Disposal Matters
Used coolant contains ethylene glycol, a toxic substance harmful to humans, animals, and the environment. Pouring coolant down the drain or onto the ground is illegal in most regions and can contaminate water supplies.
How To Dispose Of Coolant Safely
- Collect used coolant in a sealed container.
- Take it to a certified recycling center or hazardous waste facility.
- Never mix coolant with other chemicals (oil, brake fluid, etc. ).
Many auto parts stores and municipal facilities offer free coolant recycling, check local resources before starting your radiator replacement.
Environmental Benefits Of A Healthy Radiator
A properly functioning radiator reduces emissions and improves fuel economy by keeping the engine at optimal temperature. Regular maintenance not only saves money but also lowers your environmental impact.
Example: Community Coolant Recycling Program
A Honda dealership in Oregon partners with local recycling facilities, accepting used coolant from customers during service visits. This program helps prevent environmental contamination and promotes responsible car maintenance.
Pro Tip
Always use a spill-proof drain pan when servicing your radiator to avoid accidental spills or exposure.
Frequently Asked Questions
How Long Should A Honda Civic Radiator Last?
With proper maintenance, an OEM Honda Civic radiator can last between 100,000 and 150,000 miles. Lifespan varies depending on driving conditions, climate, and adherence to coolant change intervals. Performance or aftermarket radiators may have different longevity depending on materials and usage.
Can I Drive My Honda Civic With A Leaking Radiator?
Driving with a leaking radiator is risky and not recommended. Even a small leak can rapidly lead to engine overheating and catastrophic damage. If you notice a coolant leak, top off the fluid if necessary and drive only as far as needed to reach a repair shop.
What Coolant Type Does The Honda Civic Radiator Require?
Honda recommends using Honda Long Life Antifreeze/Coolant Type 2, which is a blue, silicate-free formula designed for aluminum engines and radiators. Never mix different coolant types, as this can cause sludge and reduce cooling system efficiency.
Are Radiator Stop Leak Products Safe For My Honda Civic?
Radiator stop leak products can provide a temporary solution for very small leaks, but they are not a permanent fix and may clog internal passages. For modern Civics, especially those with small-diameter cooling channels, it’s best to repair or replace the radiator instead of using chemical additives.
Consult your mechanic before using these products.
How Do I Bleed Air From My Honda Civic’s Cooling System After Radiator Replacement?
To properly bleed air:
- Fill the radiator and reservoir to the recommended level.
- Start the engine and let it reach operating temperature with the heater on high.
- Open the bleeder valve (if equipped) or gently squeeze the upper radiator hose to help release trapped air.
- Watch for bubbles and top off coolant as necessary.
- Recheck levels after the first few drives.
If unsure, refer to your Civic’s service manual or ask a professional mechanic for assistance.
For more technical details, you can refer to the Wikipedia Radiator Article or your official Honda owner’s manual.
The Honda Civic radiator is a vital component that deserves regular attention and timely replacement. By understanding how it works, watching for warning signs, and choosing the right replacement strategy, you can ensure your Civic remains reliable for years. Whether you opt for a DIY approach or professional service, investing in radiator care translates to smoother drives, lower repair costs, and a longer-lasting engine.
Products related to this article
Sponsored / affiliate links. As an Amazon Associate I earn from qualifying purchases. I may earn additional commission from eligible campaigns.