Car Tire Not Seated Properly? Here’S How to Fix It Fast
If you’ve ever experienced the unnerving wobble or persistent air leak after mounting a tire, you know how crucial it is for a car tire to be seated properly on the rim. An improperly seated tire isn’t just an annoyance—it can be a serious safety hazard, causing poor handling, rapid tire wear, and even sudden blowouts. Whether you’re a seasoned DIY mechanic or a first-time tire changer, understanding how to quickly diagnose and remedy this issue is vital for your safety and driving comfort.
This comprehensive guide will walk you through the signs of an improperly seated tire, why it happens, and exactly how to fix it—fast. From step-by-step repair instructions to real-world examples, data-driven comparisons, and expert tips, you’ll be empowered to restore your wheel’s integrity with confidence.
By the end, you’ll also know when to handle it yourself and when professional intervention is necessary.
Key Takeaways
- Improper tire seating is a common and critical issue that affects safety, tire longevity, and ride quality.
- Visual inspection, air pressure checks, and ride feel are essential for diagnosing tire seating problems.
- The most effective fixes include using proper tools, lubricants, and stepwise inflation techniques.
- Knowing when to seek professional help can prevent expensive damage and ensure road safety.
- Preventative measures and regular maintenance significantly reduce the risk of tire seating issues.
- Real-world examples and comparison tables provide actionable, data-driven insights.
Credit: www.duallywheels.com
Understanding Tire Seating: What It Means And Why It Matters
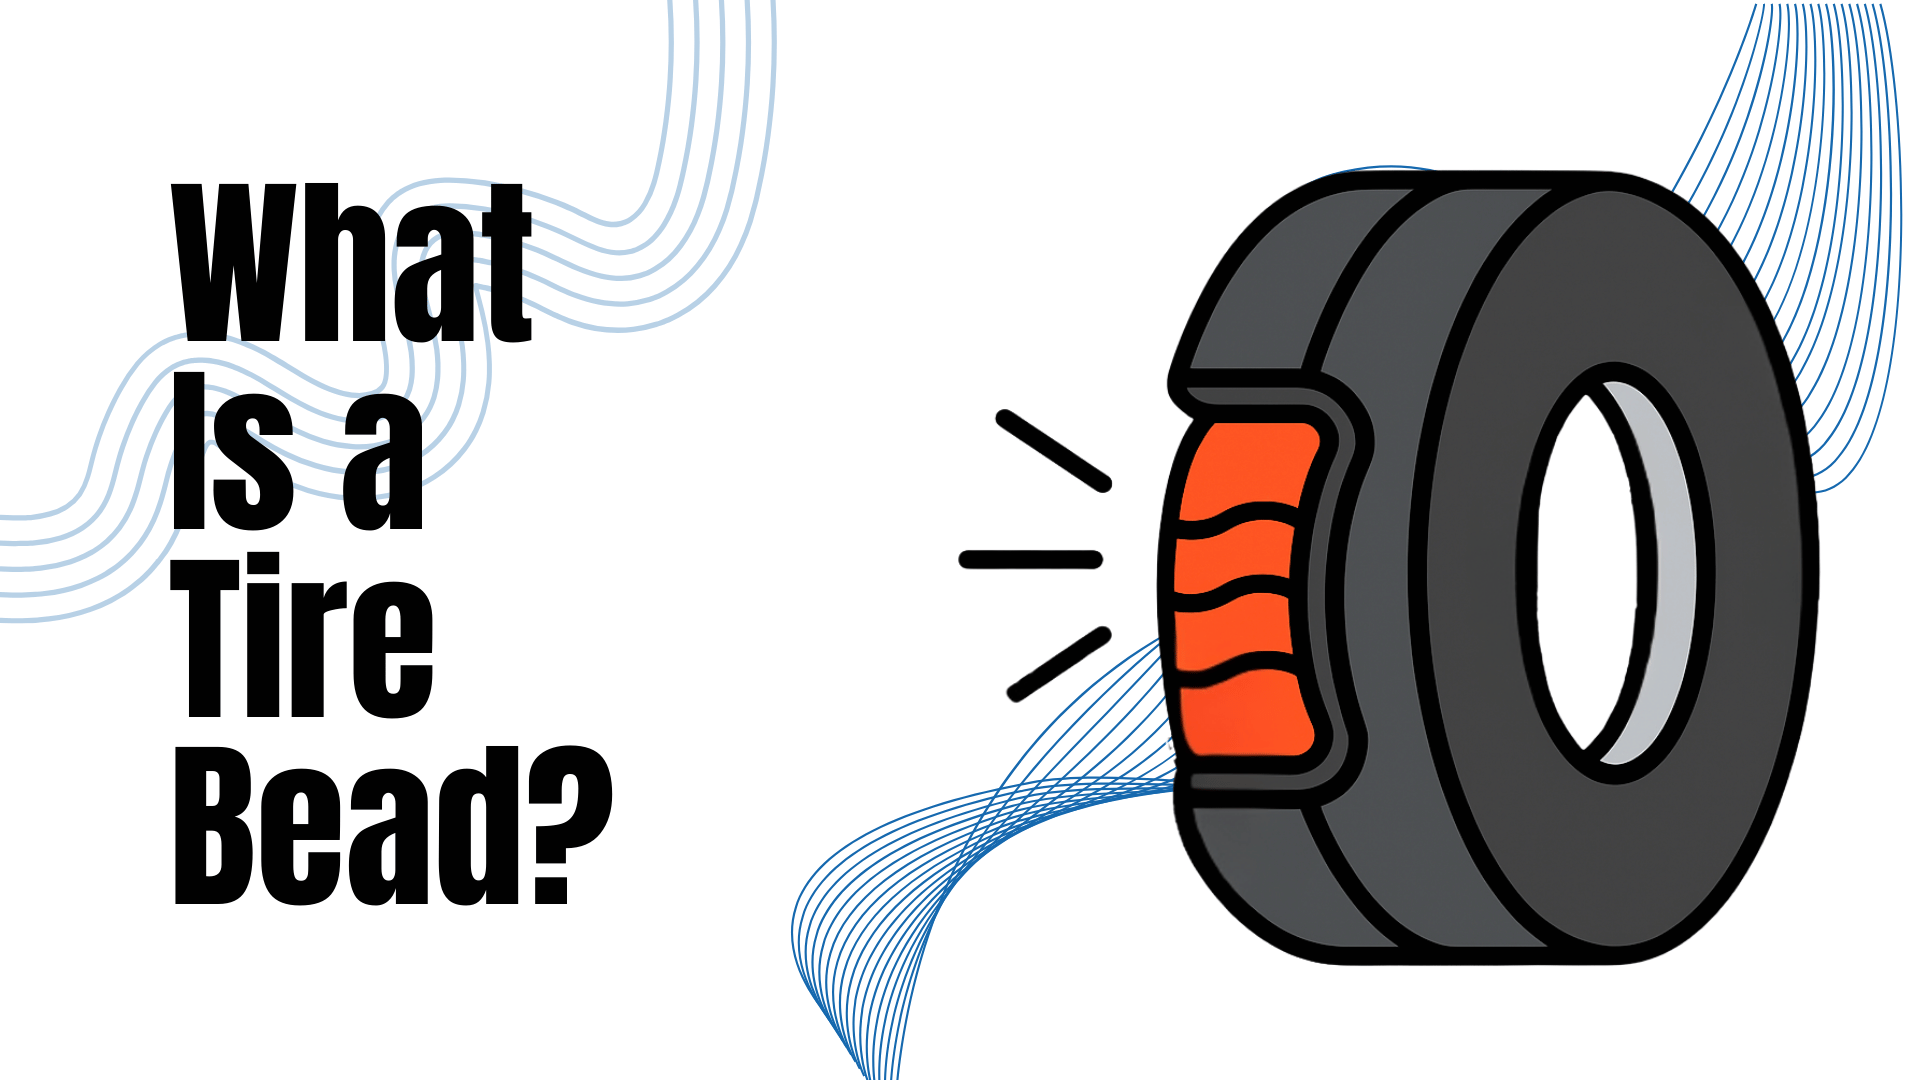
Proper tire seating occurs when the tire bead—the edge of the tire—sits snugly and evenly within the wheel rim’s bead seat. This ensures an airtight seal, structural integrity, and safe handling. When a tire is not seated correctly, it can manifest as an uneven bead, visible gaps, persistent air leaks, or a noticeable vibration while driving.
Why Tire Seating Is Critical
Improperly seated tires can lead to:
- Air leaks: Loss of tire pressure, leading to poor fuel economy and unsafe driving.
- Tire damage: Uneven pressure can cause the tire to wear prematurely or deform.
- Rim damage: A misaligned bead can scratch or warp the wheel rim.
- Safety hazards: Increased risk of blowouts, poor handling, or even accidents.
According to the National Highway Traffic Safety Administration (NHTSA), under-inflated or damaged tires contribute to over 11,000 crashes annually in the US (NHTSA).
Improper tire seating does not only affect individual drivers—it can impact vehicle fleets, commercial transport, and even insurance claims. Many insurance providers will deny claims if it’s found that tire maintenance was neglected or performed incorrectly.
The Anatomy Of Tire Seating
The process involves aligning the tire bead with the rim’s seat, inflating the tire so the bead “pops” into place, and ensuring a uniform seal all around. Any deviation can compromise performance and safety.
| Seating Component | Description | Effect if Not Seated |
|---|---|---|
| Tire Bead | Rubber edge that contacts the rim | Air leaks, uneven wear |
| Bead Seat | Rim groove where bead sits | Vibration, rim damage |
| Valve Stem | Inflation point on rim | Inconsistent pressure |
Understanding the interaction between the bead and the rim is essential, as even a slight imperfection or misalignment can prevent a proper seal. For example, if a rim has been previously dented and not repaired, the bead may not seat correctly, causing ongoing leaks or handling issues.
Common Causes Of Improper Seating
- Dirt or rust on the rim
- Damaged or deformed beads
- Incorrect tire size
- Improper mounting technique
- Insufficient lubrication during installation
- Old or degraded rubber: Tires that have been stored improperly may have dried out beads, making seating difficult.
- Paint or coatings on the rim: Sometimes, aftermarket paint or powder-coating can create a slick or uneven surface that prevents proper seating.

Credit: www.walser.com
Diagnosing An Improperly Seated Tire
Identifying a tire that isn’t seated right can be straightforward if you know what to look for. Early diagnosis prevents escalation and saves time and money.
Visual Inspection
Start by conducting a 360-degree examination of the tire where it meets the rim:
- Look for gaps between the tire and rim.
- Check for bulges or dips along the sidewall.
- Ensure the bead line (a molded ring on the tire) is equidistant from the rim edge all the way around.
- Inspect both the inside and outside beads. Sometimes, only one side is mis-seated, especially if the tire was mounted hastily.
- Look for any signs of pinched rubber, which could indicate the bead was damaged during installation.
A flashlight or headlamp can help spot minor imperfections that could otherwise go unnoticed.
Air Pressure And Leak Testing
Improper seating often results in:
- Rapid pressure loss even after inflation.
- Audible hissing sounds (indicating escaping air).
- Repeated need for topping up air within days.
- Noticeable unevenness in pressure across a set of tires, suggesting that one is leaking due to poor seating rather than a puncture.
Use a soap and water solution around the bead—bubbles will form where air escapes. For more precision, a dedicated leak detection spray or electronic pressure gauge can be used to monitor pressure loss over time.
Ride Feel And Handling
Pay attention to:
- Steering wheel vibrations
- Vehicle pulling to one side
- Thumping or wobbling noises at certain speeds
- Changes in fuel efficiency: Under-inflated or poorly seated tires increase rolling resistance, which can be measured over time.
- Unusual tire noise: Sometimes, an improperly seated bead can cause a rhythmic “slap” or “whump” sound as the wheel rotates.
Data from the Tire Industry Association indicates that up to 7% of tire-related complaints are due to bead seating issues (Tire Industry Association).
Professional Diagnostic Tools
- Runout gauges measure wheel and tire roundness, identifying any deviations caused by improper seating.
- Tire balancers detect uneven seating by identifying high and low spots as the tire spins.
- High-pressure water testing: Some tire shops use water baths to find leaks that soap may miss.
If in doubt, most tire shops offer quick diagnostic checks. Many will perform these inspections for free or a small fee, especially if you bought the tires from them.

Credit: www.rkmotors.com
Fast Fixes For An Improperly Seated Tire
Knowing how to fix a seating issue can save you a trip to the shop and restore safe driving. Here’s a stepwise breakdown for addressing this problem quickly.
Step 1: Gather Necessary Tools And Safety Gear
You’ll need:
- Jack and jack stands
- Tire iron or impact wrench
- Air compressor (capable of high-volume output)
- Bead lubricant (or soapy water)
- Valve core tool
- Rubber mallet (optional for stubborn beads)
- Gloves and eye protection
- Wire brush or sandpaper (for cleaning rim surfaces)
- Flashlight (for close inspection)
- Portable bead seating tool (optional but useful for off-roaders or those working in remote areas)
Step 2: Remove The Tire Safely
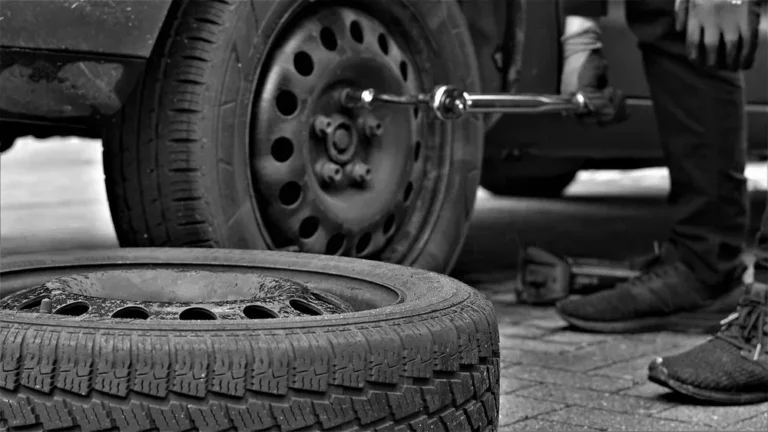
- Loosen the lug nuts while the car is on the ground.
- Jack up the vehicle and secure it on stands.
- Remove the wheel entirely for best access. If you’re working with large or heavy wheels, use a wheel dolly or assistance to avoid injury.
Step 3: Deflate And Inspect
- Fully deflate the tire by removing the valve core. This step is crucial, as even small amounts of remaining air can prevent the bead from reseating.
- Inspect the rim and bead for dirt, rust, or damage. Pay special attention to the rim edge and the bead surface for nicks, gouges, or corrosion.
- Clean any debris with a wire brush or cloth. Even minor debris or old rubber can cause significant sealing problems.
Step 4: Lubricate The Bead
Apply a generous coating of bead lubricant or soapy water around both sides of the bead. This reduces friction and helps the bead pop into place during inflation.
- For best results, use a tire-specific bead lubricant, available at automotive supply stores. These are designed not to degrade the rubber or rim over time.
- Avoid petroleum-based products, which can break down the rubber compound and cause long-term damage.
Step 5: Re-inflate And Seat The Bead
- Seat the tire loosely on the rim. Make sure the bead is roughly aligned with the bead seat all the way around.
- Attach the air compressor and inflate quickly—the sudden airflow helps the bead snap into place.
- Watch for the bead popping sound—a loud “pop” indicates the bead has seated. Some tires may require two pops (one for each bead).
- Inspect the bead all around for evenness.
Pro Tip:
If the bead won’t seat, try removing the valve core to allow higher airflow during inflation. For stubborn cases, a bead blaster tool can deliver a rapid air burst. In remote situations, some off-roaders carefully use starter fluid and a flame to seat a bead, but this method is extremely dangerous and not recommended for safety reasons.
Step 6: Reinstall The Tire And Check
- Replace the valve core, inflate to the recommended PSI.
- Reinstall the wheel and tighten lug nuts in a star pattern to ensure even pressure.
- Lower the vehicle and double-check tire pressure. Repeat the visual bead inspection.
Step 7: Road Test And Final Inspection
Drive at low speed, checking for any vibration or pulling. Re-inspect the bead for uniformity and ensure consistent air pressure over 24 hours. Record the pressure at installation and after 24 hours to verify no ongoing leaks.
Data-driven Comparison: Diy Vs. Professional Fix
| Approach | Time Required | Cost | Success Rate | Tools Needed |
|---|---|---|---|---|
| DIY (Home Garage) | 30–60 minutes | $0–$30 (tools/lube) | 80% (mild cases) | Compressor, lube, jack |
| Professional Shop | 15–30 minutes | $20–$50 | 99% (all cases) | Specialized equipment |
DIY repairs can be effective for common issues, but shops offer more advanced diagnostics and can repair rim or bead damage that home mechanics cannot. Consider professional help if you notice ongoing problems or lack the necessary equipment.
When To Seek Professional Help
- Repeated seating failures
- Damaged or bent rims
- Bead or sidewall damage
- Specialty tires (run-flat, low-profile, etc.)
- Tires on high-performance or luxury vehicles: These often require precise mounting and balancing to avoid ride quality issues.
Shops have bead seating machines and can handle severe cases safely (Consumer Reports). They can also advise if the tire or rim is unsafe for further use.
Preventing Tire Seating Issues
A proactive approach can spare you from future headaches and extend your tire’s life.
Proper Mounting Techniques
- Always use bead lubricant during installation.
- Ensure the tire and rim are clean and free of debris.
- Match the tire size to the rim—never force a misfit.
- Mount the tire in a temperature-controlled environment, if possible, to reduce the risk of rubber contraction or expansion.
Regular Tire Maintenance
- Check air pressure weekly, not just visually but with a reliable gauge.
- Inspect tires for sidewall damage or bead separation, especially after hitting potholes or curbs.
- Rotate tires every 5,000–7,500 miles, or as recommended by your vehicle manufacturer.
- Balance and align your wheels regularly to avoid uneven pressure on beads.
Seasonal And Environmental Considerations
Extreme temperatures can cause beads to shrink or expand, making seating more difficult:
- In cold climates, warm the tire and rim before mounting. This can be done with a heat gun or by keeping the tires indoors overnight.
- Avoid mounting tires in freezing conditions if possible.
- In hot climates, allow tires to cool before mounting, as overheated rubber can be more pliable and prone to stretching.
Case Study: Fleet Maintenance
A major delivery company reported a 17% reduction in tire-related downtime after implementing routine bead inspections and proper lubrication protocols (Tire Review Magazine). This translated to significant cost savings and improved delivery schedules, highlighting the value of preventive maintenance even for large-scale operations.
Choosing Quality Tires And Rims
Invest in reputable brands to reduce manufacturing defects. Inferior or poorly sized tires are more prone to seating issues.
- Always verify tire and rim compatibility using manufacturer specifications.
- Avoid purchasing second-hand tires unless you can verify their bead integrity and history.
Data Table: Common Causes And Prevention Tips
| Cause | Prevention |
|---|---|
| Dirty rim/bead | Clean thoroughly before mounting |
| Improper lubrication | Use bead lube on both bead and rim |
| Wrong tire size | Verify tire and rim specifications |
| Damaged bead | Inspect for cuts or distortions before mounting |
| Temperature extremes | Mount in moderate conditions, or precondition tires/rims |
Real-world Examples: Improper Tire Seating In Action
Example 1: The Diy Enthusiast’s Dilemma
A car enthusiast attempted to install new summer tires at home. After mounting, he noticed a persistent wobble at 40 mph. A quick inspection revealed the bead line was uneven—the tire hadn’t seated properly. Following the steps in this article—deflating, lubricating, and rapid reinflation—resolved the issue, restoring a smooth ride.
This example highlights the importance of visual inspection and not rushing the mounting process, even for experienced DIYers.
Example 2: Commercial Fleet Operations
A commercial van fleet suffered frequent tire leaks and downtime. Investigation showed dirt and rust buildup on the rims was preventing proper seating. By adding bead cleaning and lubrication to their standard procedure, they reduced bead-related air leaks by 80% over six months.
Proper training and process control in fleet management can prevent widespread issues, reduce costs, and ensure driver safety.
Example 3: The Off-road Challenge
Off-road vehicles often experience bead unseating due to low tire pressures and rough terrain. One 4×4 owner used a bead blaster to reseat a tire trailside after it lost its seal during rock crawling, demonstrating the value of portable inflation tools and readiness.
This scenario illustrates the importance of being prepared with the right tools and knowledge, especially in remote or demanding environments.
Example 4: The Winter Tire Swap
A driver switching to winter tires noticed air loss within a week. The shop discovered the bead was not fully seated due to ice and dirt in the rim channel. After cleaning and reseating, the issue was resolved. Seasonal tire changes increase the risk of seating problems, so extra care is warranted.
Advanced Troubleshooting: When The Basics Don’t Work
Sometimes, standard fixes aren’t enough. Here’s how to address persistent or unusual issues.
Stubborn Beads
- Try increasing the initial air burst by removing the valve core.
- Use a ratchet strap around the tire’s circumference to help the bead expand outward. Tighten the strap until the beads are forced toward the rim, then inflate.
- For extreme cases, a professional may use a “cheetah tank” (bead seater tank) that delivers a controlled air blast.
Rim Or Bead Damage
- Inspect for bent rims or torn beads—these require professional repair or replacement.
- For minor dings, a rubber mallet can sometimes restore bead seat shape, but be cautious not to worsen the damage.
- Severely damaged beads or rims should not be reused, as they compromise safety.
Specialty Tires
- Run-flat and low-profile tires are more difficult to seat due to their stiff sidewalls.
- Consider a tire shop with specialized equipment (Bridgestone Tire).
- Some high-performance tires may require specific mounting direction or techniques.
Sealant Use
- In emergencies, tire sealants can temporarily stop leaks but aren’t a substitute for proper seating.
- Clean the rim and tire thoroughly before attempting reseating after sealant use, as residue can interfere with the bead seal.
Repeated Failures
- Multiple failed attempts usually point to rim or tire defects.
- Don’t persist—consult a professional to avoid further damage.
- Keep a record of persistent issues, as manufacturers may offer warranty replacements for defective tires or wheels.
Safety Considerations And Best Practices
Your safety is paramount when working with tires and wheels. Mishandling can cause injury or expensive damage.
Personal Protective Equipment
- Always wear gloves and eye protection.
- Use proper lifting techniques to avoid back injuries.
- Wear steel-toe boots if working with heavy or commercial vehicle tires.
Inflation Safety
- Never exceed manufacturer’s recommended pressure.
- Stand clear of the tire’s trajectory during inflation—improper seating can cause explosive separation.
- Use a remote air chuck or inflation cage for large or high-pressure tires.
Environmental Safety
- Work on a flat, stable surface.
- Keep bystanders, especially children, away during tire inflation.
- Ensure good ventilation if using chemical lubricants or cleaners.
Legal And Warranty Implications
- DIY repairs may void certain tire warranties—check with the manufacturer.
- Always document repairs for fleet or insurance purposes.
- Some regions have regulations regarding the repair and replacement of tires and rims; ensure compliance to avoid fines or liability.
Frequently Asked Questions
What Causes A Tire Bead To Not Seat Properly?
Several factors contribute to improper tire bead seating, including dirt or rust on the rim, insufficient lubrication, incorrect tire size, or a damaged bead. Always inspect both the tire and rim before installation to ensure a clean, well-fitting interface.
Other causes include improper mounting techniques, use of incompatible aftermarket rims, or environmental factors such as extreme cold or heat. If you regularly experience bead seating issues, consider consulting a professional to inspect your wheels and tires.
Can I Drive On A Tire That Isn’t Seated Properly?
No, driving on a mis-seated tire is highly unsafe. It can lead to air leaks, poor handling, and even catastrophic blowouts. Immediate correction is necessary to restore safe vehicle operation. If you suspect a seating problem while driving, stop and inspect the tire or call for roadside assistance.
How Do I Know If My Tire Is Seated Correctly?
A properly seated tire will have an even bead line all around the rim, maintain stable air pressure, and provide a smooth ride without vibrations or pulling. Use a soap and water solution to check for leaks and perform a visual inspection after mounting. If in doubt, have the tire checked by a professional.
Do I Need Special Tools To Fix A Seating Issue?
Basic tire seating can often be fixed with an air compressor, bead lubricant, and standard tire tools. For stubborn issues or specialty tires, professional equipment such as a bead blaster or mounting machine may be necessary (Popular Mechanics). Investing in a quality portable compressor and lube can save time and money for frequent DIYers.
When Should I Seek Professional Help For A Tire Seating Problem?
If you encounter repeated seating failures, notice damage to the rim or bead, or are working with specialty tires, it’s best to consult a professional tire shop. They have the expertise and equipment to resolve complex or severe issues safely (Goodyear). Attempting repeated repairs at home can lead to further tire or wheel damage and compromise safety.
An improperly seated tire might seem like a minor inconvenience, but it can have serious implications for your safety and your vehicle’s performance. By understanding the causes, recognizing the symptoms, and applying the right repair techniques, you can quickly resolve most seating issues and get back on the road with confidence.
Regular maintenance and attention to detail will minimize future problems, and knowing when to seek professional help ensures you never compromise on safety. Stay proactive, informed, and prepared to keep your driving experience smooth, efficient, and above all, safe.
Products related to this article
Sponsored / affiliate links. As an Amazon Associate I earn from qualifying purchases. I may earn additional commission from eligible campaigns.