Can-Am X3 Spark Plug Change: Step-By-Step Easy Guide
Changing the spark plugs on your Can-Am X3 might seem tricky. You worry about making a mistake. This guide breaks it down.
We’ll show you how to do it safely. It’s easier than you think. You’ll learn what you need.
You’ll see each step clearly.
Changing Can-Am X3 spark plugs involves locating the plugs, removing ignition coils, unscrewing old plugs, and installing new ones. Proper tools and a clean workspace are key. This routine maintenance helps your engine run smoothly and efficiently.
What Are Can-Am X3 Spark Plugs?
Spark plugs are small but mighty parts. They live inside your engine. Their job is to create a spark.
This spark ignites the fuel. This makes your engine run. For a Can-Am X3, these plugs are vital.
They help your powerful engine deliver its best performance.
The engine needs the right spark at the right time. A good spark plug ensures this. It helps with fuel burning.
This means more power for you. It also means cleaner exhaust. Over time, spark plugs wear out.
They don’t make a strong spark anymore. This can cause problems.
Your X3 might start to run rough. You might lose power. Fuel use could go up.
Changing them keeps your ride fun. It keeps your machine reliable. It’s part of keeping your X3 happy and ready for adventure.
Why Changing Spark Plugs Matters for Your X3
Think of your engine as a heart. Spark plugs are like the electrical signals telling it to beat. If those signals get weak or fuzzy, the beat falters.
For your Can-Am X3, this means trouble. It’s not just about starting the engine.
Good spark plugs mean efficient burning. This translates to better fuel economy. It means your X3 can go further on a tank.
It also means less wasted fuel. This is good for your wallet and the environment. Plus, a well-burning engine creates less pollution.
Performance is a big one. You bought an X3 for its power. Old or fouled plugs can rob you of that power.
You might notice hesitation. You could feel a loss of acceleration. Changing them restores that crisp response you love.
It also prevents bigger issues. A failing spark plug can damage other engine parts. It can lead to misfires.
Misfires can overheat your engine. They can even damage the catalytic converter. Regular changes are cheaper than engine repairs.
It’s about reliability too. You don’t want your X3 to quit on you miles from anywhere. Fresh plugs ensure your engine starts easily.
They help it run smoothly, even in tough conditions. This makes your off-road adventures safer and more enjoyable.
When Should You Change Your Can-Am X3 Spark Plugs?
There’s a general rule of thumb. Most manufacturers suggest changing spark plugs. This is often between 30,000 and 100,000 miles.
However, off-road vehicles like your Can-Am X3 work harder. They often see more dust, dirt, and stress.
So, it’s wise to check more often. Many X3 owners change them sooner. Some do it every 10,000 to 20,000 miles.
Others change them annually. It depends on how much you ride. It also depends on the conditions you ride in.
Pay attention to your X3. Listen to its engine. Notice any changes.
Are you seeing any of these signs? These are common indicators that your spark plugs might need a change.
- Rough Idling: The engine sounds uneven when it’s stopped.
- Misfiring: You feel a stutter or a skip during acceleration.
- Hesitation: The engine doesn’t respond quickly when you give it gas.
- Reduced Power: It feels like your X3 isn’t as strong as it used to be.
- Poor Fuel Economy: You’re stopping for gas more often than before.
- Hard Starting: The engine cranks for a long time before it fires up.
- Check Engine Light: This light can sometimes point to ignition system issues.
Even if you don’t see these signs, consider it a preventative step. Check your owner’s manual. It will give you the best recommendation for your specific X3 model.
It’s better to be safe than sorry.
Signs Your Spark Plugs Need Attention
Fuel Efficiency Drop: Noticeably more trips to the gas station.
Engine Performance Issues: Less power, sputtering, or rough running.
Starting Troubles: The engine struggles to turn over and start.
Unusual Engine Sounds: A knocking or pinging noise might occur.
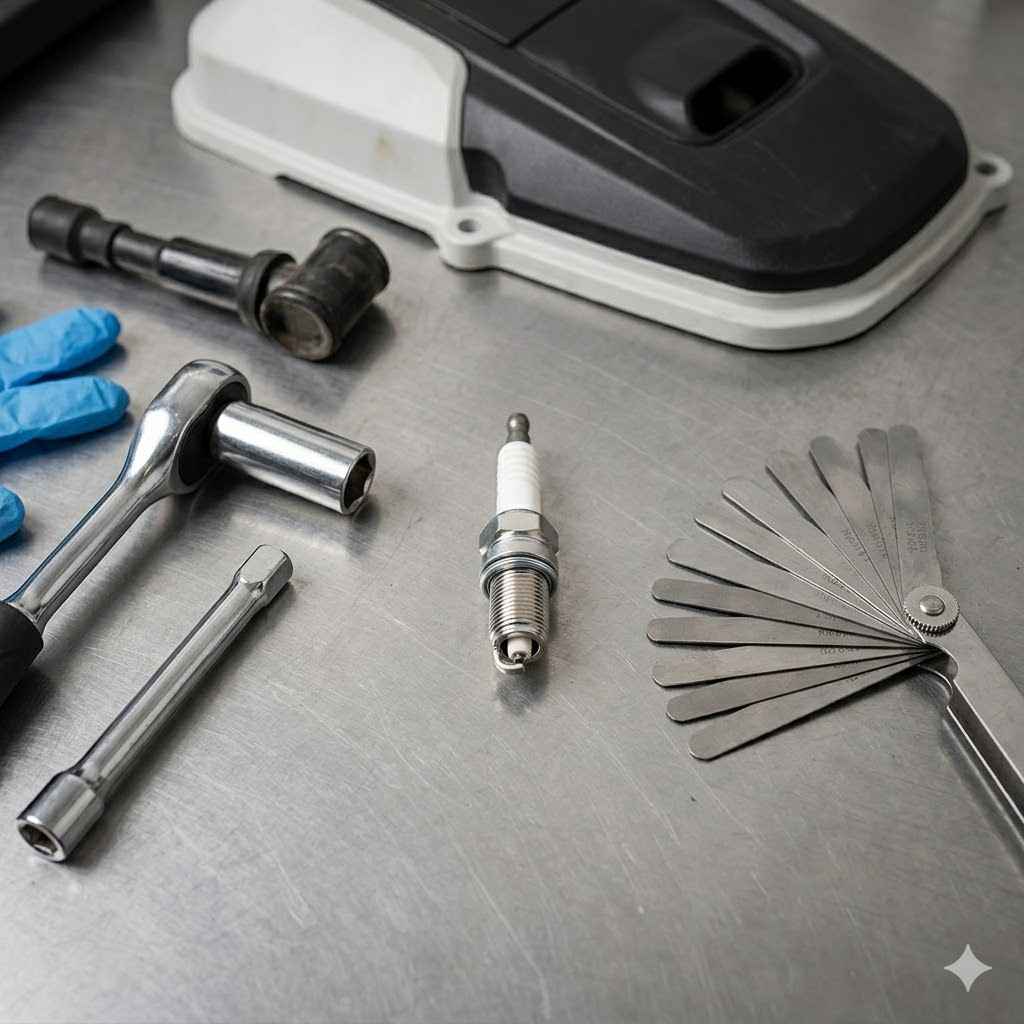
Gathering Your Tools and Parts
Before you start, make sure you have everything ready. This makes the job smooth. You don’t want to stop halfway because you’re missing one tool.
Here’s what you’ll need:
- New Spark Plugs: Make sure they are the correct ones for your Can-Am X3 model. Your owner’s manual is the best source. Using the wrong plugs can cause engine damage.
- Socket Wrench Set: You’ll need a few sizes. A common size for spark plug sockets is 5/8 inch or 16mm.
- Spark Plug Socket: This is a special socket. It often has a rubber insert. This holds the plug securely.
- Extension Bar: This helps you reach the spark plugs. They can be deep in the engine.
- Torque Wrench: This is important. Overtightening or undertightening can cause problems. You need to tighten the plugs to the exact spec.
- Ratchet Handle: To turn your sockets and extensions.
- Gap Tool: Some new spark plugs come pre-gapped. Others need to be checked and adjusted.
- Dielectric Grease: This goes on the inside of the ignition coil boot. It prevents moisture and helps seal.
- Anti-Seize Compound: A small amount goes on the spark plug threads. This helps prevent them from sticking in the engine head.
- Clean Rags or Shop Towels: To keep things clean.
- Compressed Air or Shop Vacuum: To clean around the spark plug holes.
- Gloves and Safety Glasses: For protection.
Having a clean workspace is also helpful. Lay out your tools. Keep your new parts handy.
This makes the whole process less stressful.
Step-by-Step: Changing Your Can-Am X3 Spark Plugs
Let’s walk through this. We’ll take it one step at a time. It’s not as hard as it looks.
Just be patient and follow along.
Step 1: Prepare Your X3
First, make sure your X3 is cool. A hot engine can burn you. It can also make parts harder to remove.
Park your machine on a level surface. Engage the parking brake. Turn off the engine completely.
Open the hood or access panels. You need to get to the engine. Your owner’s manual will show you where the spark plugs are.
They are usually on the sides of the engine. They have wires or coil packs going to them.
Step 2: Locate the Spark Plugs
Your Can-Am X3 likely has two cylinders. So, you’ll have two spark plugs. They are typically found on the top or side of the cylinder head.
You’ll see thick wires or black plastic casings leading to them. These are the ignition coils.
Take a good look. Understand where each one is. This helps you keep track.
You don’t want to mix anything up.
Step 3: Clean Around the Spark Plugs
This is a super important step. You don’t want dirt falling into your engine. Use compressed air or a shop vacuum.
Blow or suck away any loose debris. This includes dirt, leaves, or mud. Do this around each spark plug.
It keeps your engine clean.
Dirt Alert!
Problem: Dirt and debris falling into the cylinder.
Why it’s bad: Can cause engine damage or poor performance.
Solution: Always clean the area thoroughly before removing plugs.
Tool: Compressed air, shop vacuum, or a clean brush.
Step 4: Remove the Ignition Coils
Each spark plug has an ignition coil attached. It might be a coil pack. It might have a spark plug wire.
Gently twist and pull the boot. Don’t pull the wire itself. Pull the rubber boot.
It should slide off the plug.
If it’s a coil pack, there might be a clip or a bolt holding it down. Release the clip or remove the bolt. Then, gently pull the coil pack straight up.
Be careful not to bend or damage the coil.
Tip: Work on one plug at a time. This way, you won’t get confused. You can finish one completely before moving to the next.
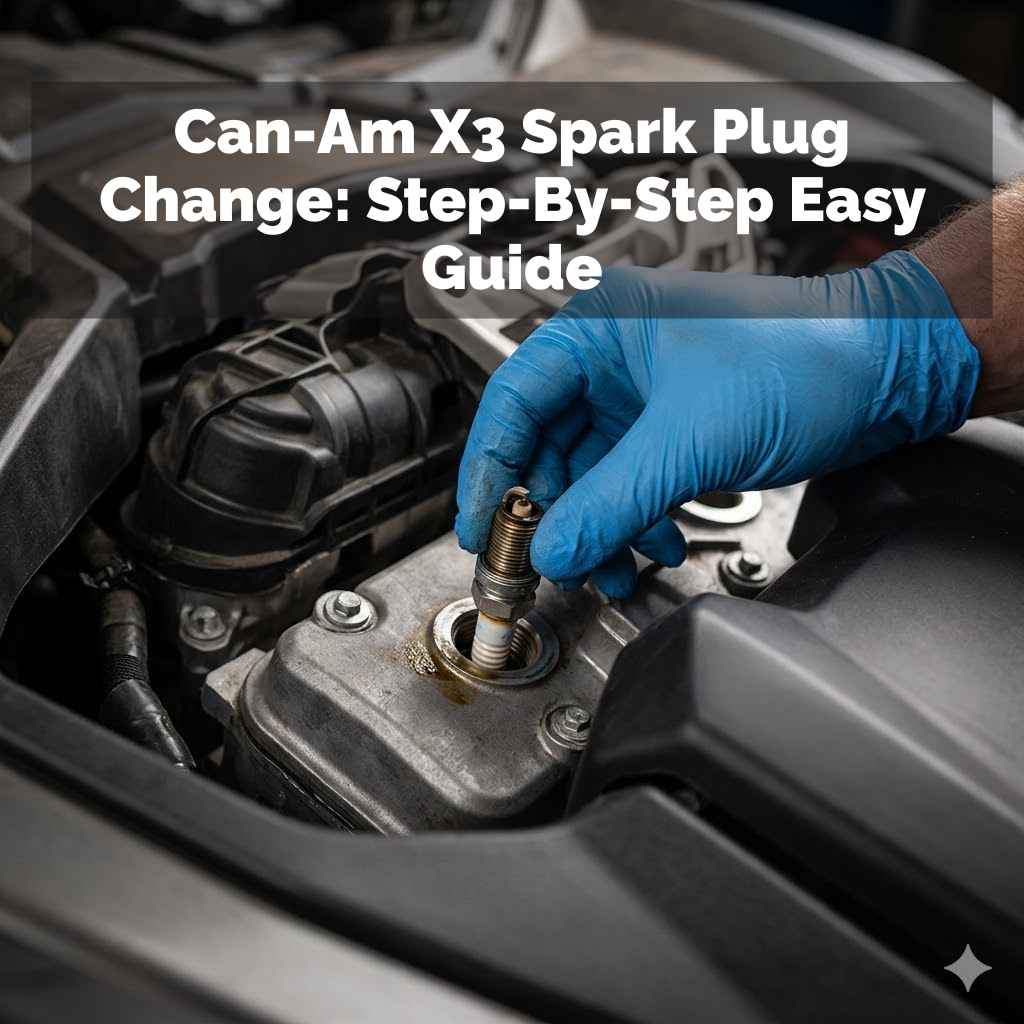
Step 5: Remove the Old Spark Plugs
Now, use your socket wrench with the extension and spark plug socket. Fit the socket onto the spark plug. Turn the wrench counter-clockwise.
You’re unscrewing the plug.
It might be a bit tight at first. You might need to use a little force. If it feels stuck, don’t force it too much.
Try a bit of penetrating oil. Let it soak for a few minutes.
Once it’s loose, unscrew it the rest of the way. Carefully lift the old spark plug out. Look at it.
Does it look oily? Is it black and sooty? This can tell you about your engine’s health.
Set the old plug aside. You’ll need to do this for all your plugs.
Step 6: Prepare the New Spark Plugs
Take your new spark plugs out of their boxes. Check the gap. Your owner’s manual will tell you the correct gap measurement.
Use your gap tool to check it. If it’s not right, carefully bend the ground strap. Adjust it until it’s correct.
Some plugs come pre-gapped. It’s still a good idea to check them. Some plugs also need a little anti-seize.
Apply a thin layer to the threads. Don’t get any on the electrode. This helps the plug thread in smoothly.
It also makes it easier to remove next time.
Spark Plug Facts
- Gap Matters: The distance between the electrode and ground strap.
- Anti-Seize: Helps prevent threads from seizing in the engine head.
- Torque is Key: Overtightening can strip threads. Undertightening can cause leaks.
Step 7: Install the New Spark Plugs
Carefully place the new spark plug into your spark plug socket. Make sure it’s seated correctly. Lower it into the spark plug hole.
Start threading it by hand. This is very important. You want to feel the threads engage.
If you cross-thread it, you can damage the engine. You should be able to turn it easily for several turns. Once it’s hand-tight, use your socket wrench.
Now, it’s time to use the torque wrench.
Set your torque wrench to the value in your owner’s manual. Tighten the spark plug. It will click when it reaches the correct torque.
Do not overtighten. This can crack the ceramic insulator or damage the threads.
Repeat this for all spark plugs.
Step 8: Reinstall the Ignition Coils
Take the ignition coil boot or coil pack. Put a small amount of dielectric grease inside the boot. This helps create a good seal.
It also makes future removal easier.
Push the boot or coil pack firmly back onto the new spark plug. You should feel or hear a click. This means it’s properly seated.
If it’s a coil pack, reattach any clips or bolts you removed.
Make sure each coil is connected to the correct plug. Double-check all connections.
Step 9: Final Checks and Start-Up
Take a moment to look everything over. Are all the spark plug wires or coils connected? Is everything snug?
Did you clean up your tools?
Now, start your Can-Am X3. Listen to the engine. Does it sound smooth?
Does it start right up? It should sound better than before. Take it for a short, gentle test ride.
If everything sounds good, you’ve done it! You’ve successfully changed your spark plugs.
Your Can-Am X3 Spark Plug Checklist
- Parts Ready: Correct spark plugs purchased.
- Tools Gathered: All necessary tools on hand.
- Workspace Clean: Area around plugs cleared of debris.
- Coils Removed: Ignitions coils detached carefully.
- Old Plugs Out: All old spark plugs removed.
- New Plugs Gapped: Gap checked and adjusted if needed.
- Anti-Seize Applied: Thin layer on threads.
- New Plugs Installed: Hand-tightened, then torqued correctly.
- Coils Reconnected: Boots or packs seated firmly.
- Final Check Complete: Everything looks secure.
- Engine Starts Smoothly: Test ride confirms good performance.
What Old Spark Plugs Can Tell You
Looking at your old spark plugs can be like reading a report card for your engine. Each one tells a story about how it’s been running.
Normal Plug: It should have a light tan or grayish-brown color. The electrode might show a little wear. This is typical.
Oily Plug: If the plug is wet with oil, it means oil is getting into the combustion chamber. This can be from worn piston rings or valve seals. Your X3 might be burning oil.
Fouled Plug: This means the plug is covered in deposits. Black, sooty deposits suggest a rich fuel mixture or weak spark. White or grey deposits might mean the engine is running too lean or too hot.
Worn Electrode: If the tip of the electrode looks rounded or melted, it means the plug is worn out. It’s not creating a strong enough spark.
Cracked Insulator: If the white ceramic part of the plug is cracked, it means it might have been dropped or hit. It could cause a misfire.
If you see anything unusual, it might be a sign of a bigger engine problem. It’s worth having a mechanic check it out. Understanding these signs can help you keep your X3 running its best.
Common Mistakes to Avoid
Even with a good guide, mistakes can happen. Here are a few things people often get wrong. Knowing them can help you avoid them.
- Forcing the Plug: Trying to screw in a new spark plug too hard, especially with a wrench, can cross-thread it. Always start by hand.
- Not Cleaning First: Letting dirt fall into the cylinder is a big problem. It’s a simple step that many overlook.
- Over or Under-Torquing: Using a torque wrench is essential. Too tight can damage the engine. Too loose can cause leaks or poor contact.
- Mixing Up Coils/Wires: If your X3 has multiple cylinders, make sure you put the correct coil back on the correct plug. Working one at a time prevents this.
- Using the Wrong Plugs: Always use the exact spark plug recommended by Can-Am. Different plugs have different heat ranges and electrical properties.
- Forgetting Anti-Seize/Dielectric Grease: These small steps make installation easier and ensure a better seal.
- Pulling on the Wire: When removing ignition coils, pull the rubber boot, not the wire itself. This can damage the wire.
Take your time. Double-check each step. You’ll be fine.
Expert Tip: One Plug at a Time
Why: Prevents mix-ups with ignition coils and wires.
How: Complete all steps for one spark plug before moving to the next.
Benefit: Reduces errors and makes the process more organized.
Real-World Scenarios
Let’s imagine a couple of situations you might face with your X3 spark plugs.
Scenario 1: The Muddy Ride
You’ve just come back from an epic mud ride. Your X3 is caked in dirt. You notice it’s not running as smoothly as before.
You decide it’s time to check those spark plugs. You grab your compressed air. You spend extra time blowing all the mud and dirt away from the engine.
You remove the ignition coils. You see one plug is a bit dirty. You clean the area around it again.
You carefully remove the old plug. You notice it looks a little worn. You install the new one.
You torque it right. You reconnect the coil. You start it up.
Ah, smooth as butter!
Scenario 2: The Hesitation Issue
You’re out on a trail, and you notice your X3 hesitates when you try to accelerate hard. It feels like it’s not getting enough power. You remember that spark plugs can cause this.
You pull over. You get out your tools. You decide to change the plugs, even though they aren’t due by mileage.
You work methodically. You’re careful about cleaning. You use your torque wrench.
After installing the new plugs, you start the engine. You give it some gas. No hesitation!
The engine feels strong and responsive again. That simple change made a big difference.
When Is It Too Much for DIY?
While changing spark plugs is a great DIY task, there are times you should call in the pros.
If you’re uncomfortable: If you’re unsure about any step, it’s better to have a mechanic do it. They have the experience and tools.
Stuck Plugs: If a spark plug is severely stuck and you risk breaking it off in the engine head, stop. This can turn into a very expensive repair.
Engine Damage Signs: If your old spark plugs look very oily, white, or damaged, and you don’t know why, a mechanic can diagnose the root cause.
Limited Tools: If you don’t have a torque wrench or the right socket size, it’s worth getting the job done right. Using incorrect tools can lead to problems.
Specialized Models: Some X3 models might have unique engine designs. Your owner’s manual is your best guide. If it seems overly complicated, consult a dealer or trusted mechanic.
Don’t be afraid to ask for help. For most people, though, this is a manageable and rewarding DIY job.

Frequently Asked Questions About Can-Am X3 Spark Plugs
How often should I change the spark plugs on my Can-Am X3?
For most Can-Am X3 models, a good guideline is to change spark plugs every 10,000 to 20,000 miles, or annually if you ride frequently. Check your owner’s manual for the exact recommendation. Off-road conditions can wear them out faster.
Can I use a different brand of spark plug than what Can-Am recommends?
It’s best to stick with the spark plugs recommended by Can-Am or a reputable aftermarket brand that meets or exceeds the original specifications. Using the wrong type can affect performance or damage your engine.
What happens if I don’t change my spark plugs?
If you don’t change your spark plugs, your X3 might start to run roughly. You could experience a loss of power, poor fuel economy, hesitation, and harder starting. Eventually, it can lead to more serious engine damage.
My new spark plugs look different from the old ones. Is that okay?
Modern spark plugs can have different designs (like multiple ground electrodes). As long as you are using the exact part number recommended for your Can-Am X3, a different design is usually okay and might even offer improved performance.
How tight should I make the spark plugs?
You should use a torque wrench and tighten the spark plugs to the exact specification found in your Can-Am X3 owner’s manual. Overtightening can damage the cylinder head, and undertightening can cause leaks or poor performance.
Can I reuse old spark plugs?
No, spark plugs are considered a wear item and should not be reused. They lose their effectiveness over time. Replacing them with new ones is essential for optimal engine performance and reliability.
Wrapping Up Your Spark Plug Project
You’ve learned a lot about your Can-Am X3 spark plugs. You know why they matter. You know how to change them.
You know what tools to use. You can now tackle this job with confidence. It’s a key part of keeping your X3 running strong.
Enjoy your rides!