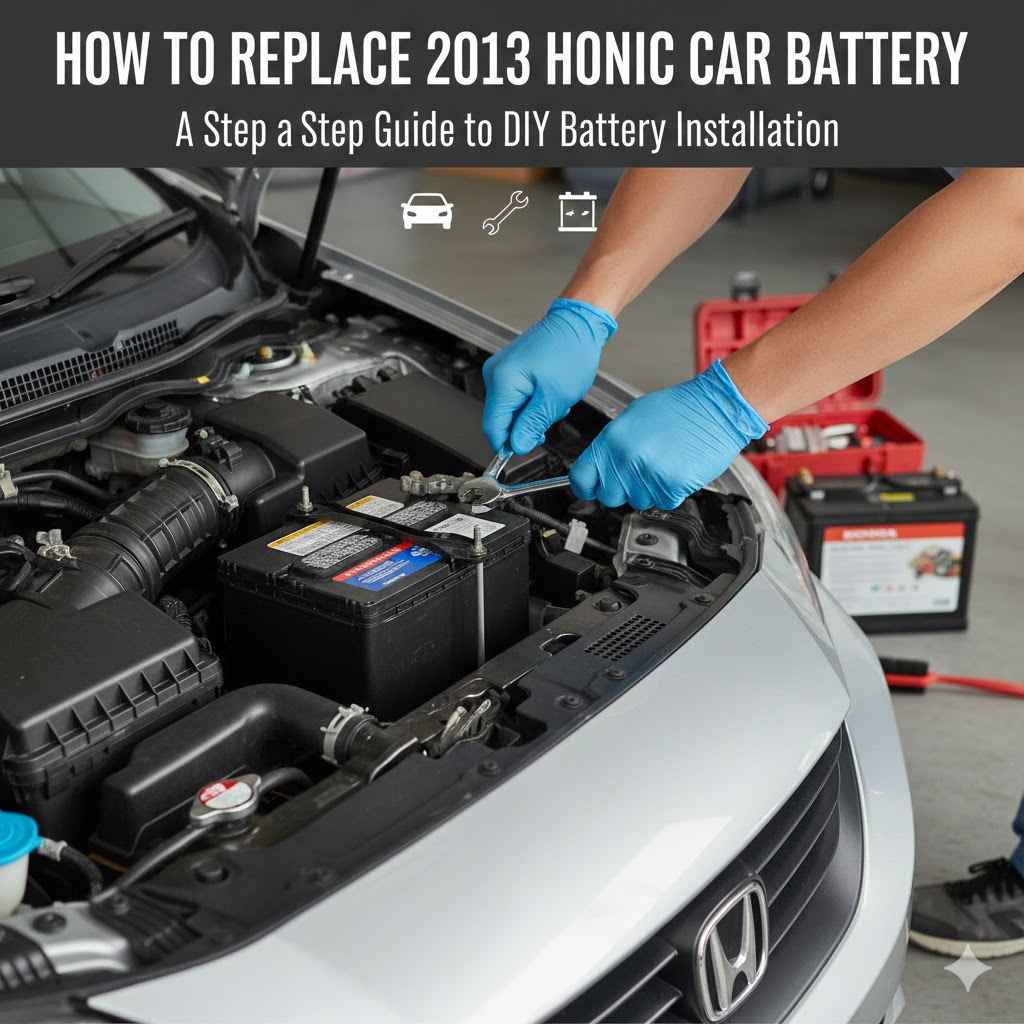
Replacing your car battery can seem a bit tricky, especially if you’re new to car care. Many folks wonder about How to Replace 2013 Honda Civic Car Battery because it’s a common task, and getting it wrong can lead to bigger issues. But don’t worry!
It’s totally doable, and we’ll walk you through it step-by-step. You’ll learn exactly what you need and how to do it safely and easily. Let’s get your Civic running smoothly again.
How to Replace 2013 Honda Civic Car Battery Safely
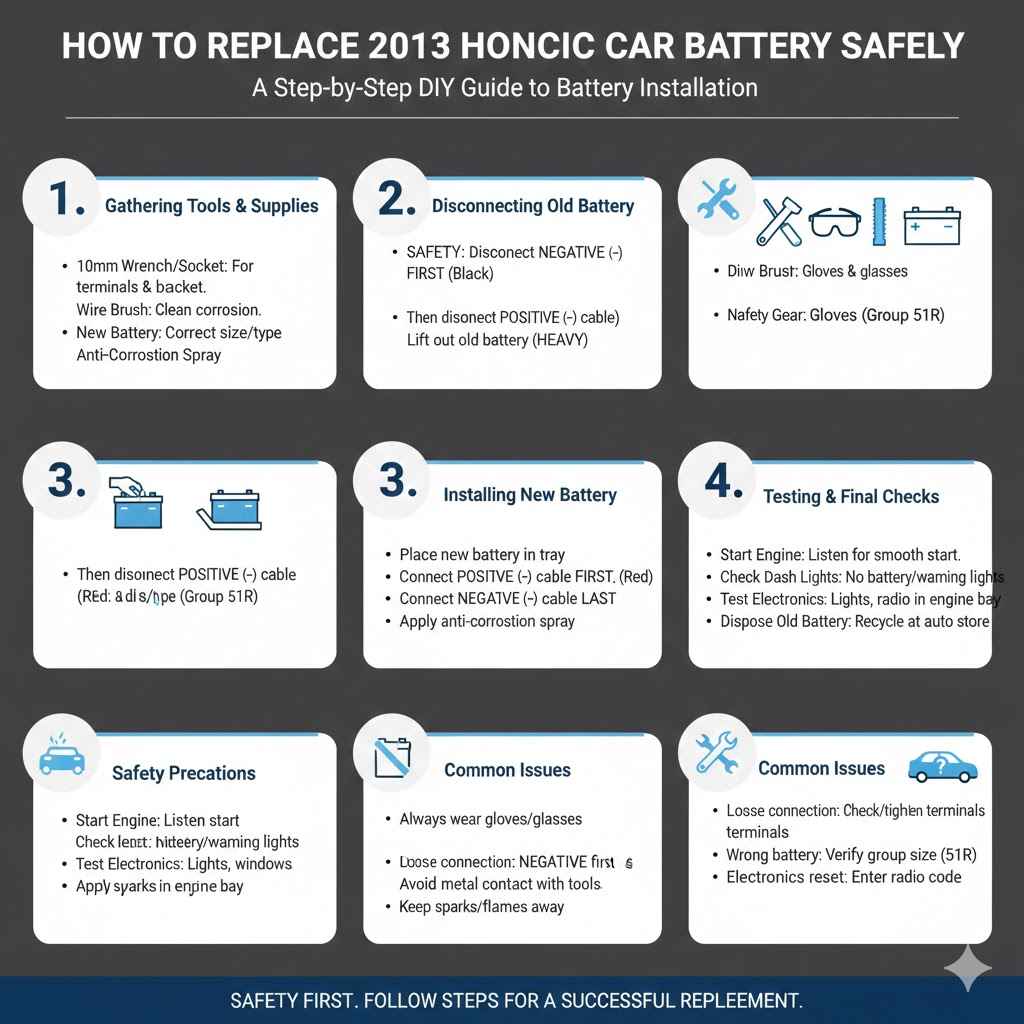
This section will guide you through the essential steps for safely replacing the car battery in your 2013 Honda Civic. We’ll cover everything from gathering the right tools to disconnecting and reconnecting the battery correctly. Safety is the most important part of this job, and by following these instructions, you can avoid electrical shocks or damaging your car’s electrical system.
We want to make sure you feel confident and prepared before you start working.
Gathering Your Tools and Supplies
Before you begin the actual battery
Wrench Set: You will need a set of wrenches, likely including a 10mm and possibly a 12mm wrench or socket, to loosen and tighten the battery terminal clamps and the battery hold-down bracket. It’s good to have a few sizes on hand just in case.
Having the right wrench sizes is critical. Too small and it won’t fit; too large and you risk stripping the bolt heads. For most car batteries, especially in a 2013 Honda Civic, 10mm is the most common size for battery terminals.
The hold-down bracket might use a slightly different size, so a small adjustable wrench or a socket set with various sizes is a good idea. This ensures you can handle any bolt you encounter without damaging it.
Battery Terminal Cleaner or Wire Brush: Corrosion can build up on battery terminals, hindering electrical connection. A terminal cleaner or a simple wire brush will help remove this buildup, ensuring a good connection.
Corrosion, often appearing as a white or bluish powdery substance, can significantly impede the flow of electricity. This is because it’s an insulator, not a conductor. Cleaning the terminals is a vital step for a reliable connection.
You can buy specific battery terminal cleaning tools that fit over the posts and clamps, or a simple wire brush from a hardware store will do the job just fine. Make sure to clean both the battery posts and the inside of the cable clamps.
Gloves and Safety Glasses: Battery acid is corrosive. Always wear protective gloves and safety glasses to protect your skin and eyes from accidental spills or splashes.
Personal protective equipment is not optional when working with car batteries. Battery acid is highly corrosive and can cause severe burns to skin and permanent damage to eyes. Wearing thick, chemical-resistant gloves, like nitrile or rubber gloves, is essential.
Similarly, safety glasses or goggles will shield your eyes from any sparks or acid splashes. Even if you’re careful, accidents can happen, and these simple precautions can prevent serious injury.
New Battery: Ensure you have the correct replacement battery for your 2013 Honda Civic. Check your owner’s manual or consult an auto parts store for the right specifications (group size, terminal type, CCA rating).
Buying the correct replacement battery is the first step. Your 2013 Honda Civic requires a specific battery size and type to fit properly and power your car’s electrical systems. The group size determines the physical dimensions, while terminal type and orientation must match your car’s cables.
Cold Cranking Amps (CCA) is a rating that indicates how well the battery can start your engine in cold weather. Always verify these specs to avoid purchasing an incompatible battery.
Anti-Corrosion Spray or Grease: Applying a thin layer of anti-corrosion spray or dielectric grease to the terminals after installation helps prevent future corrosion.
Once the new battery is installed and the terminals are tightened, applying a protective coating is a smart move. Anti-corrosion spray or dielectric grease creates a barrier that repels moisture and prevents the buildup of corrosive materials. This helps maintain a clean and efficient electrical connection for the life of the battery.
It’s a small step that can significantly extend the battery’s lifespan and ensure consistent performance.
Disconnecting the Old Battery
Safety first when you disconnect the old battery. You always want to disconnect the negative terminal first. This is because the negative terminal is connected to the car’s chassis, which is grounded.
If you were to disconnect the positive terminal first and your wrench touched the metal body of the car, it would create a short circuit, sending sparks and potentially damaging your car’s electronics. Disconnecting the negative cable first removes this risk.
Removing the Negative Terminal Clamp
Locate the negative terminal on your car battery. It is usually marked with a minus sign (-) and often has a black cable attached to it. Use your 10mm wrench to loosen the nut on the clamp that secures the cable to the battery post.
Once the nut is loosened enough, gently twist and pull the negative cable clamp upwards off the battery post. If it’s stuck, you can carefully use a battery terminal puller or gently wiggle it. Be sure not to let the clamp touch any metal parts of the car.
You can tuck it aside or place it on top of the battery where it won’t accidentally reconnect.
Removing the Positive Terminal Clamp
Now, find the positive terminal. This one is usually marked with a plus sign (+) and often has a red cable. Use the same wrench to loosen the nut on the positive terminal clamp.
After loosening, lift the positive cable clamp off the battery post. Similar to the negative cable, gently twist and pull. Again, make absolutely sure this cable does not touch any metal on the car.
It’s a good practice to secure it away from the battery so it can’t slip back on by accident.
Removing the Battery Hold-Down Bracket
Most batteries are secured with a hold-down bracket at the base or the top. This bracket prevents the battery from moving during driving. You’ll need to locate the bolts or nuts that secure this bracket.
Typically, this will require a socket wrench.
Use the appropriate socket wrench to loosen and remove the bolts or nuts holding the bracket in place. Once the bracket is removed, you can lift the old battery out. Batteries are heavy, so be careful not to strain yourself.
Installing the New Battery
Once the old battery is out and you’ve prepared the battery tray, it’s time to install the new one. This is essentially the reverse of removal, but with a few key safety points to keep in mind. Proper installation ensures your car’s electrical system functions correctly and safely.
Placing the New Battery
Carefully lift the new battery and place it into the battery tray. Make sure it sits squarely and securely. Check that it’s oriented correctly, with the positive and negative terminals positioned to align with the corresponding cables.
Securing the Battery Hold-Down Bracket
Now, reattach the battery hold-down bracket. Insert the bolts or nuts and tighten them firmly with your socket wrench. The battery should be snug and not move at all.
Don’t over-tighten, as this could crack the battery case.
Connecting the Positive Terminal Clamp
First, connect the positive cable. Place the positive cable clamp onto the positive terminal post of the new battery. Use your wrench to tighten the nut securely.
It should be snug, but again, avoid over-tightening.
This step is crucial. Connecting the positive terminal first when installing the battery is the correct procedure. Since the negative terminal is not yet connected to the chassis, there’s no risk of a short circuit if your wrench touches metal.
This makes installing the positive cable first the safer option during this phase.
Connecting the Negative Terminal Clamp
Next, connect the negative cable. Place the negative cable clamp onto the negative battery post. Tighten the nut with your wrench until it is secure.
Ensure a good, solid connection.
Once the negative terminal is connected, you might notice a small spark. This is normal as the car’s computer system reboots. Ensure the clamp is tightened properly.
A loose connection here can cause starting problems or intermittent electrical issues.
Testing the New Battery and Final Checks
After everything is connected, it’s time to make sure your car starts and everything is working as it should. These final checks ensure your work was successful and your 2013 Honda Civic is ready to go.
Start the Engine: Turn the ignition key to start your car. It should start up smoothly.
The moment of truth! When you turn the key, listen to the engine. A healthy battery will crank the engine over with confidence, and your 2013 Honda Civic should start up without hesitation.
If the engine cranks slowly or doesn’t start at all, double-check your connections. A common issue is a loose terminal clamp, which can prevent enough power from reaching the starter.
Check Dashboard Lights: Ensure no warning lights related to the battery or charging system illuminate on your dashboard.
After the engine starts, look at your dashboard. You should see various indicator lights turn on and then off as the car’s systems check themselves. If a battery warning light or a charging system light stays on, this indicates a potential problem.
It could be an issue with the new battery itself, or perhaps the alternator isn’t charging properly. It’s worth investigating further if these lights remain illuminated.
Test Electrical Components: Turn on your headlights, radio, and other electrical accessories to ensure they are functioning correctly.
With the engine running, test various electrical components. This includes your headlights, interior lights, radio, power windows, and wipers. These systems rely on a stable power supply from the battery and charging system.
If any of these components are acting erratically or not working at all, it might suggest a loose connection or a broader electrical issue.
Secure Loose Items: Make sure you haven’t left any tools or parts in the engine bay.
It’s easy to get caught up in the task and accidentally leave a wrench or a rag in the engine compartment. Before closing the hood, do a quick visual inspection of the entire engine bay. Remove any tools, gloves, or other items that don’t belong.
Loose objects can get caught in moving parts, causing damage or posing a safety hazard.
Proper Disposal of Old Battery: Car batteries contain hazardous materials and should be disposed of responsibly. Many auto parts stores accept old batteries for recycling.
Never throw an old car battery in the regular trash. They contain lead and sulfuric acid, which are harmful to the environment. Most auto parts stores and many service centers will take your old battery for recycling.
This is usually done for free when you purchase a new one. It’s a simple way to dispose of it responsibly and safely.
Understanding Car Battery Technology
Modern car batteries have evolved significantly over the years, offering improved performance and longevity. Understanding the basic technology behind them can help you make informed decisions when purchasing a replacement and caring for your new battery. This section explores the core components and types of batteries commonly found in vehicles today.
Lead-Acid Batteries
The most common type of car battery is the lead-acid battery. This technology has been around for over a century and remains dominant due to its cost-effectiveness and reliability for starting engines. A lead-acid battery works through a chemical reaction involving lead plates and sulfuric acid electrolyte.
Positive and Negative Plates: The battery contains several pairs of lead plates. The positive plates are typically made of lead dioxide, and the negative plates are made of pure lead. These plates are submerged in an electrolyte solution.
The core of a lead-acid battery is its electrochemistry. The lead plates are arranged in a grid structure, with each pair consisting of a positive and a negative plate separated by a porous insulator called a separator. The separators prevent the plates from touching while allowing ions to pass through.
The larger the surface area of these plates, generally the more power the battery can deliver.
Electrolyte Solution: This is a mixture of sulfuric acid and water. When the battery is discharging, the sulfuric acid reacts with the lead plates, producing electricity.
The electrolyte is the medium through which the chemical reaction occurs. It’s typically a dilute solution of sulfuric acid (H2SO4) and distilled water. The concentration of the acid is crucial for the battery’s performance.
During discharge, lead and lead dioxide react with the sulfuric acid to form lead sulfate on the plates, and water is consumed. During charging, this process is reversed. Maintaining the correct electrolyte level is important, though most modern batteries are sealed and maintenance-free.
Sulfation: Over time, especially if the battery is left discharged for extended periods, a hard layer of lead sulfate can form on the plates. This process is called sulfation and can permanently reduce the battery’s capacity.
Sulfation is a common cause of battery failure. When a lead-acid battery discharges, lead sulfate crystals form on the plates. This is a reversible process during normal charging.
However, if the battery remains in a discharged state for too long, these crystals harden and become difficult to dissolve, effectively insulating parts of the plates. This reduces the available surface area for the chemical reaction, decreasing the battery’s ability to store and deliver power.
Types of Lead-Acid Batteries
Within the lead-acid category, there are two main types commonly used in vehicles: flooded (or wet cell) batteries and sealed lead-acid (SLA) batteries, which include Enhanced Flooded Batteries (EFB) and Absorbent Glass Mat (AGM) batteries. Your 2013 Honda Civic likely uses a flooded or EFB type.
Flooded Batteries
These are the traditional type of car batteries where the lead plates are fully submerged in the electrolyte. They are often referred to as “wet cell” batteries because the electrolyte is a liquid. Flooded batteries are generally the most affordable option and are suitable for standard vehicle starting requirements.
Maintenance Requirements: Some flooded batteries require periodic checking and topping up of the electrolyte level with distilled water. However, many modern flooded batteries are maintenance-free.
While “maintenance-free” is a common label, it usually means you don’t need to add water as frequently. Some older designs or less expensive models might still have removable caps for checking electrolyte levels. If you have such a battery and notice the levels are low, always top them up with distilled water only.
Tap water contains minerals that can interfere with the battery’s chemistry.
Performance: They offer good starting power and are reliable for everyday use in moderate climates.
Flooded batteries are designed to provide the high burst of power needed to start an engine. They are less expensive to manufacture, which translates to a lower purchase price for consumers. For vehicles with standard electrical loads and without advanced start-stop technology, a flooded battery is usually a perfectly adequate and cost-effective choice.
Absorbent Glass Mat (AGM) Batteries
AGM batteries are a type of sealed lead-acid battery. In an AGM battery, the electrolyte is absorbed into fiberglass mats that are compressed between the lead plates. This design offers several advantages, including better vibration resistance and the ability to handle higher charging rates.
They are often recommended for vehicles with more demanding electrical systems or those equipped with start-stop technology.
Sealed Design: AGM batteries are completely sealed, meaning they are spill-proof and virtually maintenance-free. They do not require topping up with water.
The sealed nature of AGM batteries makes them safer and more versatile in installation. Since they are sealed, there’s no risk of electrolyte leakage, even if the battery is tipped. This is particularly beneficial in vehicles where battery placement might be in an unusual orientation or prone to movement.
It also means no fumes escape during normal operation.
Vibration Resistance: The compressed fiberglass mats help to hold the plates firmly in place, making AGM batteries much more resistant to vibration and shock.
Vibration is a common enemy of battery life. Rough roads and engine vibrations can cause physical stress on battery components, leading to premature failure. The robust construction of AGM batteries, with their tightly packed fiberglass separators, significantly mitigates this issue.
This makes them a superior choice for performance vehicles or those regularly driven on uneven terrain.
Deep Cycle Capability: AGM batteries are generally better at handling deep discharges and recharging cycles compared to traditional flooded batteries, making them suitable for vehicles with heavy electrical demands.
Vehicles equipped with features like start-stop technology, auxiliary power outlets used frequently, or advanced infotainment systems often place a greater demand on the battery. These systems might draw more power when the engine is off or cycle the battery more frequently. AGM batteries are engineered to withstand these repeated deep discharges and recharges more effectively, leading to a longer service life in such applications.
Battery Specifications Explained
When buying a new battery, you’ll see various numbers and codes. Understanding these specifications will help you choose the right one for your 2013 Honda Civic.
| Specification | Description | Importance for 2013 Honda Civic |
|---|---|---|
| Group Size | Physical dimensions and terminal placement of the battery. | Crucial for fitting the battery in the designated tray and connecting the cables. Your Civic has a specific group size. |
| CCA (Cold Cranking Amps) | The number of amps a battery can deliver at 0°F (-18°C) for 30 seconds while maintaining a voltage above 7.2 volts. | Important for starting your car in cold weather. Ensure the new battery meets or exceeds your Civic’s original CCA rating. |
| RC (Reserve Capacity) | The number of minutes a fully charged battery can deliver 25 amps at 80°F (27°C) before its voltage drops below 10.5 volts. | Indicates how long the battery can power accessories if the alternator fails. Useful for powering electronics when the engine is off. |
| Voltage | Standard car batteries are 12 volts. | Your 2013 Honda Civic uses a 12-volt system. |
Choosing a battery with specifications that match or exceed your car’s original requirements ensures optimal performance and longevity. For instance, if you live in a very cold climate, opting for a battery with a higher CCA rating than the minimum recommended can provide extra peace of mind during winter months. Similarly, if you frequently use accessories while the engine is off, a higher RC rating can be beneficial.
Always refer to your owner’s manual or consult a professional if you are unsure about the exact specifications needed for your 2013 Honda Civic.
Common Issues and Troubleshooting
Even with careful installation, you might encounter some minor issues. Understanding common problems and their solutions can save you time and prevent unnecessary worry. This section addresses frequent concerns that arise during or after a battery replacement.
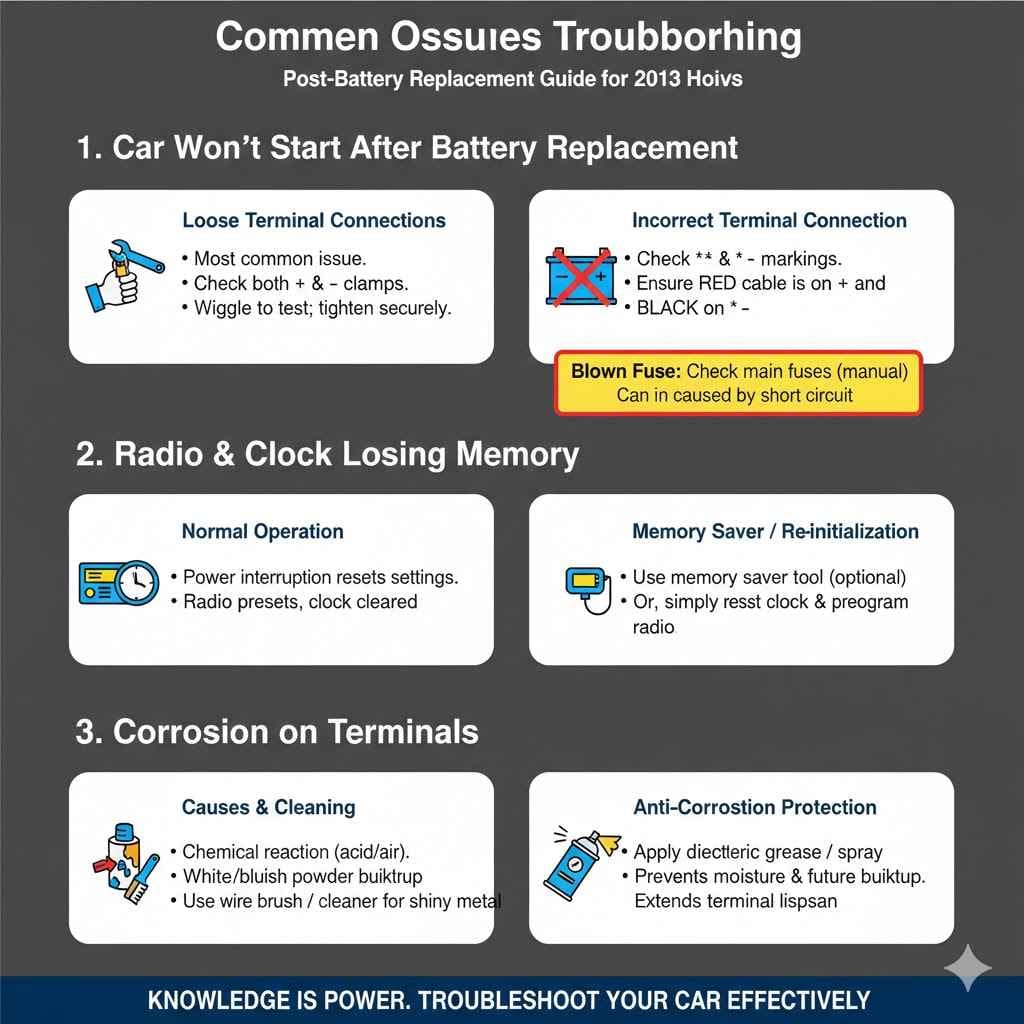
Car Won’t Start After Battery Replacement
This is one of the most concerning issues. If your 2013 Honda Civic doesn’t start after you’ve replaced the battery, don’t panic. There are a few common culprits to check.
Loose Terminal Connections: Double-check that both the positive and negative terminal clamps are securely tightened onto the battery posts.
This is the most frequent reason for a no-start situation. Even if they look tight, give them a good wiggle. If they move, they need to be tightened further.
A loose connection means insufficient power can flow from the battery to the starter motor and the rest of the car’s electronics. Ensure the wrench is biting firmly into the nut and that the clamp is making good contact with the post.
Incorrect Terminal Connection: Ensure the positive cable is connected to the positive terminal and the negative cable to the negative terminal.
It sounds simple, but sometimes in the rush of the job, the cables can get swapped. Reversing the polarity can prevent the car from starting and, in some cases, cause damage. Look for the ‘+’ and ‘-‘ markings on the battery posts and ensure the red (usually) positive cable and the black (usually) negative cable are attached correctly.
Dead New Battery: While rare, it’s possible the new battery is faulty. Some batteries can be drained during shipping or sit on the shelf too long.
If you’ve confirmed all connections are secure and correct, the next step is to suspect the new battery itself. Many auto parts stores can test batteries for free. If your new battery is indeed dead or significantly undercharged, it will need to be replaced under warranty.
This highlights the importance of buying from reputable sources that offer good warranties.
Blown Fuse: The main fuse for the starter or the ignition system might have blown during the process, especially if a short circuit occurred.
A short circuit can sometimes blow a fuse, interrupting the power supply to critical systems like the starter. Your Honda Civic has a fuse box, usually under the dashboard or in the engine bay. Consult your owner’s manual to locate the relevant fuses and check if they are intact.
A blown fuse will typically have a broken wire inside.
Radio and Clock Losing Memory
After replacing the battery, you might notice that your car’s radio presets, clock, and sometimes other electronic settings have been reset. This is normal behavior because the battery provides the constant low-level power that keeps these settings stored.
Normal Operation: This usually happens because the car’s internal clock and radio memory rely on a constant source of power, which is interrupted when the battery is removed.
Think of the memory settings as being stored in small memory chips. These chips require a constant, albeit very small, amount of electricity to retain their information. When you disconnect the main battery, this power source is cut off, causing the memory to be cleared.
This is why the clock needs to be reset and radio stations reprogrammed.
Using a Memory Saver: Some people use a small device called a “memory saver” that plugs into the OBD-II port or cigarette lighter to provide temporary power while the battery is disconnected.
A memory saver is a handy tool if you want to avoid resetting all your electronic settings. It’s essentially a small battery or power pack that connects to your car’s power system and keeps essential electronics powered while you swap out the main battery. This allows your radio presets, clock, and other settings to be preserved.
Re-initializing Settings: Simply reset your clock and reprogram your radio stations as you would normally.
For most owners, the simplest solution is just to spend a few minutes resetting the clock and re-tuning your favorite radio stations. It’s a small inconvenience that doesn’t indicate a problem with the new battery or your car’s electrical system.
Corrosion on Terminals
If you notice significant corrosion on the terminals of your new battery or on the cable clamps, it’s important to address it. Corrosion can impede electrical flow and lead to starting problems over time.
Causes of Corrosion: Corrosion is usually caused by a chemical reaction between the battery terminals and the air, especially in humid environments, or due to slight leakage of battery acid.
The white, powdery stuff you see is often a result of the sulfuric acid in the battery reacting with metals in the air and on the terminals. Heat and moisture can accelerate this process. While a little bit of surface corrosion might be normal over time, excessive buildup can seriously impact your battery’s performance.
Cleaning the Terminals: Use a wire brush or battery terminal cleaner to remove any corrosion from the battery posts and the inside of the cable clamps.
For the battery posts, a stiff wire brush works well. For the inside of the cable clamps, you might need a specific terminal brush tool or even a small file if the corrosion is heavy. The goal is to get back to clean, shiny metal on both the posts and the clamps for optimal conductivity.
Applying Anti-Corrosion Protection: After cleaning and installing the battery, apply a thin layer of dielectric grease or an anti-corrosion spray to the terminals.
This protective layer acts as a barrier, preventing moisture and air from reaching the metal surfaces. Dielectric grease is particularly effective because it’s non-conductive and repels water. Regular application of this protection can significantly extend the life of your battery terminals and ensure a reliable connection.
Frequently Asked Questions
Question: How long does a 2013 Honda Civic battery typically last?
Answer: A car battery typically lasts between 3 to 5 years, but this can vary depending on climate, driving habits, and battery quality.
Question: Can I use a battery with a higher CCA rating than recommended for my 2013 Honda Civic?
Answer: Yes, using a battery with a higher Cold Cranking Amps (CCA) rating is generally safe and can even be beneficial, especially in colder climates, as long as the group size is correct.
Question: What should I do if my new battery dies quickly?
Answer: If your new battery dies quickly, it could indicate a faulty battery or a problem with your car’s charging system (alternator). It’s best to have both checked by a professional.
Question: How often should I clean my car battery terminals?
Answer: It’s a good idea to check your battery terminals for corrosion every 6 months or so, and clean them if you see any buildup.
Question: Do I need to disconnect the car’s computer when replacing the battery?
Answer: No, you do not need to disconnect the car’s computer. However, some electronic settings may reset, and a memory saver can prevent this.
Wrap Up
You’ve learned how to replace your 2013 Honda Civic car battery step-by-step. By gathering the right tools and following safe disconnection and connection procedures, you can successfully perform this task. Remember to always prioritize safety, use the correct replacement parts, and double-check your work.
Your Civic is now powered up and ready to roll.