Making your own car tyre polish at home can save you money. It also lets you control what goes on your tires. Many store-bought polishes have harsh chemicals. These can dry out your tires over time. This guide will show you easy ways to make your own. You’ll get that glossy, new tire look. Plus, you’ll keep your tires in good shape.
Making car tyre polish at home is simple. You can use common household items to clean and shine your tires. This DIY approach saves money and avoids harsh chemicals. It helps your tires look great and last longer.
Understanding Your Car’s Tires
Your car’s tires do a lot. They connect your car to the road. They help you steer, brake, and grip. Tires are made of rubber. Rubber can dry out and crack. This is especially true when exposed to sun and heat. Tyre polish helps protect the rubber. It adds a shine that makes them look good.
Tire polish is not just about looks. It can add a protective layer. This layer can shield tires from UV rays. It can also help repel dirt and water. This means your tires stay cleaner for longer. Some people worry about polish making tires too slippery. We will cover that.
Why Make Your Own Tyre Polish?
There are several good reasons to make your own tyre polish. First, it’s much cheaper. Buying ready-made products can add up. Second, you know what’s in it. Many commercial products use petroleum distillates. They can also have silicones. These can degrade rubber over time. They might also attract too much dirt.
Making your own lets you use natural ingredients. This is better for the environment. It’s also safer for you to handle. You can customize the shine. Some people like a matte look. Others prefer a high gloss. You can adjust your recipe for that.
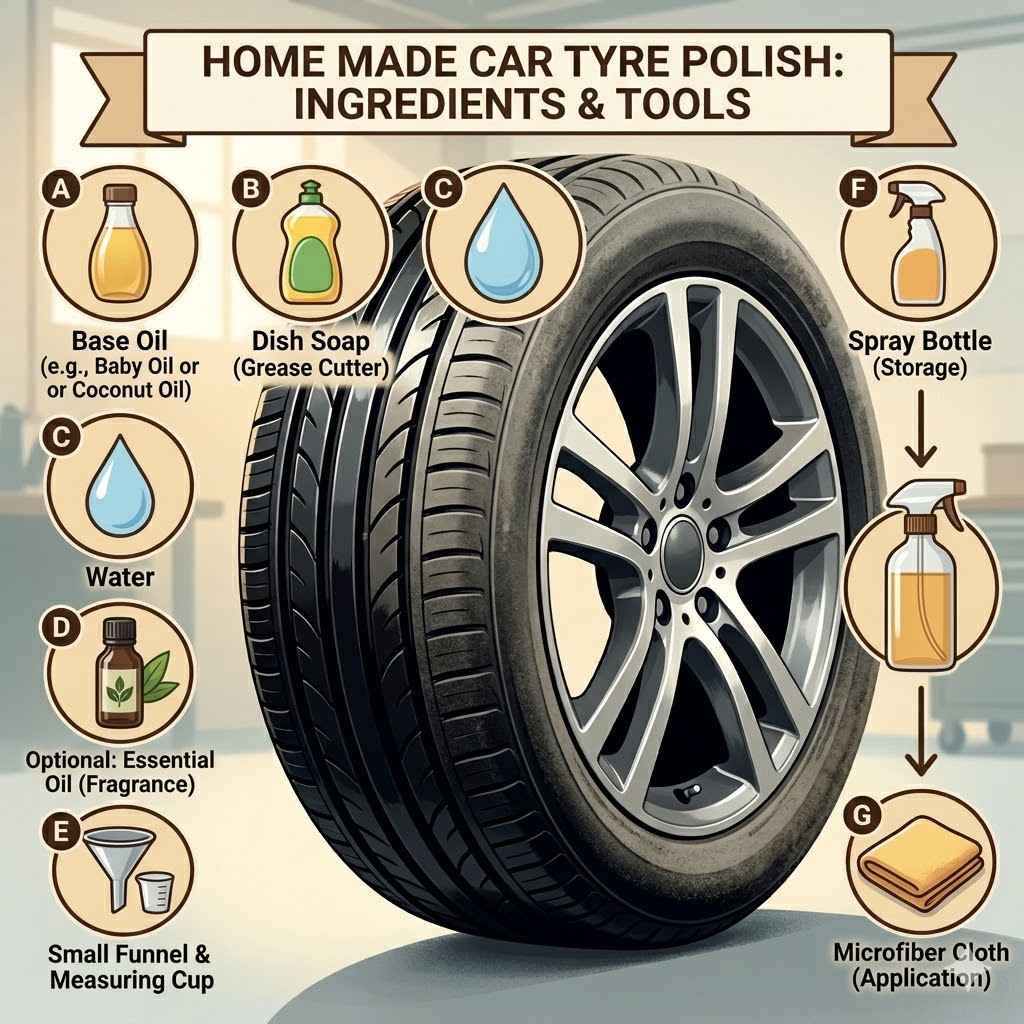
Ingredients You’ll Need
You can make great tyre polish with simple things you likely have.
Water: This is the base for many recipes.
Glycerin: This is a humectant. It attracts and holds moisture. This keeps rubber from drying out. You can find it at drug stores or craft stores.
Dish Soap: A small amount helps clean off dirt and grime. Use a mild, pH-neutral soap.
Vinegar: White vinegar can help cut through grease and dirt. Use sparingly.
Olive Oil or Coconut Oil: These add a nice shine. They also condition the rubber.
Cornstarch: This can help thicken the polish and give it a matte finish.
Spray Bottle: You’ll need this to apply the polish evenly.
Microfiber Cloths: For cleaning and buffing.
Recipe 1: The Simple Glycerin Shine
This is a very popular and easy recipe. It gives a great shine without being too greasy.
1 cup water
1/2 cup glycerin
1 tablespoon dish soap (mild)
1 tablespoon white vinegar (optional, for extra cleaning power)
Instructions:
1. Mix the water and glycerin in a bowl.
2. Add the dish soap. Stir gently. You don’t want too many bubbles.
3. If using vinegar, add it now. Stir again.
4. Pour the mixture into a clean spray bottle.
5. Shake well before each use.
This recipe is great for a natural-looking shine. It also helps keep tires from drying out. Glycerin is the key ingredient here. It’s gentle on rubber.
How It Works: Glycerin Magic
Glycerin is a simple alcohol. It’s often made from vegetable oils. It’s known for its ability to attract water.
This means it draws moisture from the air. When you put it on your tires, it helps them stay hydrated. This prevents cracking.
It also gives a smooth, shiny finish.
Recipe 2: The Oil-Based Deep Shine
This recipe uses oils for a deeper, richer shine. It also offers good conditioning.
1 cup water
1/4 cup olive oil or coconut oil
1 tablespoon dish soap (mild)
2 tablespoons cornstarch (optional, for a less glossy finish)
Instructions:
1. If using cornstarch, mix it with the oil first. Stir until smooth. This prevents clumps.
2. Add the water and dish soap to the oil mixture.
3. Stir everything together very well.
4. Pour into a spray bottle.
5. Shake vigorously before each use.
The oil gives a fantastic, deep shine. It also moisturizes the rubber. The cornstarch can help absorb some of the oil. This makes the finish a bit more matte.
Oil vs. Water-Based Polish
Oil-based polishes provide a deep shine and excellent conditioning. They can last longer. However, they might attract more dust.
They can also feel a bit greasier.
Water-based polishes, like the glycerin one, are lighter. They are less likely to attract dust. They give a cleaner, more natural look.
They might need reapplication more often.
Recipe 3: The Natural Avocado Oil Polish
Avocado oil is rich in vitamins and fatty acids. It’s great for conditioning rubber.
1/2 cup avocado oil
1/4 cup water
1 tablespoon mild dish soap
Instructions:
1. Combine avocado oil and water in a bowl.
2. Add the dish soap.
3. Stir or whisk until well mixed.
4. Pour into a spray bottle.
5. Shake well before using.
This is a more luxurious option. It offers excellent nourishment for your tires.
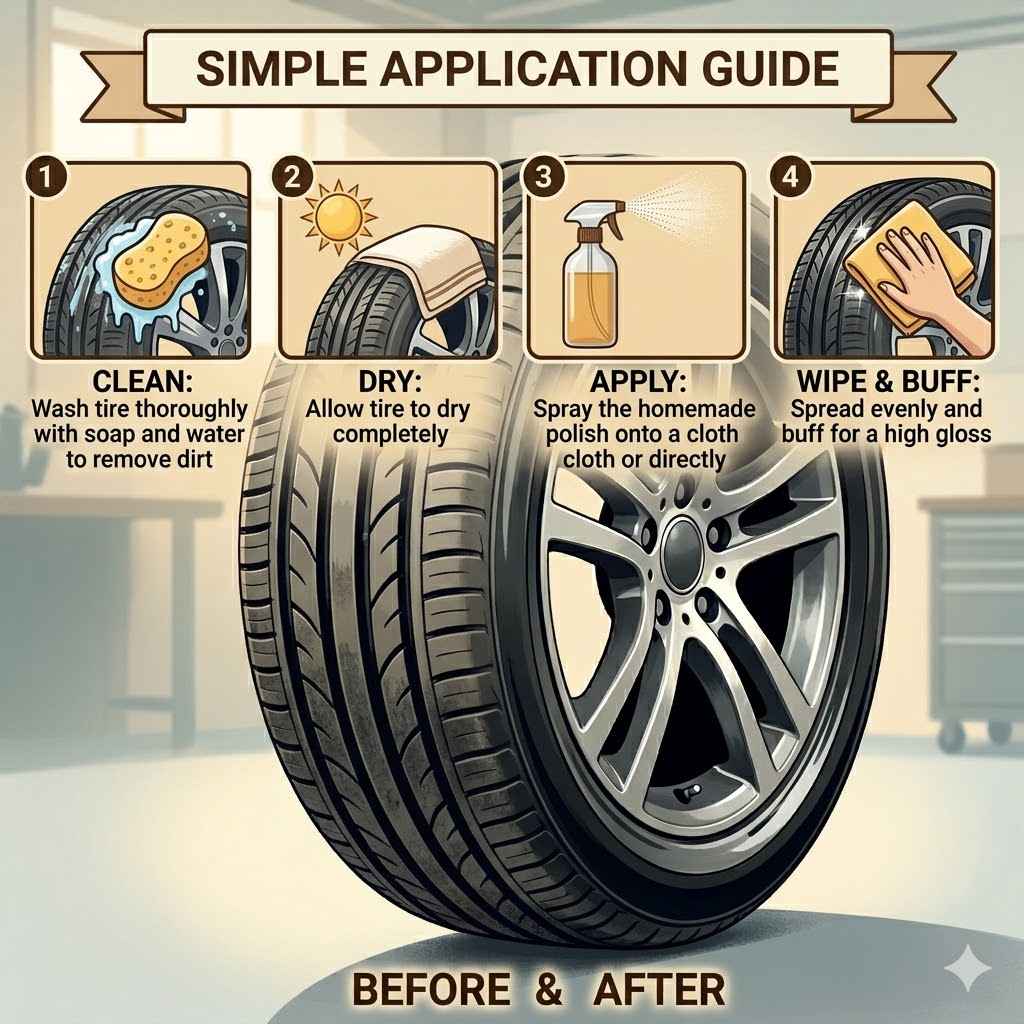
How to Apply Your DIY Tyre Polish
Applying your homemade polish is simple. But doing it right makes a big difference.
1. Clean Your Tires First: This is the most important step. Use a good tire cleaner or a strong soap and water mix. Scrub the tires well with a brush. Rinse them thoroughly. Make sure all dirt and old product are gone. Dry them with a microfiber cloth.
2. Prepare Your Polish: Shake the spray bottle well. This mixes the ingredients.
3. Apply Sparingly: Spray a light, even coat onto the tire sidewall. Don’t overdo it. Too much product can sling onto your car’s paint.
4. Spread and Buff: Use a clean microfiber cloth or an applicator pad. Spread the polish evenly over the tire. Work it into the rubber.
5. Buff to Shine: Use a separate, clean, dry microfiber cloth. Buff the tire to achieve your desired shine. For a matte look, buff more vigorously. For a gloss, buff less.
6. Let it Dry: Allow the polish to dry completely before driving. This helps it set. It also prevents sling.
Application Tips for Best Results
- Work in sections: Don’t try to do all four tires at once.
- Avoid the tread: Never spray polish on the part of the tire that touches the road. This can reduce grip.
- Use a dedicated applicator: A foam applicator pad works well.
- Clean tools: Always use clean microfiber cloths. Dirty cloths can scratch or spread grime.
When is Tyre Polish Normal?
A bit of shine on your tires is normal. It means the rubber is hydrated. It’s protected from the elements. If your tires look good and are not showing signs of wear, the polish is likely working well.
Many DIY polishes offer a more subtle shine. This looks natural. It’s not overly greasy. It doesn’t look like a cheap coating.
When Should You Worry About Tyre Polish?
You should worry if:
The polish is making your tires excessively slippery: This is a safety risk. It means you might have used too much product. Or the ingredients are wrong.
The polish seems to be attracting a lot of dirt: Some ingredients can be sticky. This makes cleaning harder.
Your tires still look dull and dry after applying polish: The polish might not be effective. Or your tires are already too far gone.
You see cracking or peeling: This is a sign of tire wear. Polish can’t fix damage.
Real-World Context: Summer Heat and Tire Health
In hot U.S. climates, tire health is crucial. The sun’s UV rays are strong. High temperatures can also bake the rubber. This makes it brittle. A good DIY tyre polish can offer a shield. It helps the rubber retain its flexibility. This can prolong the life of your tires.
I remember one summer in Arizona. The sun was brutal. My car sat outside all day. I noticed my tires starting to look a bit grey. They felt harder than usual. I started using a simple glycerin-based polish I made. Within a week, they looked much better. They felt softer. It made a visible difference.
DIY Tyre Polish vs. Commercial Products
Commercial products often contain harsh chemicals. They might offer a quick, intense shine. But this can be temporary. Some can even damage your tires. For example, petroleum distillates can break down rubber.
DIY options are generally gentler. They focus on conditioning and protection. The shine might be less dramatic. But it’s often more natural and lasts well. Plus, you avoid unknown chemicals.
Contrast Matrix: DIY Polish vs. Store-Bought
| Feature | DIY Polish | Store-Bought Polish |
| Cost | Low | Medium to High |
| Ingredients | Natural, controllable | Can be harsh, unknown |
| Shine Level | Subtle to moderate | Often high, intense |
| Tire Conditioning | Good | Varies, some can damage |
| Environmental Impact | Lower | Higher (chemicals) |
| Ease of Making | Very Easy | N/A (Purchase) |
What This Means for You
Using a homemade tyre polish is a smart choice. It’s good for your wallet. It’s good for your tires. And it’s good for the environment. You can keep your car looking sharp. You can also help your tires last longer.
It’s important to remember that polish is not a fix for damaged tires. If your tires are old, worn, or cracked, polish won’t save them. You’ll need to replace them. But for healthy tires, it’s great protection.
Quick Fixes & Tips for Great Tires
Clean Regularly: Keep your tires clean. This helps any polish work better.
Inspect Often: Check your tires for wear and tear. Look for nails or cuts.
Proper Inflation: Make sure your tires are inflated correctly. This is key for safety and tire life.
Rotate Tires: Rotate your tires every few thousand miles. This ensures even wear.
Avoid Over-Application: Less is more with tire polish. Too much can cause problems.
Quick-Scan Table: DIY Polish Best Practices
Key Action
Why it’s important
How to do it
Clean Tires First
Removes dirt so polish adheres well.
Scrub with soap and water, rinse well.
Shake Bottle Well
Ensures ingredients are mixed.
Shake vigorously before each use.
Apply Lightly
Prevents sling onto paint and excess greasiness.
Use 2-3 light sprays per tire section.
Buff Thoroughly
Achieves desired shine and removes excess.
Use a clean, dry microfiber cloth.
Let Dry
Allows polish to set and cure.
Wait 15-30 minutes before driving.
Frequent Questions About DIY Tyre Polish
Can I use cooking oil on my tires?
Yes, certain cooking oils like olive oil or coconut oil can be used. They offer conditioning and shine. Just make sure to clean your tires first. Also, use them sparingly. Don’t use oils that can go rancid quickly.
How often should I polish my tires?
It depends on the conditions. In hot, sunny weather, you might need to polish every 2-4 weeks. In cooler, shadier climates, you might do it once a month. Check your tires regularly. When they start to look dull, it’s time to reapply.
Will DIY polish make my tires slippery?
Not if made and applied correctly. Avoid spraying the tread. Always buff the tire well. This removes excess product. Our recipes use gentle ingredients. They are designed not to compromise grip.
Can I use hair conditioner for tire shine?
Some people try this. However, hair conditioners can contain silicones. These might not be ideal for tire rubber long-term. It’s safer to stick to ingredients known to be safe for rubber, like glycerin or natural oils.
How do I store my homemade tire polish?
Store it in a cool, dark place. A sealed spray bottle is best. Avoid extreme temperatures. If it separates, just shake it well. If it develops an odd smell or mold, discard it and make a new batch.
What are the signs of tire damage that polish can’t fix?
Look for cracks in the sidewalls or tread. Also, check for bulges or cuts. If you see exposed cords, the tire is severely damaged. In these cases, polish won’t help. The tire needs to be replaced for safety.
Conclusion: Shine Bright, Drive Safe
Making your own car tyre polish is a simple, rewarding project. It’s a practical way to maintain your vehicle’s appearance. It also helps protect a critical safety component. By using common, gentle ingredients, you can achieve a beautiful shine. You can also ensure your tires stay healthy. Remember to clean tires thoroughly before application. And always avoid the tread. Happy polishing!