Pedal brakes, often called coaster brakes, are common on many bikes, especially children’s and cruiser models. They let you stop by pedaling backward, making riding simple for beginners. But when pedal brakes fail, the bike becomes unsafe. Fixing them might look tricky, but with the right guidance, you can do it confidently—even if you have never repaired a bike before. In this article, you’ll learn how pedal brakes work, how to diagnose issues, and how to fix them step by step. You’ll also discover practical tips, common mistakes, and answers to frequently asked questions. By the end, you’ll know how to make your bike safe and smooth again.
Understanding Pedal Brakes
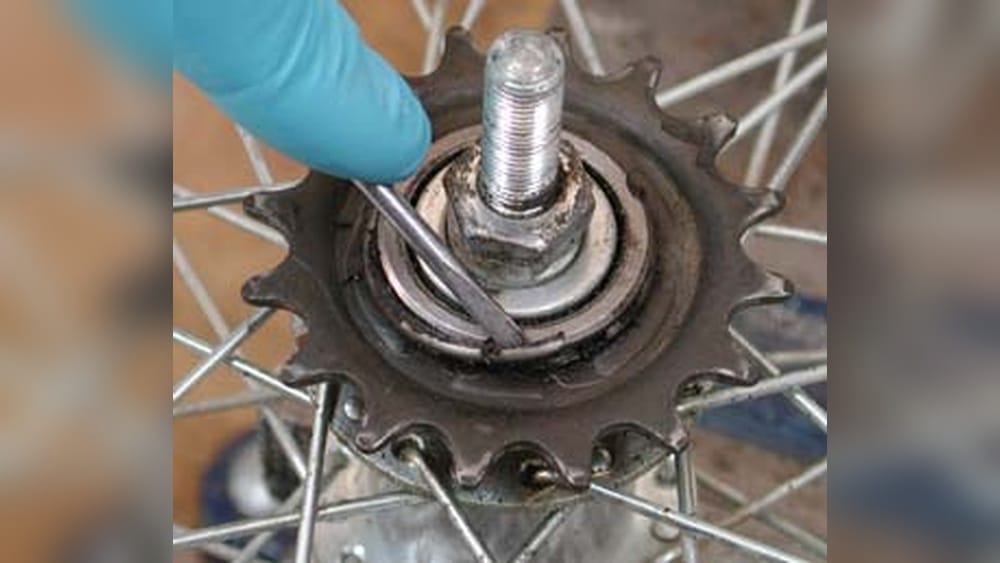
Before you start fixing, it’s important to know how pedal brakes work. Unlike hand brakes, pedal brakes are built into the rear wheel’s hub. When you pedal backward, the brake mechanism inside the hub is activated and stops the bike.
How Pedal Brakes Work
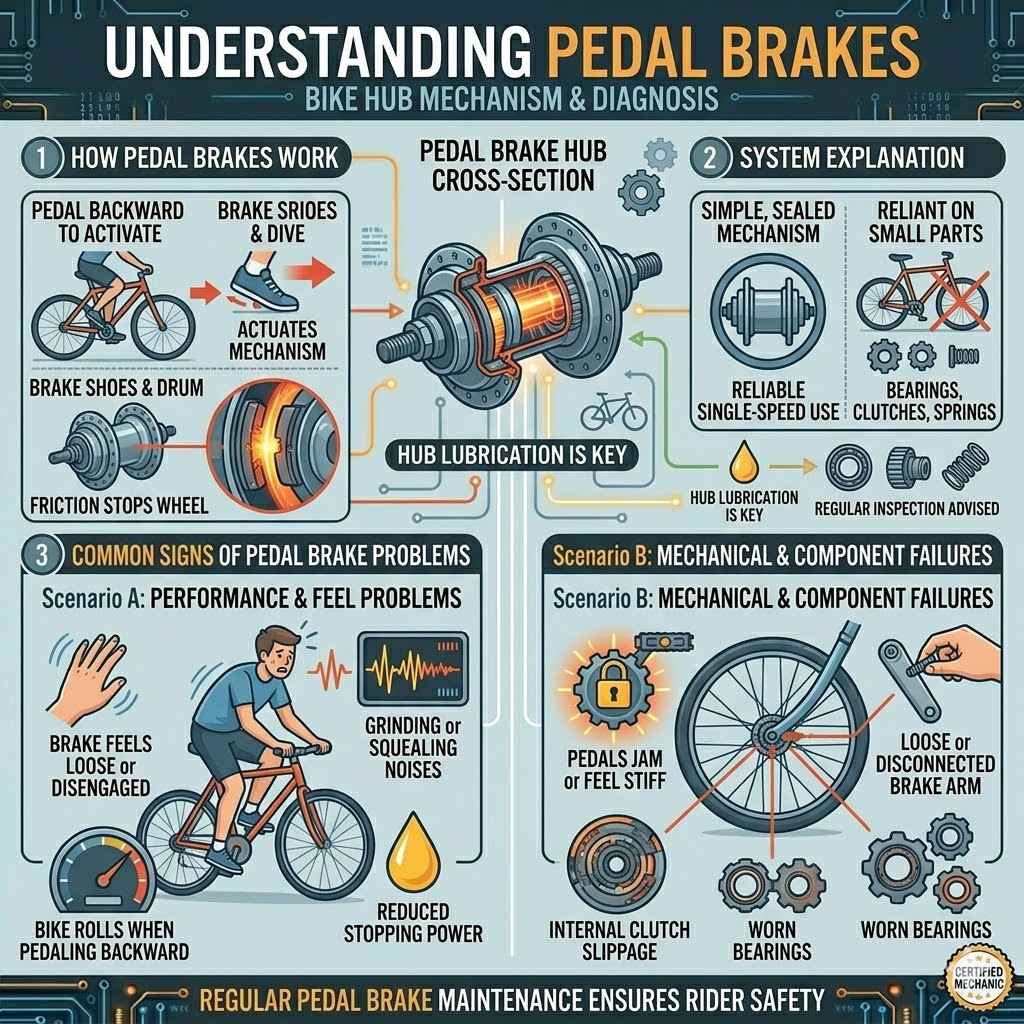
Inside the hub, there is a set of brake shoes and a drum. Pedaling backward pushes the shoes against the drum, creating friction and stopping the wheel. This system is simple, but it relies on several small parts working together.
Most pedal brakes are found on single-speed bikes. If your bike has gears, you probably have hand brakes, not pedal brakes.
Common Signs Of Pedal Brake Problems
Pedal brakes do not stop working overnight. Here are signs that they need fixing:
- Brake feels loose or doesn’t engage when you pedal backward
- Grinding or squealing noises from the rear wheel
- The bike rolls even when you pedal backward
- Pedals jam or feel stiff
- Reduced stopping power (takes longer to stop)
- Brake arm is loose or disconnected
If you notice any of these, it’s time for repair.
Tools And Supplies Needed
Fixing pedal brakes requires a few tools. Here’s what you need:
- Adjustable wrench – to remove the wheel and brake arm
- Screwdrivers (flat and Phillips) – for small screws
- Needle-nose pliers – to handle small parts
- Grease – for lubrication
- Rags – for cleaning
- Replacement parts (if needed) – such as brake shoes, springs, or hub parts
- Bike stand (optional) – makes work easier
Having these ready will save time and prevent frustration.
Safety Precautions Before Repair
Bike repair can be messy and sometimes dangerous. Follow these safety tips:
- Wear gloves to protect your hands.
- Work in a clean, well-lit area.
- Make sure your bike is stable—use a stand or lean it against a wall.
- Keep small parts organized; losing them can stop the repair.
- Avoid working near children or pets.
Diagnosing Pedal Brake Issues
Before fixing, you need to know what’s wrong. Here’s how to diagnose pedal brake problems step by step.
Step 1: Visual Inspection
Start by looking at the bike’s rear wheel and brake arm.
- Is the brake arm attached to the frame securely?
- Are there any loose bolts or nuts?
- Look for rust or dirt around the hub.
Step 2: Test The Brake
Spin the rear wheel and pedal backward.
- Does the wheel stop quickly?
- Does it make strange noises?
- Do the pedals feel stiff or loose?
Step 3: Check For Internal Issues
If the brake arm and bolts look fine, the problem is inside the hub.
- The most common internal issues are worn brake shoes and broken springs.
- Sometimes, lack of lubrication causes sticking or squealing.
If you’re unsure, open the hub for a deeper look. This will be covered in the repair steps.
Step-by-step Guide To Fixing Pedal Brakes
Let’s walk through the full process to fix your pedal brakes. Follow each step carefully.
Step 1: Remove The Rear Wheel
- Shift the bike upside down or onto a stand.
- Use your adjustable wrench to loosen the axle nuts on both sides.
- Slide the wheel out of the frame.
- Detach the brake arm from the frame.
This exposes the hub for repair.
Step 2: Open The Hub
- Clean the hub area with a rag.
- Use pliers or a wrench to carefully remove the locknuts and washers.
- Slide out the axle.
- Slowly open the hub, keeping track of the order of parts.
Tip: Take photos as you disassemble—this helps when reassembling.
Step 3: Inspect The Brake Mechanism
Inside the hub, you’ll find:
- Brake shoes
- Springs
- Drum
Look for:
- Worn brake shoes (thin or cracked)
- Broken or stretched springs
- Dirty or rusty surfaces
Step 4: Clean And Lubricate
- Wipe all parts with a rag.
- Remove old grease and dirt.
- Apply fresh bike grease to moving parts, especially springs and the drum.
Lubrication is vital. A dry hub can cause squealing and sticking.
Step 5: Replace Worn Parts
If you see worn or broken parts, replace them.
- Buy replacement brake shoes and springs from a bike shop.
- Match the parts to your hub model.
- Install the new parts in the same order as removed.
Step 6: Reassemble The Hub
- Place the axle back into the hub.
- Add washers and locknuts.
- Carefully tighten everything. Do not overtighten—this can cause stiffness.
- Reattach the brake arm to the frame.
Step 7: Reinstall The Wheel
- Slide the wheel back into the frame.
- Tighten the axle nuts.
- Make sure the wheel spins freely but stops when you pedal backward.
Step 8: Test The Brake
Spin the wheel, pedal backward, and check:
- The brake engages smoothly.
- No strange noises.
- The bike stops quickly.
If the brake is still weak, repeat the inspection. Sometimes, small parts are missed.
Practical Tips For Pedal Brake Repair
Even if you follow every step, small details matter. Here are tips that make the job easier and safer.
- Take clear photos during disassembly. Many beginners forget the order of parts.
- Buy quality parts. Cheap replacements can fail quickly.
- Do not over-grease. Too much grease can cause slipping.
- Check brake arm position. It must be tight against the frame, not bent.
- Avoid mixing up washers. Each washer has a purpose.
- Test before riding. Always do a test ride after repair.
- Consult a mechanic if you’re unsure. Some repairs need expert help.
Common Mistakes To Avoid
Many people make the same errors when fixing pedal brakes. Avoid these:
- Forgetting to reinstall the brake arm. The brake won’t work without it.
- Using wrong-sized parts. Always check compatibility.
- Losing small parts. Use a tray or cup for storage.
- Overtightening the axle nuts. This causes the wheel to bind.
- Applying WD-40 instead of bike grease. WD-40 is not suitable for hubs.
- Ignoring strange noises after repair. They often signal a problem.
Pedal Brake Vs. Hand Brake: Key Differences
Understanding the difference between pedal brakes and hand brakes helps you know
why repair steps are unique.| Feature | Pedal Brake | Hand Brake |
|---|---|---|
| Location | Rear wheel hub | Handlebar levers, rim or disc |
| Activation | Pedal backward | Squeeze lever |
| Repair Complexity | Internal hub parts | Cables and pads |
| Common Issues | Worn shoes, loose arm | Stretched cable, worn pads |
| Suitable For | Cruisers, kids’ bikes | Mountain, road bikes |
Pedal brakes are easier for beginners but can be tricky to repair because the mechanism is hidden inside the hub.
When To Replace Instead Of Repair
Sometimes, fixing pedal brakes is not enough. Here are signs you should replace the hub or brake system:
- The hub shell is cracked or damaged.
- Internal parts are too worn to function.
- You cannot find compatible replacement parts.
- The brake fails often even after repair.
Replacement is usually more expensive. For rare or vintage bikes, finding parts can be tough. In these cases, consider upgrading to a hand brake system if possible.
How Much Does Pedal Brake Repair Cost?
Repair costs depend on parts and labor. Here’s a sample cost comparison:
| Repair Type | DIY Cost | Bike Shop Cost |
|---|---|---|
| Basic cleaning & lubrication | $10 (grease, rags) | $30–$50 |
| Replace brake shoes & springs | $20–$40 (parts) | $60–$90 |
| Full hub replacement | $50–$100 | $150–$200 |
Doing repairs yourself saves money, but only if you follow steps carefully. If unsure, a professional mechanic is a safer option.
Example: Fixing A Pedal Brake On A Cruiser Bike
Let’s look at a real-world example. A rider noticed her cruiser bike took longer to stop and made a grinding sound when pedaling backward.
She followed these steps:
- Removed the rear wheel and brake arm.
- Opened the hub and found worn brake shoes and rusty springs.
- Cleaned the hub thoroughly.
- Applied new grease.
- Installed fresh brake shoes and springs.
- Reassembled the hub and reattached the wheel.
- Tested the bike—stopping power was restored, and no more grinding sound.
This example shows that most pedal brake issues can be fixed at home with careful work and attention to detail.
How To Maintain Pedal Brakes After Repair
Proper maintenance keeps your pedal brakes working longer. Here’s how:
- Check brake arm tightness monthly.
- Clean the hub every 6 months.
- Lubricate moving parts regularly.
- Inspect for wear before every ride.
- Avoid riding in muddy or wet conditions—these speed up wear.
Regular maintenance prevents major failures and saves money in the long run.
Troubleshooting Advanced Pedal Brake Problems
Some issues are not solved by basic repair. Here are advanced problems and solutions:
Brake Drag (wheel Doesn’t Spin Freely)
- Possible causes: Overtightened locknuts, misaligned hub parts.
- Solution: Loosen locknuts slightly, realign parts, and retighten.
Brake Slips (does Not Engage)
- Possible causes: Worn shoes, broken springs, missing washers.
- Solution: Replace shoes and springs, ensure all washers are in place.
Squealing Noise
- Possible causes: Lack of grease, dirty drum.
- Solution: Clean and apply grease to drum and shoes.
Pedal Jam (cannot Pedal Forward/backward)
- Possible causes: Misplaced internal parts, damaged axle.
- Solution: Reopen hub, check part alignment, replace damaged axle if needed.
Hub Leaks Oil
- Possible causes: Damaged seals.
- Solution: Replace hub seals or consider full hub replacement.
Pedal Brake Brands And Compatibility
Not all pedal brakes are alike. Popular brands include Shimano, SRAM, and KT. Always match replacement parts to your hub brand and model.
| Brand | Common Model | Replacement Parts Availability |
|---|---|---|
| Shimano | CB-E110 | Easy to find |
| SRAM | i-Motion | Medium |
| KT | Coaster Hub | Easy to find |
| Sturmey-Archer | SC3 | Hard to find |
If your bike uses a rare hub, consult a bike shop or search online for parts.
How Pedal Brake Repair Improves Safety
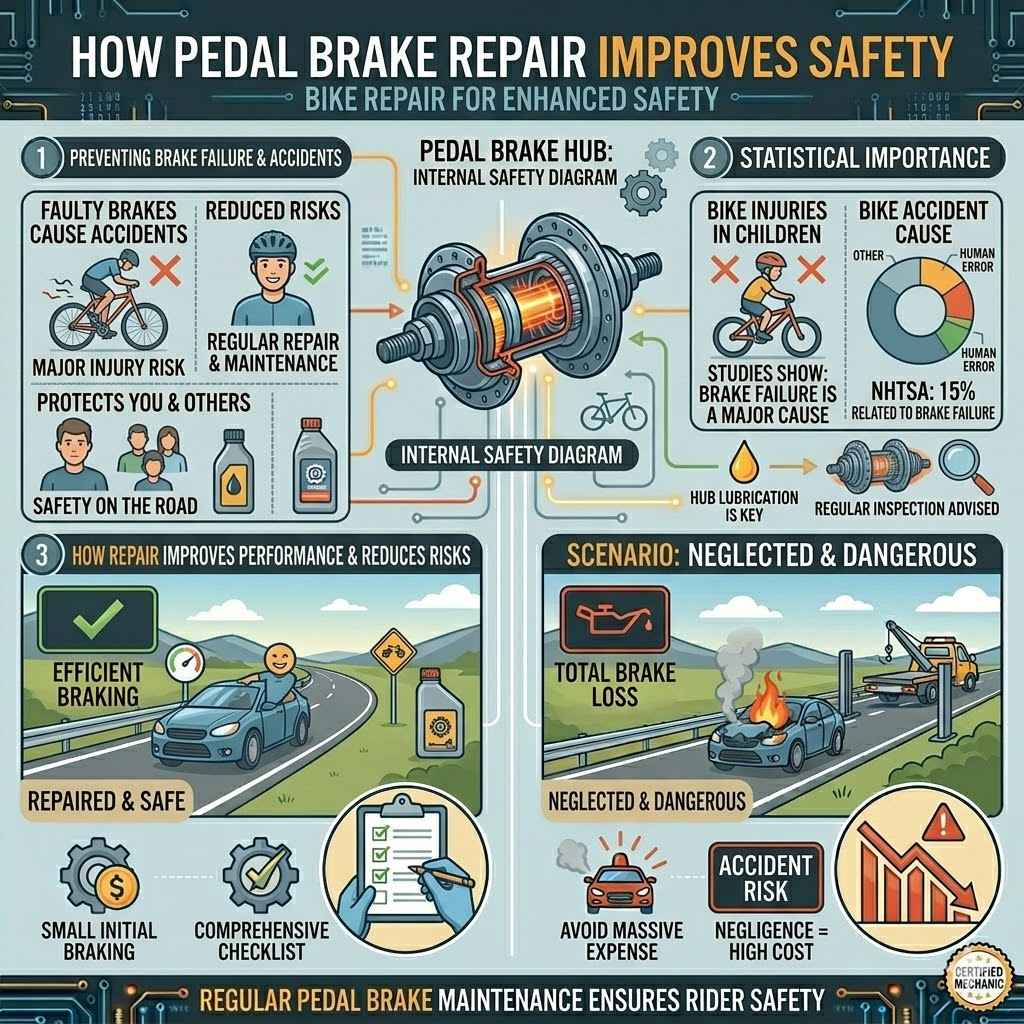
A working pedal brake is critical for safety. Faulty brakes can cause accidents. Studies show that brake failure is a major cause of bike injuries in children. Regular repair and maintenance reduce risks.
According to the National Highway Traffic Safety Administration (NHTSA), about 15% of bike accidents are related to brake failure. Pedal brakes, because they’re hidden, are often ignored. Fixing them protects you and others on the road.
Pedal Brake Upgrades: Should You Switch?
Some riders choose to upgrade from pedal brakes to hand brakes. Here’s why:
- Hand brakes offer better control, especially in wet conditions.
- Upgrading is possible for most bikes, but it requires new wheels and cables.
- If your pedal brake hub is impossible to repair, upgrading is a smart choice.
Ask a mechanic if your bike can be upgraded.
Where To Learn More
If you want deeper technical guidance or diagrams, check reliable sources like Wikipedia. They offer detailed explanations and history of pedal brakes.
Frequently Asked Questions
Why Does My Pedal Brake Feel Loose After Repair?
A loose pedal brake usually means the brake arm is not tightened enough or the internal springs are worn out. Double-check the arm and replace springs if needed.
Can I Fix Pedal Brakes Without Special Tools?
Basic repairs can be done with common tools like wrenches and pliers. However, for internal hub problems, having a bike-specific tool makes the job easier and safer.
How Often Should I Lubricate Pedal Brakes?
Lubricate every 6 months or sooner if you ride in wet or dirty conditions. Use bike grease—not oil or WD-40—for best results.
Are Pedal Brakes Safe For Mountain Biking?
Pedal brakes are not recommended for mountain biking. They can overheat and fail on steep descents. Hand brakes offer more control and safety.
What If I Can’t Find Replacement Parts For My Pedal Brake?
If parts are unavailable, consider upgrading to hand brakes or replacing the entire hub. Some vintage bikes need special attention—ask a bike shop for advice.
Pedal brake repair is a skill every bike owner can learn. With patience and careful work, you’ll make your rides safer and more enjoyable. Remember to check your brakes regularly, follow the steps outlined here, and seek help if needed.
Safe cycling starts with reliable brakes!