Quick Summary: Replacing your Honda Civic’s engine air filter is a simple DIY task. This guide provides easy, step-by-step instructions, lists the tools you’ll need, and explains why this maintenance is crucial for engine health and fuel efficiency, empowering you to do it yourself in under 30 minutes.
Is your Honda Civic running a bit sluggish? Are you noticing a dip in your gas mileage? These could be signs that your engine air filter needs a little attention. Don’t worry, this isn’t a job for a professional mechanic! Replacing your engine air filter is one of the easiest and most cost-effective ways to keep your Civic’s engine happy and running smoothly. It’s a common maintenance item that many drivers can tackle themselves with just a few basic tools and a little guidance. We’re here to walk you through it, step by step, so you can get back on the road with confidence!
Keeping your engine’s air filter clean is super important for your car’s performance and its lifespan. Think of it as your engine’s lungs. Just like we need clean air to breathe easily, your engine needs clean air to burn fuel efficiently. A clogged filter means your engine has to work harder, which can lead to all sorts of problems, from decreased power to using more gas than it should. This guide is designed to make the process of replacing your Honda Civic’s air filter as straightforward as possible. We’ll cover everything from what you’ll need to the exact steps to get it done. Let’s dive in!
Why Your Honda Civic Air Filter Needs Regular Replacement
Your engine air filter is a critical component in your Honda Civic’s powertrain. Its primary job is to trap dirt, dust, insects, and other debris before they can enter and potentially damage your engine. Over time, this filter gets saturated with gunk, which restricts airflow. This restriction is where the problems start.
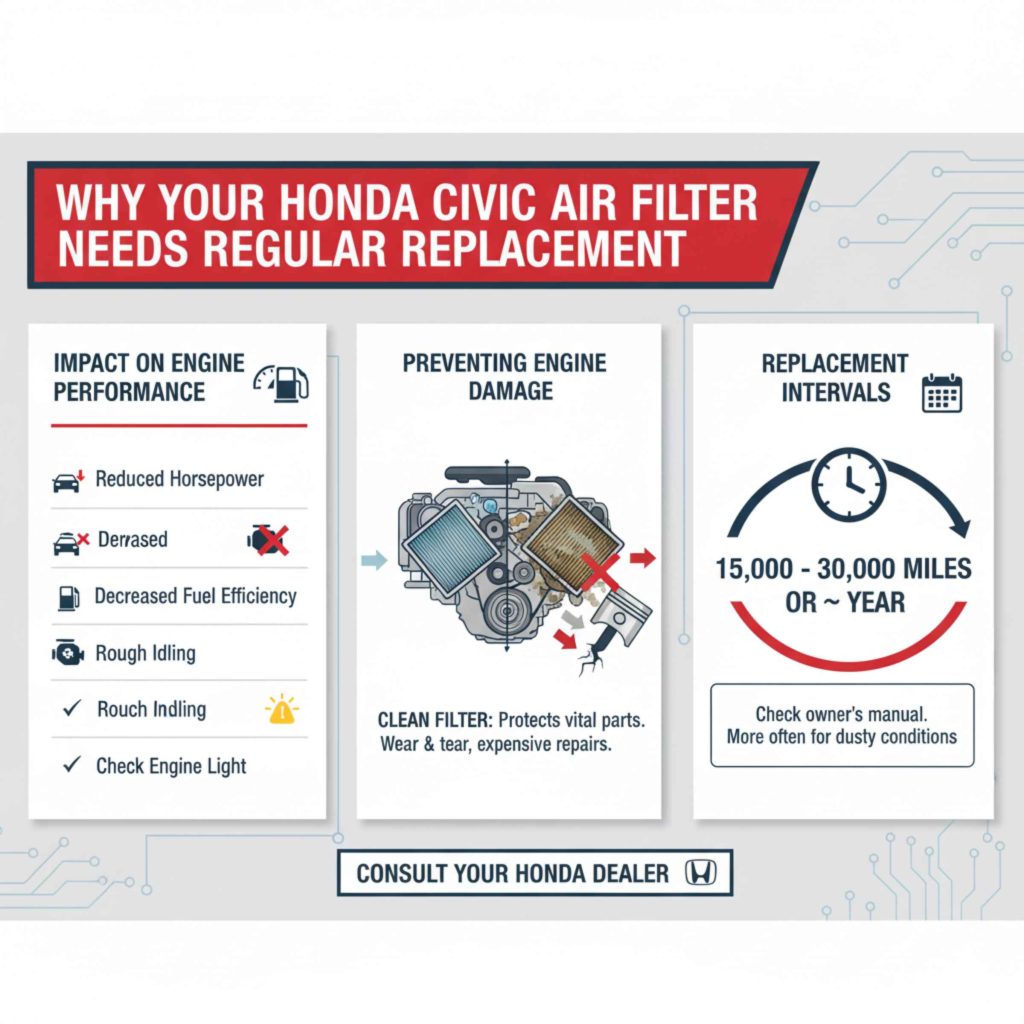
Impact on Engine Performance
When your air filter is clogged, your engine struggles to get the amount of air it needs for optimal combustion. This can manifest in several ways:
- Reduced Horsepower: Your car might feel less responsive and slower to accelerate.
- Decreased Fuel Efficiency: The engine has to work harder, burning more fuel to compensate for the limited airflow. This means more frequent trips to the gas station and extra money spent on fuel.
- Rough Idling: The engine might shake or run unevenly, especially when stopped or at low speeds.
- Check Engine Light: In severe cases, or if the filter is extremely dirty, the engine’s sensors might detect an issue, triggering the “Check Engine” light.
Preventing Engine Damage
A clean air filter acts as a barrier, protecting the sensitive internal components of your engine from abrasive particles. If the filter is old and damaged, or if it’s bypassed, these particles can enter the combustion chamber. Over time, this can cause wear and tear on pistons, cylinders, and other vital parts, leading to expensive repairs down the line. Regular replacement is a simple preventative measure against significant engine damage.
Understanding Replacement Intervals
The recommended replacement interval for your Honda Civic’s engine air filter can vary depending on a few factors, including your driving conditions. Honda typically recommends checking the air filter during routine maintenance. However, a good general guideline is to replace it every 15,000 to 30,000 miles, or about once a year. If you frequently drive in dusty or dirty environments (like unpaved roads or areas with high pollution), you might need to replace it more often. You can often find specific recommendations in your owner’s manual.
Consulting your Honda official maintenance resources is always a great idea for the most accurate information for your specific model year.
Gathering Your Tools and Supplies
Before you start, having everything you need ready will make the process much smoother. Fortunately, replacing an engine air filter on a Honda Civic requires very few tools.
Essential Tools and Parts:
- New Engine Air Filter: Make sure you get the correct filter for your specific Honda Civic model year and engine size. You can usually find this information in your owner’s manual or by using an online auto parts finder.
- Screwdriver: A Phillips head screwdriver is usually sufficient. Some models might have clips instead of screws, but it’s good to have a screwdriver on hand just in case.
- Gloves (Optional): To keep your hands clean while working.
- Shop Towels or Rags: For wiping down the air filter housing.
- Camera or Smartphone (Optional): To take a photo of how the old filter is oriented before removal, if you’re feeling extra cautious.
Choosing the Right Air Filter
Selecting the correct air filter is crucial. Using the wrong one won’t seal properly, allowing unfiltered air to enter your engine. You can find the correct part number in your Honda Civic’s owner’s manual. Alternatively, you can visit your local auto parts store or an online retailer and use their vehicle lookup tool. Many reputable brands offer high-quality replacement filters, including OEM (Original Equipment Manufacturer) parts and aftermarket options.
When choosing a filter, consider factors like filtration efficiency and lifespan. Some filters are designed for enhanced filtration, while others prioritize longevity. For most drivers, a standard, good-quality replacement filter will suffice.
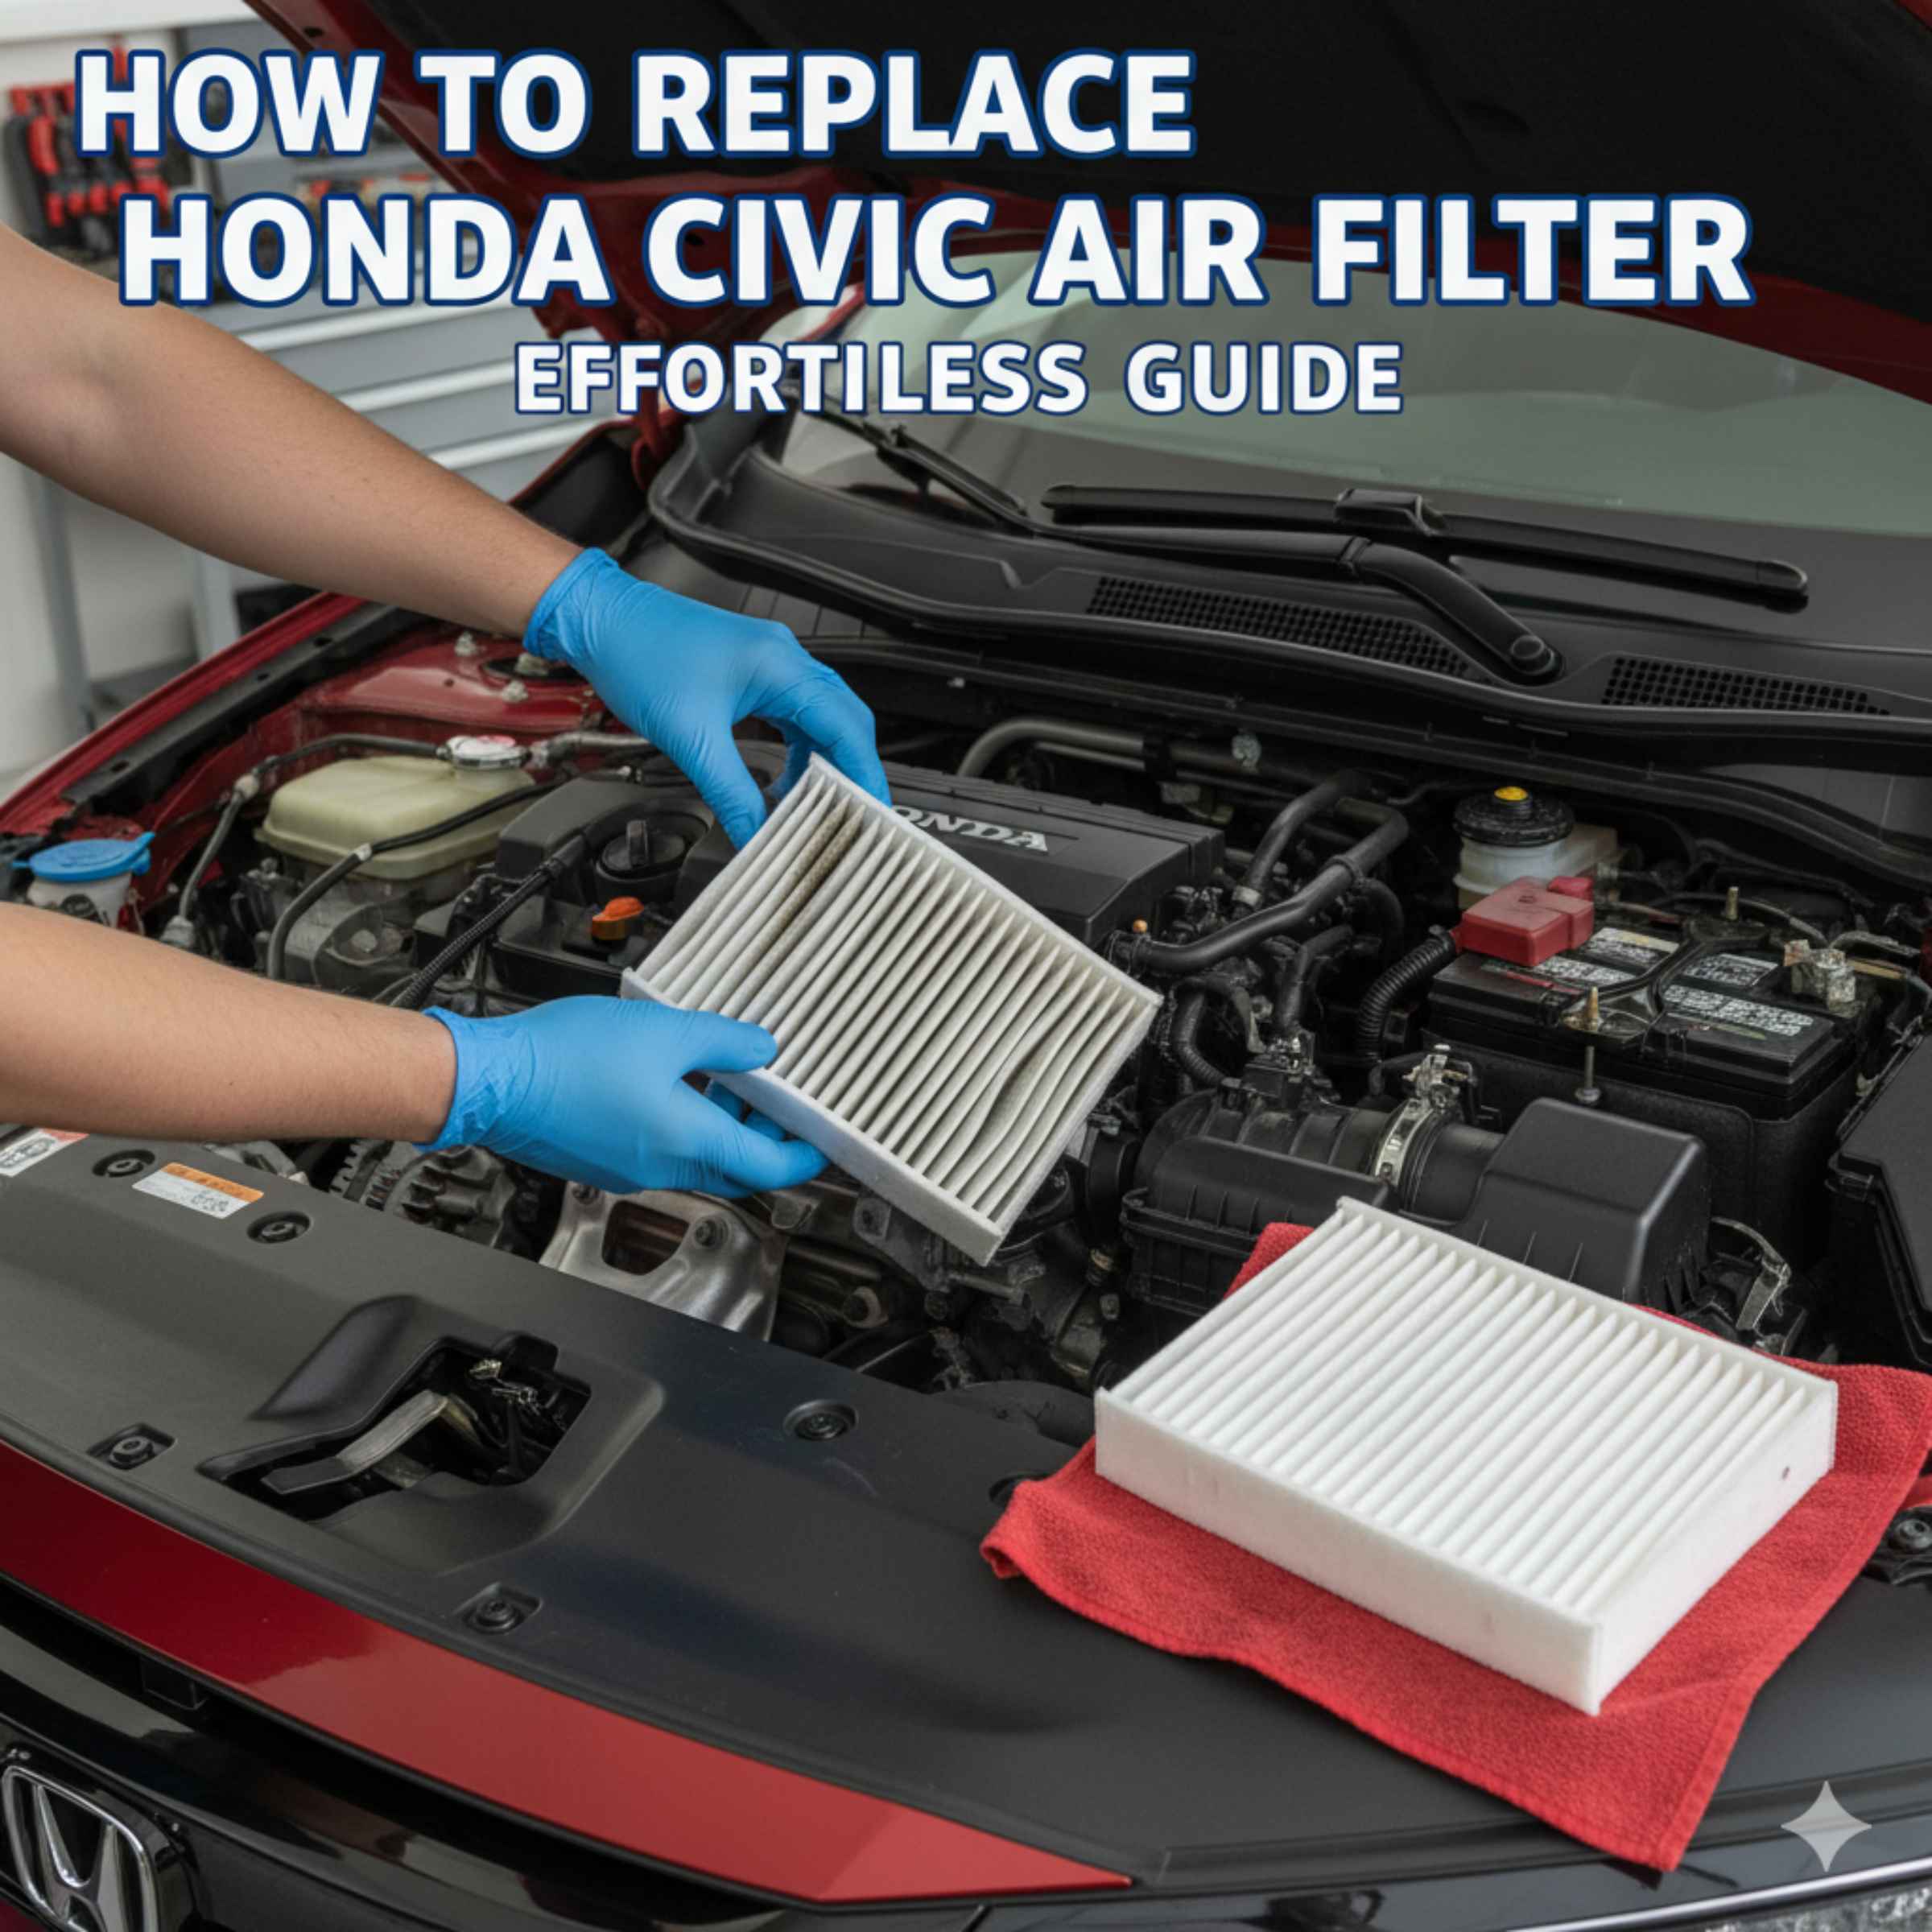
Step-by-Step: How to Replace Your Honda Civic’s Air Filter
Let’s get to the main event! Replacing your air filter is a straightforward process that can typically be completed in under 30 minutes. We’ll guide you through each step.
Step 1: Locate the Air Filter Housing
Open the hood of your Honda Civic and locate the engine air filter housing. In most Civic models, this is a black plastic box situated on one side of the engine bay. It’s usually a fairly large component connected to a large intake hose that leads to the engine. The housing is typically secured with clips or screws.
Step 2: Open the Air Filter Housing
Once you’ve found the housing, examine how it’s secured. Most Honda Civics use metal clips that you’ll need to unlatch. Simply push down on the metal tab and pull it away from the housing. If your model uses screws, you’ll need your screwdriver to remove them. Take note of where each screw came from, though they are usually identical.
Carefully lift the lid of the air filter housing. You may need to gently pry it open if it’s a bit stubborn. Be mindful not to break any plastic tabs or clips.
Step 3: Remove the Old Air Filter
With the housing lid open, you’ll see the old, dirty air filter. Simply pull it straight out. It might be a bit dusty, so try not to jostle it too much as you remove it, to avoid releasing loose debris into the intake tract. Note the orientation of the old filter as you pull it out. This will help you install the new one correctly.
Step 4: Clean the Air Filter Housing
Before installing the new filter, it’s a good idea to clean out the air filter housing. Use your shop rag or shop towels to wipe away any dust, leaves, or other debris that might have accumulated inside. Ensure the inside of the housing is clean and free of obstructions. This step is important to ensure the new filter seals properly and that no loose debris gets sucked into the engine.
Step 5: Install the New Air Filter
Take your new air filter and carefully place it into the housing. Make sure it’s oriented correctly, matching the way the old filter was sitting. The rubber or foam gasket around the edge of the new filter should seat snugly against the housing to create a good seal. Press down gently to ensure it’s fully seated.
Step 6: Close the Air Filter Housing
Once the new filter is in place, carefully position the lid back onto the housing. If your model has clips, push them back into place until they securely latch. If it has screws, re-insert them and tighten them with your screwdriver. Ensure the housing is sealed all the way around. Don’t overtighten screws, as this can damage the plastic housing.
Step 7: Final Check
Give the air filter housing a gentle push to make sure it’s secured. Double-check that all clips are latched and that there are no gaps around the edges of the housing. Close the hood of your car.

Troubleshooting Common Issues
While this process is usually very simple, sometimes you might run into minor hiccups. Here are a few common issues and how to deal with them:
- Stuck Clips or Screws: If clips are stiff, try applying a little gentle pressure. For stubborn screws, a tiny bit of penetrating oil might help, but be careful not to get it on plastic parts. Sometimes, a slightly different angle with your screwdriver can make a difference.
- Housing Lid Won’t Seal: Ensure no debris is caught between the lid and the base of the housing. Also, make sure the new filter is seated correctly and not pushing against the lid in an awkward way.
- Can’t Find the Housing: Consult your owner’s manual or search online for a diagram specific to your Honda Civic’s year. It’s usually a prominent, large black box connected to a tube going towards the engine.
- Debris in the Intake Tube: If you accidentally drop debris into the intake tube after removing the filter, carefully retrieve it with a clean rag or needle-nose pliers. Never start the engine if there’s debris in the intake tube.
When to Consider Professional Help
While replacing an air filter is a beginner-friendly DIY job, there are times when it’s best to consult a professional. If you’re uncomfortable at any point, notice any cracked or damaged plastic on the air filter housing, or if you see significant damage to other engine components, it’s wise to seek assistance from a qualified mechanic. They can also perform a more thorough inspection of your engine’s intake system.
Maintenance Schedule Table
Here’s a general guide for when to check and replace your Honda Civic’s engine air filter. Remember to always refer to your owner’s manual for the most accurate recommendations for your specific vehicle.
| Maintenance Item | Recommended Interval | DIY Friendly? | Notes |
|---|---|---|---|
| Engine Air Filter Check | Every 5,000 – 7,500 miles (or every oil change) | Yes | Visually inspect during oil changes. |
| Engine Air Filter Replacement | Every 15,000 – 30,000 miles (or annually) | Yes | Replace if dirty, or based on mileage/time. Heavily dusty conditions may require more frequent replacement. |
| Cabin Air Filter Replacement | Every 10,000 – 15,000 miles (or annually) | Yes | Filters the air entering the cabin; located behind the glove box. |
| Spark Plug Replacement | Varies by model (e.g., 100,000 miles for iridium) | Intermediate | Requires specific tools and knowledge. |
| Oil and Filter Change | Every 5,000 – 7,500 miles (or as per manual) | Yes | Crucial for engine lubrication and longevity. |
For detailed information about your specific Honda Civic maintenance schedule, always refer to your official Honda maintenance guide.
Frequently Asked Questions (FAQ)
Q1: How often should I really replace my Honda Civic’s engine air filter?
A: For most Honda Civics, inspecting it every oil change and replacing it every 15,000 to 30,000 miles is a good rule of thumb. If you drive in dusty areas, you might need to replace it sooner.
Q2: Can I just clean my old air filter instead of buying a new one?
A: While some reusable (performance) filters can be cleaned, standard paper filters are designed for single use. Trying to clean a standard filter with compressed air can actually damage it, creating tiny holes that let dirt through. It’s best to replace it with a new one for optimal performance and protection.
Q3: What happens if I don’t replace my air filter?
A: If you don’t replace a dirty air filter, your engine will get less air. This can lead to reduced power, worse fuel economy, and eventually, potential damage to engine components over the long term.
Q4: Is there a difference between an engine air filter and a cabin air filter?
A: Yes, they are two different filters. The engine air filter cleans the air going into your engine. The cabin air filter cleans the air that comes into your car’s passenger compartment through the heating and air conditioning system.
Q5: What is the cost of a Honda Civic air filter?
A: A standard engine air filter for a Honda Civic typically costs between $15 to $30, depending on the brand and where you purchase it. This makes it a very affordable maintenance item.
Q6: Can I use a generic air filter?
A: It’s best to use an air filter specifically designed for your Honda Civic model year. While some generic filters might fit, using the correct one ensures a proper seal and optimal filtration, protecting your engine most effectively.
Q7: My air filter housing has screws, not clips. Is that normal?
A: Yes, some Honda Civic models use screws instead of clips to secure the air filter housing. You’ll just need a Phillips head screwdriver to remove and re-install them. Just be careful not to over-tighten them when putting the lid back on.
Conclusion
And there you have it! Replacing the engine air filter on your Honda Civic is a simple, quick, and rewarding DIY task. By following these steps, you’ve not only saved yourself some money but also contributed to the health and longevity of your car’s engine. A clean air filter means better fuel efficiency, smoother performance, and peace of mind knowing that your engine is breathing freely.
Don’t underestimate the importance of this seemingly small maintenance item. It’s one of the easiest ways to ensure your Civic continues to serve you well for miles to come. Keep an eye on your owner’s manual for other DIY-friendly maintenance tasks. You’ve got this! Happy driving!