To tell if a car headlight bulb is bad, look for visible signs like a broken filament or a dark, smoky spot inside the glass. The most reliable method is the “swap test”: move the suspected bad bulb to the working headlight’s socket. If it still doesn’t light up, the bulb is definitely bad.
Driving at night with a burnt-out headlight is a big problem. It makes it hard to see the road, and it’s a safety risk for you and other drivers. You might even get a ticket. It can be frustrating when you see that one light is out. You might wonder, “Is it just the bulb, or is it something more serious?”
Don’t worry. Finding the cause is usually simple. Most of the time, it’s just a bad bulb that you can fix yourself. This guide will show you exactly how to test your headlight bulb in just a few easy steps. We’ll walk you through everything, so you can feel confident and get back on the road safely.
Common Signs of a Failing Headlight Bulb
Before a headlight bulb goes out completely, it often gives you some warning signs. If you notice any of these, it’s a good idea to check your bulbs soon. Catching it early can save you the trouble of being caught in the dark.
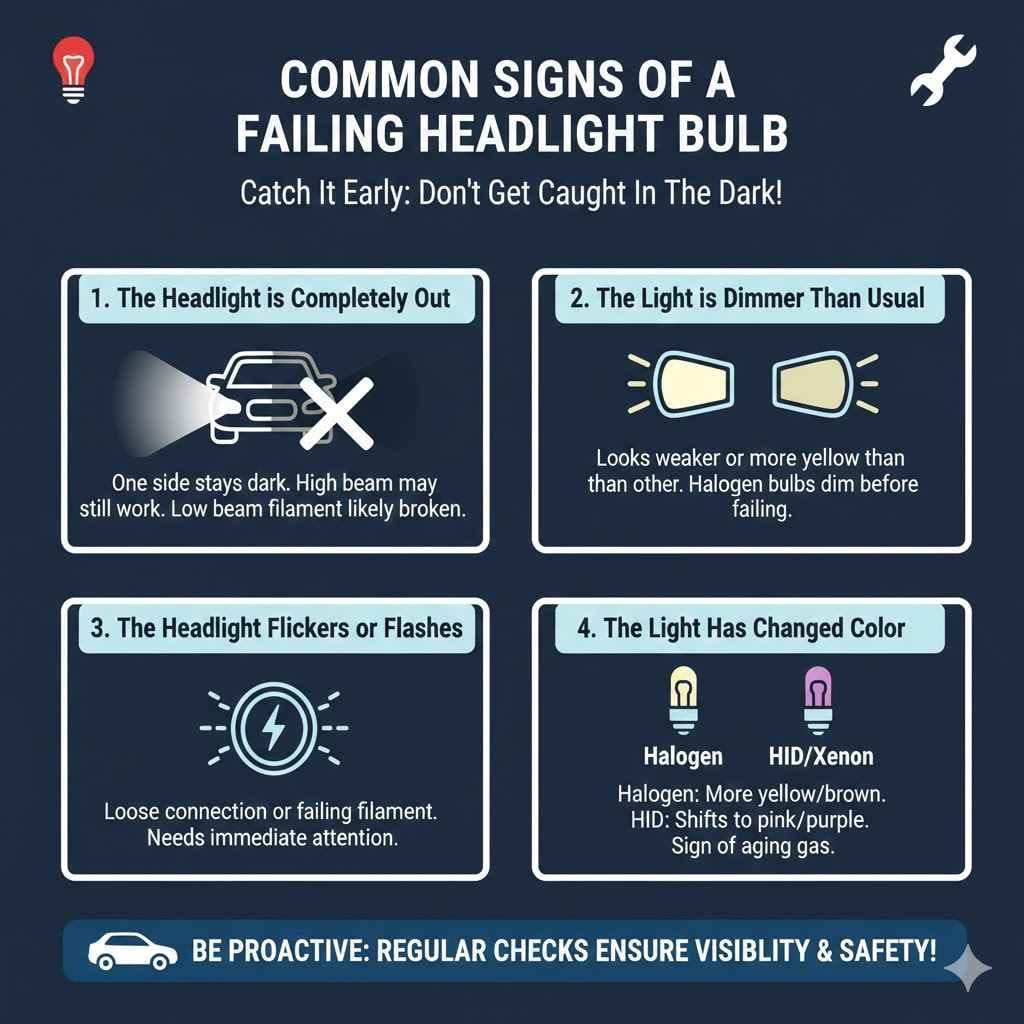
1. The Headlight is Completely Out
This is the most obvious sign. You turn on your lights, and one side stays dark. While this could be a fuse or wiring issue, a dead bulb is the most common reason. If your high beam on the same side still works, it’s an even stronger sign that the low beam filament in the bulb has broken.
2. The Light is Dimmer Than Usual
Over time, headlight bulbs lose their brightness. If you notice one headlight looks weaker or more yellow than the other, the bulb is nearing the end of its life. Halogen bulbs, in particular, tend to dim significantly before they fail. It’s best to replace it before it goes out completely.
3. The Headlight Flickers or Flashes
A flickering headlight is a classic sign of a problem. This could mean two things:
- A Loose Connection: The electrical connector at the back of the bulb might be loose or corroded.
- A Failing Filament: The tiny wire inside the bulb (the filament) is broken but is sometimes making contact, causing the light to flash on and off as you drive over bumps.
In either case, it needs attention right away, as a flickering light can be very distracting to other drivers.
4. The Light Has Changed Color
A healthy halogen bulb should produce a soft, yellowish-white light. As it ages and the gases inside break down, it might start to look more yellow or even brownish. For HID (Xenon) bulbs, a color shift towards pink or purple is a sure sign that the bulb is about to fail.
What You’ll Need to Test Your Headlight
The good news is that you don’t need a fancy toolbox to figure out what’s wrong. You probably already have everything you need. Safety is most important, so make sure your car is turned off and the engine is cool before you start.
Essential Tools and Supplies:
- Your Car’s Owner’s Manual: This is your best friend. It will show you where your headlight bulbs are and how to access them.
- A Pair of Gloves: Nitrile or clean cotton gloves are perfect. Oils from your skin can damage a new halogen bulb if you touch the glass.
- A Phillips Head or Flathead Screwdriver: You might need this to remove a cover or housing to get to the bulb.
- A Flashlight or Headlamp: It can be dark inside the engine bay, so extra light always helps.
The Ultimate Test: A Step-by-Step Guide
Ready to find the problem? We’ll start with the easiest checks first and then move on to the most certain tests. Follow these steps, and you’ll know for sure if your bulb is bad in no time.
Step 1: The Quick Visual Inspection
Sometimes, you can tell if a bulb is bad just by looking at it. This check only takes a few minutes.
Access the Bulb: Open your car’s hood. Following your owner’s manual, find the back of the headlight assembly. You may need to remove a plastic cover or dust cap.
Remove the Bulb: Carefully disconnect the electrical connector from the back of the bulb. Then, twist or unclip the bulb to remove it from the headlight housing.
Examine the Bulb: Hold the bulb up to the light. Look closely at the small wire inside the glass part, called the filament.
Good Filament: A good filament will be a complete, unbroken wire stretching between two posts.
Bad Filament: If the wire is snapped or broken, the bulb is dead.
Look for Dark Spots: Check the inside of the glass. If you see a black or gray smoky residue, it’s a sign the bulb has burned out.
If you see a broken filament or a dark spot, you’ve found your problem! You can stop here and go get a new bulb. If the bulb looks fine, it’s time to move on to the next step.
Step 2: The “Swap Test” – The Most Reliable Method
The swap test is the best way to be 100% sure if the bulb is the problem. You will use the working headlight on the other side of your car to test the suspected bad bulb. It’s simple and requires no special tools.
Remove the Good Bulb: Go to the headlight that is working correctly. Remove that bulb, being careful not to touch the glass.
Install the Suspect Bulb: Take the bulb you think is bad and install it into the working headlight’s socket. Make sure it clicks into place and the electrical connector is secure.
Turn On Your Headlights: Get in the car and turn on your headlights.
Check the Result:
If the bulb does NOT light up: Congratulations, you have confirmed the bulb is bad.
If the bulb DOES light up: The bulb is fine. The problem is likely with the fuse, wiring, or socket on the other side.
Put Everything Back: Don’t forget to put the good bulb back in its original socket and secure everything.
Step 3: Check the Headlight Fuse
If the swap test shows your bulb is good, the next logical place to look is the fuse box. A blown fuse is a common and easy fix. A fuse is a small safety device that protects the electrical circuit. If too much power goes through, it breaks the connection.
Locate the Fuse Box: Your car usually has two fuse boxes—one in the engine bay and one inside the car, often near the steering wheel or glove box. Your owner’s manual will show you the exact location.
Find the Headlight Fuse: Look at the diagram on the inside of the fuse box cover. Find the fuse labeled for the headlight that is out (e.g., “LT H/L LOW” for Left Headlight Low Beam).
Remove the Fuse: Use the small fuse puller tool often found in the fuse box, or a pair of needle-nose pliers, to gently pull the fuse out.
Inspect the Fuse: Hold the fuse up to the light. Look at the S-shaped metal strip inside the plastic.
Good Fuse: The metal strip will be intact.
Blown Fuse: The metal strip will be broken or melted. You might also see a dark, burnt spot.
If the fuse is blown, replace it with a new one of the exact same amperage rating. This number is printed on top of the fuse. Using the wrong rating can cause serious electrical damage.
Bad Bulb vs. Other Electrical Problems
It can be confusing to know what’s causing your headlight issue. This table breaks down common symptoms to help you pinpoint the likely cause.
| Symptom | Most Likely Cause | What to Do First |
|---|---|---|
| One headlight is out (low or high beam). | Bad Headlight Bulb | Perform a visual inspection and the swap test. |
| Both headlights are out. | Blown Fuse or Bad Relay | Check the main headlight fuse in the fuse box. |
| Headlight flickers when you hit a bump. | Loose Connection or Failing Bulb | Wiggle the electrical connector at the back of the bulb. If that doesn’t work, swap the bulb. |
| Headlight is very dim. | Aging Bulb or Voltage Problem | Replace the bulb. If the new one is also dim, have your alternator checked. |
| High beams work, but low beams don’t (or vice versa). | Bad Dual-Filament Bulb | The bulb has two filaments, and one has burned out. Replace the bulb. |
Choosing the Right Replacement Bulb
Once you’ve confirmed you have a bad bulb, you need to buy the right replacement. Using the wrong type can result in poor visibility or even damage to your car. You have a few main choices.
Types of Headlight Bulbs
Most cars on the road today use one of three types of bulbs. Here’s a quick comparison to help you decide.
| Bulb Type | Pros | Cons | Best For |
|---|---|---|---|
| Halogen | Inexpensive, easy to find, standard on most cars. | Shorter lifespan, less bright, produces more heat. | A direct, affordable replacement for most vehicles. |
| LED | Very long lifespan, extremely bright, energy-efficient. | More expensive, may require a conversion kit. | Upgrading for better visibility and a modern look. |
| HID (Xenon) | Intensely bright, long-lasting, produces a blue-white light. | Very expensive, complex installation, slow to warm up. | High-performance or luxury vehicles that come with them from the factory. |
How to Find Your Bulb Size
Every car requires a specific bulb size (e.g., H11, 9005, H7). Using the wrong size won’t work. Here are three easy ways to find the right one:
- Check Your Owner’s Manual: The lighting or specifications section will list all bulb sizes for your vehicle.
- Look at the Old Bulb: The size number is usually printed on the plastic or metal base of the bulb itself.
- Use an Online Bulb Finder: Most auto parts websites have tools where you can enter your car’s year, make, and model to find the correct bulb.
Pro Tip: Always replace headlight bulbs in pairs. If one has burned out, the other is likely not far behind. Replacing both at the same time ensures you have even brightness and color on both sides, which is safer for night driving. The National Highway Traffic Safety Administration (NHTSA) emphasizes the importance of properly functioning and aligned headlights for road safety.
A Quick Guide to Replacing Your Headlight Bulb
Feeling confident? Replacing the bulb is the final step. For most cars, it’s a straightforward process that takes about 15-30 minutes.
Prepare Your Car: Park on a level surface, turn off the engine, and let the headlights cool down completely.
Access the Bulb Housing: Open the hood and locate the back of the headlight assembly. You may need to remove a plastic dust cover.
Disconnect the Power: Gently squeeze the tabs on the electrical connector and pull it straight off the back of the bulb.
Remove the Old Bulb: There is usually a retaining clip or spring holding the bulb in place. Push it down and away, or simply twist the bulb counter-clockwise to release it. Pull the old bulb straight out.
Install the New Bulb: This is the most important part. Do not touch the glass part of the new halogen bulb with your bare hands. The oil from your skin can create a hot spot on the bulb, causing it to burn out very quickly. Hold it by the metal or plastic base.
Carefully insert the new bulb into the housing.
Secure it with the retaining clip or twist it clockwise until it locks.
Reconnect and Test: Plug the electrical connector back on. Before putting everything back together, turn on your headlights to make sure the new bulb works.
Reassemble: Put the dust cover and any other removed parts back on. Close the hood, and you’re done!
When Should You Call a Mechanic?
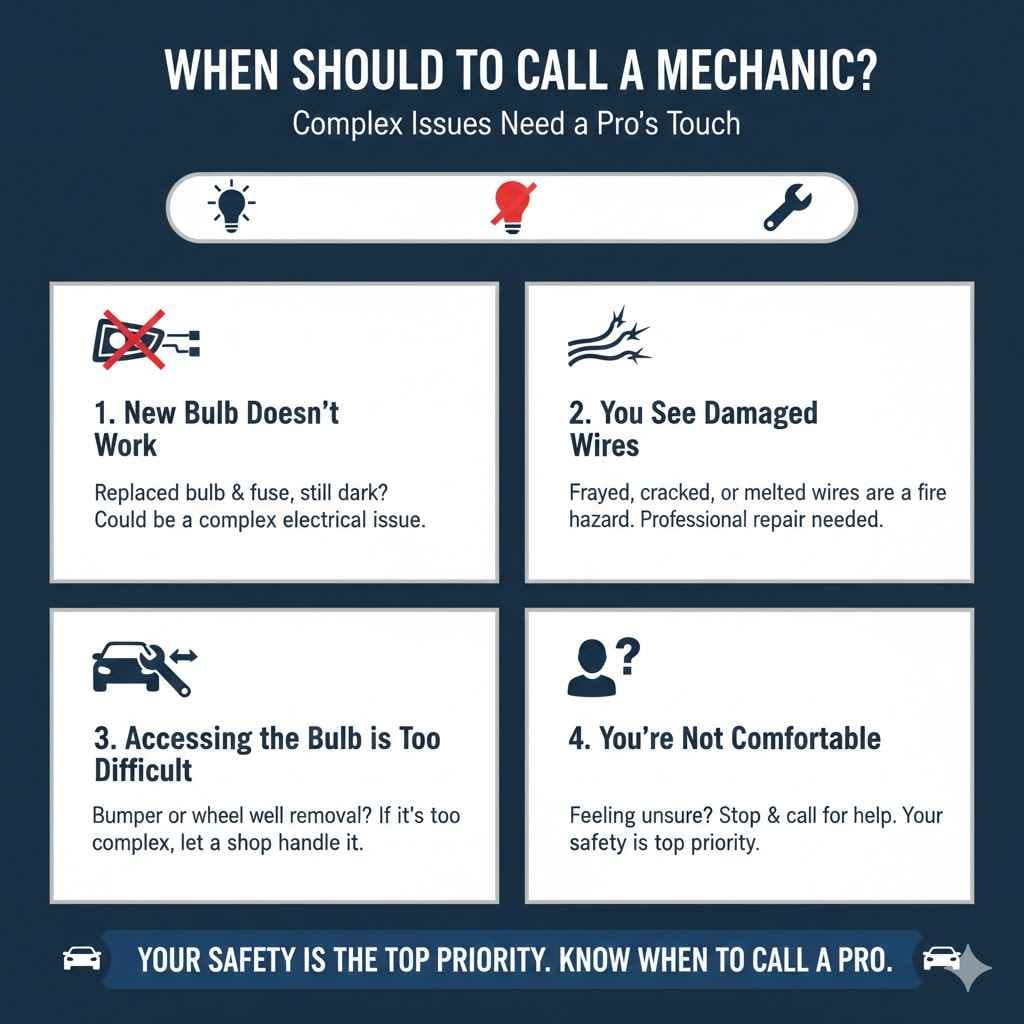
Doing your own car maintenance is empowering and saves money. However, there are times when it’s smarter to let a professional take over. Don’t hesitate to call a mechanic if you run into any of these situations:
- The New Bulb Doesn’t Work: If you’ve replaced the bulb and checked the fuse, and it still won’t light up, you might have a more complex electrical issue like a bad relay or damaged wiring.
- You See Damaged Wires: If you notice any frayed, cracked, or melted wires near the headlight connector, this is a fire hazard that needs to be repaired by a professional.
- Accessing the Bulb is Too Difficult: On some modern cars, you may have to remove the front bumper or wheel well liner to get to the headlight bulb. If the job seems too complex, it’s okay to let a shop handle it.
- You’re Not Comfortable: If at any point you feel unsure or uncomfortable, it’s always best to stop and call for help. Your safety is the top priority.
Frequently Asked Questions (FAQ)
1. Should I replace both headlight bulbs at the same time?
Yes, absolutely. Headlight bulbs are made to have a similar lifespan. If one has failed, the other is probably close to failing too. Replacing them in pairs ensures that both lights have the same brightness, color, and lifespan, which is much safer for driving at night.
2. Why did my new headlight bulb burn out so quickly?
The most common reason is touching the glass of a halogen bulb during installation. Oils from your skin create hot spots that cause the bulb to fail prematurely. Other causes could be moisture getting into the headlight housing or an issue with your car’s voltage regulator.
3. Is it illegal to drive with a headlight out?
Yes. In every state, it is illegal to drive with a non-functional headlight, as it is a critical piece of safety equipment. You can be pulled over and given a “fix-it” ticket or a fine. It’s best to get it fixed as soon as you notice it.
4. How much does it cost to replace a headlight bulb?
If you do it yourself, you only pay for the bulb. A standard halogen bulb can cost anywhere from $15 to $30. If you take it to a mechanic, the cost will be higher due to labor charges, typically ranging from $50 to $150 or more, depending on your car and the shop’s rates.
5. Can I upgrade my old halogen bulbs to brighter LED bulbs?
Yes, you often can, but it’s not always a simple swap. You may need an LED conversion kit that includes the bulbs and necessary wiring harnesses. It’s also important to buy a kit that is designed to work with your car’s headlight housing to avoid blinding other drivers. Check your local regulations, as some aftermarket lighting modifications may not be street legal.
6. Why is my headlight flickering?
Flickering is usually caused by a poor electrical connection or a dying bulb. First, check that the wiring connector is firmly attached to the back of the bulb. If the connection is secure, the bulb’s filament is likely failing and it’s time for a replacement.
7. What is the difference between high beams and low beams?
In many cars, they are part of the same bulb, called a dual-filament bulb. One filament lights up for the low beams (angled down to avoid blinding other drivers), and a second, brighter filament lights up for the high beams (angled straight ahead for maximum visibility). If one works but not the other, you just need to replace the single bulb.
Conclusion
Figuring out why your headlight is out might seem daunting at first, but as you’ve seen, it’s usually a simple fix. By following the steps—from a quick visual check to the reliable swap test—you can confidently diagnose the problem yourself. Most of the time, a new bulb is all you need to light up the road ahead.
Taking a few minutes to test and replace a bad bulb not only keeps you safe but also saves you a trip to the mechanic. You’ve learned how to spot the warning signs, choose the right replacement, and install it safely. Now you have the knowledge and confidence to handle this common car issue like a pro. Safe driving!