
Replacing your Honda Civic car window seal might seem like a job for a mechanic, especially if you’re new to car repairs. It’s easy to feel a bit overwhelmed by the thought of it. But don’t worry!
This guide breaks down How to Replace Honda Civic Car Window Seal into simple steps. You’ll see it’s a doable DIY project. We’ll walk you through everything you need to know.
Understanding Your Honda Civic Window Seal
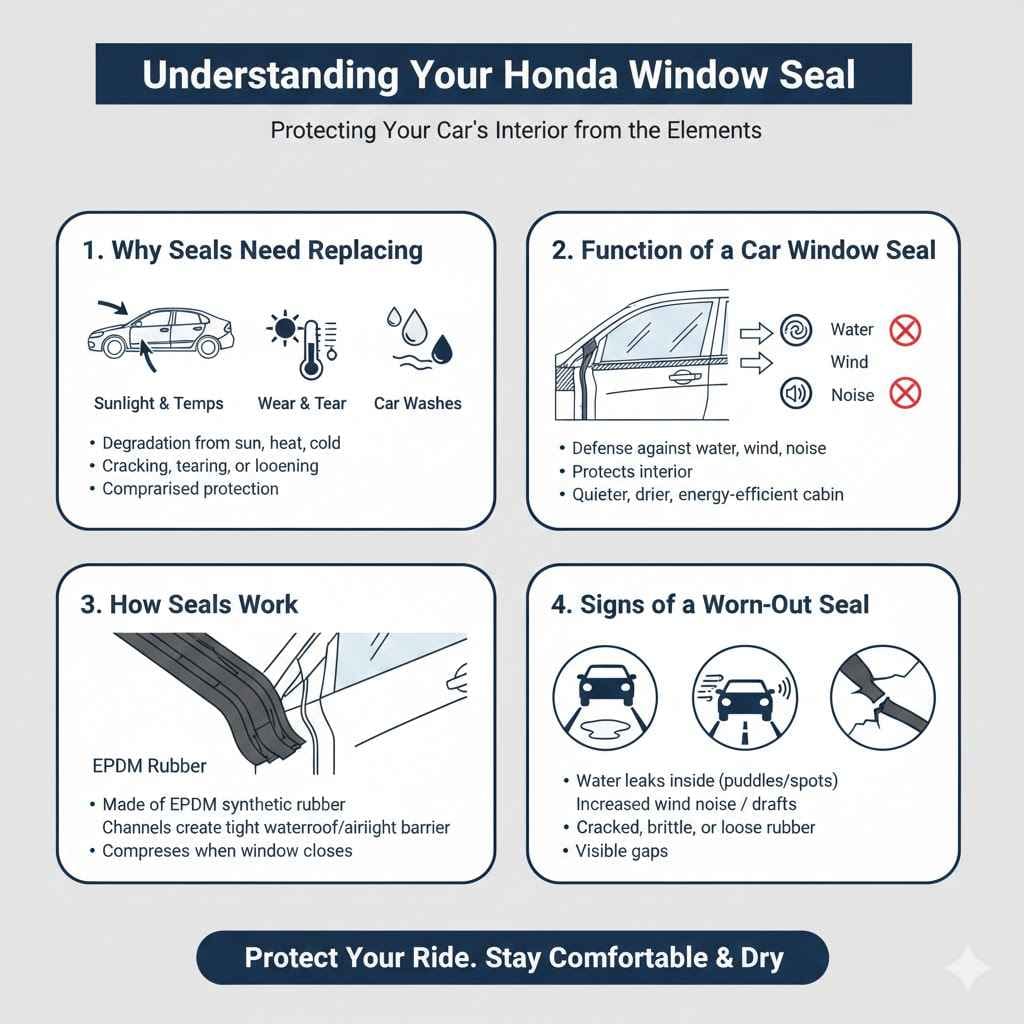
The rubber seal around your car’s window, often called a weatherstrip or gasket, plays a vital role. It’s the frontline defense against water, wind, and noise. When this seal wears out, you might notice leaks, drafts, or increased road noise inside your car. A damaged seal can also let dust and debris enter the cabin. Replacing it keeps your car comfortable and protects its interior from the elements.
Why Honda Civic Window Seals Need Replacing
Honda Civic window seals are exposed to constant wear and tear. Sunlight, extreme temperatures, and even car washes can degrade the rubber over time. This degradation leads to cracking, tearing, or becoming loose. These issues compromise the seal’s effectiveness. For a common car like the Honda Civic, finding replacement parts is usually straightforward.
The Function of a Car Window Seal
A car window seal is more than just a rubber strip. It’s a complex piece of engineering designed to create a tight barrier. It seals the gap between the glass and the car body. This prevents water from entering the car during rain or car washes. It also stops wind noise from becoming a nuisance on the highway. A good seal contributes to a quieter, drier, and more energy-efficient vehicle.
How Seals Work
The rubber material used in these seals is typically EPDM (ethylene propylene diene monomer). This synthetic rubber is chosen for its excellent resistance to weathering, ozone, and UV radiation. The seal is designed with specific channels and grooves that fit snugly into place. These features help it compress when the window is closed, creating a watertight and airtight seal.
Signs of a Worn-Out Seal
Several signs indicate it’s time to replace your Honda Civic window seal. Water spots or puddles inside your car after rain are a clear sign of leaks. You might also hear more wind noise than usual when driving, especially at higher speeds. If you notice the rubber seal is cracked, brittle, or pulling away from the window frame, it’s also a strong indicator of wear.
Tools and Materials Needed for Replacement
Before you start, gathering the right tools and materials is key. Having everything ready makes the process smooth and efficient. This section outlines what you’ll need to successfully replace your Honda Civic car window seal.
Essential Tools
You won’t need a lot of specialized equipment for this job. Most of the tools are common household items. Having these on hand ensures you can tackle the
- Flathead screwdriver or trim removal tool: These are used to gently pry away old seals and clips without damaging the car’s paint or trim.
- Utility knife or razor blade: For cutting away any old adhesive or stubborn bits of the old seal.
- Gloves: To keep your hands clean and provide a better grip.
- Safety glasses: To protect your eyes from any debris that might fly off.
- Cleaning supplies: Such as soap, water, and a clean cloth for preparing the window frame.
- Silicone lubricant or spray: This can help the new seal slide into place more easily.
Replacement Seal
The most crucial item is the new window seal itself. Make sure you purchase the correct seal for your specific Honda Civic model and year. Using the wrong seal can lead to a poor fit and continued problems. Many auto parts stores or online retailers offer these parts.
Choosing the Right Seal
When selecting a replacement seal, look for one that is specifically designed for your Honda Civic. Check the product description carefully. Some seals are for the exterior, while others are for the interior. You’ll likely need the exterior seal that attaches to the car’s body. Reading reviews can also help ensure you’re getting a quality product.
Where to Buy
You can typically find replacement window seals at:
- Auto parts stores: These stores often have a wide selection of parts for popular car models like the Honda Civic.
- Online retailers: Websites like Amazon, eBay, or specialized auto parts websites offer many options.
- Dealerships: While usually more expensive, dealerships are guaranteed to have OEM (Original Equipment Manufacturer) parts that fit perfectly.
Step-by-Step Guide How to Replace Honda Civic Car Window Seal
Now, let’s get to the core of it. This guide will walk you through the process of how to replace Honda Civic car window seal. Follow these steps carefully for a successful DIY repair.
Step 1 Removing the Old Window Seal
The first step is to carefully remove the old, damaged seal. Take your time here to avoid damaging the surrounding car body.
- Open the car door to access the window frame.
- Locate the end of the rubber seal. It usually starts near a corner of the window.
- Using a flathead screwdriver or a trim removal tool, gently begin to pry the seal away from the metal channel it sits in. Work your way around the entire window frame.
- Some seals might have clips that hold them in place. If you encounter these, carefully disengage them with your tool.
- Once the seal is loose, you should be able to pull it away from the car body. If it’s stuck with old adhesive, use your utility knife to carefully cut through it.
- It’s important to remove all remnants of the old seal and any sticky residue. This ensures the new seal will seat properly.
Step 2 Cleaning the Window Frame
A clean surface is essential for the new seal to adhere correctly and create a tight fit.
- After removing the old seal, you will likely find dirt, grime, or old adhesive left behind.
- Use a clean cloth, warm water, and a mild soap to thoroughly clean the metal channel where the seal was located.
- If there is stubborn adhesive residue, you can use a plastic scraper or a little bit of Goo Gone to help remove it.
- Make sure the area is completely dry before proceeding to the next step. Any moisture can prevent the new seal from sticking well.
Importance of a Clean Surface
A clean and smooth surface is critical. Any debris or old adhesive can create high spots. This prevents the new seal from compressing evenly. Uneven compression leads to gaps. Gaps mean leaks and wind noise. This step might seem tedious, but it directly impacts the effectiveness of your new seal.
Step 3 Installing the New Window Seal
This is where your new seal starts to make a difference. Careful installation is key.
- Begin at one corner of the window frame. Many people find it easiest to start at the top corner where the window closes.
- Align the new seal with the channel. The seal has a specific shape that should fit into the existing groove on the car body.
- Gently press the seal into the channel. You can use your fingers to push it in.
- For tighter sections, you can use a small amount of silicone lubricant spray on the edge of the seal to help it slide into place. Apply it sparingly.
- Work your way around the entire window frame, ensuring the seal is seated firmly and evenly. Pay close attention to corners and curves.
- Once the entire seal is in place, check it to ensure there are no gaps or lifted sections. You can use your trim tool to gently tuck any loose edges.
Tips for a Snug Fit
Applying a thin bead of silicone lubricant can be a lifesaver. It reduces friction and allows the rubber to slide into the channel without forcing it. Make sure to use a lubricant that is safe for rubber. This prevents the seal from drying out or degrading prematurely. Press firmly along the entire length of the seal.
Step 4 Testing the New Seal
After installation, it’s important to test your work. This confirms the seal is effective.
- Close the car door gently.
- Check if the window closes smoothly against the new seal. It should feel snug but not overly forced.
- Test by spraying the window and surrounding area with water from a hose for a few minutes.
- After spraying, dry the area and check inside the car for any signs of water leaks.
- If you hear excessive wind noise when driving, you may need to adjust the seal slightly or ensure it is fully seated.
Troubleshooting Common Issues
If you notice leaks after testing, re-examine the seal. Ensure it’s fully seated in the channel all the way around. Check for any small gaps or areas where the seal might be pinched. Sometimes, a slight adjustment is all that’s needed. If the problem persists, the seal might not be the correct one, or there could be an issue with the window track itself.
Maintaining Your Honda Civic Window Seal
Once you’ve successfully replaced your Honda Civic car window seal, a little maintenance can go a long way. Keeping it in good condition will extend its lifespan and ensure it continues to perform its job effectively.
Regular Cleaning
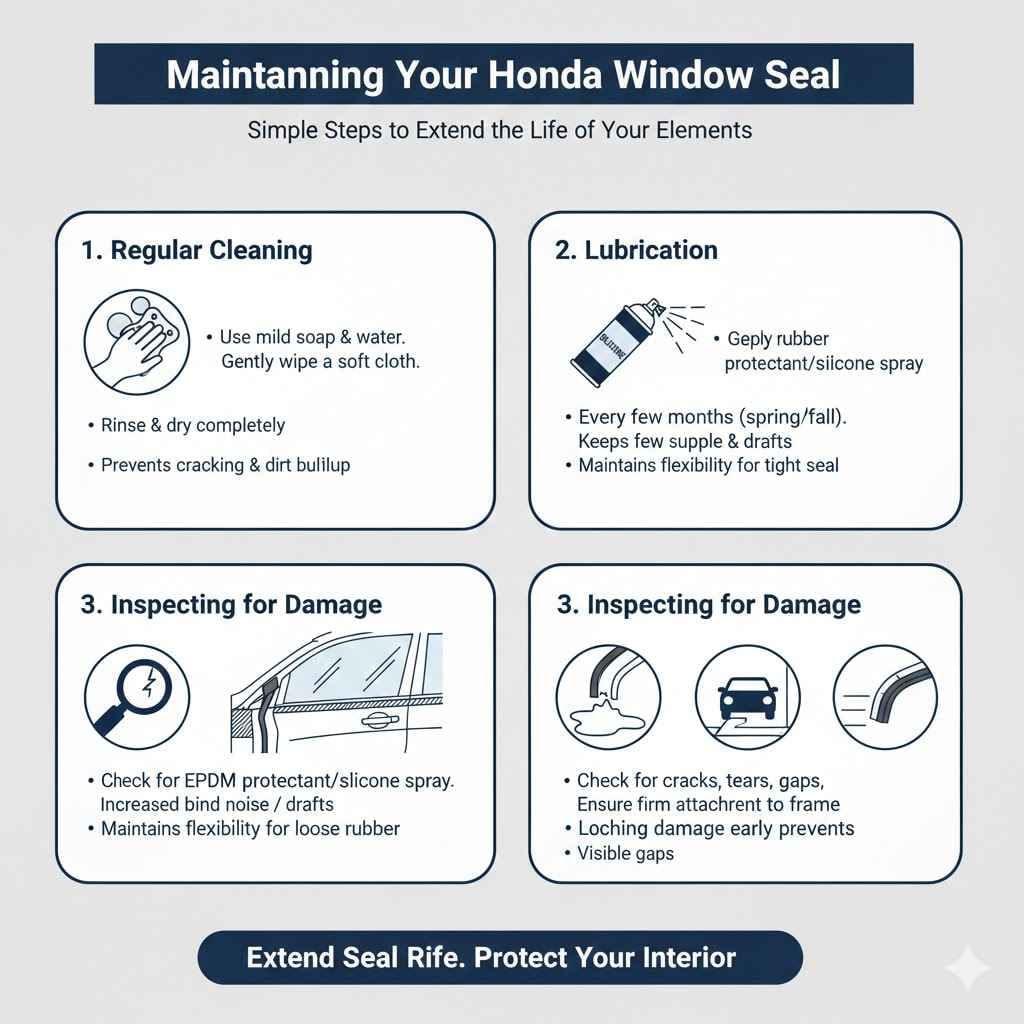
Cleaning your window seals regularly is a simple yet effective way to maintain them. Dirt, dust, and grime can accumulate over time. This can dry out the rubber and cause it to crack.
- Use a mild soap and water solution. Gently wipe down the seals with a soft cloth.
- Rinse thoroughly to remove any soap residue.
- Dry the seals completely with a clean microfiber towel.
Benefits of Regular Cleaning
Consistent cleaning prevents abrasive particles from damaging the rubber. It also allows you to spot potential issues, like small tears or cracks, before they become major problems. A clean seal looks better and functions more efficiently.
Lubrication
Applying a rubber protectant or silicone lubricant periodically can help keep the seals supple and prevent them from drying out or becoming brittle.
- Apply a rubber protectant or silicone spray to the seals every few months.
- Use a clean cloth to spread the product evenly.
- Avoid over-application, as excess product can attract dirt.
When to Lubricate
It’s a good idea to lubricate your seals at least twice a year, perhaps in the spring and fall. This is especially important in climates with harsh weather conditions. Lubrication helps the seals remain flexible, which is crucial for creating a tight seal against the glass.
Inspecting for Damage
Make it a habit to visually inspect your window seals regularly. Look for any signs of wear and tear.
- Check for cracks, tears, or missing pieces.
- Ensure the seal is still firmly attached to the car body and the window frame.
- Look for any signs of deformation or hardening of the rubber.
Proactive Inspection
Catching damage early is vital. A small crack can quickly turn into a larger problem, leading to leaks and potential water damage to your car’s interior. If you notice any issues, it’s best to address them promptly by replacing the affected seal.
Frequently Asked Questions
Question: How long does a Honda Civic window seal typically last
Answer: A Honda Civic window seal can last anywhere from 5 to 10 years, depending on the climate, exposure to sunlight, and overall wear and tear. Regular maintenance can help extend its lifespan.
Question: Can I use a universal window seal for my Honda Civic
Answer: While a universal seal might fit in a pinch, it’s always best to use a seal specifically designed for your Honda Civic model. A custom fit ensures optimal performance and prevents future issues.
Question: How much does it cost to have a professional replace a window seal
Answer: Professional replacement costs can vary, but typically range from $150 to $300 for a single window, including parts and labor. DIY replacement is significantly cheaper.
Question: What causes a car window seal to leak
Answer: A car window seal typically leaks due to age, wear and tear, cracks, tears, or if it becomes loose from the car body. Exposure to harsh weather conditions and UV rays can accelerate this damage.
Question: Can a bad window seal affect my car’s gas mileage
Answer: A compromised window seal can lead to increased wind noise, which might cause drivers to turn up the radio or air conditioning more. This indirectly affects gas mileage. Also, if the seal allows significant air leaks, it can make the cabin heating and cooling systems work harder.
Summary
Replacing your Honda Civic car window seal is a straightforward DIY project. By following these steps, you can restore protection against the elements. You’ll prevent leaks and reduce road noise.
Gather your tools, carefully remove the old seal, clean the area, and install the new one. Regular maintenance will help your new seal last for years to come, keeping your car dry and comfortable.