The simplest way to fix a “Transmission Control System MIL Request” on your Chevy usually involves checking basic electrical connections, resetting the battery/PCM, or replacing a faulty sensor like the input/output speed sensors or the brake light switch. Start by reading the diagnostic trouble codes (DTCs) for a precise diagnosis.
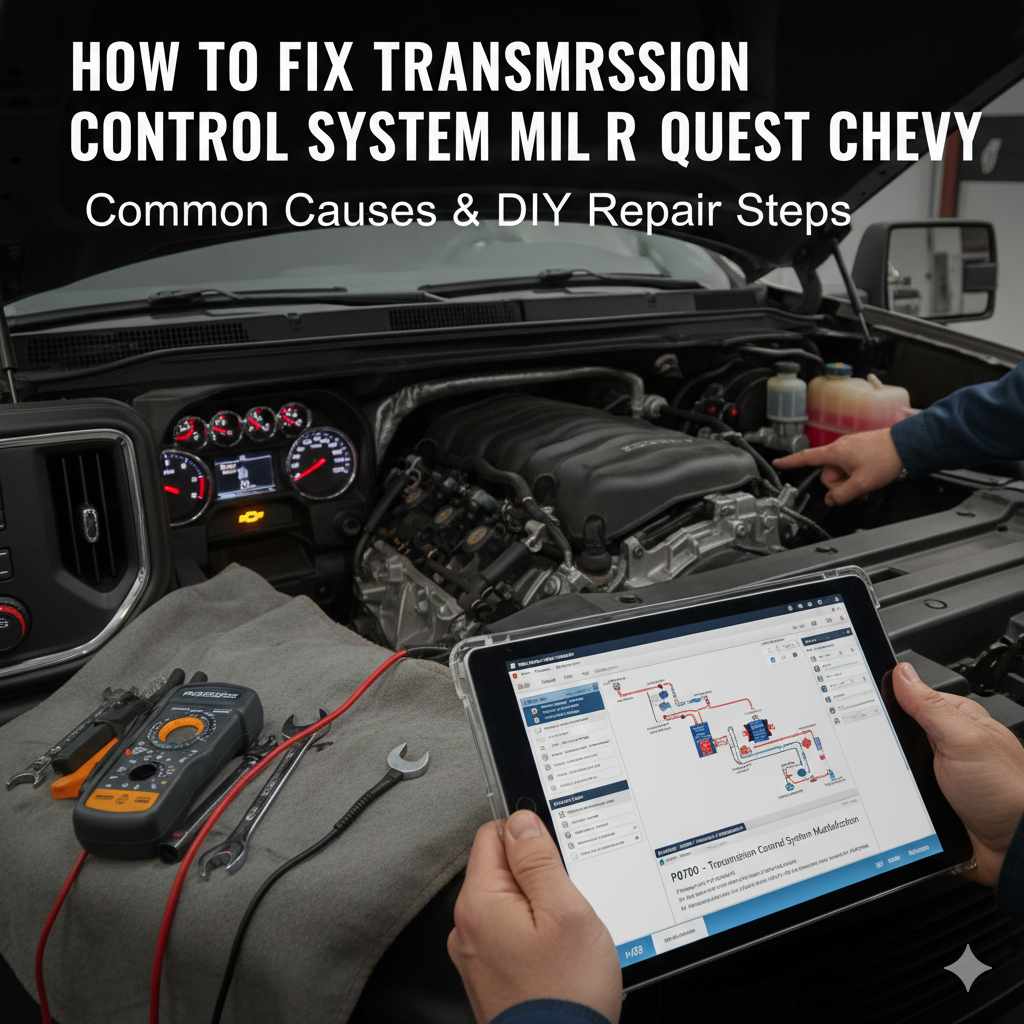
Hey there! If you drive a Chevy and suddenly see the “Transmission Control System MIL Request” message pop up, I know it’s stressful. That light usually means the car’s main computer (the PCM) has spotted a problem in how the transmission is shifting or communicating. It can make you worry about big, expensive repair bills. Don’t panic! Many times, this issue stems from small, easy-to-check things, not a totally broken transmission. We are going to walk through this together, step-by-step, saving you time and guesswork. Let’s pinpoint the cause so you can get back on the road safely and confidently.
Understanding the “Transmission Control System MIL Request”
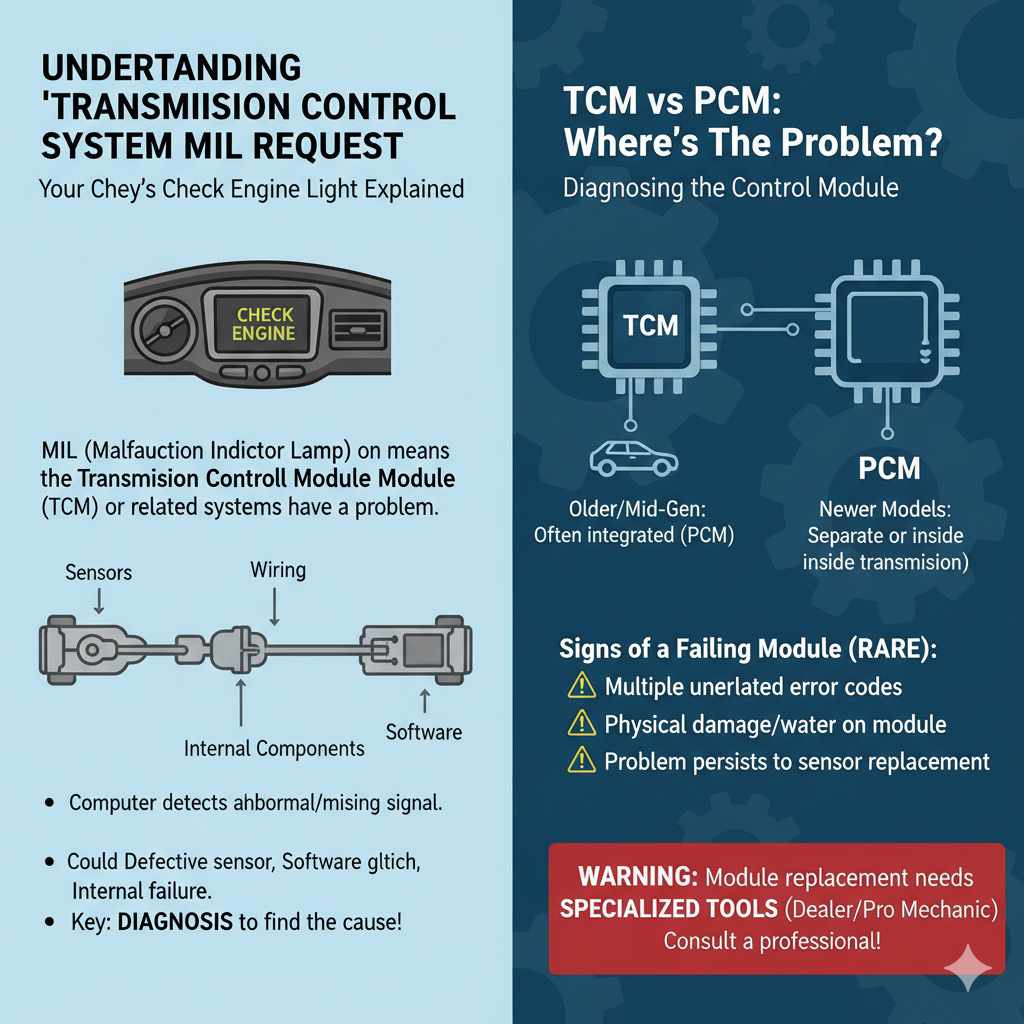
When your Chevy’s engine light (MIL stands for Malfunction Indicator Lamp) flashes or stays solid, it’s sending you a message. In this case, the message points specifically toward the Transmission Control Module (TCM) or the related systems it monitors. This system ensures your automatic transmission shifts smoothly and at the right time.
What Does This Message Actually Mean for Your Chevy?
Simply put, the computer has detected a signal that is out of the normal range or missing entirely. It doesn’t automatically mean the transmission itself is grinding gears or failing. It could be:
- A defective sensor sending bad information.
- A loose or corroded wiring connection.
- A software glitch needing a reset.
- An internal transmission component failure (less common, thankfully).
The key to fixing this is knowing why the light came on. That brings us to diagnosis.
Step 1: The Essential First Move – Reading the Codes
You cannot effectively fix this problem without knowing the Diagnostic Trouble Codes (DTCs). Think of the DTC as the engine’s secret note telling you exactly where the problem is hiding. This is the most crucial step for any beginner DIY mechanic.
How to Get Your Codes Read
There are a couple of great ways to get this information:
- Visit an Auto Parts Store: Many major auto parts chains (like AutoZone, Advance Auto Parts, O’Reilly) will read your engine codes for free. They plug in an OBD-II scanner and give you a code, usually starting with “P” (Powertrain).
- Buy Your Own Scanner: For a beginner, a basic OBD-II scanner is an amazing investment. They range from $20 to $50 and pay for themselves after one use. Look for scanners that can read live data if you plan to do more advanced diagnostics later.
Common Chevy Transmission Codes Related to This Message
While the exact code varies by Chevy model (Silverado, Equinox, Malibu, etc.), here are a few common culprits you might see when the “Transmission Control System MIL Request” appears:
| DTC Code Example | What It Usually Means | Severity |
|---|---|---|
| P0700 | General TCM Malfunction (Often caused by another DTC) | Medium |
| P0720/P0721 | Output Speed Sensor Circuit Malfunction | High (Affects shifting) |
| P0740 – P0790 | Torque Converter Clutch (TCC) or Solenoid Issues | Medium to High |
| P0840 – P0844 | Transmission Fluid Pressure Sensor/Switch Circuit Issues | Medium |
Pro Tip: Once you have the specific code (e.g., P0720), search for that code along with your Chevy model year. This will narrow down your fix significantly.
Step 2: The Easiest Fixes – Resets and Simple Checks
Before reaching for tools, we always start with the simplest possible solutions. Sometimes, the computer just gets confused, or a simple electrical glitch throws things off.
Check Transmission Fluid Level and Condition
Low or old fluid is a major cause of poor shifting and faulty sensor readings. While this usually throws specific fluid-related codes, it’s vital to check:
- Location: On many modern Chevys, dipsticks are hidden or nonexistent. Check your owner’s manual! Some require checking while the engine is running and warm.
- Level: Is the fluid between the “ADD” and “FULL” marks?
- Condition: Fresh fluid is usually reddish-pink. If it smells strongly burnt or looks dark brown/black, it needs immediate attention.
The Power Cycle Reset (The “Jiggle the Handle”)
If the code is intermittent or caused by a brief voltage spike, a simple reset can clear the false alarm. This forces the computer to restart its self-check.
- Get your code reader and clear the codes (if your scanner allows it).
- If the light comes back instantly, you have a hard fault.
- If it stays off, drive normally and see if it returns.
If clearing the code doesn’t work, try disconnecting the battery. Always consult your owner’s manual before disconnecting the battery, as some modern cars require learning procedures afterward. Generally:
- Turn the ignition OFF.
- Disconnect the negative (-) battery terminal using a 10mm wrench.
- Wait 15 minutes. (This allows residual charge in modules to drain.)
- Reconnect the negative terminal securely.
- Start the car and check the MIL.
Step 3: Inspecting the Wiring and Electrical Connections
The Transmission Control System relies heavily on perfect electrical signals. A loose plug or a frayed wire is a common, cheap fix for an expensive-looking warning light.
Focus on Key Connectors
You’ll be tracing wires from the transmission housing up toward the engine bay. Use a flashlight:
- Transmission Connector: Locate the main wiring harness that plugs directly into the side or top of the transmission case. Unclip and inspect this plug. Look for bent pins, corrosion (green/white/blue powder), or signs of moisture intrusion.
- Ground Wires: Bad grounds often mimic bad sensors. Check the main grounding points where the battery cables connect to the chassis and engine block. Ensure they are tight and clean.
Checking the Brake Light Switch
This fix is often overlooked! The Brake Light Switch (or Stop Light Switch) sends a signal to the TCM telling it when you are hitting the brakes. If the TCM doesn’t receive this signal when it expects it, or receives a false signal, it can trigger the transmission MIL.
How to Check: Have a helper press the brake pedal while you watch the tail lights. Do they illuminate reliably? If not, the switch likely needs replacement. This is usually located near the top of the brake pedal arm inside the cabin and is often a simple twist-out/twist-in replacement.
Step 4: Targeting Common Sensor Failures (The Usual Suspects)
If checking codes pointed you toward a specific component, or if the simple fixes didn’t work, it’s time to focus on sensors heavily involved in transmission operation.
Input/Output Speed Sensors (ISS/OSS)
These sensors tell the computer how fast the engine (input) and the output shaft (what connects to the wheels) are spinning. If these disagree, the computer throws an error because it can’t calculate gear ratios correctly. These are critical for smooth automatic shifting.
Replacing a Speed Sensor (General Guidelines)
Tools You Might Need:
- OBD-II Scanner (to confirm the code is gone)
- Socket set or specific sensor wrenches
- Dielectric grease (for the new sensor connection)
- Safety glasses and gloves
Procedure Preview:
- Safely lift and secure the vehicle (using quality jack stands!). Never work under a car supported only by a jack.
- Locate the sensor. They are usually threaded into the side or body of the transmission housing.
- Disconnect the electrical connector.
- Carefully unscrew the old sensor. Watch for any fluid leakage; there shouldn’t be much if the transmission is full.
- Thread in the new sensor (ensure it’s the correct replacement part for your specific Chevy year/model). Do not overtighten.
- Reconnect the wiring harness securely.
- Clear the codes and test drive.
For example, in many General Motors vehicles, these sensors are often accessible from underneath the vehicle, sometimes requiring removal of a wheel or splash guard for better access. Always reference a service manual specific to your vehicle before removing parts. Information from reliable sources like NHTSA resources can also sometimes point to known recalls or service bulletins related to specific sensor locations on certain model years.
The Temperature Sensor
Some Chevys monitor transmission fluid temperature closely. If the temperature sensor fails, the computer might put the transmission into “limp mode” (a safety mode that locks it into a single gear) and trigger the MIL Request because it can’t gauge operating conditions. Replacing this sensor is very similar to replacing the speed sensors.
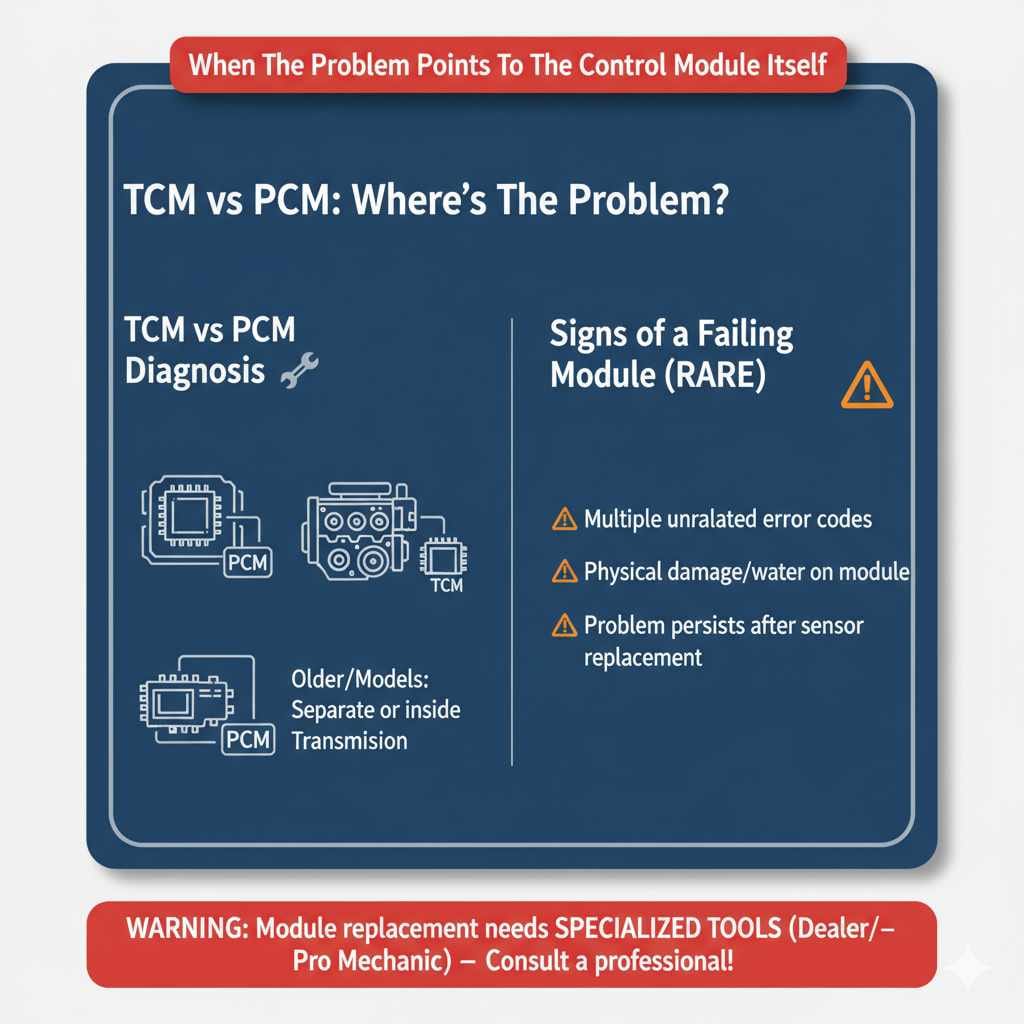
Step 5: When the Problem Points to the Control Module Itself
If you have checked every sensor, every wire, and verified the brake switch, and the same code keeps returning immediately, the issue might be the control unit.
TCM vs PCM Diagnosis
In many older or mid-generation Chevys, the Transmission Control Module (TCM) is integrated with the Powertrain Control Module (PCM) under the hood. In newer models, the TCM might be separate or even internal to the transmission.
A failing module is rare but possible. Signs include:
- Multiple, seemingly unrelated codes pointing to communication errors.
- The module housing casing showing physical damage or water intrusion.
- The problem persisting even after replacing the most likely faulty sensor.
Warning: Replacing or reprogramming an entire PCM/TCM is usually an advanced step. This process often requires specialized tools only dealers or professional mechanics possess to ensure the new module communicates correctly with the rest of your car’s security and engine systems. If you reach this point, it’s time to consult a trusted professional mechanic who specializes in transmissions.
Safety First: Essential DIY Precautions
Working on your vehicle’s transmission system involves electrical components and heavy moving parts. Safety is non-negotiable. As a beginner, prioritize safety protocols above all else.
Safety Checklist for Under-Vehicle Work
| Safety Item | Why It Matters |
|---|---|
| Jack Stands | NEVER rely only on a hydraulic jack. Stands must be rated for the vehicle’s weight on solid, level ground. |
| Eye Protection | Protects eyes from corrosion, dirt, and fluids when unplugging connectors. |
| Battery Disconnection | Always disconnect the negative terminal before touching electrical sensors or modules to prevent shorts. |
| Cooling Down | Ensure the engine and transmission are cool before touching components, especially the exhaust side if accessing sensors near it. |
Quick Troubleshooting Chart: From Easy to Hard Fixes
Here is a quick guide to prioritize where you spend your time and money:
| Priority Level | Action | Likely Cost (Parts Only) |
|---|---|---|
| 1 (Easiest/Cheapest) | Read Codes & Reset Battery | $0 (If you own a scanner) |
| 2 (Simple Component) | Inspect/Replace Brake Light Switch | $15 – $40 |
| 3 (Common Electrical) | Clean/Tighten all Transmission Connector Plugs | $5 (For contact cleaner) |
| 4 (Sensor Replacement) | Replace Input/Output Speed Sensor(s) | $40 – $100 per sensor |
| 5 (Advanced/Pro) | TCM Diagnosis/Programming | $400+ (Requires professional labor) |
FAQ: Your Transmission Light Questions Answered
Q1: Can I still drive my Chevy if the Transmission Control System MIL Request is on?
A: If the light is solid (not flashing), you can usually drive short distances carefully. If the light is flashing, stop driving immediately, as this often indicates a severe misfire that can damage the catalytic converter. Drive gently to the nearest safe location or mechanic.
Q2: Does the car shift differently when this message is on?
A: Often, yes. The computer may force the transmission into “Limp Mode” (stuck in 2nd or 3rd gear) to protect it from further damage until the issue is fixed. This will feel sluggish during acceleration.
Q3: How long does it take to clear the warning light after a fix?
A: If the fix was successful (like replacing a sensor), the light should go off instantly upon the next ignition cycle. If it stays on, you must use an OBD-II scanner to manually clear the stored code, or you need to drive a specific distance for the computer to run its self-tests again.
Q4: Is this the same as the regular Check Engine Light?
A: Not exactly. A general Check Engine Light covers engine performance primarily. The “Transmission Control System MIL Request” specifically directs your attention to the transmission electronics, which is monitored by the powertrain system but has dedicated internal diagnostics.
Q5: My Chevy is an 08 model. Is this DTC usually sensor-related?
A: For many mid-2000s to early 2010s Chevy automatics (like the 4L60E variants), sensor issues—specifically the OSS or ISS—are the overwhelming primary cause for this message appearing!
Q6: Will disconnecting the battery fix the light permanently?
A: Disconnecting the battery only temporarily erases the code. If the underlying problem (like a bad sensor or loose wire) is still present, the light will return as soon as the computer detects the fault again.
Conclusion: Taking Control of Your Chevy’s Transmission
Seeing that warning light can certainly make your heart sink, but armed with the right steps, you now have a clear roadmap to tackling the “Transmission Control System MIL Request” on your Chevy. Remember, 9 times out of 10, the fix is often electrical—a bad sensor, a loose plug, or a faulty brake switch—not a catastrophic transmission failure.
Start simple: Get those codes read! That piece of information turns a guessing game into targeted repair work. By proceeding logically, following the steps from simple resets to targeted sensor checks, you empower yourself to save money and build invaluable mechanical confidence. You’ve got this! Drive smart, stay safe, and enjoy the smooth shifts once that tricky warning light is finally gone for good.