Yes, the IK Multimedia TONEX Pedal can absolutely function as a basic USB audio interface for recording or monitoring, allowing you to capture your tone directly into your computer without needing a separate device, which is a huge convenience for practicing or quick demos.
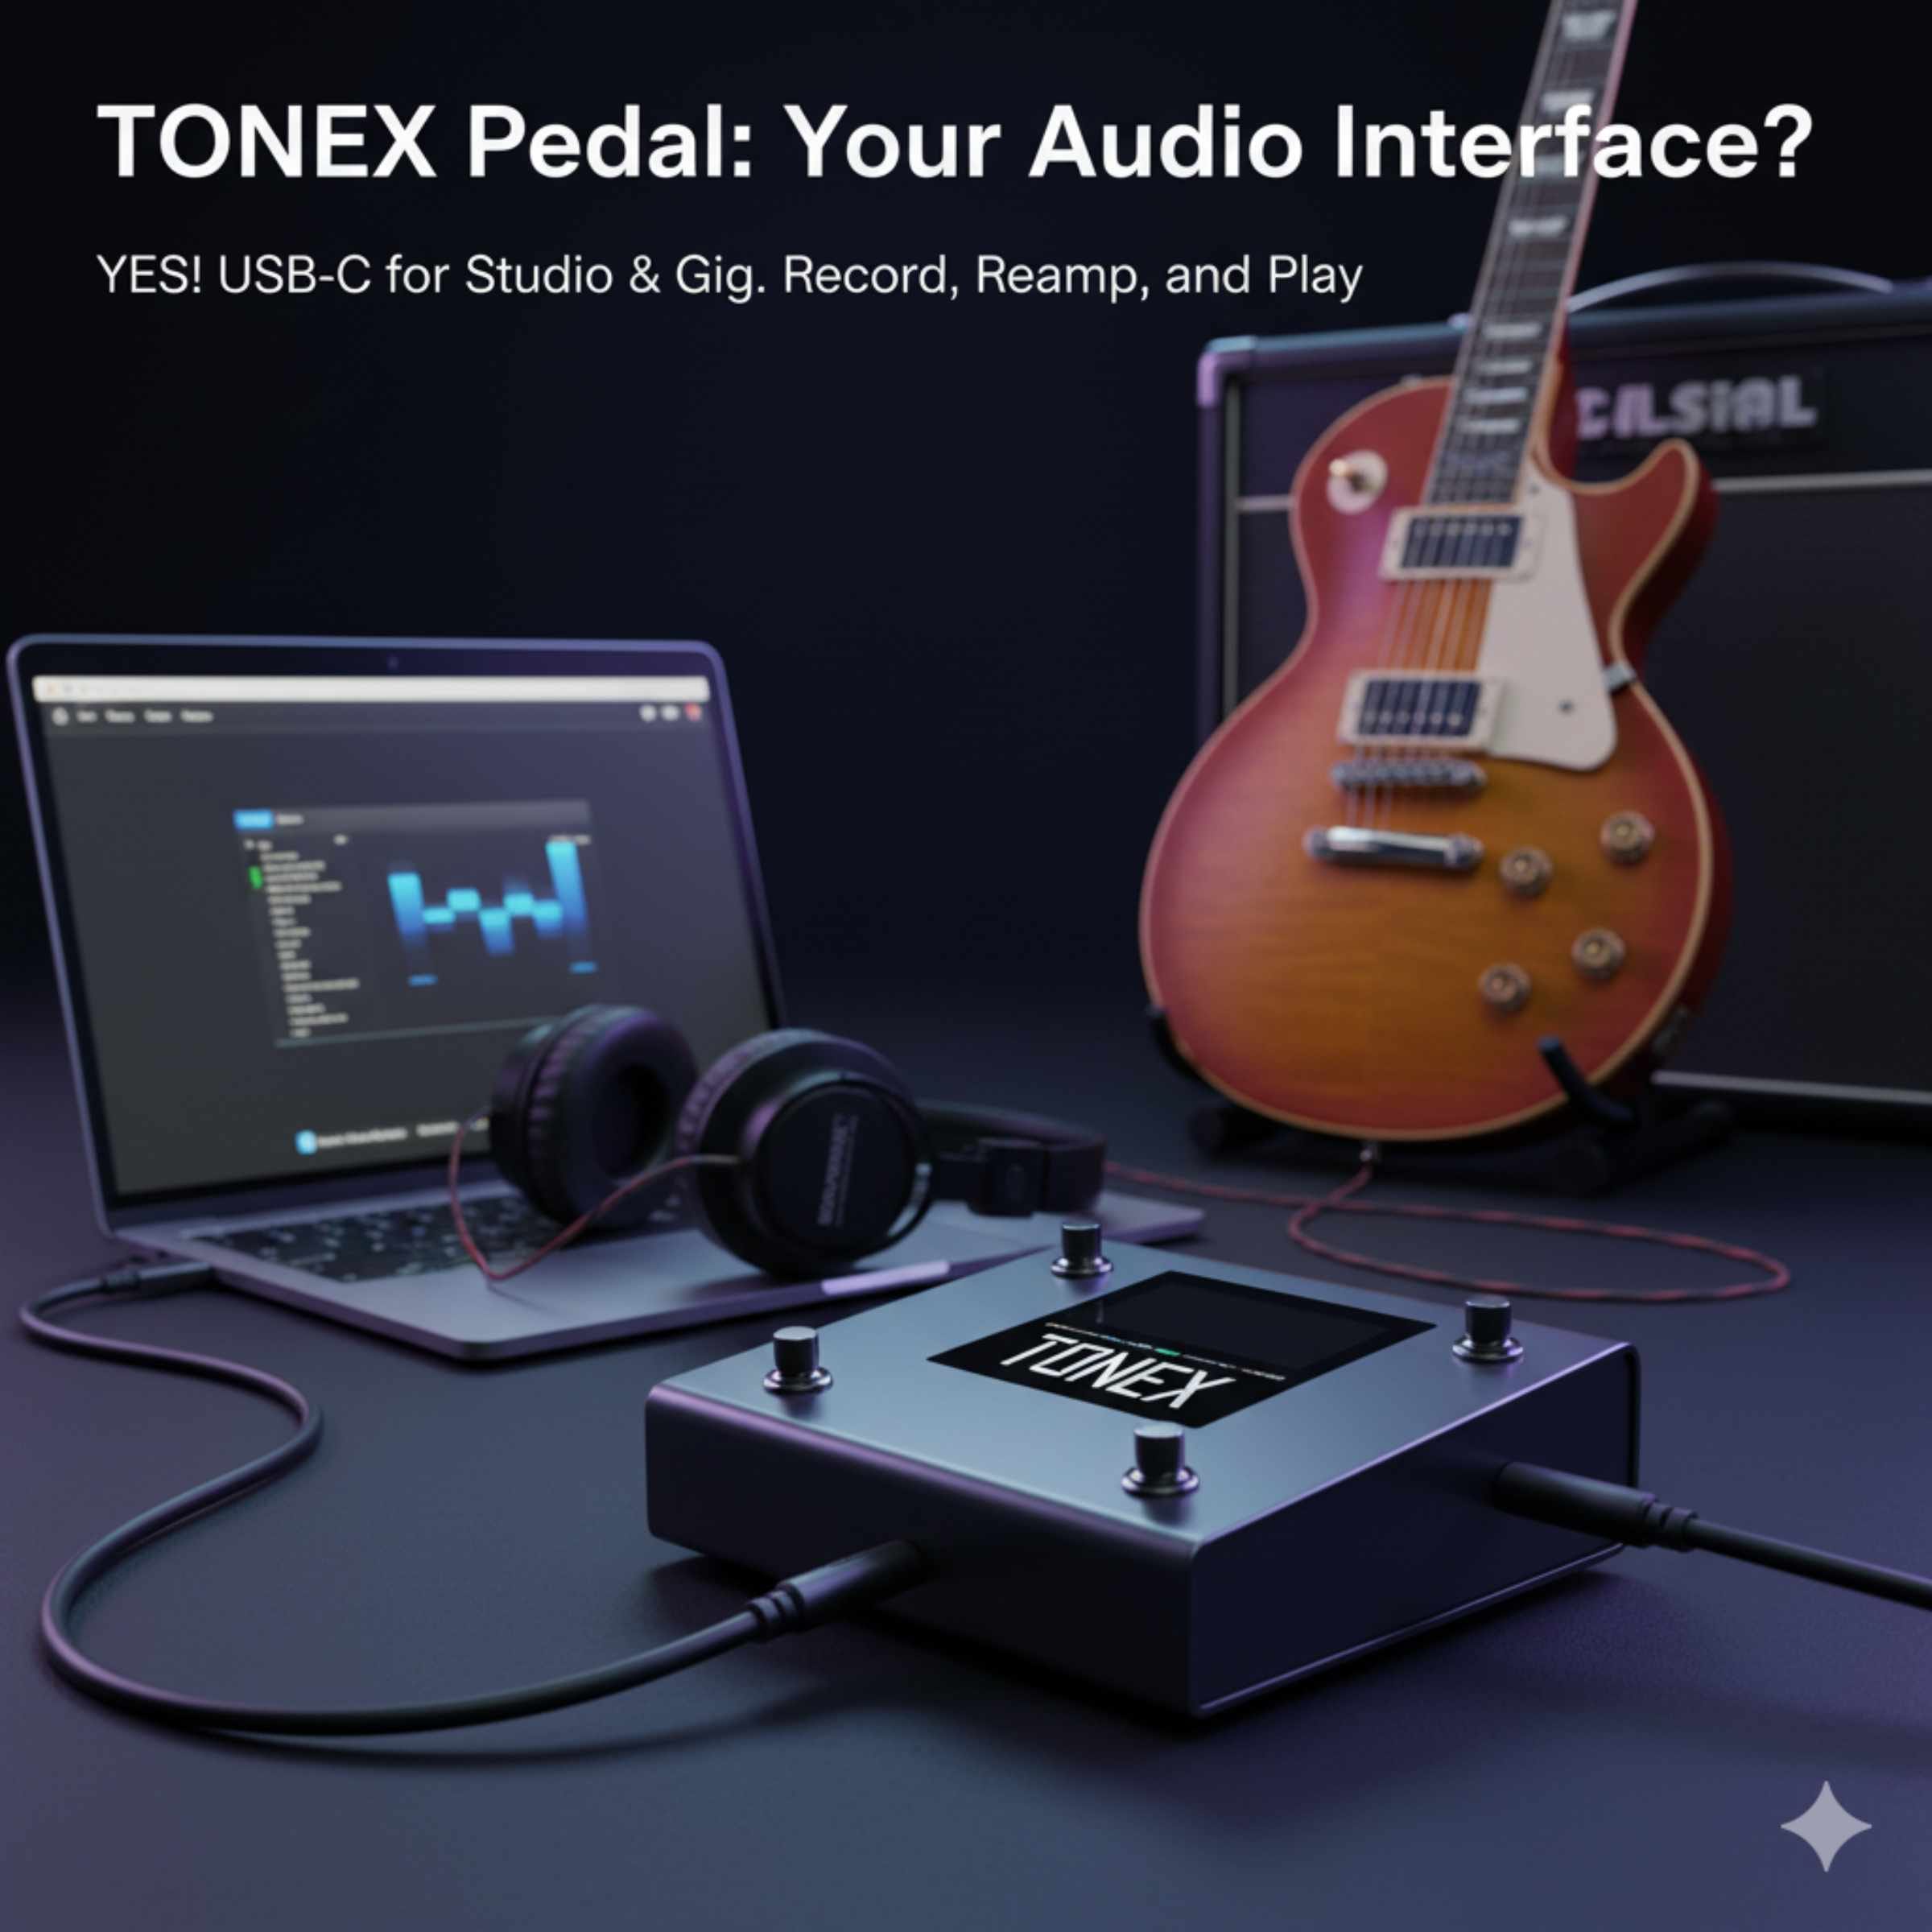
If you’ve just picked up the incredible IK Multimedia TONEX Pedal, you are probably blown away by the amazing tone capture technology. It sounds like a whole rig, right inside a stompbox! Many guitarists start wondering about the simplest way to get that fantastic sound into their recording software, often called a Digital Audio Workstation, or DAW. They ask, “Can the TONEX Pedal be used as an audio interface?”
That’s a super common question! When you’re trying to keep your setup clean and simple—maybe you’re just practicing or laying down a quick idea—having fewer boxes is always better. The good news is that yes, the TONEX Pedal has this built-in functionality! It’s like getting a free, simple audio interface bundled with your tone modeler.
We’re going to walk through exactly how this works. We’ll keep things simple, avoid confusing tech talk, and show you step-by-step how to connect your pedal and start recording with confidence. Getting your sound into the computer shouldn’t be a headache, and with the TONEX Pedal, it truly isn’t.
What Makes the TONEX Pedal Special (And Why It Can Act as an Interface)
To understand why the TONEX Pedal works this way, think of it like your car’s built-in Bluetooth system. It doesn’t just play music; it can also let you take calls hands-free, right? The TONEX Pedal is designed to do more than just model amps; it’s built to integrate smoothly into your digital workflow.
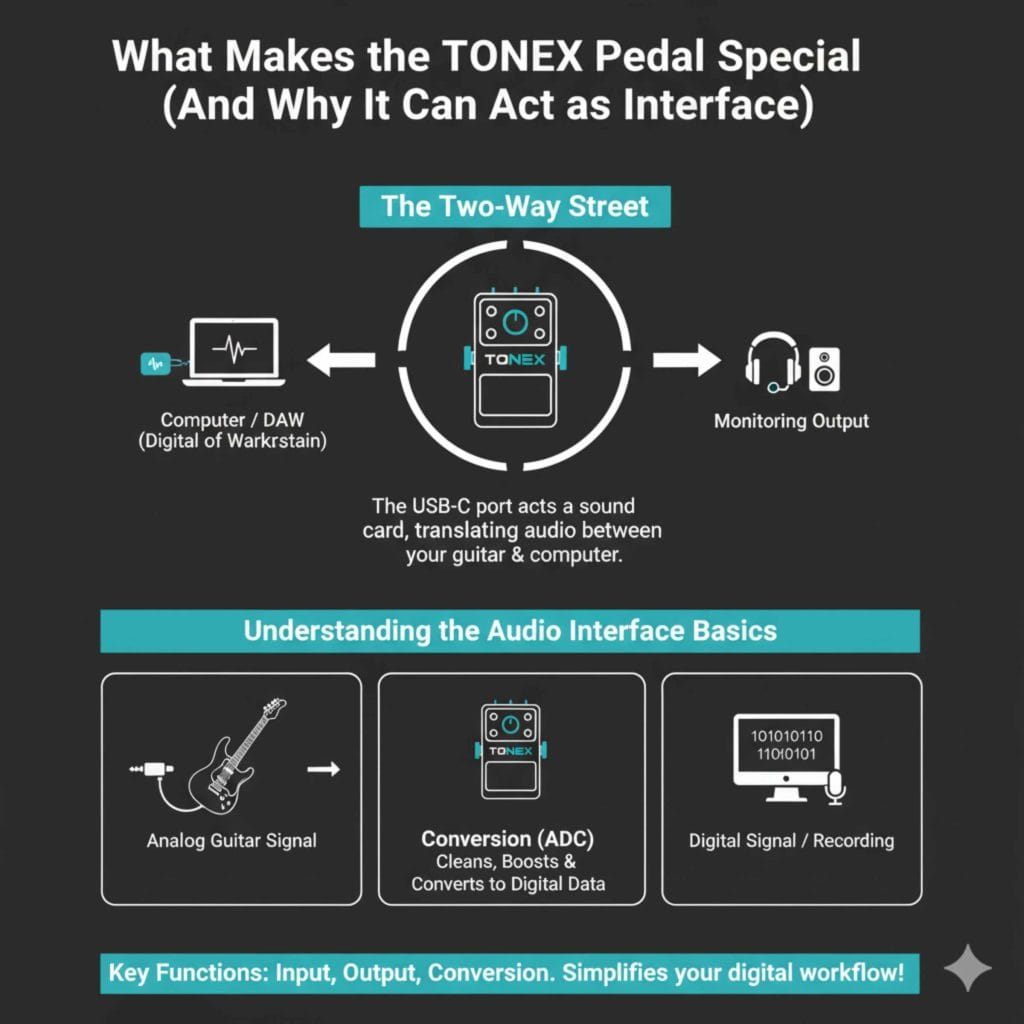
The key feature here is the USB-C port on the back. This isn’t just for updating the pedal’s software. This port acts as a two-way street, allowing audio data to travel between your guitar/pedal chain and your computer. When you connect it this way, the computer sees the TONEX Pedal not just as a device storing tone models, but as a sound card—an audio interface.
Understanding the Audio Interface Basics
What does an audio interface actually do? Think of it like a translator. Your electric guitar puts out an analog, weak signal. Your computer only understands digital information. An interface takes that messy analog signal, cleans it up, boosts it, and converts it into clean digital data the computer can record. The TONEX Pedal handles this translation job!
For simple recording tasks, the TONEX Pedal performs the essential functions of an interface:
- Input: It takes the guitar signal, processes it through the selected tone model, and prepares it for the computer.
- Output (Monitoring): It sends the processed sound back from the computer (like a click track or backing music) out through the outputs so you can hear yourself playing along.
- Conversion: It uses internal components to change sound waves into digital 1s and 0s (Analog-to-Digital conversion, or ADC).
Step-by-Step Guide: Connecting TONEX as Your Audio Interface
This process is straightforward. You won’t need special drivers for basic stereo recording on most modern operating systems (like recent versions of macOS or Windows 10/11). However, always double-check the IK Multimedia support page if you run into trouble. Remember, we are aiming for safe, reliable connections!
Tools You Will Need
| Item | Purpose | Notes |
|---|---|---|
| TONEX Pedal | The centerpiece for tone modeling and interface duties. | Must be powered on. |
| USB Cable (USB-C to USB-A or USB-C to USB-C) | To connect the pedal to your computer. | Use the cable provided or a quality alternative. |
| Computer | Running your recording software (DAW). | Examples: GarageBand, Reaper, Audacity. |
| Guitar & Cable | To plug into the pedal’s input. | Standard 1/4″ guitar cable. |
Phase 1: Physical Setup and Connection
- Power Up the Pedal: Make sure your TONEX Pedal is plugged into a reliable power supply and is switched on.
- Connect Your Guitar: Plug your guitar into the standard INPUT jack on the right side of the pedal using your instrument cable.
- Connect to Computer: Take your USB-C cable and plug one end into the USB port on the back of the TONEX Pedal. Plug the other end into an available USB port on your computer.
- Check the Display: Your TONEX Pedal should light up normally. It should not enter a special “USB Mode” screen; it should simply be ready to run whatever tone (Amplitube preset or Tone Model) you have loaded.
Phase 2: Setting Up Your Computer and DAW
Now we need to tell your computer and recording software where to find the audio coming from the pedal.
On Windows (If drivers are needed):
While Windows is often good at plugging and playing, sometimes you need the dedicated driver from the IK Multimedia website (search for “TONEX ASIO driver”). Install this if you experience high latency (delay). Once installed, you can select the IK Multimedia device in your DAW’s audio settings.
On Mac (Usually Plug and Play):
Modern Macs generally recognize the TONEX Pedal automatically under the Audio MIDI Setup utility. You usually do not need extra drivers. Proceed to your DAW.
Setting Up in the DAW (The Recording Software)
This is the crucial part. Open your preferred recording software (like GarageBand, Pro Tools First, or Audacity). You need to direct the audio input and output to the TONEX Pedal.
- Open Preferences/Settings: Go to your DAW’s menu and find “Preferences,” “Settings,” or “Audio Setup.”
- Select Audio Device: Look for the “Input Device” or “Audio Device” selector. Choose the option that says something like “TONEX” or “IK Multimedia Audio Device.”
- Set Output Device: Choose the same device for the “Output Device” so you can hear your recorded sound coming back through the pedal’s outputs (which you should have connected to your speakers or headphones).
- Create a New Track: Create a new, empty audio track in your DAW.
- Arm the Track: Make sure the track is set to record (often indicated by a red circle button). When you strum your guitar, you should see the level meter jump on this track!
If you see the meter move, congratulations! You are successfully using your TONEX Pedal as a basic audio interface. The sound you hear in your headphones or speakers connected to the pedal is the clean, studio-quality model you selected.
Understanding the Limitations: It’s Great, But Basic
While the TONEX Pedal is fantastic for recording your guitar signal directly, it’s important to remember it is primarily a tone modeler first and an interface second. It is an excellent beginner tool, but it isn’t meant to replace a dedicated, multi-channel audio interface designed for professional studio work.
What the TONEX Pedal CAN Do Well (Pros)
- Simplicity: Requires almost zero setup complexity for basic guitar tracking.
- Portability: One less box to carry when demoing ideas at a friend’s house.
- Tone First: You record the exact, studio-ready tone you dial in on the pedal. No need to load plugins later!
- Latency Performance: Because it processes the sound onboard, latency (the delay between playing and hearing) is very low when recording.
What the TONEX Pedal CANNOT Do (Limitations)
This is where we need to be clear so you don’t get frustrated trying to do something it wasn’t designed for.
| Feature | TONEX Pedal Capability | Why It Matters |
|---|---|---|
| Microphone Input | No dedicated XLR input. | You cannot plug a standard studio microphone into the pedal to record vocals or acoustic instruments. |
| Multiple Simultaneous Inputs | Input for one instrument (monaural). | It can only record your guitar, not your friend’s bass guitar at the same time (unless you use external mixers). |
| High Channel Count | Stereo playback (2 channels in/out via USB). | It cannot handle recording multiple microphones or instruments simultaneously, which is typical for drum tracking or full band recording. |
| Dedicated Headphone Jack Sound Quality | Uses the main L/R outputs for monitoring. | While excellent, dedicated interfaces often have cleaner, more powerful headphone amps. |
If you are looking to record vocals, drums, or an entire band setup at once, you will need a dedicated interface, like those made by Focusrite or PreSonus. For just capturing that killer guitar sound, the TONEX does the job perfectly, which is why checking reliable sources like Sweetwater’s gear guides often confirms the TONEX Pedal’s dual functionality.
Advanced Usage: Monitoring Backing Tracks Through the Pedal
One of the coolest parts about using the TONEX Pedal as an interface is its ability to route computer playback back through its outputs. This means you can hear your backing tracks (like drum loops or full songs you want to jam over) right alongside your live guitar tone, all coming out of the same set of speakers or headphones connected to the pedal.
For this to work smoothly, you need to ensure your DAW is set up correctly in Phase II. When the TONEX Pedal is selected as BOTH the input and output device, any sound the computer generates—from YouTube, Spotify, or your DAW’s session playback—will come out of the pedal’s 1/4-inch outputs. This creates a fantastic, all-in-one silent practice or tracking station.
Key for Setup Success: The Importance of Buffer Size
When recording digitally, you deal with something called buffer size. Think of the buffer as a small waiting room for audio data. A smaller buffer means less delay (latency) but requires more computer power. A larger buffer means more delay but is easier on older computers.
Setting this correctly is crucial for a good recording experience, even with the TONEX Pedal acting as the interface:
- Start High (e.g., 512 or 1024 samples): Use this setting when you are just mixing or arranging music already recorded.
- Go Lower (e.g., 128 or 256 samples): Switch to a lower setting when you are actively recording guitar tracks. This minimizes the frustrating delay between when your pick hits the string and when you hear the sound through your headphones.
- Listen and Adjust: If you hear clicks, pops, or stuttering when the buffer is low, increase the setting slightly until the sound is clean again.
Many modern DAWs offer an “Automatic” buffer setting, which is a great starting point for beginners. Learning about digital audio processing, even at a surface level, helps hugely maintain confidence when getting technical equipment to work together, similar to understanding fluid dynamics before tackling a tricky radiator flush in your vehicle.
Troubleshooting Common Issues When Using TONEX as an Interface
Even with simple gear, sometimes things don’t connect perfectly the first time. Don’t panic! These issues almost always have simple fixes.
Issue 1: No Sound Coming Through the Computer (No Input Signal)
- Check the Power: Is the TONEX Pedal fully powered and on?
- DAW Input Selected: Did you select the TONEX device as the Input Source in your DAW preferences?
- Track Monitoring: Is the record arm button engaged on the specific track you are trying to record onto?
- Cable Check: Is your guitar cable firmly plugged into the TONEX INPUT jack, and is the guitar volume turned up?
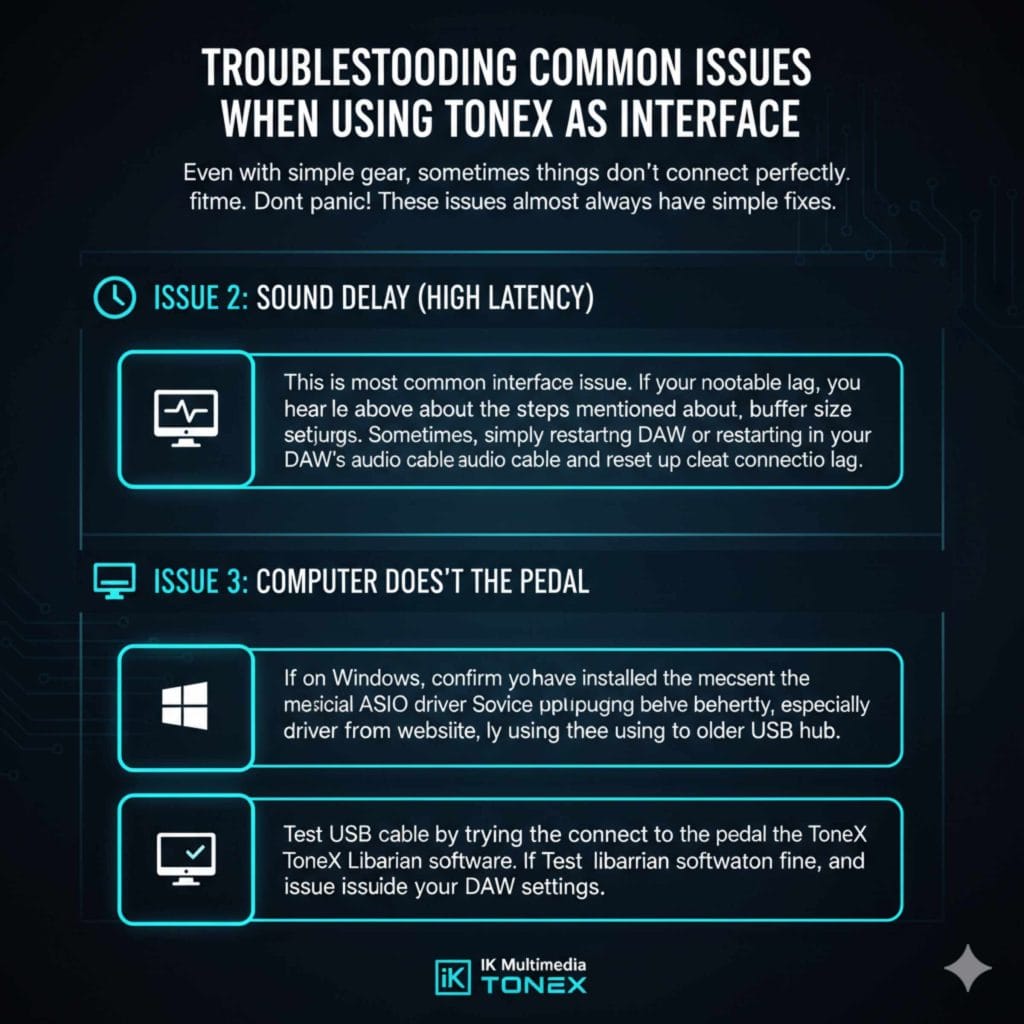
Issue 2: Sound Delay (High Latency)
This is the most common interface issue. If you hear a noticeable lag, try the steps mentioned above about adjusting the buffer size in your DAW’s audio settings. Sometimes, simply restarting the DAW or unplugging and replugging the USB cable can reset the connection and clear up the lag.
Issue 3: Computer Doesn’t See the Pedal
If your computer acts like nothing is plugged in at all:
- If on Windows, confirm you have installed the most recent, official IK Multimedia ASIO driver from their website.
- Try a different USB port on your computer. Sometimes ports behave differently, especially if you are using an older USB hub.
- Test the USB cable by trying to connect the pedal to the ToneX Librarian software. If the librarian software sees the pedal, the physical connection is fine, and the issue is inside your DAW settings.
FAQ Section: Quick Answers for Beginners
Q1: Do I need to download special software to use the TONEX Pedal as an interface?
A: For Mac users, usually no. For Windows users, while it might work out of the box, downloading the latest official IK Multimedia ASIO driver is highly recommended for the best performance and lowest delay.
Q2: Can I record my voice through the TONEX Pedal?
A: No. The TONEX Pedal only accepts a standard 1/4-inch instrument input (guitar or bass). It lacks the necessary XLR input for a standard microphone used for vocals.
Q3: Does the TONEX Pedal record in stereo?
A: The USB connection sends a stereo signal out of the pedal to the computer, allowing you to capture the tone in full quality, but the guitar input itself is inherently mono (one signal).
Q4: If I use the TONEX software on my computer, can I still use the pedal as an interface?
A: Yes! You can run the ToneX VST/AU plugin inside your DAW, and still use the pedal’s USB connection as the audio input/output device. This gives you maximum flexibility.
Q5: Will setting the buffer size affect the sound quality of my Tone Models?
A: No. The Tone Model is processed entirely inside the pedal hardware before it reaches the computer. Buffer size only affects latency (delay) while listening and recording.
Q6: Can the TONEX Pedal power external devices via USB?
A: No. The TONEX Pedal requires its own dedicated power supply. It draws power from the adapter to function, and it is not designed to supply USB power to other thirsty devices.
Conclusion: Confident Tracking with Your Stompbox
You now have the verified know-how to confidently answer the question: Can the TONEX Pedal be used as an audio interface? The answer, proven by its design and function, is a resounding yes, especially for guitarists looking for streamlined recording solutions.
The TONEX Pedal simplifies your setup beautifully. It takes that highly complex task of tone modeling and combines it with the essential task of audio conversion. You get amazing tone captured right into your laptop without needing a separate, bulky audio interface, making travel or quick practice sessions incredibly easy. Just connect the USB, choose the device in your software, and start playing!
Embrace this feature. It saves you money, reduces cable clutter, and lets you focus on what matters most: making great music with fantastic sound. Go ahead, plug in, arm that track, and enjoy the simplicity of this fantastic all-in-one tool.