Should I check engine oil with the car running? No, you should always check your engine oil with the car turned OFF and the engine cool. Checking oil while the engine is running can give inaccurate readings and is a safety hazard due to moving parts and hot surfaces. This guide explains the correct, safe, and accurate way to check your oil.
We get it – your car’s dashboard lights up, and a nagging question pops into your head: “What’s that light mean?” Or maybe you’ve heard someone mention checking the oil and wondered, “Do I really need to do that, and how?” For many of us, figuring out car maintenance can feel like a chore, especially when you’re not sure where to start. A common point of confusion is how to check your engine oil. You might even wonder, “Are you supposed to check engine oil with the car running?” Let’s clear that right up! We’ll walk you through the simple, safe, and accurate way to check your oil level, ensuring your engine stays happy and healthy. Stick around, and you’ll be a pro at this in no time.
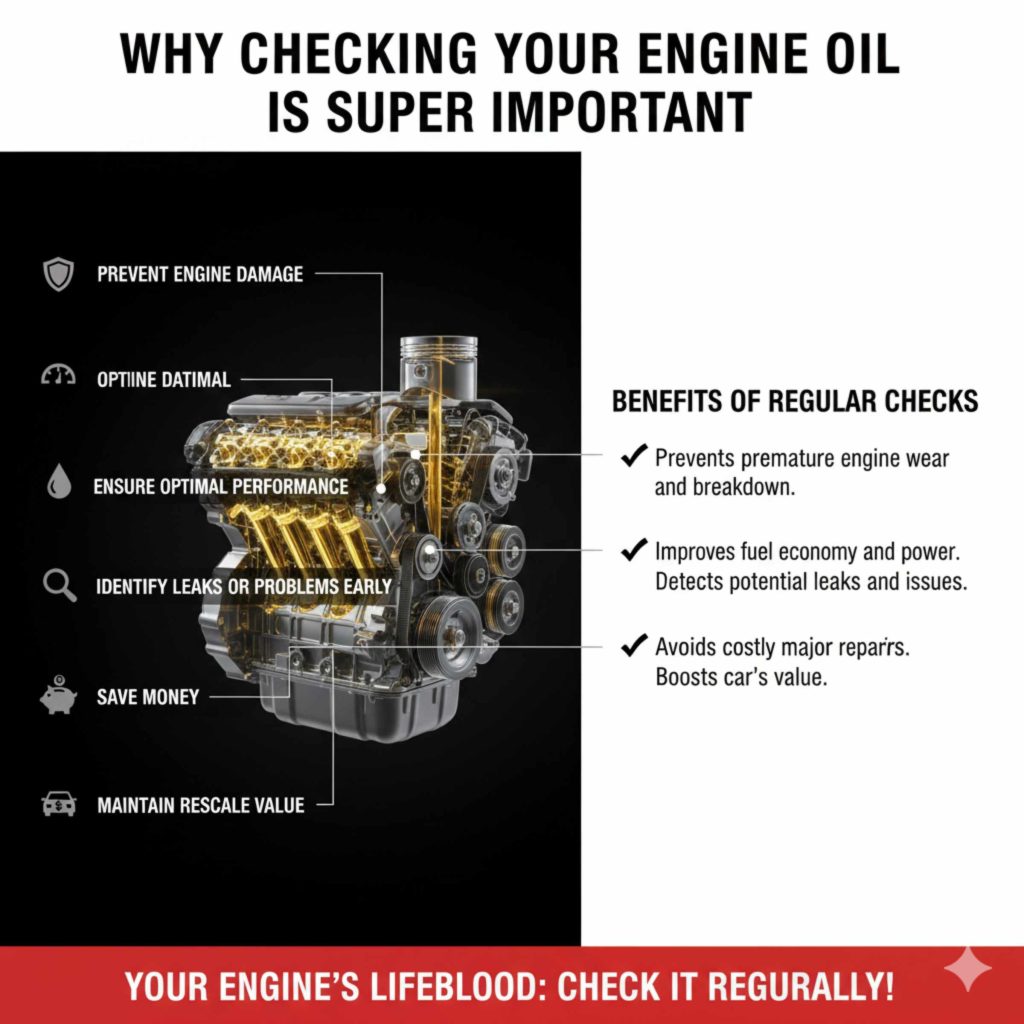
Why Checking Your Engine Oil is Super Important
Think of your engine oil as the lifeblood of your car’s engine. It’s a vital lubricant that keeps all those complex metal parts moving smoothly, preventing them from grinding against each other. Without enough oil, friction increases, leading to overheating, excessive wear, and potentially catastrophic engine failure. Regular oil checks are a cornerstone of proper car maintenance, helping you:
Prevent Engine Damage: Low oil levels are a primary cause of premature engine wear and breakdown.
Ensure Optimal Performance: Clean, sufficient oil helps your engine run efficiently, improving fuel economy and power.
Identify Leaks or Problems Early: A quick check can reveal if you’re losing oil, indicating a potential leak or other issues.
Save Money: Catching problems early through regular checks is much cheaper than repairing major engine damage.
Maintain Resale Value: A well-maintained car with a documented service history, including regular oil checks, will fetch a better price.
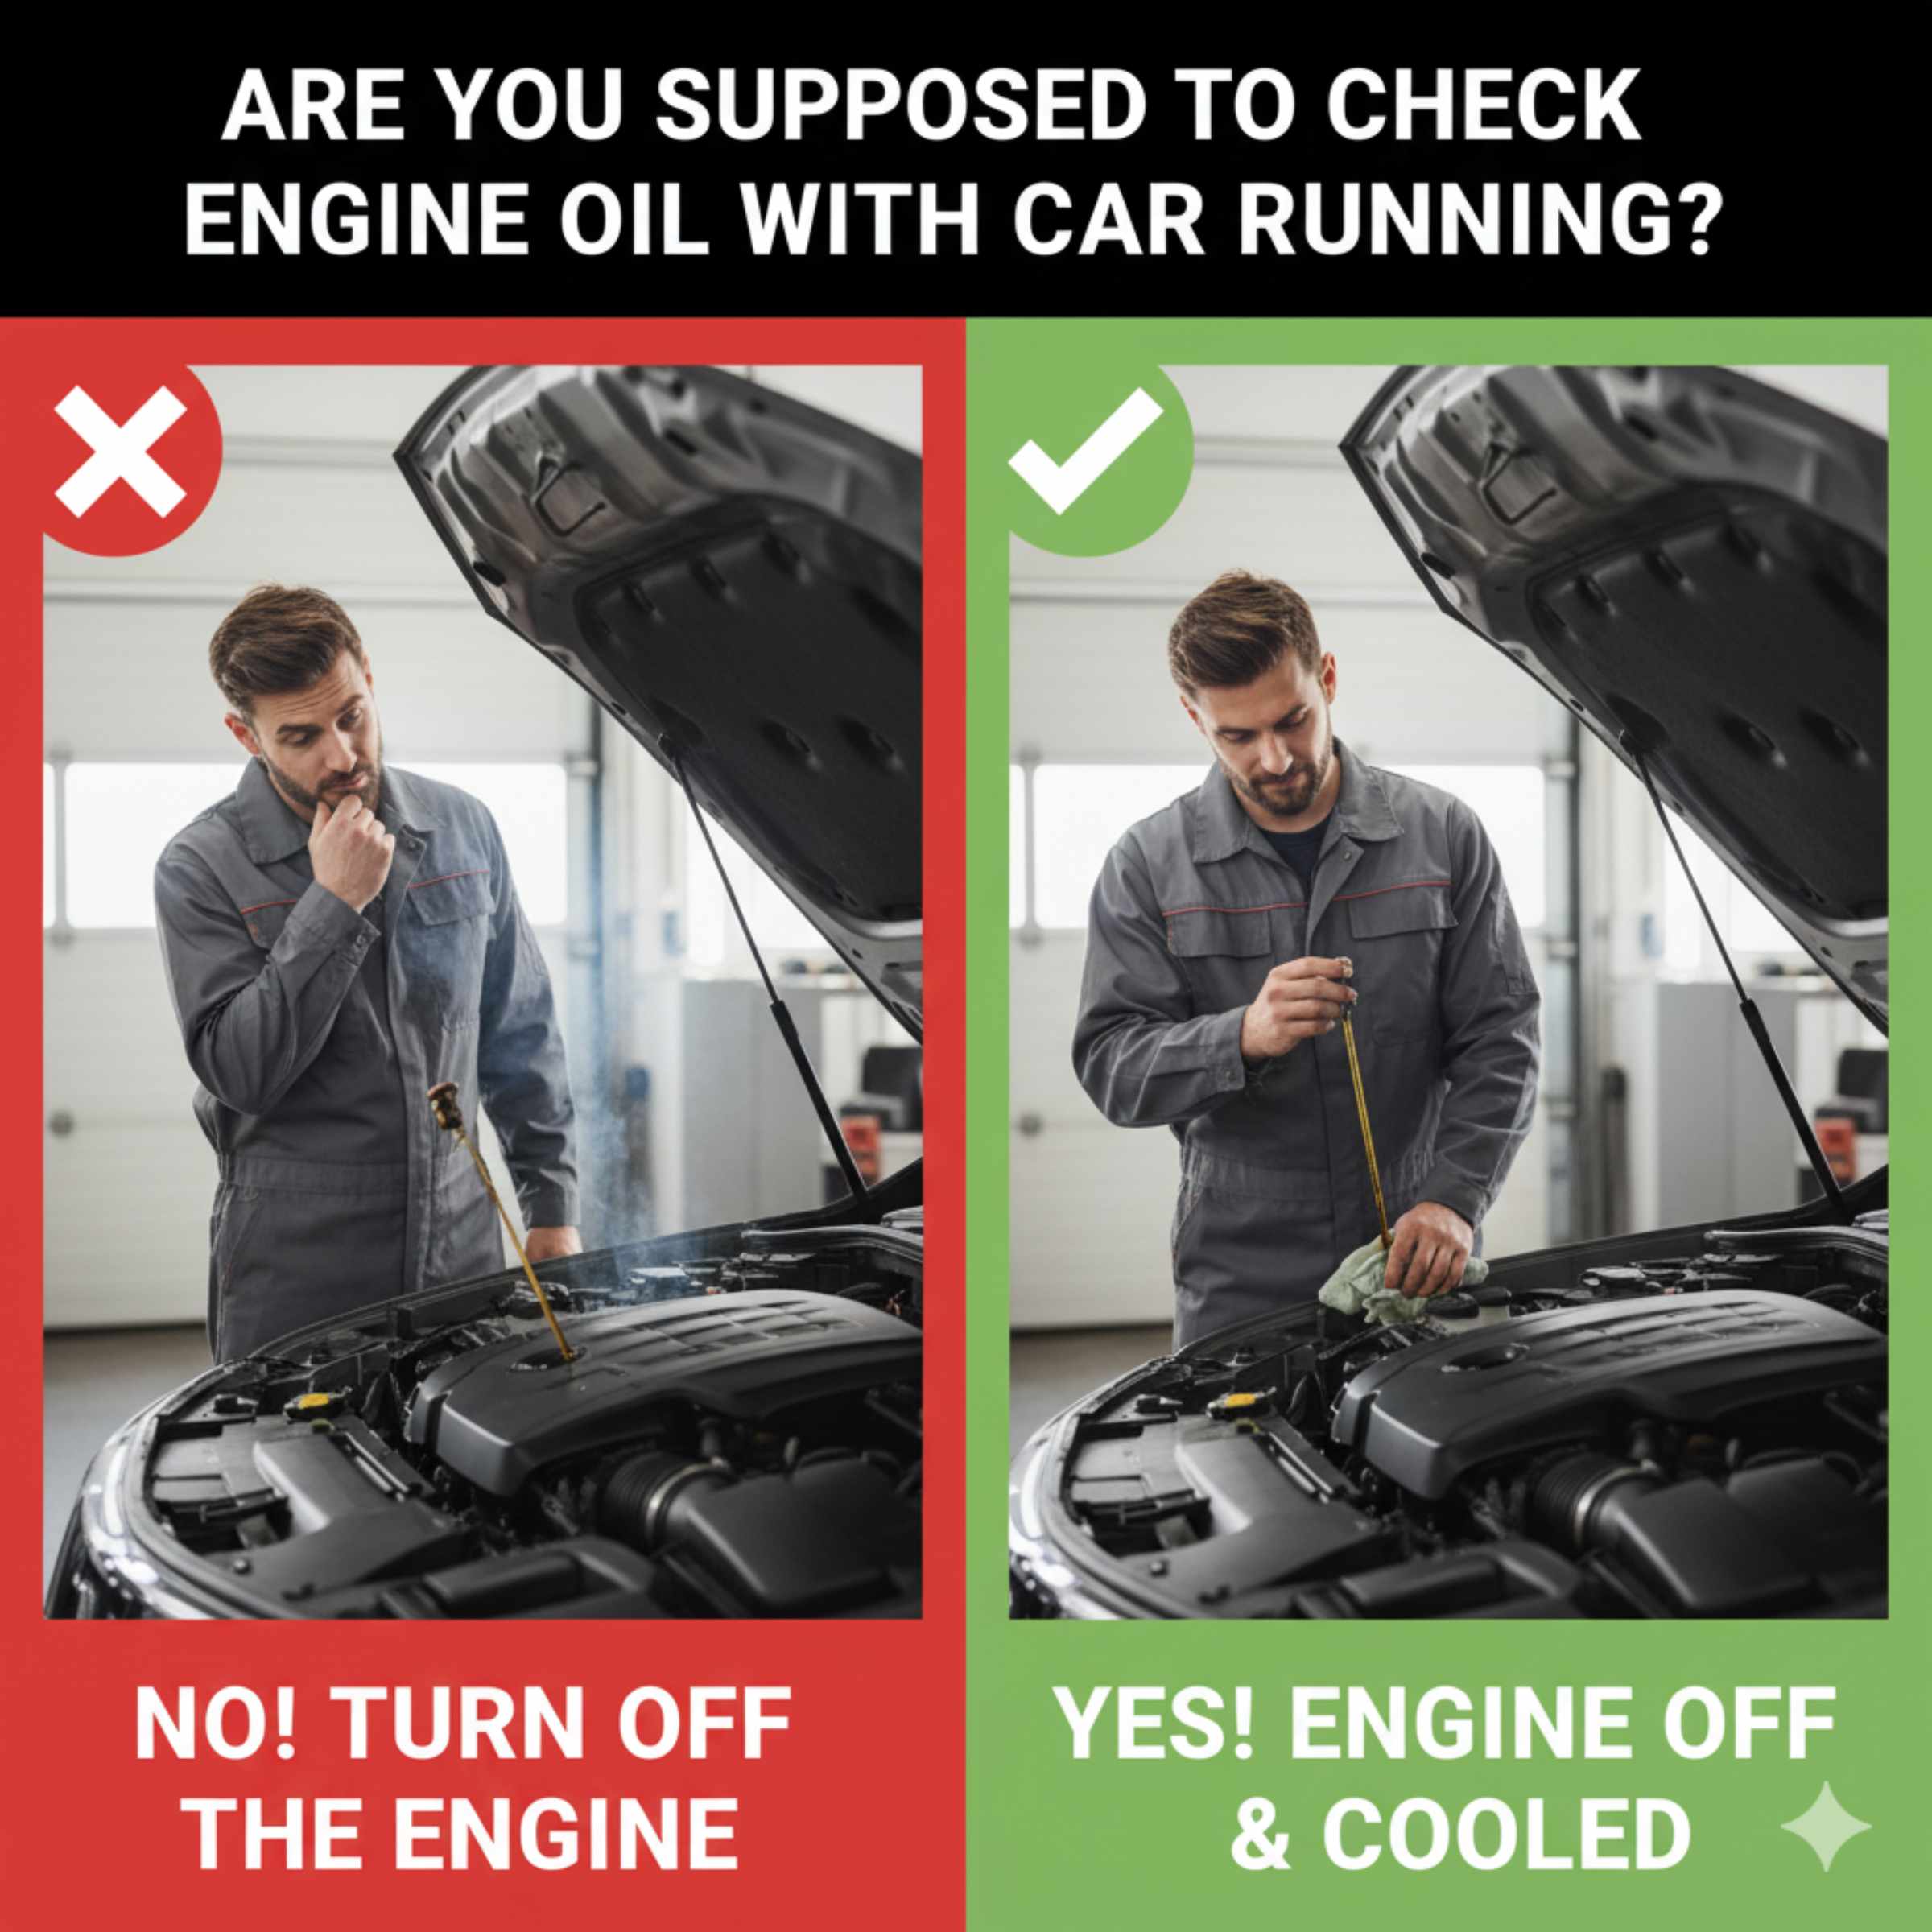
The Big Question: To Run or Not To Run?
Let’s tackle that main question head-on: Are you supposed to check engine oil with the car running? Absolutely not. This is a critical safety and accuracy point.
There are a few reasons why checking your oil with the engine running is a bad idea:
- Safety Hazard: When your engine is running, moving parts like the fan, belts, and pulleys are in motion. These can easily snag clothing, hair, or body parts, leading to serious injury. Hot surfaces like the engine block, exhaust manifold, and radiator can cause severe burns.
- Inaccurate Readings: When the engine is running, oil is circulating throughout the engine, being pumped to all the critical components. This means the dipstick might show a lower oil level than what’s actually in the oil pan. The most accurate reading is obtained when the engine has been off for a while and all the oil has settled back into the oil pan.
- Risk to the Dipstick Tube: In some vehicles, carelessly inserting the dipstick while the engine is running could potentially bend or damage the dipstick tube, leading to oil leaks or inaccurate readings in the future.
In short: ALWAYS check your oil when the engine is OFF and HAS COOLED DOWN.
The Correct Way to Check Your Engine Oil: A Step-by-Step Guide
Now that we know when not to check your oil, let’s get to the right way. It’s a surprisingly simple process that anyone can do.
Step 1: Park on a Level Surface
This is crucial for an accurate reading. If your car is parked on a hill or an uneven surface, the oil will pool to one side of the oil pan, giving you a false low or high reading on the dipstick. Find a flat, level spot to park for this check.
Step 2: Turn Off the Engine and Let it Cool
Once parked on a level surface, turn off your engine. How long should you wait? This can vary slightly, but a good rule of thumb is to wait at least 5 to 10 minutes after turning off the engine. This gives the oil time to drain back down from the engine’s upper parts into the oil pan, where the dipstick measures it. Waiting longer, say 15-30 minutes, is even better, especially if the engine was recently driven hard or is a larger engine that retains more heat.
Step 3: Locate the Engine Oil Dipstick
Your dipstick is your best friend for this job. It’s usually a brightly colored ring or T-shaped handle – often yellow, orange, or red – sticking out of the engine block. If you’re having trouble finding it, consult your car’s owner’s manual. It will have a diagram showing the exact location of the dipstick and other essential components.
Pro Tip: While you’re in the engine bay, take a moment to familiarize yourself with other key components. Learning to identify things like the coolant reservoir or brake fluid reservoir can be helpful for future maintenance.
Step 4: Pull Out the Dipstick and Wipe It Clean
Grip the handle of the dipstick and pull it straight out of its tube. Don’t twist it or yank it sideways. Once it’s out, find a clean paper towel or a lint-free cloth and wipe the entire metal part of the dipstick clean, from the tip all the way up past the measurement markings.
Why Wipe It?
This step is crucial because residual oil can cling to the dipstick. Wiping it ensures that when you re-insert it, you get a clean marking of the actual oil level in the pan, not a false reading from previous oil clinging to the stick.
Step 5: Re-insert the Dipstick Fully
Carefully push the clean dipstick all the way back into its tube until the handle is seated firmly. Make sure it goes in completely and sits flush. This ensures you’re getting a reading from the bottom of the oil pan.
Step 6: Pull the Dipstick Out Again for Reading
Now, pull the dipstick out slowly and steadily again. Hold it horizontally, with the marked end facing you. Take a look at the very tip of the dipstick.
What to Look For: The Oil Marks
At the end of the dipstick, you’ll see markings. These typically include:
- “ADD” or “L” (Low) mark: Indicates the minimum safe oil level.
- “FULL” or “F” or “MAX” mark: Indicates the optimal oil level.
- A range between the two: This is the acceptable window for your oil level.
Observe where the oil stain on the dipstick ends. Ideally, it should be somewhere between the “ADD” and “FULL” marks. If the oil level is at or above the “FULL” mark, your oil level is good.
If the oil level is at or below the “ADD” mark, your engine is low on oil and needs to be topped up. We’ll cover that in the next section.
Checking the Oil Condition
While you have the dipstick out, it’s also a good time to check the oil’s condition:
- Color: Fresh oil is typically a translucent amber color. As it’s used, it darkens. Dark brown or black oil means it’s time for an oil change.
- Consistency: The oil should feel smooth and slightly slippery. If it feels gritty or sludgy, it might be contaminated or breaking down.
- Smell: If the oil smells burnt or like gasoline, it could indicate a problem within the engine that needs professional attention.
Step 7: Add Oil If Needed (and only if needed!)
If your dipstick reading shows the oil is below the “ADD” or “L” mark, you need to add oil. It’s essential to add only the correct type and amount of oil specified for your vehicle.
Consult your owner’s manual for the specific oil weight (e.g., 5W-30, 0W-20) and type (conventional, synthetic blend, full synthetic) recommended for your car. Using the wrong oil can be as detrimental as having low oil.
To add oil:
- Locate the oil fill cap on top of your engine. It will usually have an oil can symbol or the words “Engine Oil” on it.
- Remove the cap.
- Using a funnel, add a small amount of the correct oil (start with about half a quart or half a liter). Don’t overfill!
- Replace the oil fill cap.
- Wait a few minutes for the oil to settle into the pan.
- Re-check the dipstick using steps 4-6.
- Repeat adding small amounts and re-checking until the oil level is between the “ADD” and “FULL” marks. It’s better to add too little and check repeatedly than to add too much.
Important Note: Overfilling your engine with oil can cause more damage than running it low. Excess oil can foam, leading to lubrication issues and potentially damaging seals. Always err on the side of caution and add small amounts, re-checking frequently.
Step 8: Clean Up and Replace the Dipstick
Once you have confirmed the oil level is correct, wipe any spilled oil from the engine bay and the dipstick handle. Gently push the dipstick back into its tube until it’s fully seated. Make sure the oil fill cap is securely tightened.
When to Check Your Oil: Frequency and Triggers
How often should you perform this simple check? There’s no single answer that fits every car and driver, but here are good guidelines:
Monthly: A good habit is to check your oil at least once a month. This is a reasonable cadence for most vehicles to catch any slow leaks or gradual oil consumption.
Before Long Trips: If you’re embarking on a road trip of several hundred miles or more, always check your oil before you leave. You don’t want to discover a low oil level miles away from civilization.
After an Oil Change: It’s wise to double-check the oil level a few days after an oil change to ensure it was filled correctly.
If a Warning Light Appears: If your car’s “low oil pressure” or “check engine” light comes on, check your oil immediately. These lights often indicate a critical low oil situation. See our guide on basic car maintenance from the Environmental Protection Agency (EPA) for more on keeping your vehicle in top shape.
Understanding Your Oil Type and Viscosity
Choosing the right engine oil is as important as checking the level. Your car’s manufacturer specifies the oil type and viscosity your engine needs to perform at its best and remain protected.
What is Oil Viscosity?
Viscosity refers to how thick or thin an oil is. It’s represented by a number followed by a ‘W’ (for Winter), like 5W-30. The first number (5W) indicates how well the oil flows at cold temperatures, and the second number (30) indicates how it flows at normal operating temperatures.
- A lower first number (e.g., 0W or 5W) means the oil is thinner when cold, which is crucial for cold weather starts.
- A higher second number (e.g., 30 or 40) means the oil is thicker at high temperatures, providing better protection during hot operation.
Using the wrong viscosity can lead to increased wear, reduced fuel efficiency, and potential engine damage.
Synthetic vs. Conventional Oil
- Conventional Oil: Standard petroleum-based oil. It’s less expensive but breaks down faster and offers less protection under extreme conditions.
- Synthetic Blend Oil: A mix of conventional and synthetic base oils, offering improved performance and protection over conventional oil at a moderate price.
- Full Synthetic Oil: Chemically engineered for superior performance. It’s more resistant to heat and breakdown, offers better lubrication, and typically allows for longer oil change intervals. Many modern cars, especially those with turbochargers or high-performance engines, require synthetic oil.
Always refer to your owner’s manual for your car’s specific requirements. Websites like API (American Petroleum Institute) provide valuable information on oil standards and what those certifications mean.
Common Pitfalls to Avoid
Even with a simple task like checking oil, minor mistakes can happen. Here are a few common pitfalls to steer clear of:
Checking a Hot Engine: As we’ve stressed, this is dangerous and inaccurate. Always wait for the engine to cool.
Not Using a Level Surface: This leads to an incorrect oil level reading.
Overfilling: Adding too much oil can cause problems. If you’re unsure, add less and re-check.
Not Wiping the Dipstick: Can lead to a false reading.
Using the Wrong Oil Type/Weight: Always use what your manufacturer recommends.
Ignoring the Oil’s Condition: Dark, gritty, or burnt-smelling oil is a sign of a problem needing attention.
Not Replacing the Dipstick/Cap Securely: This can lead to oil leaks or dirt entering the engine.
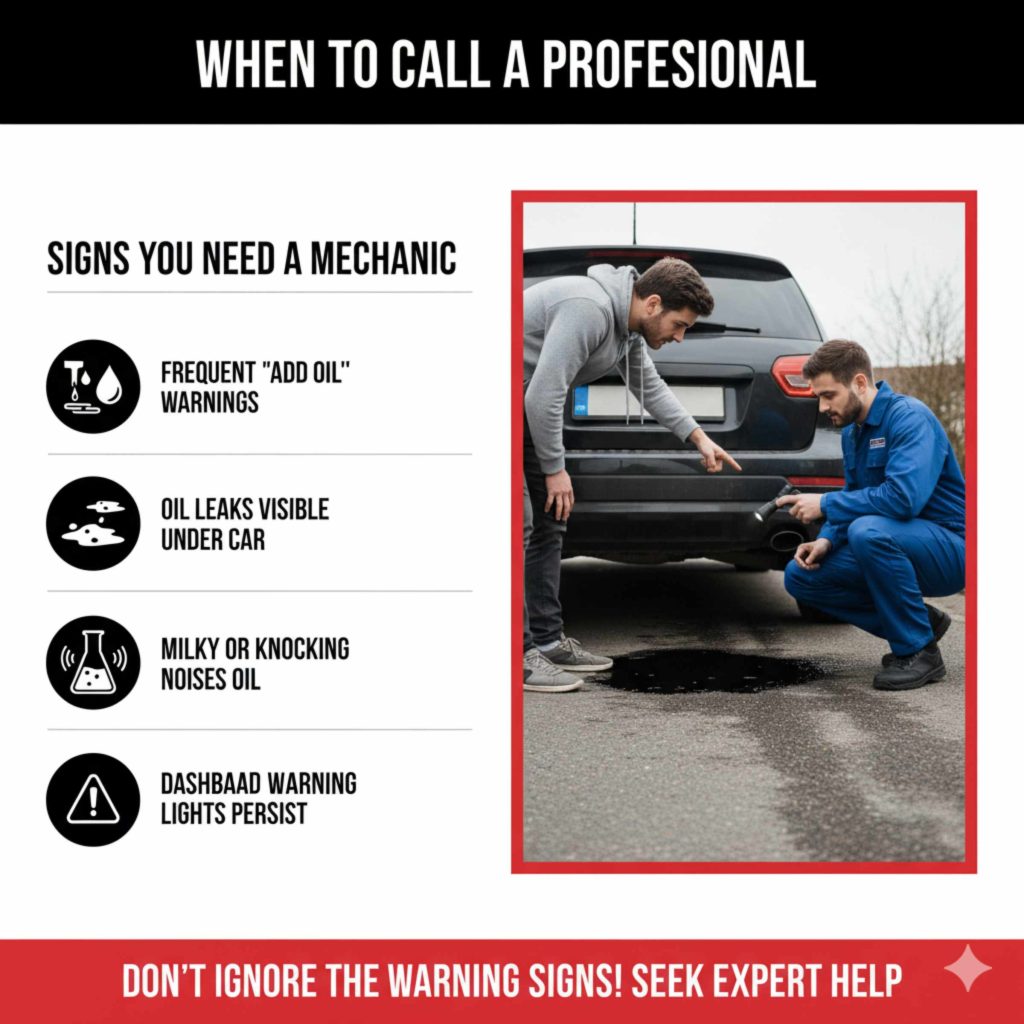
When to Call a Professional
While checking your oil is a DIY task, there are times when you should seek professional help:
Frequent “Add Oil” Warnings: If you’re constantly needing to top up your oil between changes, it could indicate a leak or that your engine is burning oil. Get it inspected.
Oil Leaks Visible Under the Car: If you see a puddle of oil under where you park.
Milky or Foamy Oil: This often means coolant has made its way into the oil, a sign of a serious internal engine issue (like a blown head gasket).
Grinding or Knocking Noises: These sounds can indicate severe lubrication problems that require immediate professional diagnosis.
* Dashboard Warning Lights Persist: If a warning light for oil pressure or the engine stays on after checking and topping up oil, don’t ignore it.
Frequently Asked Questions (FAQ)
| Question | Answer |
|---|---|
| How often should I check my engine oil? | It’s a good practice to check your engine oil at least once a month and before any long road trips. Some manufacturers recommend checking it every time you refuel. |
| Can I check my oil while the engine is running? | No, you should never check your engine oil while the engine is running. It’s unsafe due to moving parts and hot surfaces, and it will give you an inaccurate reading. Always check with the engine OFF and cool. |
| What happens if I overfill my engine with oil? | Overfilling can cause the crankshaft to whip excess oil into foam, reducing its lubricating properties. It can also lead to increased pressure, potentially damaging seals and gaskets, and could cause your catalytic converter to fail prematurely. |
| My dipstick has two marks with lines in between. What does that mean? | The marks typically represent the ‘MIN’ (Add) and ‘MAX’ (Full) points. The oil level should ideally be between these two marks after checking. Anywhere in this range is acceptable, but closer to the ‘MAX’ is generally preferred as long as it’s not overfilled. |
| What if my dipstick is hard to read? | If the oil mark is smeared or hard to see, ensure you’ve wiped the dipstick clean and re-inserted it fully. Sometimes, holding the dipstick at different angles in good light can help. If it’s consistently difficult to get a clear reading, there might be an issue with the dipstick itself or how it functions within your vehicle. |
| My car uses oil, is that normal? | Most engines consume a small amount of oil over time, which is why regular checks are important. However, if you find yourself needing to add oil very frequently between scheduled oil changes, it could indicate excessive oil consumption, a possible leak, or another engine issue that a mechanic should investigate. |
Conclusion: Your Engine Will Thank You!
Taking a few minutes to check your engine oil is one of the simplest yet most effective ways to protect your vehicle. By now, you know that you should absolutely NOT check your engine oil with the car running. Always opt for a cool engine on a level surface for an accurate and safe reading. It’s a small habit that can prevent costly repairs, ensure your car runs smoothly for years to come, and give you the confidence that you’re taking great care of your investment. So, the next time you wonder about your oil, you’ll know exactly what to do. Happy driving!