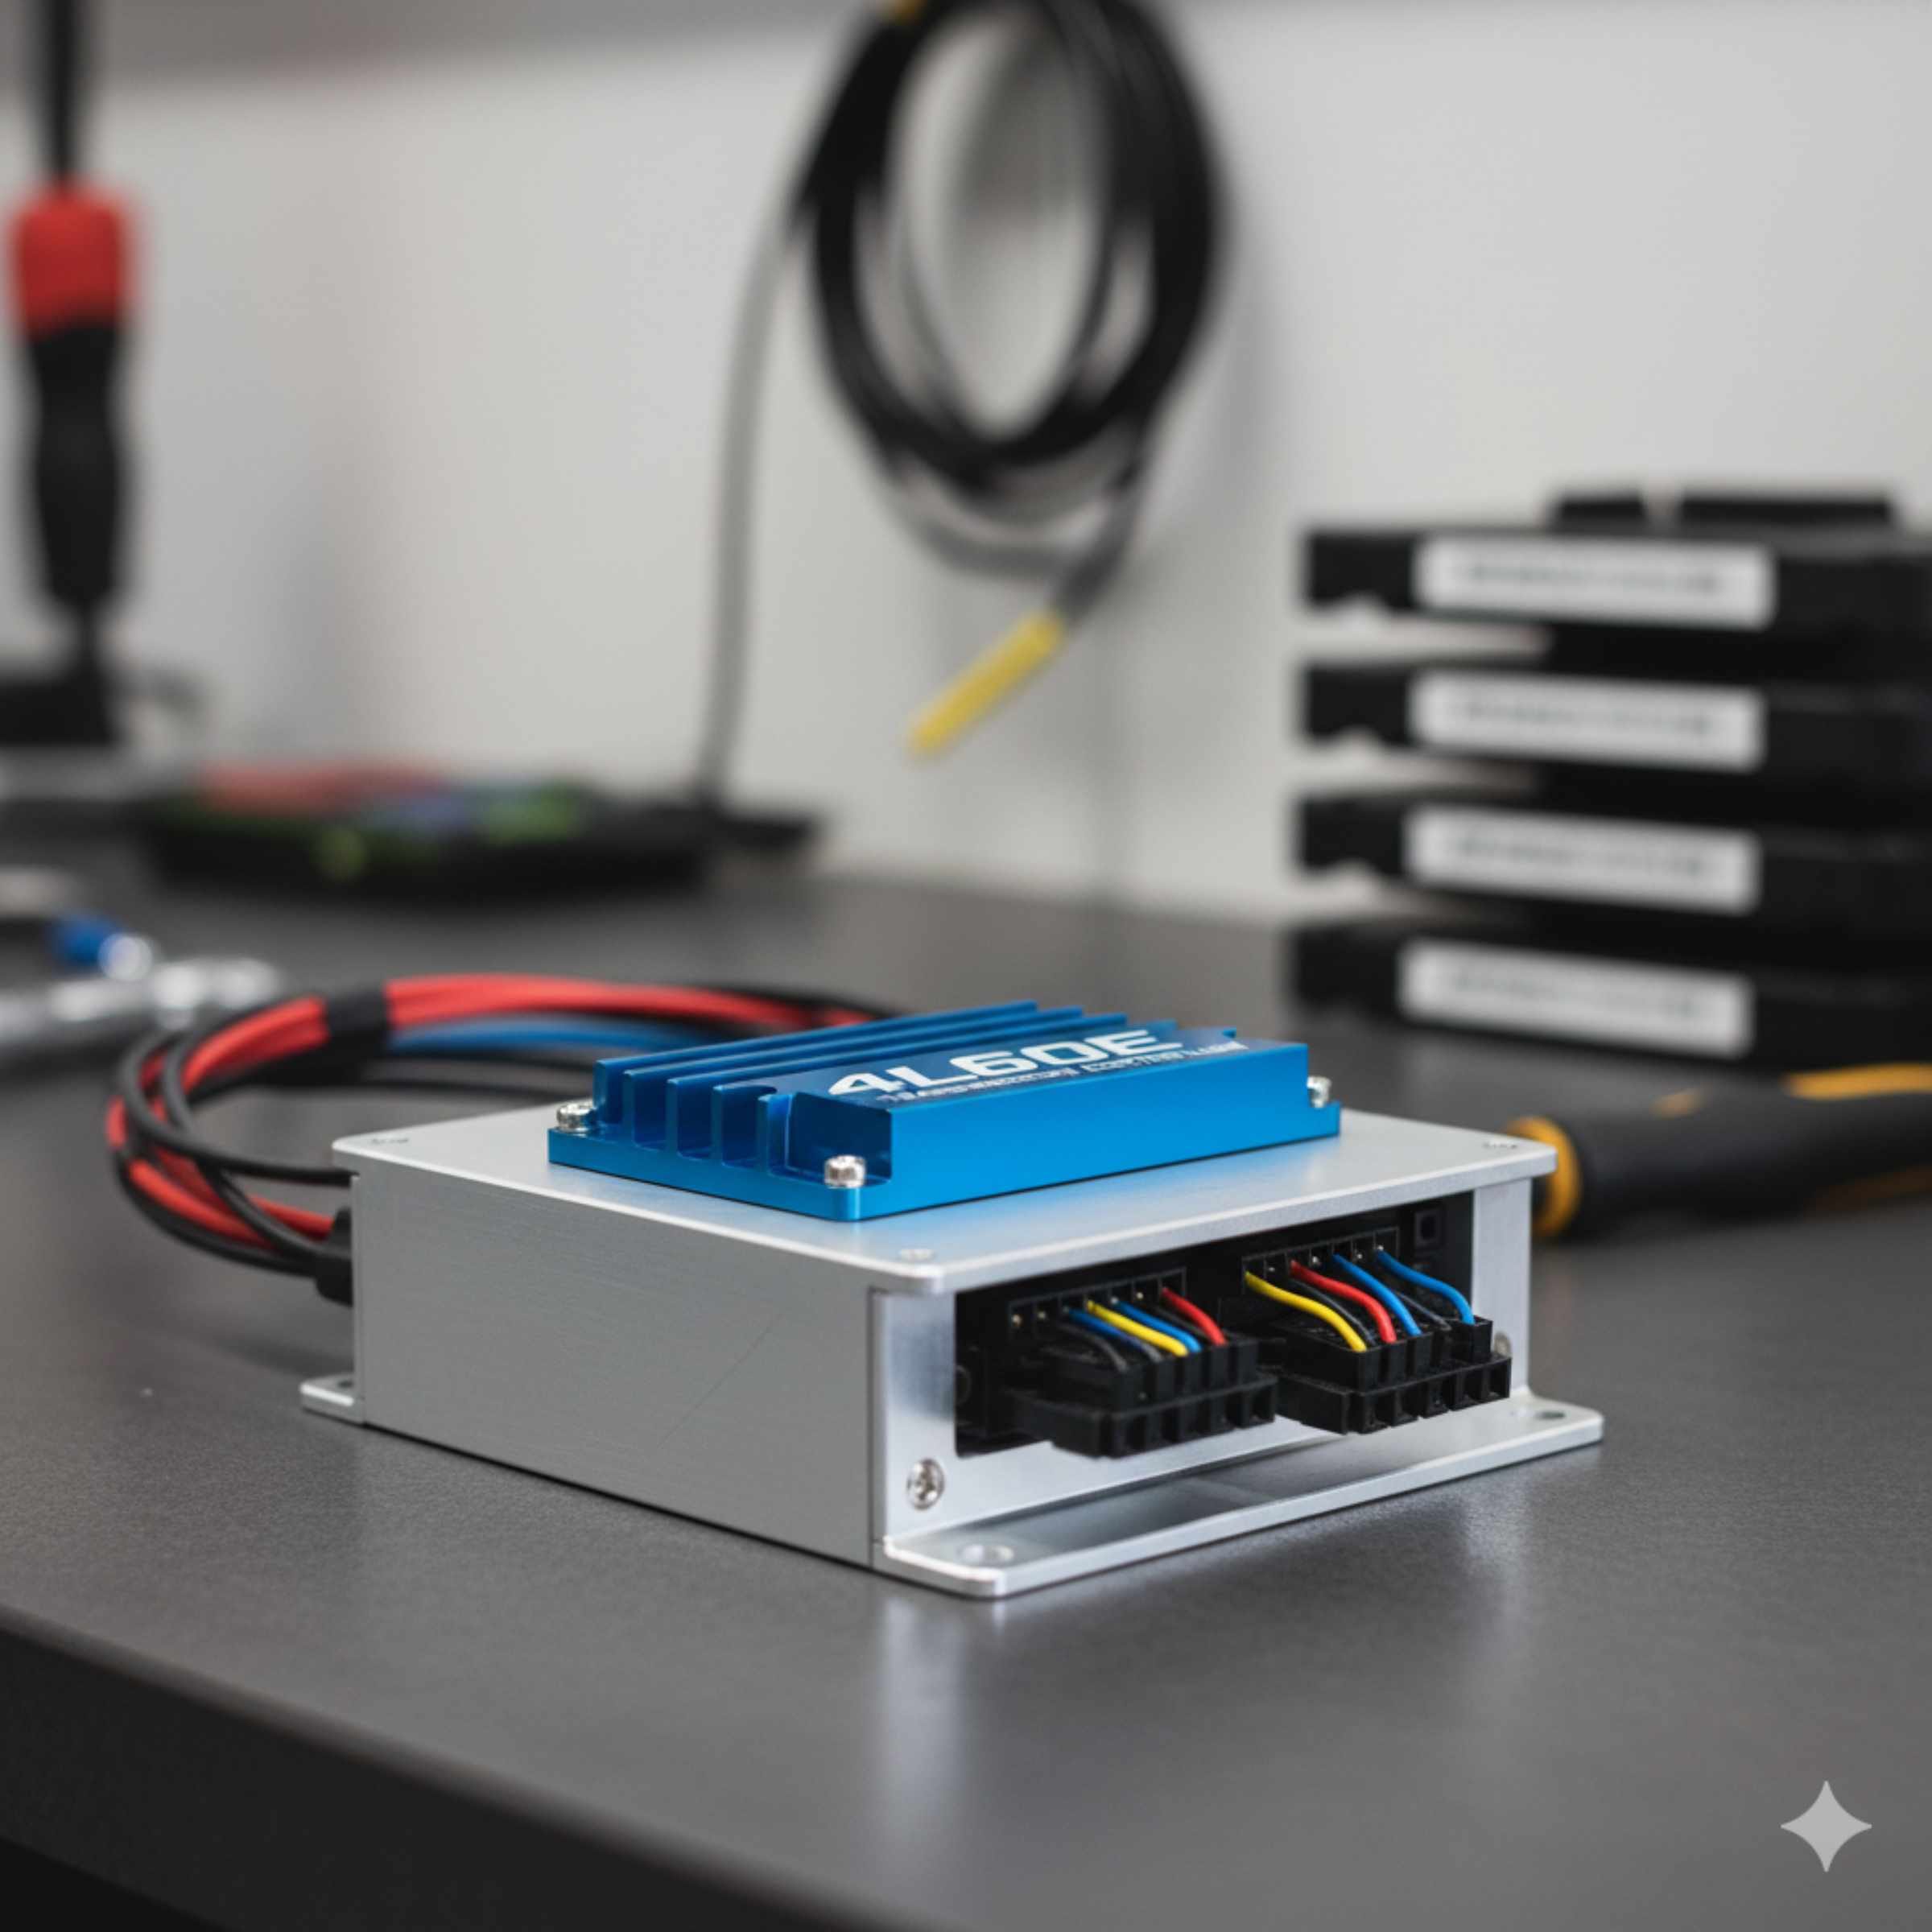
A 4L60E transmission controller is a standalone electronic brain needed to properly shift the automatic 4L60E transmission when it is not connected to a factory computer (ECM). This guide explains what it is, why you need one, and how to choose the right unit for your project car or swap.
Driving an older car or maybe putting a more modern transmission into a classic build can be exciting! However, transmissions like the popular 4L60E rely on a computer brain to tell them exactly when to shift gears. If you take that transmission out of its original car, that brain is gone too. This often leaves drivers scratching their heads, wondering why their transmission won’t shift right—or won’t shift at all! Don’t worry; this is a very common hurdle, especially when using a 4L60E with something like an older carbureted engine. We are going to break down exactly what a 4L60E transmission controller does, why it’s essential for smooth operation, and how you can confidently select the right one for your vehicle.
What is the 4L60E Transmission and Why Does It Need a Controller?
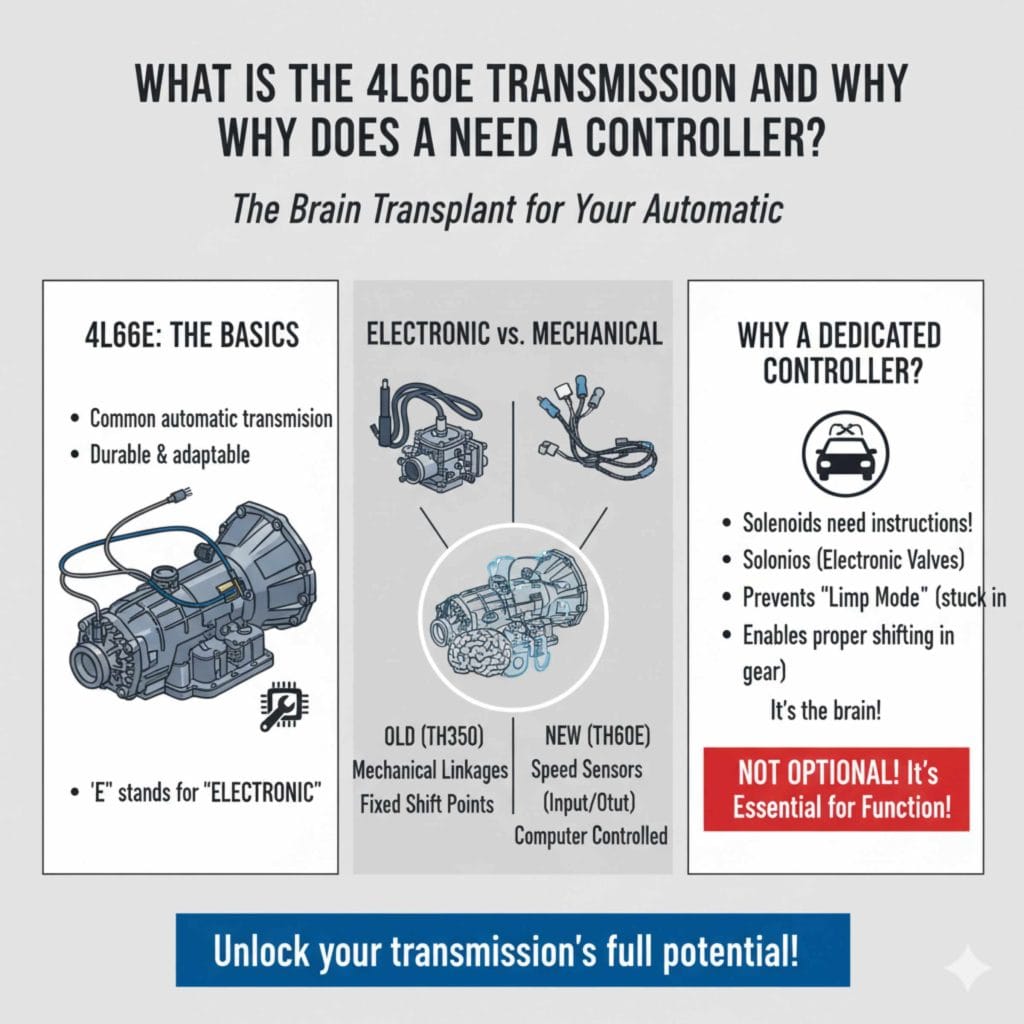
The 4L60E is one of the most common automatic transmissions ever made. It’s known for being tough enough for daily driving but also adaptable to performance upgrades. The “E” in 4L60E stands for ‘electronic.’ Unlike older transmissions that used vacuum lines or purely mechanical linkages for shifting, the 4L60E uses electronics extensively.
Think of the 4L60E like a high-tech gadget that needs a specific charger to work. If you plug in the wrong type of power, it won’t function correctly. That “charger” is the Transmission Control Module (TCM) or a standalone controller.
The Key Difference: Electronic vs Mechanical
Older transmissions (like the venerable TH350 or early 700R4s) handled gear changes based mostly on engine vacuum and throttle position sensors that were mechanical. The shift points were fixed or changed very slowly. The 4L60E changed everything:
- Solenoids: These are small electronic valves inside the transmission. The computer sends signals to these solenoids to change the fluid pressure, which then engages the clutches and bands for the next gear.
- Speed Sensors: These tell the computer exactly how fast the input shaft (engine side) and output shaft (wheel side) are spinning. The computer calculates the perfect shift point based on speed and load.
- Input Sources: The computer needs to know engine RPM, vehicle speed, and throttle opening (how hard you are pushing the gas pedal).
Without a dedicated controller, these solenoids get no instructions, resulting in the transmission getting stuck permanently in one gear (usually second or third gear, often called “limp mode”), or refusing to engage drive entirely. This is why a dedicated controller is not optional—it’s the brain transplant the 4L60E needs!
When You Absolutely Need a Standalone Controller
If your 4L60E came out of a vehicle that already had one, you might be able to “reflash” or “tune” the factory computer (ECM). But for many popular swaps, using the factory computer is a headache. You need a specialized standalone controller in these common situations:
Carbureted Engine Swaps: The No-Brainer Case
This is perhaps the most common reason readers look up a 4l60e transmission controller for carbureted engine setups. A carburetor system has no computer—it’s pure mechanics and simple electronics. The factory 4L60E computer expects steady digital inputs about engine load that a carb simply cannot provide.
A standalone controller solves this by:
- Receiving simple signals (like a VSS or a dedicated throttle position sensor feed).
- Using its own pre-programmed memory or adjustable settings to simulate what the factory ECM would have told the transmission to do.
LS Engine Swap with a Standalone ECU
When swapping in a modern LS engine, many people choose a universal, non-GM aftermarket Engine Control Unit (ECU). These aftermarket ECUs are amazing for engine tuning but often do not contain the complex, proprietary programming needed to talk perfectly to the GM 4L60E transmission controller parameters.
In this scenario, using a dedicated 4L60E controller allows the engine to run perfectly off the aftermarket ECU while the transmission controller handles the shifting seamlessly. This separation of duties often leads to much cleaner tuning and easier troubleshooting.
Upgrading Older Vehicles
If you are dropping a 4L60E into a street rod or a truck from the 1970s, you likely have no factory computer system to interface with. The standalone unit provides all necessary wiring, speed inputs, and control software right out of the box.
Understanding the Components of a Controller Kit
When you purchase a quality standalone controller, it’s rarely just one black box. It’s a system designed to communicate with your engine and vehicle. Here are the main pieces you’ll usually receive:
| Component | What It Does | Why You Need It |
|---|---|---|
| TCM Unit (The Brain) | The main computer box that calculates shift points. | This holds the programming and makes the final decisions. |
| Wiring Harness | Connects the TCM to the transmission’s solenoids and sensors. | Connects the brain to the body of work (the actual transmission). |
| Speed Sensor Input (VSS) | Measures vehicle speed to determine when to shift. | Crucial for smooth, road-speed-dependent shifting. Often requires a Hall Effect sensor in custom builds. |
| Throttle Position Sensor (TPS) Input | Tells the controller how much load is on the engine (how hard you are accelerating). | This dictates whether the transmission shifts early (light throttle) or late (heavy throttle). |
| Programming/Tuning Device | Often a USB cable and software, or sometimes built-in dip switches. | This is how you tell the controller: “I want to shift at 3000 RPM when Wide Open Throttle.” |
Choosing the Right 4L60E Transmission Controller
Selecting the perfect controller is much like choosing a smartphone—there are basic models and feature-packed flagships. For a beginner, the goal should always be finding the controller that offers the best balance of power and simplicity.
Key Factors to Consider
Before opening your wallet, ask yourself these questions:
- What engine are you running? If you have a carbureted engine, you need a controller that accepts analog throttle input that mimics a factory TPS. Units designed for carbureted setups are often simpler out of the box.
- How much adjustability do you need? Are you happy with “good enough” shifts, or do you want to custom-tune WOT (Wide Open Throttle) shift points, line pressure (how firmly the shifts feel), and torque converter lockup?
- What is your budget? Prices can vary widely. Cheaper units might only allow basic tuning via jumpers or dip switches, while premium units require laptop software.
- What are the installation requirements? Does the harness plug directly into your existing 4L60E connectors, or will you be doing extensive wiring modification?
Popular Controller Brands and Types
While technology changes fast, a few names consistently appear in the aftermarket tuning scene. When researching, look for units known for ease of setup for common swaps. For instance, some highly respected companies focus on transmissions used in swaps, like those working with Holley EFI systems or dedicated transmission controller specialists.
For those working with a non-EFI setup (like a carburetor) that needs a controller, ensure the documentation explicitly supports speed-density or vacuum-referenced input simulation, even if they primarily cater to EFI users. Always consult the manufacturer’s website regarding support for non-computer-controlled engines. Reliable sources like the SEMA Action Network often highlight innovations supporting engine swaps and custom builds.
Generally, controllers fall into two categories:
- Dip Switch/Jumper Controllers: These are simpler, older technology, or entry-level units. You set the shift points and firmness using small switches or physical plug jumpers. They are reliable if your needs are basic (e.g., “Shift from 1-2 at 2500 RPM all the time”).
- Software/Laptop Controlled Units: These are very powerful. You connect the controller to a laptop, and a dedicated software interface lets you draw custom shift maps for every throttle position and speed. This gives you professional-level control.
Installation Guide Simplified for Beginners
Installing a 4L60E controller can seem intimidating because it involves working with both transmission wiring and the vehicle’s speed sensing. Remember, take it slow, label everything, and double-check your work. We are going to cover the general process that applies to most aftermarket kits.
Tools You Will Likely Need
- Basic Socket Set and Wrenches
- Wire Strippers/Crimpers (if splicing is required)
- Digital Multimeter (essential for testing continuity and voltage)
- Zip Ties and Looming (for neat wire management)
- Safety Glasses and Gloves
Step-by-Step Controller Installation
This process assumes the transmission itself is already bolted up to your engine and drivetrain.
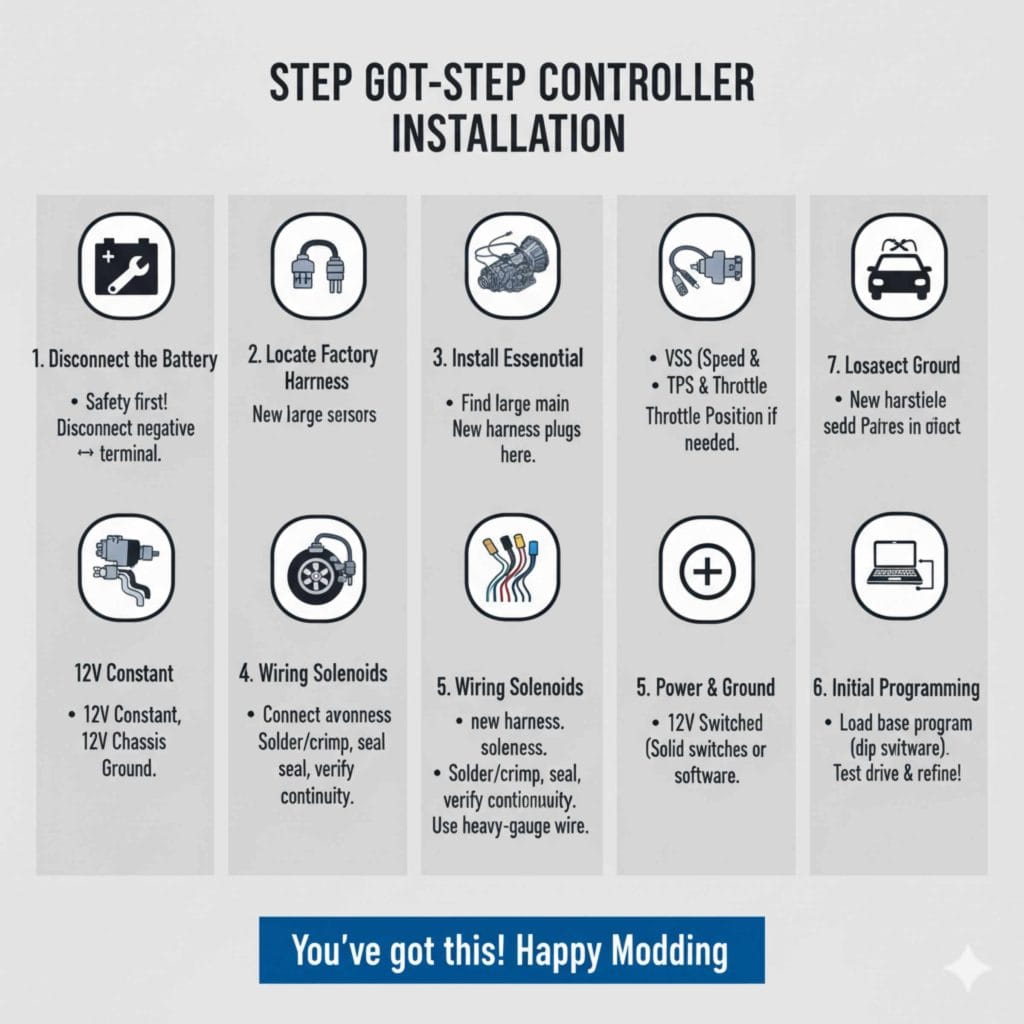
Step 1: Disconnect the Battery
Safety first! Always disconnect the negative (black) battery terminal before starting any electrical work. This prevents accidental shorts that can damage components or cause sparks.
Step 2: Locate and Clear Factory Harnesses
The 4L60E has a large main connector where the factory harness plugs in. In some swaps, you might cut and discard the factory harness entirely, leaving only the transmission connector sticking out. In other cases, the new controller harness might plug directly into this connector, replacing the factory ECM plug entirely.
Step 3: Install Essential Sensors (If Required)
If you are running a classic setup, you must provide the controller with Vehicle Speed Sensor (VSS) data and Throttle Position Sensor (TPS) data.
- VSS: The controller often needs a specific digital pulse signal. If your vehicle setup (like an older driveshaft) doesn’t naturally produce this, you may need to install an aftermarket electronic VSS sender that bolts near the output yoke or tail housing and sends the correct signal frequency to the controller.
- TPS: With a carburetor, you usually bolt a compatible aftermarket TPS onto the throttle linkage. The controller’s harness will have dedicated wires to monitor the output of this sensor.
Step 4: Wiring the Solenoids and Internal Connections
This is the most critical part. The new controller harness must securely connect to the transmission’s internal solenoids (TCC, Shift Solenoids A & B, and the EPC pressure control solenoid).
- If your new harness is a direct plug-in replacement for the factory harness, securing these connections is easier.
- If splicing is necessary, ensure every connection is perfectly soldered or crimped, sealed against moisture, and that you verify continuity with your multimeter before connecting power. A bad solenoid connection will immediately cause shifting problems.
Step 5: Power and Ground
The controller needs clean, constant 12V power, an ignition-switched 12V source (power only when the key is on), and a solid chassis ground connection. Always use heavy-gauge wire specified by the controller manufacturer for power and ground connections. Poor grounding is the number one cause of electronic gremlins!
Step 6: Initial Programming
Once everything is bolted up and secure, reconnect the battery. Before driving, you must load the base programming. Turn the key to the ‘ON’ position (engine off).
- If using dip switches, set them according to the manual for a basic start.
- If using software, connect your laptop and load the base calibration file provided by the manufacturer. A good starting point is often found in forums dedicated to your specific controller brand.
Step 7: Test Drive and Refinement
Start the vehicle and check for immediate fluid leaks or warning lights. Very gently bring the vehicle up to driving speed. Watch the RPMs. Does it shift? If it shifts too soon or too late, bring it home and use the tuning interface to adjust the parameters until the shifts are where you want them to be under light load.
For more technical guidance on vehicle electronics standards, resources from organizations like the National Highway Traffic Safety Administration (NHTSA) offer baseline safety expectations, though specific tuning remains highly specific to the aftermarket controller.
Troubleshooting Common Controller Issues
Even with the best wiring job, things can act up. If your 4L60E isn’t behaving after controller installation, here are the most common, simple fixes a beginner can check:
Check These Three Things First
- TPS Signal: Is the controller “seeing” the throttle position? If the throttle is wide open but the controller thinks it’s closed, it will always shift early. Check the wiring from the TPS back to the controller input.
- Vehicle Speed Sensor (VSS): If the controller thinks the vehicle is moving at 0 MPH, it will refuse to shift into higher gears as a safety measure. Check the VSS signal strength coming into the controller.
- Ground Connections: Remove the main ground wire from the controller and the chassis, clean the metal contact point thoroughly with a wire brush, and reattach it tightly. Bad grounds mimic all sorts of electronic failures.
Symptom Guide: Quick Fixes
| Symptom | Most Likely Cause (Controller Related) |
|---|---|
| Will Not Shift Past 1st or 2nd Gear | Controller believes vehicle speed is zero (VSS issue) OR an internal solenoid failure (less likely if new). |
| Banging/Harsh Shifts | Line pressure setting in the controller is too high, or the EPC solenoid wire is damaged/not connected properly. |
| Forced Wide Open Throttle (WOT) Shift Points | Controller is receiving a constant signal indicating wide-open throttle, even when cruising (check TPS wiring continuity). |
| Refuses to Lock Up Torque Converter | TCC (Torque Converter Clutch) solenoid signal issue or incorrect programming for lockup speed/load. |
Frequently Asked Questions (FAQ)
Q1: Can I use the factory GM computer instead of buying a standalone unit?
A: Yes, potentially, but it’s complicated. You would need the proper factory ECM, the correct factory wiring harness that matches the ECM, and a way to input Vehicle Speed Sensor (VSS) data that the ECM understands. For custom builds or carbureted engines, this often requires complex “tricking” the factory computer, making a simpler aftermarket controller a better value and solution.
Q2: Do I need a transmission controller if my 4L60E is behind a stock LS engine?
A: Not always. If you are using the factory GM ECM that originally came with the LS engine and it is properly wired and programmed to control the 4L60E, then a standalone controller is not required. However, if the ECM has been replaced with an aftermarket ECU, reprogrammed without transmission control, or mismatched to the transmission, you will need a dedicated 4L60E transmission controller to ensure proper shifting and torque converter lockup.
Q3: Will a 4L60E transmission controller improve shift quality and performance?
A: Yes. A quality standalone controller allows you to fine-tune shift timing, firmness, and torque converter lockup behavior. This means smoother shifts during daily driving and firmer, quicker shifts under hard acceleration. Many controllers also allow you to adjust line pressure and WOT shift points, which can significantly improve performance and extend transmission life when properly tuned.
Q4: Is a 4L60E controller difficult to install for a beginner?
A: Most modern standalone controllers are designed with DIY installers in mind. If you are comfortable with basic wiring, following diagrams, and using simple hand tools, installation is very achievable. Many kits are plug-and-play with labeled connectors and pre-terminated harnesses. The most important factors are proper grounding, correct sensor inputs, and carefully following the manufacturer’s setup instructions.
Q6: Can a 4L60E transmission controller damage my transmission if set up incorrectly?
A: Improper setup can lead to poor shifting behavior, but serious damage is unlikely if you start with the manufacturer’s base tune. Problems usually arise from incorrect line pressure settings, missing sensor signals, or faulty wiring. Always begin with conservative settings, verify sensor readings, and make small adjustments during test drives. When tuned correctly, a standalone controller actually helps protect the transmission by ensuring consistent and accurate shift control.
Conclusion:
A 4L60E transmission controller is not just an optional add-on—it’s the key component that allows this electronically controlled transmission to function correctly in custom builds, engine swaps, and older vehicles. Because the 4L60E relies entirely on electronic signals to manage shifting, line pressure, and torque converter lockup, removing it from its original factory computer makes a standalone controller absolutely essential.
Whether you’re running a carbureted engine, installing a 4L60E behind an LS swap with an aftermarket ECU, or upgrading a classic car for modern drivability, the right controller gives you full control over how your transmission behaves. From smoother daily driving to firmer performance shifts, a properly selected and tuned controller improves reliability, performance, and overall driving experience.
By understanding how the 4L60E works, knowing when a standalone controller is required, and following correct installation and tuning practices, you can avoid common pitfalls and confidently complete your transmission setup. Take the time to choose a controller that matches your engine, budget, and tuning goals—and you’ll be rewarded with a transmission that shifts exactly the way you want it to, mile after mile!