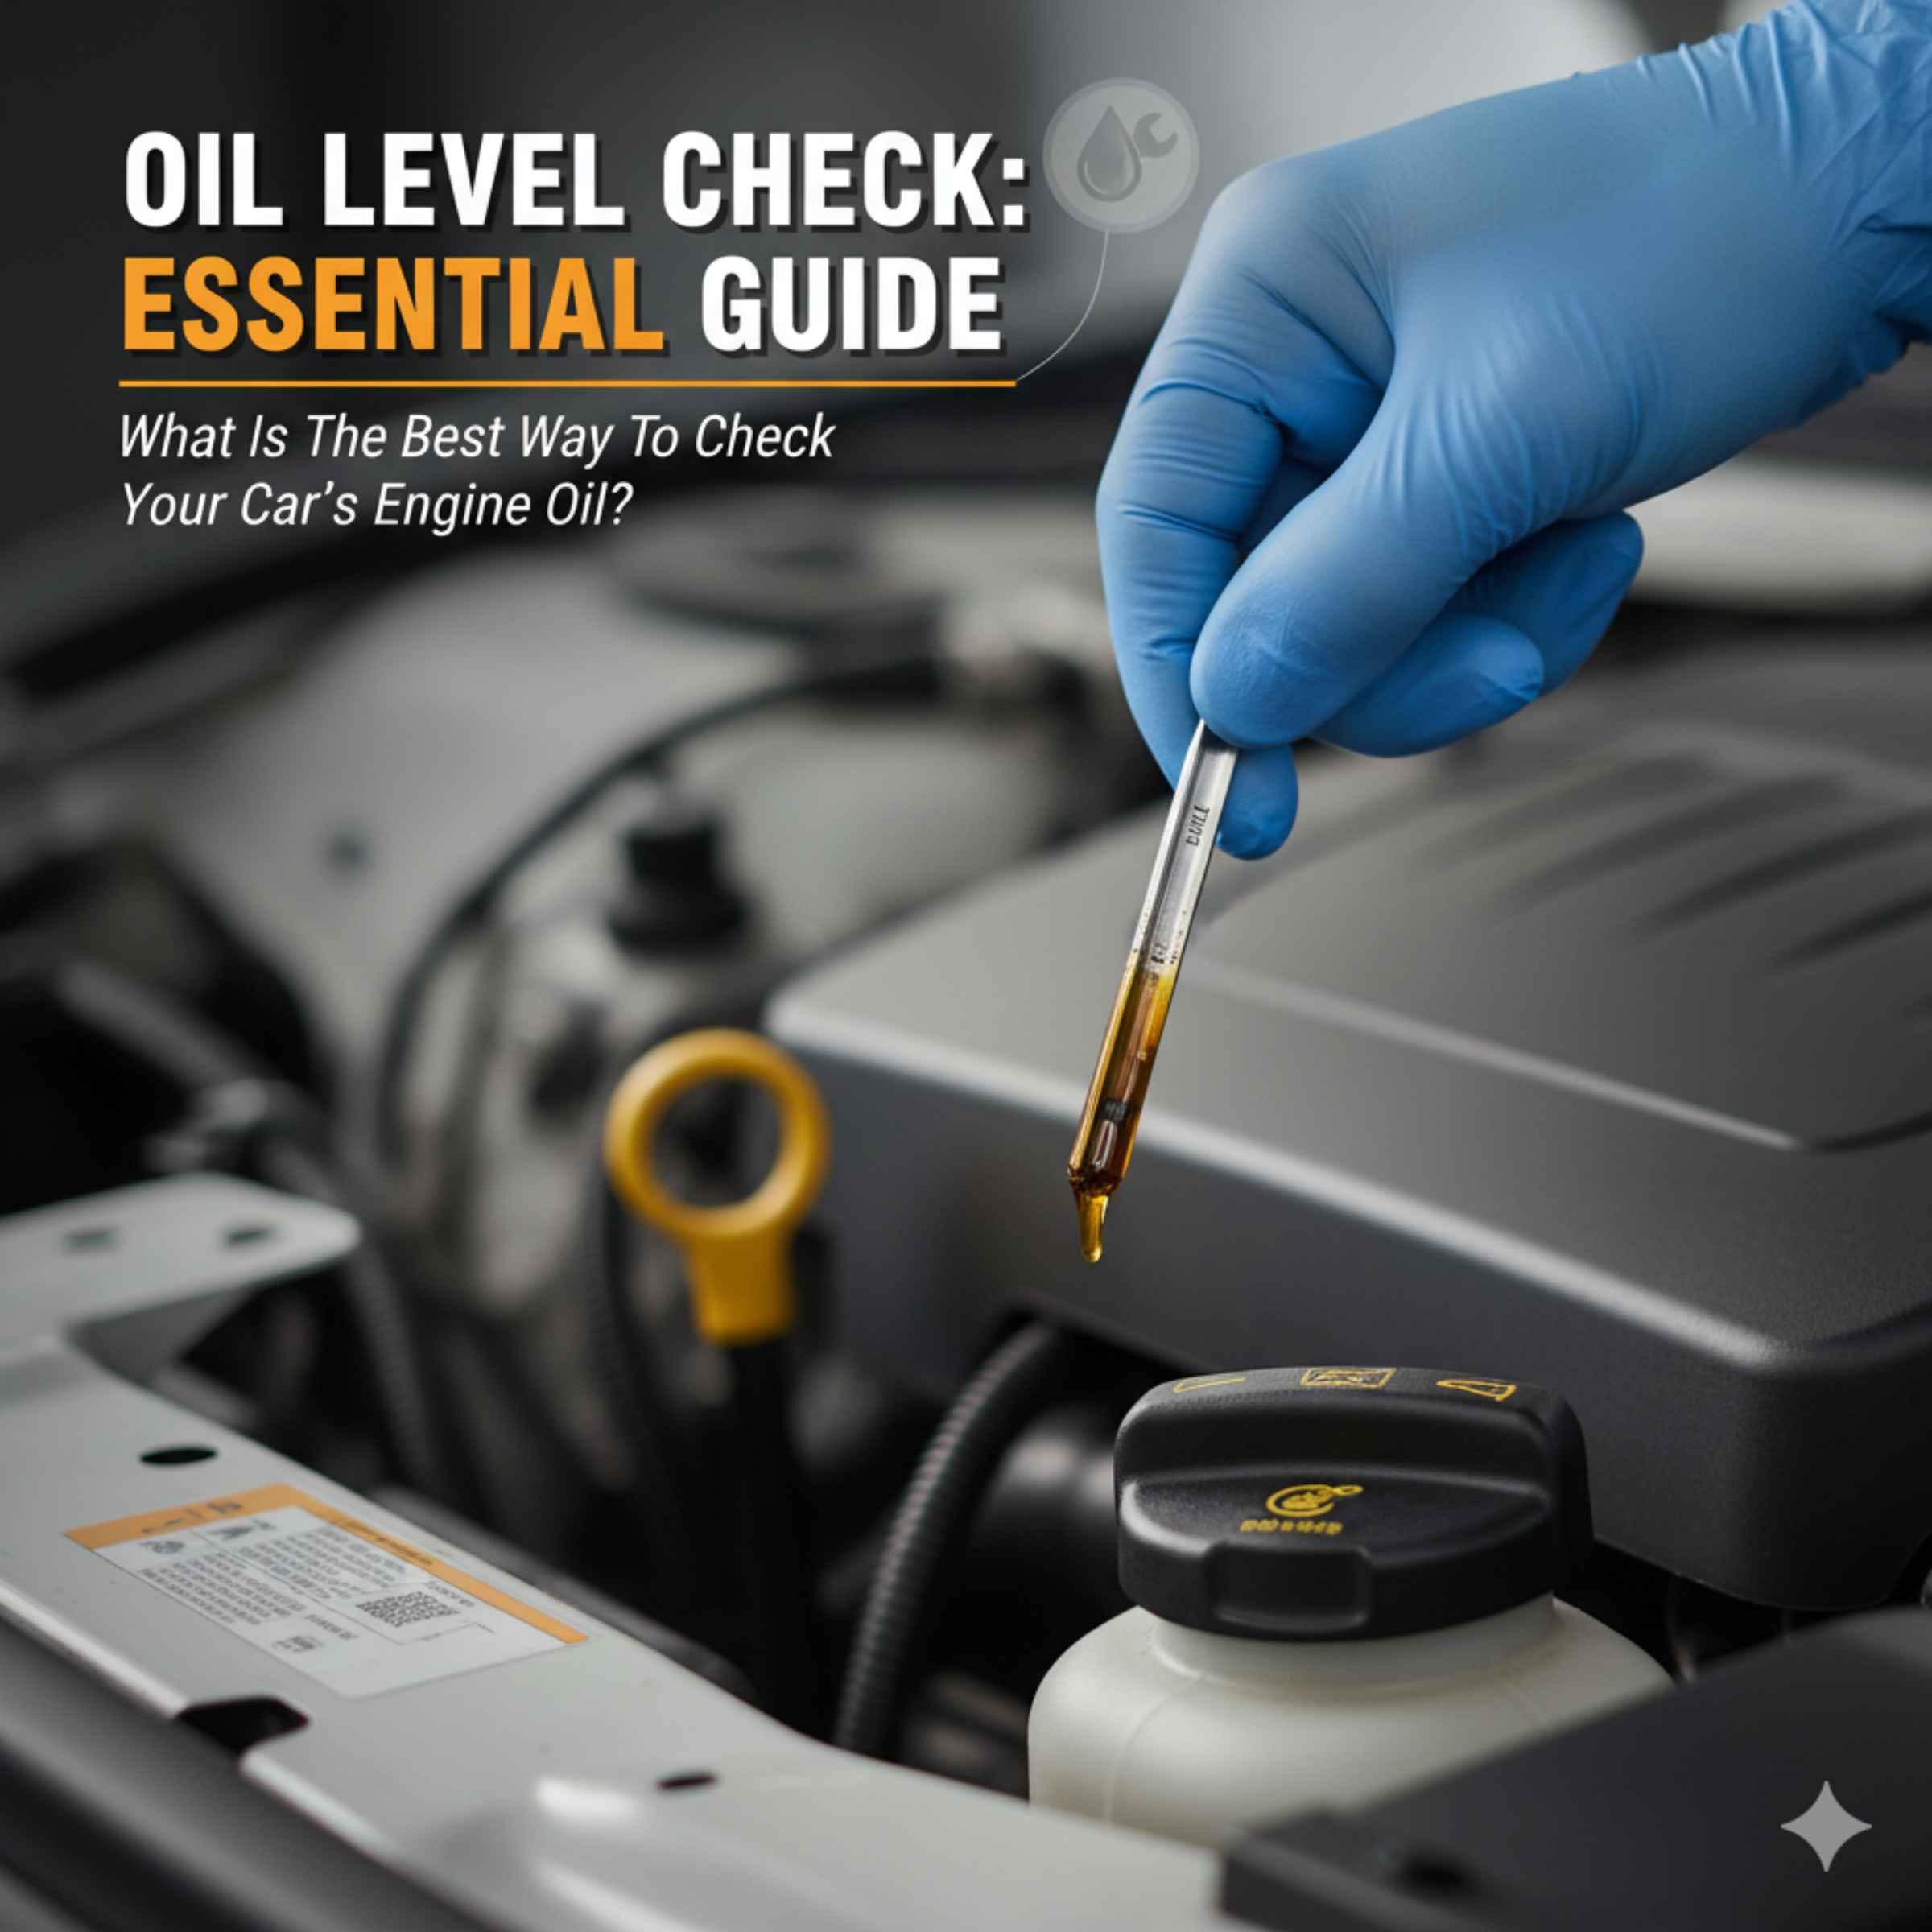
The best way to check your car oil is by using the dipstick when the engine is warm, parked on level ground, and has been off for at least five minutes. This simple, quick check ensures you get an accurate reading to keep your engine running smoothly and reliably.
Hey there! I’m Dustin Hall, and if checking your engine oil feels like trying to read an ancient scroll, you are definitely not alone. Many car owners feel nervous about this basic task. It’s easy to worry about messing something up or misreading the little metal stick. But guess what? Checking your oil is one of the easiest and most important things you can do for your car. Taking just five minutes can save you major headaches and expensive repairs down the road. We are going to walk through this together, step by step, making sure you know exactly how to get an accurate reading every time. Let’s dive in and take the confusion out of checking your oil!
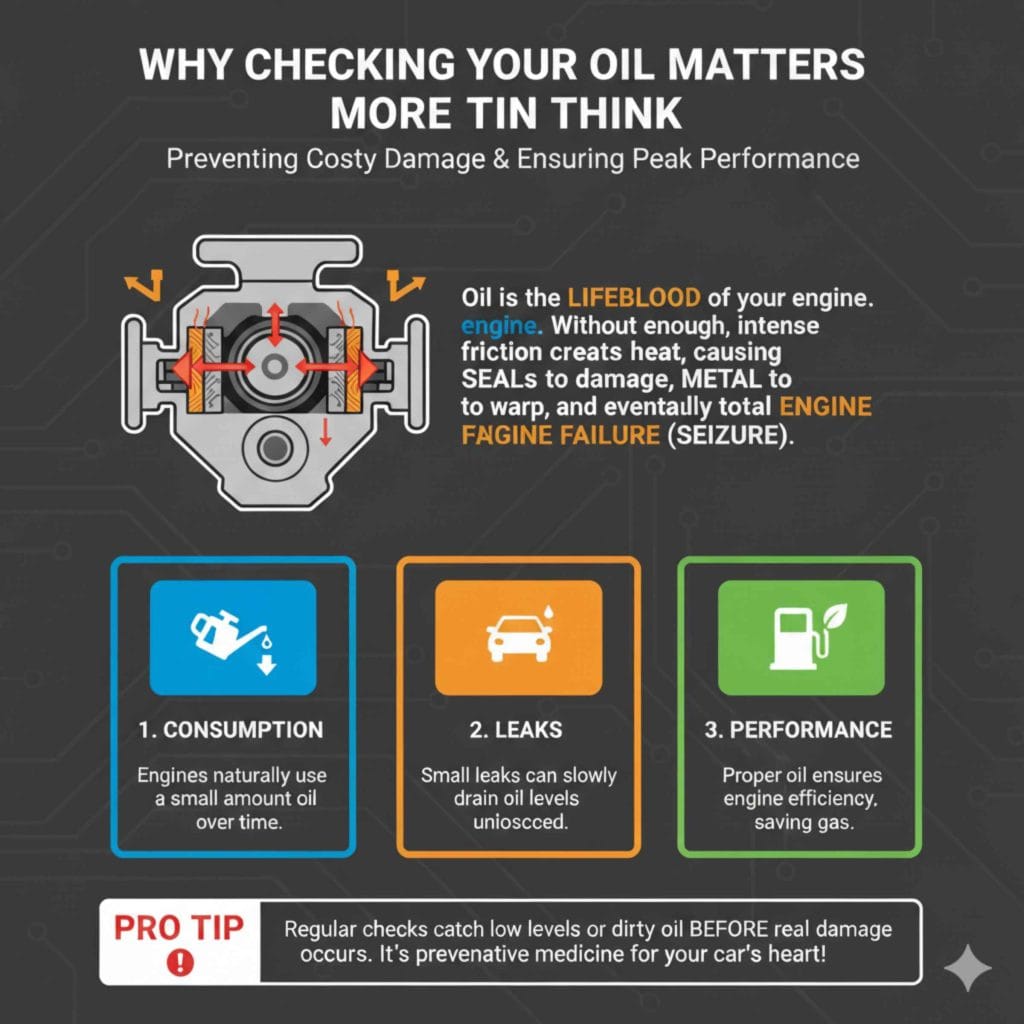
Why Checking Your Oil Matters More Than You Think
Oil is the lifeblood of your engine. Think of it as the protective barrier that keeps hundreds of moving metal parts from grinding against each other. Without enough clean oil, friction quickly creates intense heat. This heat damages seals, warps metal, and can eventually lead to complete engine failure—a very costly repair, often called “seizing” the engine.
Regular checks are necessary because:
- Consumption: Engines naturally consume a small amount of oil over time.
- Leaks: Small leaks can slowly drain the oil level without you noticing drips on your driveway.
- Performance: Proper oil levels ensure the engine runs efficiently, saving you money on gas.
Knowing when and how to check ensures you catch low levels or very dirty oil before real damage occurs. It’s preventative medicine for your car’s heart!
When and Where to Check Your Engine Oil: The Ideal Setup
The accuracy of your oil check depends heavily on when you check it. If you check it immediately after turning the car off, the oil sprayed throughout the engine hasn’t had time to drain back down into the oil pan where the dipstick measures it. This leads to a falsely low reading.
The Golden Rule: Engine Temperature and Level Ground
For the most accurate reading, follow these two critical rules:
- Warm Engine, Settled Oil: Drive your car normally for about five to ten minutes. Then, park it on level ground. Turn the engine off and wait at least five minutes—ten minutes is even better. This gives the oil enough time to flow back down into the oil pan.
- Level Ground is Key: If your car is parked on a hill or severe incline, the oil will pool to one side of the pan, giving you an inaccurate high or low reading. Always find the flattest spot possible.
How Often Should I Check?
Your car is unique, but here is a safe schedule that most drivers can follow:
- Monthly Routine: Make it a habit to check your oil once a month.
- Before Long Trips: Always check the level before embarking on any long road trip—it’s a quick way to ensure safety.
- If You Notice Issues: If you hear any new tapping or knocking noises, or if your oil pressure warning light comes on, stop driving immediately and check the oil.
Gathering Your Tools: What You Need
Fortunately, checking the oil requires wonderfully few tools. You probably already have everything you need.
Essential Items Checklist:
- Rags or Paper Towels: You will need several clean, lint-free cloths or paper towels to wipe the dipstick clean before and after dipping.
- Gloves (Optional): If you don’t want to get oily, thin nitrile gloves can keep your hands clean.
- Owner’s Manual (Recommended): This book tells you exactly where the dipstick is located and what type of oil your car requires.
A quick note on finding the dipstick: In most modern cars, the dipstick handle is brightly colored—often yellow, orange, or red—and usually has a small picture of an oil can printed on the top. If you cannot find it, check your National Highway Traffic Safety Administration (NHTSA) resource pages or your owner’s manual for guidance.
Step-by-Step: The Best Way to Check Your Car Oil
Follow these ten steps precisely. If you do them in order, you will get a perfect, reliable reading every single time. We are aiming for clarity and accuracy!
Step 1: Secure the Vehicle and Wait
Park on level ground. Turn off the engine and let it sit for at least five minutes (ten is ideal) so the oil drains completely into the pan.
Step 2: Locate the Dipstick
Open the hood. Look for the brightly colored handle. If you have trouble finding it, consult your manual or look near the front of the engine block.
Step 3: Pull Out the Dipstick
Grasp the handle firmly and pull the dipstick straight out. Be careful not to let it scrape against other engine parts on the way out.
Step 4: Wipe It Clean (First Wipe)
Use one of your clean rags or paper towels to thoroughly wipe all the oil residue off the entire length of the metal stick. This is crucial for getting a clean starting point.
Step 5: Reinsert Fully
Push the clean dipstick completely back into its tube until the handle seats firmly. It needs to go all the way down to touch the oil in the pan.
Step 6: Pull Out Again for Reading
Slowly and carefully pull the dipstick out again. Hold it horizontally so the oil doesn’t run off the measuring end before you look at it.
Step 7: Visually Inspect the Oil Level
Look closely at the bottom end of the dipstick. You will see markings—usually two dots, two lines, or words like “ADD” and “FULL.”
- The Sweet Spot: The oil level should be exactly between those two marks, ideally closer to the “FULL” mark.
- If it’s at “ADD”: This means you are critically low and should add at least half a quart of oil immediately.
- If it’s above “FULL”: This is rare but means there is too much oil. Too much oil can cause foaming and damage seals.
Step 8: Check Oil Quality (Color and Texture)
While the stick is out, use the clean part of your rag to check the actual condition of the oil itself. This is just as important as the level!
| Oil Appearance | What It Means (Action Needed) |
|---|---|
| Clear Amber/Gold | Brand new or very recently changed. Great condition. |
| Dark Brown/Black | Needs changing soon, but still likely okay for a few weeks. |
| Milky/Frothy/Light Brown | Serious problem! Water or coolant leak likely. See a mechanic ASAP. |
| Gritty or Contains Metal Flakes | Severe engine wear. Do not drive; tow it to a repair shop. |
Step 9: Final Clean Up
Wipe the sticky end of the dipstick clean one last time. If you are adding oil, do it now (we cover adding oil next). If the level is fine, slowly slide the dipstick completely back into its tube until it clicks or seats firmly.
Step 10: Close the Hood
Ensure your hood latch is securely closed. You are done!
What If I Need to Add Oil?
If your dipstick reading is low, you need to add the correct type of oil. Adding oil is simple:
- Locate the Oil Fill Cap: This is usually on the top of the engine valve cover and will often have the required oil weight printed on it (e.g., 5W-30). Refer to your owner’s manual if you are unsure about the type.
- Use a Funnel: Always use a clean funnel to help you pour neatly and prevent spills onto hot engine components.
- Pour Slowly: Add oil in small increments—start with half a quart (about half of a standard bottle).
- Recheck: Wait five minutes for the added oil to settle, then repeat the entire dipstick check process (Steps 3 through 8 above). Keep adding small amounts, checking each time, until you reach the “FULL” mark. Never overfill!
Common Dipstick Confusion: What the Marks Mean
Different car manufacturers use different markers for their dipsticks. Understanding these varied markings is key to building confidence.
Here’s a quick breakdown of what you might see:
| Marking Style | Interpretation (Start to Finish) |
|---|---|
| Two Dots/Holes | The lower dot is “ADD”; the upper dot is “FULL.” |
| Hatching/Cross-Hatching Area | The safe operating range is anywhere within this textured area. |
| F and L (Full and Low) | L is the minimum level; F is the maximum. |
Important Note on Capacity: Most cars hold between four and six quarts of oil. When your oil is completely drained (like during an oil change), you usually need to add about one full quart to move the level from the “ADD” mark to the “FULL” mark. This means that if your oil is currently at the “ADD” line, you need about one quart to top it off.
Troubleshooting Common Oil Checking Problems
Even following the steps perfectly, you might run into minor hiccups. Don’t worry—these are common issues that are usually easy to fix.
Problem 1: The Dipstick is Stuck or Hard to Pull Out
This happens if the rubber o-ring seal at the top of the stick gets old or sticky. Wiggle it gently as you pull straight up. If you pull too hard or twist, you risk breaking the handle off in the tube, which means a trip to the mechanic! Be patient.
Problem 2: You Can’t Find the Dipstick Tube
In some modern cars, especially those with top-mounted engines or turbochargers, the dipstick tube might be partially covered or tucked away. Look for a small, usually brightly colored cap that is clearly designed to be pulled out, or check where the engine block meets the transmission housing.
Problem 3: The Reading Looks Falsely High
This almost always happens if you check the oil right after running the engine. The oil hasn’t drained yet. The solution is simple: Wait longer. If you waited 10 minutes and it’s still falsely high, you might have recently had an oil change where too much was added. If it’s significantly overfilled, you should have a shop suction out the excess.
Problem 4: The Oil is Foamy or Milky
This is a serious signal. Clean oil should look translucent brown or black when smeared on a white rag. If it looks like a pale coffee with cream, it means coolant or water is mixing with the oil. This usually indicates a blown head gasket or a cracked engine block. If you see this, cease driving immediately. As the U.S. Department of Energy advises, proper maintenance is key to efficiency, and this scenario requires immediate professional attention.
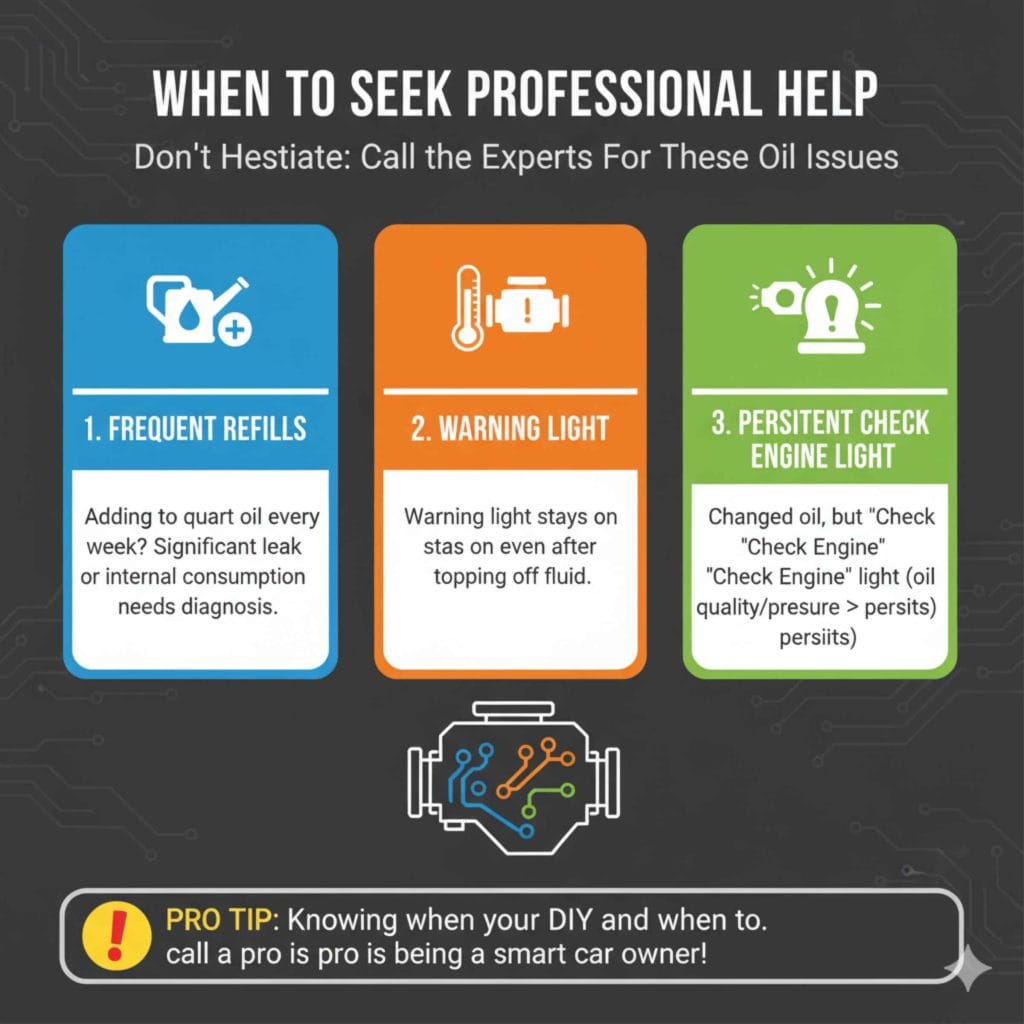
When to Seek Professional Help
While checking the oil is easy DIY maintenance, some issues are best left to the experts. Don’t hesitate to call your trusted shop if:
- You are adding a quart of oil every week; this indicates a significant leak or high internal consumption that needs diagnosis.
- The oil pressure warning light stays illuminated even after topping off the fluid.
- You change the oil, but the “Check Engine” light related to oil quality or pressure persists.
- You notice heavy, continuous dripping from underneath the car, indicating a serious external leak (oil pan gasket, drain plug, etc.).
Remember, knowing when to handle it yourself and when to call a pro is part of being a smart car owner!
Frequently Asked Questions (FAQs)
Q1: What oil viscosity (like 5W-30) should I use?
A: Always use the viscosity grade recommended in your vehicle’s owner’s manual. Using the wrong weight can lead to poor lubrication and increased engine wear, especially in very hot or very cold conditions.
Q2: Can I check the oil while the engine is running?
A: While minor leakage might be visible, you cannot get an accurate measurement. The engine must be turned off and allowed to rest for at least five minutes for the oil to settle back into the pan for a reliable reading.
Q3: Does it hurt my car if the oil is slightly below the “FULL” line?
A: If the oil is below the “ADD” line, yes, it hurts your car immediately. If it is between the “ADD” and “FULL” marks, it is generally safe for a short time, but you should top it off soon. Aim to keep it near the “FULL” mark.
Q4: How much oil does it take to move the level from “ADD” to “FULL”?
A: Typically, the difference between the “ADD” and “FULL” marks represents about one quart of oil capacity. Adding half a quart at a time is safest when topping it off.
Q5: Why does my dipstick have oil smeared all the way up the metal part?
A: This usually means the engine was running too recently when you pulled the stick, or the engine bay is heavily splashed with oil. Always wipe the stick completely clean before re-dipping.
Q6: Should I ever check the oil when the engine is cold?
A: Yes, you technically can, but the reading will be less accurate as cold oil is thicker and drains back slower. It’s better than not checking at all, but the warm, settled reading is the industry standard for accuracy.
Conclusion: Building Your Car Care Confidence
There you have it! You now know exactly what the best way to check your car oil is—wait five minutes after running, park level, pull the stick, wipe it, reinsert fully, and read carefully. This isn’t complicated, and every time you perform this simple check, you are strengthening your relationship with your vehicle and protecting your investment.
Don’t let the fear of the unknown keep you from vital maintenance tasks. Think of checking your oil—and knowing what the color means—as your weekly five-minute security check. By staying on top of this one simple habit, you ensure your engine stays lubricated, runs efficiently, and stays reliable for years to come. Great job taking control