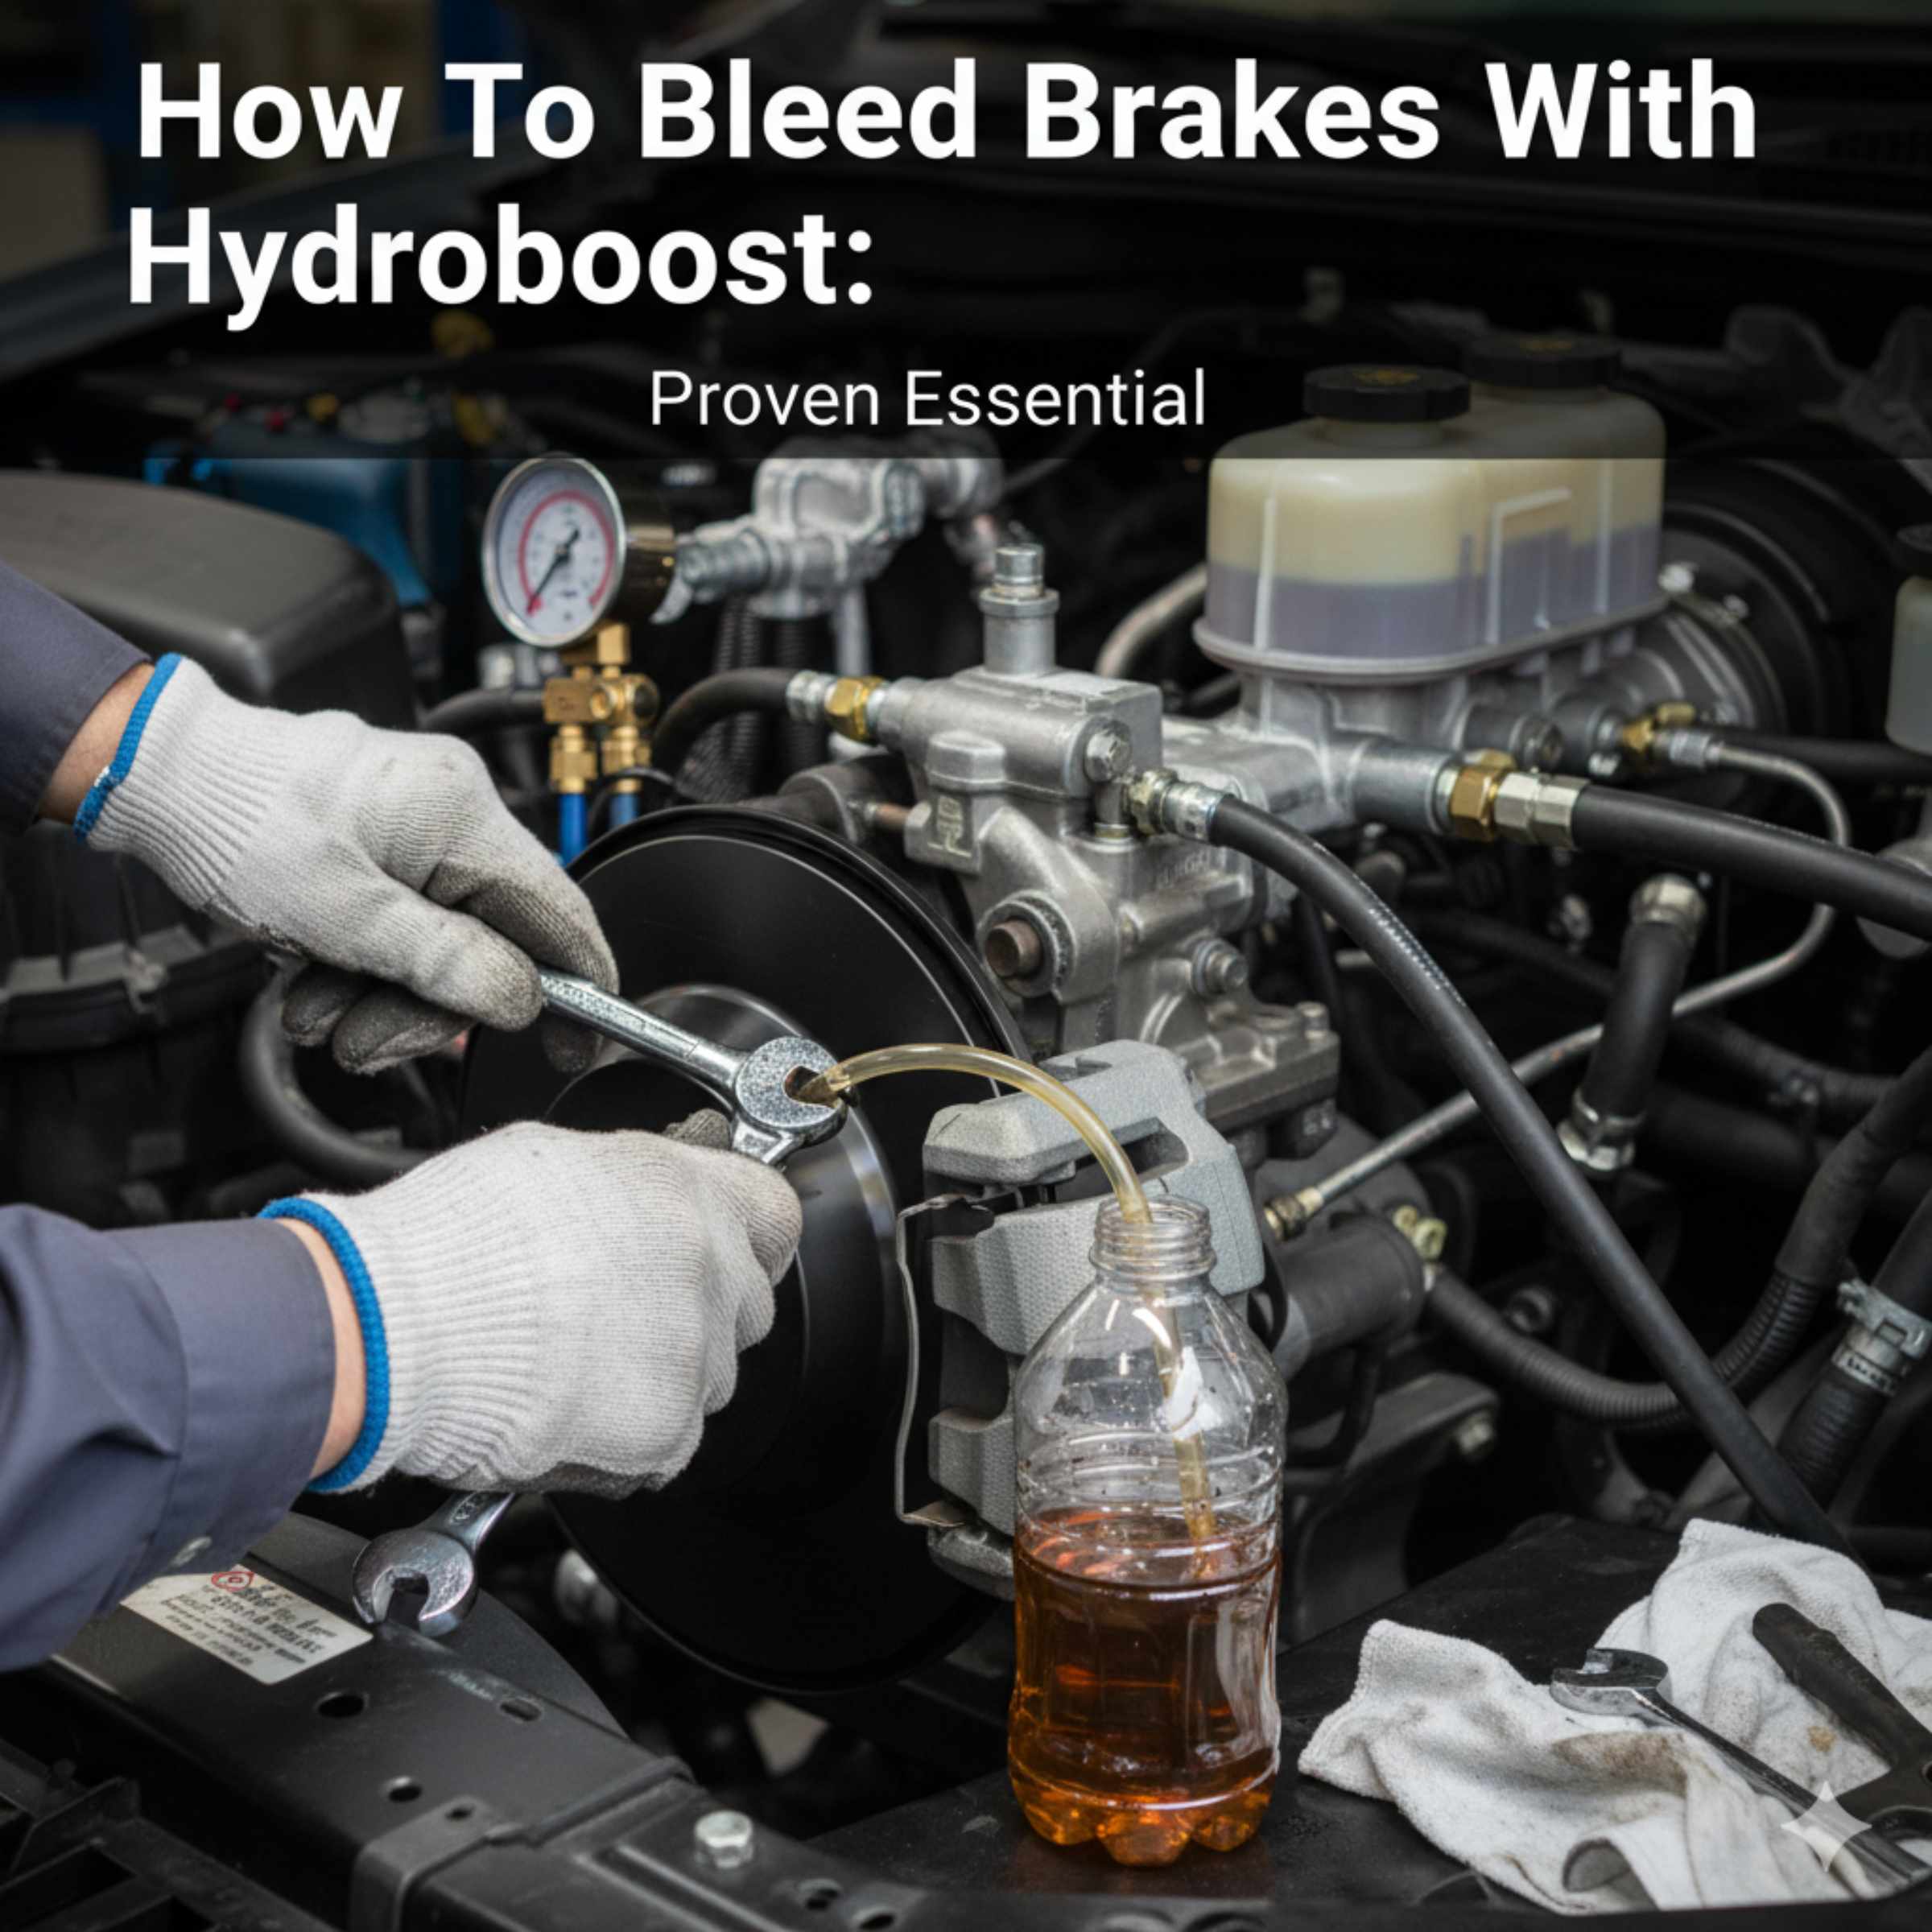
Quick Summary: Bleeding brakes with a Hydroboost system is essential for pedal firmness and safety. The process is similar to standard bleeding but requires careful attention to not let the power steering pump run dry. Cycle the pedal a few times before opening the bleeder screw to build pressure, always keeping the power steering reservoir full.
Is your brake pedal feeling spongy or soft? That’s a clear sign that air has sneaked into your brake lines. Air compresses easily, which is why you lose stopping power. Dealing with brakes can seem intimidating, especially with a Hydroboost system, but I promise it’s totally doable. Hydroboost uses power steering fluid pressure instead of vacuum to assist braking, but the bleeding job is fundamentally the same. We will walk through this step-by-step so you can get firm, reliable brakes safely. By the end of this guide, you’ll feel much more confident in your vehicle’s stopping ability.
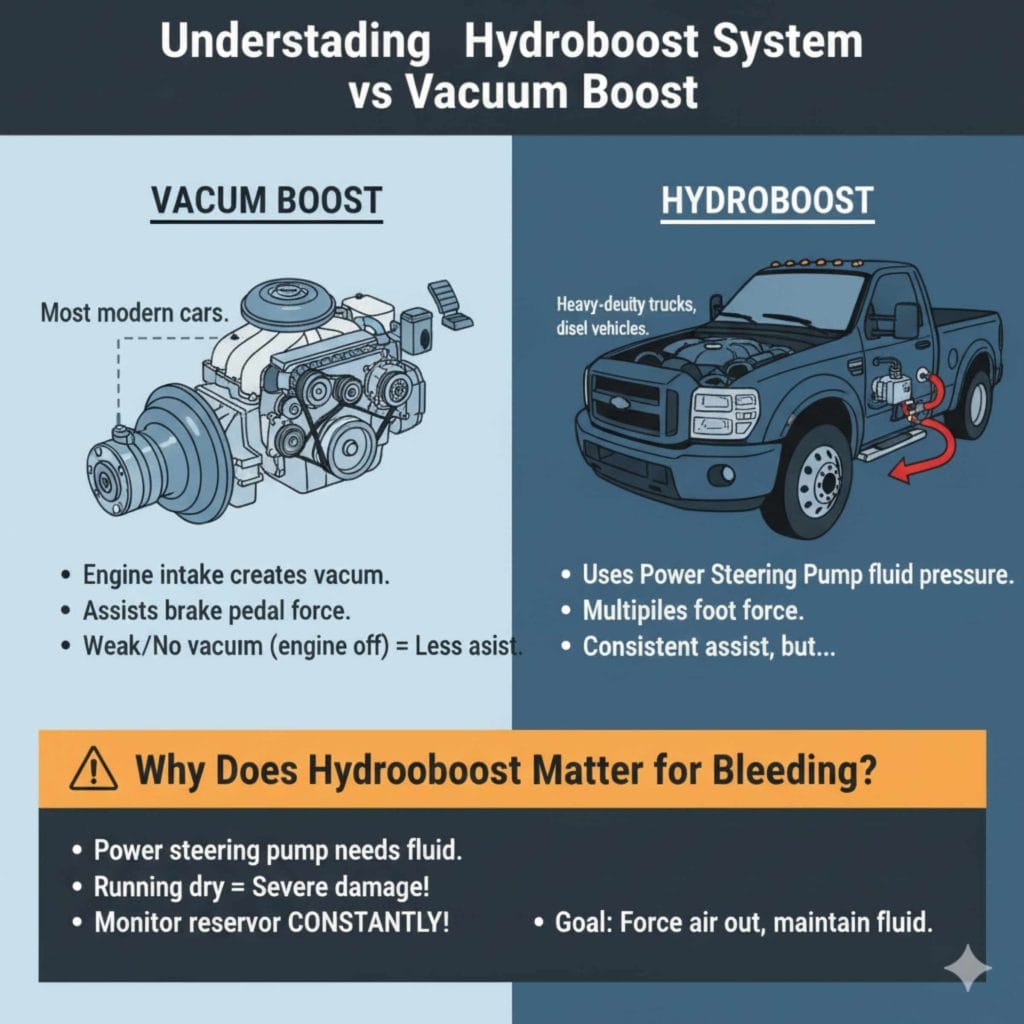
Understanding Your Hydroboost System vs Vacuum Boost
Before we grab the wrench, let’s quickly understand what makes Hydroboost different. Most modern cars use a vacuum booster powered by the engine intake manifold. If the engine is off or the vacuum supply is weak, the brake assist drops off. Hydroboost systems are often found on diesel trucks or heavy-duty vehicles. Instead of engine vacuum, they use high-pressure fluid pumped by your power steering pump to multiply your foot pressure.
Why Does Hydroboost Matter for Bleeding?
The key difference when bleeding brakes with Hydroboost comes down to fluid management. If you let the power steering pump run without fluid, you risk damaging it severely. This is the single most important thing to watch out for. The steps for pushing brake fluid through the lines remain similar—you need to force the air out—but we must constantly monitor that power steering reservoir!
Safety First: Essential Checks Before You Begin
Brakes are your most important safety system. Never compromise on safety when working on them. Double-check everything before you start turning wrenches.
Tools and Supplies You Will Need
Gathering your supplies ahead of time makes the job smooth and quick. Here is what you need:
- New DOT 3 or DOT 4 brake fluid (check your owner’s manual—never mix fluid types!).
- A helper (this job is much easier with a second person).
- A clear plastic tube that fits snugly over the bleeder screw.
- A catch bottle or empty container for old fluid.
- Wrenches (usually 8mm, 10mm, or 11mm) to fit the bleeder screws.
- Rags or shop towels for spills.
- Safety glasses and gloves.
- A turkey baster or small pump to remove old fluid from the reservoir (optional but recommended).
Pre-Bleed Safety Checklist
We need a safe environment and a solid setup before hitting that pedal. A good starting point is understanding proper brake fluid specifications. According to resources like the National Highway Traffic Safety Administration (NHTSA), using the correct brake fluid is non-negotiable for safety and performance.
- Park on a flat, level surface and engage the parking brake firmly.
- Chock the wheels that will remain on the ground to prevent rolling.
- Put on your safety glasses and gloves.
- Locate the master cylinder under the hood.
Step-by-Step Guide: How to Bleed Brakes with Hydroboost
This process requires coordination between you (the pedal pusher) and your helper (the bleeder). We will follow the standard procedure, emphasizing the Hydroboost fluid check.
Step 1: Prepare the Master Cylinder Reservoir
This is where we handle the power steering aspect immediately.
- Remove the cap from the master cylinder reservoir.
- If the reservoir is more than half empty, use a turkey baster to remove some of the dark, old fluid until you have plenty of room to add fresh fluid.
- Top off the reservoir completely with fresh, sealed brake fluid. Do not skip this—we need space for the air to rise and for us to top it off frequently.
Step 2: Connect the Bleeding Tube
This step ensures we capture the old, air-filled fluid cleanly.
- Locate the bleeder screw on the brake caliper or wheel cylinder you plan to start with.
- Place the correct size wrench onto the bleeder screw.
- Slide one end of your clear plastic tube over the tip of the bleeder screw, ensuring a tight fit.
- Place the other end of the tube into your catch bottle, making sure the end is submerged in a little bit of fresh brake fluid already sitting in the bottle. This prevents air from being sucked back in.
Step 3: Determine the Starting Point (The Bleeding Sequence)
With any braking system, you always start with the wheel farthest from the master cylinder and work your way closest. This ensures the fluid travels the longest path first, pushing air toward the front.
For a standard four-wheel setup, the sequence is:
| Position | Relative Distance to Master Cylinder | Bleeding Order |
|---|---|---|
| Rear Passenger Side | Farthest | 1st |
| Rear Driver Side | Second Farthest | 2nd |
| Front Passenger Side | Second Closest | 3rd |
| Front Driver Side | Closest | 4th |
Note: Heavy-duty trucks with Hydroboost sometimes have unique routing, but Farthest-to-Closest is the universal rule.
Step 4: The Pumping Ritual (Building Pressure)
This is where we combine the unique Hydroboost requirement with standard bleeding. Your helper gets in the driver’s seat.
- Have your helper pump the brake pedal several times (about 4 to 6 strong pumps).
- After pumping, have them hold the pedal firmly to the floor and keep it held down. This builds hydraulic pressure in the system.
- Crucial Moment: While the pedal is held down, you (at the wheel) open the bleeder screw about a quarter to a half turn. You will see old fluid and air bubbles rush out.
- As the fluid exits, the pedal will sink further toward the floor. That is normal!
- Once the flow stops, close the bleeder screw completely before your helper releases the pedal.
Step 5: Constant Fluid Monitoring (The Hydroboost Watch)
This is the single most critical step to ensure you don’t damage the power steering pump that feeds the Hydroboost.
- At the Master Cylinder: Constantly watch the brake fluid level. Every 2 to 3 cycles of pump-and-bleed, you must stop, top off the fluid, and ensure the reservoir is close to full.
- If the fluid level drops too low, air can be sucked into the master cylinder, or starved fluid can damage the power steering pump. Keep the fluid level halfway between MIN and MAX.
Step 6: Repeat Until Clear Fluid Appears
Continue the action cycle (Pump, Hold, Open, Close, Release) at the first wheel.
- Repeat Step 4 until the fluid coming out of the clear tube is completely free of air bubbles and looks clean and fresh (the same color as the new fluid you just added).
- Once the first wheel is done, have your helper try the pedal. It should feel firmer than before, though likely still slightly soft.
- Move to the next wheel following your sequence (Step 3) and repeat Steps 2 through 5.
Step 7: Finalizing and Testing
After running through all four wheels, the system should be relatively free of air.
- Once the last wheel is bled, have your helper pump the pedal a few times.
- The pedal should move up quickly and feel firm and solid.
- Tighten the final bleeder screw securely, but do not overtighten—they can snap off easily! Torque specs are usually very low (often under 15 ft-lbs).
- Remove all tools, rags, and the bleeding tube. Clean up any spilled brake fluid immediately, as it damages paint.
- Top off the master cylinder reservoir to the MAX line and securely fasten the cap.
Post-Bleed Test Drive
Do not immediately drive onto the highway. Test your work in a safe, open area:
- Start the engine. You should hear the power steering pump working.
- Depress the brake pedal. It should feel firm and stop the vehicle effectively.
- If the pedal is still soft, you likely need to repeat the entire process (or you missed an air pocket in the master cylinder first).
Troubleshooting Common Hydroboost Bleeding Issues
Even when following instructions perfectly, sometimes air gets stubborn. Here are common problems and simple fixes.
Spongy Pedal Persists
If you’ve bled the wheels multiple times and the pedal is still soft, the air is likely trapped in the master cylinder itself.
The Fix (Bench Bleeding or In-Car Bleeding): With the master cylinder cap off, pump the pedal slowly. If it takes several pumps to build pressure, gently tap the master cylinder body with a rubber mallet while holding the pedal down lightly. This encourages trapped air near the piston outlets to rise. Re-bleed the system afterward.
Power Steering Fluid Foaming
If you see excessive bubbles or foam in the power steering reservoir, it means air is entering the power steering pump itself. This is a common side effect of aggressively bleeding a Hydroboost system if the reservoir dips too low.
Recommendation: Stop bleeding immediately. Let the engine run for a few minutes to circulate fluid at idle, allowing bubbles to rise. Top off the reservoir, wait for the foam to settle, and recheck carefully before proceeding.
Leaking Bleeder Screws
If fluid leaks around the bleeder screw after closing it, it wasn’t tight enough or the threads are slightly damaged.
The Fix: Ensure you used the correct size wrench. Tighten it slightly more. If it still leaks, you may need new crush washers or a replacement bleeder screw, but for a temporary fix, a very gentle final torque might seal it momentarily.
The Difference Between Pressure Bleeding and Manual Bleeding
While the above steps detail the simple two-person manual method, dedicated DIYers might consider pressure bleeding. This is faster but requires specialized equipment.
| Method | Requires Helper? | Speed | Notes for Hydroboost |
|---|---|---|---|
| Manual (Two-Person) | Yes | Slow to Moderate | Best for beginners; easy to monitor PS fluid. |
| Pressure Bleeder | No | Fast | Forces fluid in under pressure; requires careful setup to ensure PS reservoir doesn’t overfill. |
Pressure bleeding machines attach to the master cylinder and push fluid through. While fast, you must strictly manage the pressure setting—too high, and you risk blowing seals, especially in older Hydroboost components. For most DIYers, the two-person manual method remains the safest starting point.
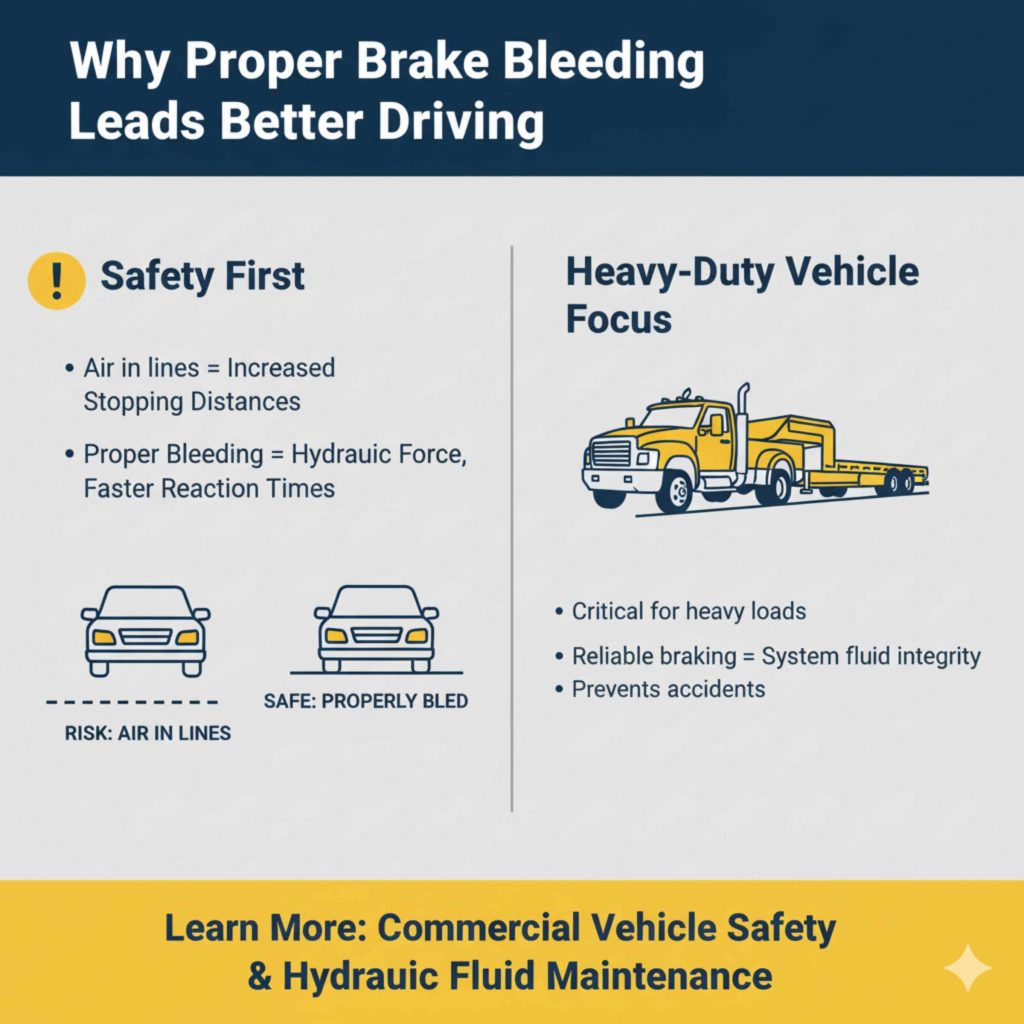
Why Proper Brake Bleeding Leads to Better Driving
Brakes aren’t just something you fix; they are what keep you safe. Air in the lines dramatically increases stopping distances. By successfully bleeding your Hydroboost brakes, you are ensuring that the hydraulic force assists braking exactly when you need it.
For drivers of trucks and heavy vehicles using Hydroboost, maintaining high performance is critical because these often carry heavy loads. Reliable braking is directly tied to maintaining the system’s fluid integrity. A properly bled system means faster reaction times and shorter stopping distances, which can prevent accidents.
For those interested in understanding more about maintaining heavy-duty braking systems, resources focusing on commercial vehicle safety often highlight the importance of hydraulic fluid maintenance, reinforcing our need to keep those lines clear of contamination and air.
Frequently Asked Questions (FAQ) About Bleeding Hydroboost Brakes
Q1: How often do I need to bleed my brakes if I have a Hydroboost system?
A1: Generally, you only need to bleed your brakes when the brake fluid has been completely replaced, if you have worked on a brake component like a caliper or master cylinder, or if the pedal feels spongy. If you keep your fluid fresh, a bleed every two to three years is good preventative maintenance.
Q2: Can I use a vacuum bleeder on a Hydroboost system?
A2: Yes, you can use a vacuum bleeder, but it is slightly less effective than the two-person method for removing air trapped near the master cylinder. You must still actively monitor the power steering reservoir, as vacuum bleeders can sometimes draw fluid out of non-brake hydraulics if the vacuum is poorly sealed.
Q3: What happens if I let the power steering reservoir run dry while bleeding?
A3: This is bad news! If the power steering pump runs dry, it sucks in air and can quickly overheat and destroy itself. Replacing a power steering pump is much more expensive than buying a bottle of brake fluid, so constant monitoring is essential.
Q4: Do I need to start the engine while bleeding my Hydroboost brakes?
A4: Yes, after the initial few pumps with the engine off, you must run the engine. Running the engine powers the power steering pump, which pressurizes the Hydroboost unit, allowing the brake assist to function normally during the bleeding process. Having engine power also ensures all brake components are under operating pressure.
Q5: The pedal is firm when the engine is off, but soft when it’s running. What’s wrong?
A5: This strongly suggests an issue with the Hydroboost unit itself or that air is trapped in the booster assembly rather than the lines. If the pedal is firm with the engine off (meaning the basic hydraulics are okay), re-bleed the system focusing on the master cylinder outlet fittings first, as air loves hiding there.
Q6: Can I mix DOT 3 and DOT 4 brake fluid?
A6: While DOT 3 and DOT 4 fluids are compatible in many modern systems, it is always best practice to use the exact fluid specified in your vehicle manual. DOT 4 has a higher boiling point. Mixing them generally lowers the overall boiling point, which reduces performance safety, particularly under heavy braking conditions common with vehicles using Hydroboost.
Conclusion: Confidence in Your Stopping Power
Mastering how to bleed brakes with a Hydroboost system isn’t just about saving a repair bill; it’s about regaining complete confidence in your vehicle’s safety. While the power steering fluid monitoring adds a layer of complexity, remembering the primary rule—keep that reservoir full—makes the process manageable. By following the careful, step-by-step sequence, keeping your helper coordinated, and frequently checking your fluid levels, you will successfully purge all the air. Enjoy that firm, responsive brake pedal; you earned that feeling of mechanical security through smart, practical DIY work!