Putting lights under your car can cost anywhere from $50 to $350 or more, depending on the type of lights, whether you DIY or hire a pro, and the complexity of the installation. This guide breaks down the costs and helps you make an informed decision.
Have you seen cars with cool glowing lights underneath and wondered if it’s something you can do too? Maybe you’re thinking it looks awesome, or perhaps you’re worried about how much it might cost. The good news is that adding underglow lights to your car is more accessible than you might think. While the price can vary, understanding the different options and what influences the cost is key. This guide will walk you through everything you need to know, from the different types of lights to average installation expenses, so you can decide if this stylish upgrade is right for you and your budget. Let’s light up your ride!
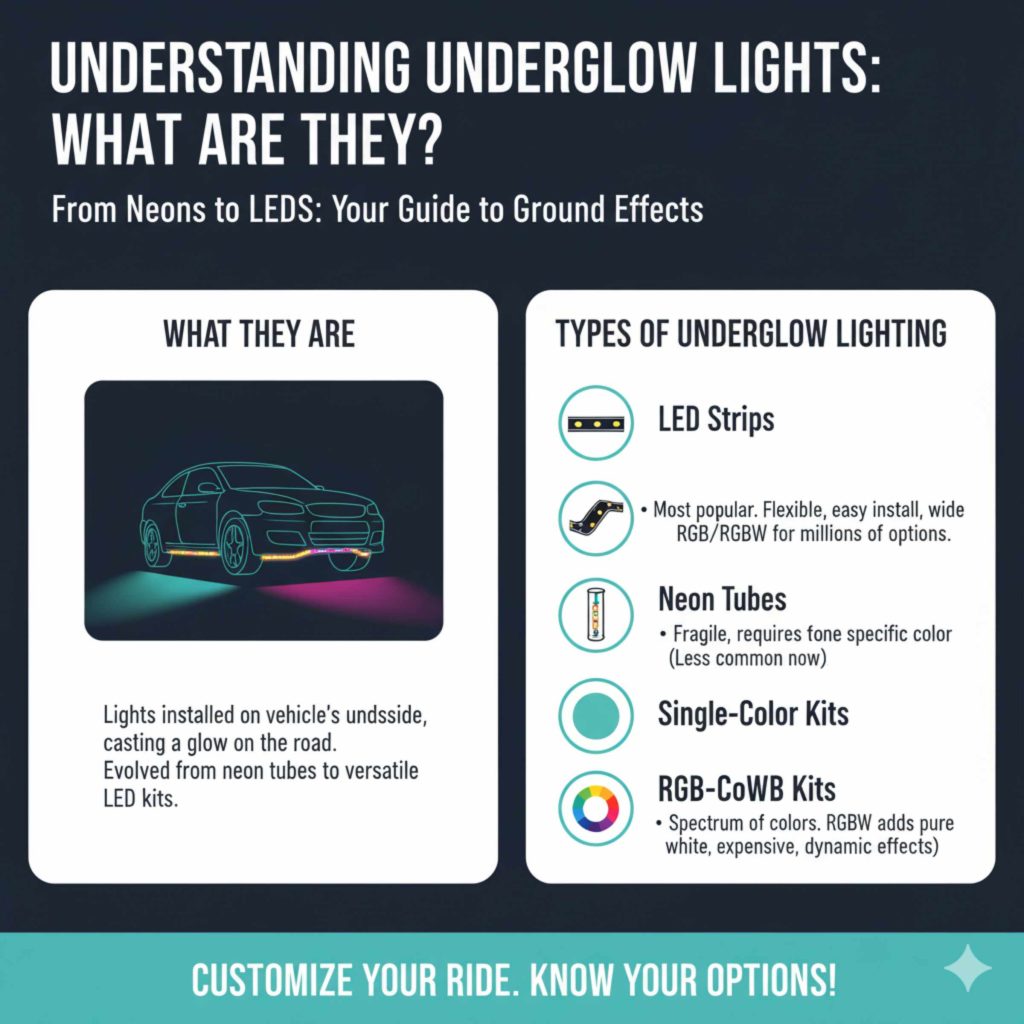
Understanding Underglow Lights: What Are They?
Underglow, sometimes called “neons” or “ground effects,” refers to lights installed on the underside of a vehicle. These lights cast a glow onto the road surface, creating a distinctive custom look. They’ve been around for decades, evolving from bulky neon tubes to sleeker, more versatile LED kits.
Types of Underglow Lighting
The kind of lights you choose is a major factor in the overall cost. Here are the most common types:
- LED Strips: These are the most popular and versatile. They are flexible, easy to install, and come in a wide range of colors. Many modern LED kits are “y, allowing you to choose from millions of colors and create dynamic lighting effects.
- Neon Tubes: While less common now due to the rise of LEDs, traditional neon tubes offer a classic look. They are more fragile and require a ballast, making them a bit more complex and expensive for some setups.
- Single-Color Kits: If you just want a specific color, like blue or purple, these are usually the most budget-friendly option. They offer a consistent glow without the fancy features.
- RGB/RGBW Kits: These offer a spectrum of colors. RGBW kits add a dedicated white LED, providing purer whites and more color mixing options than standard RGB. They are generally more expensive than single-color kits.
Cost Breakdown: What Influences the Price?
Several factors contribute to the total cost of installing underglow lights. Knowing these will help you estimate what you’ll be spending.
1. The Lights Themselves (The Kit)
This is often the biggest part of the cost. The price of the light kit depends on the brand, quality, features, and how many lights you get.
Factors Affecting Kit Price:
- Brand Reputation: Established lighting brands often cost more but typically offer better quality, durability, and warranty.
- Features: Smart features like app control, music synchronization (lights pulse with your music), and customizable color patterns significantly increase the price.
- Durability and Weatherproofing: Higher-quality kits are built to withstand road debris, water, and vibrations. Look for IP ratings (like IP67 or IP68) for good weather resistance.
- Length and Quantity: Kits come with varying lengths of light strips and a different number of pods or strips. Longer vehicles or those wanting more coverage will need more product, increasing cost.
Typical Kit Price Ranges:
Here’s a general idea of what you might expect to pay for the light kits alone:
- Basic Single-Color LED Kits: $30 – $80
- Standard RGB LED Kits (with remote control): $70 – $150
- Advanced RGBW or Smart LED Kits (app control, music sync): $150 – $350+
- Underglow Pod Kits: These often come in sets of 4 or 6 pods. $50 – $200, depending on features.
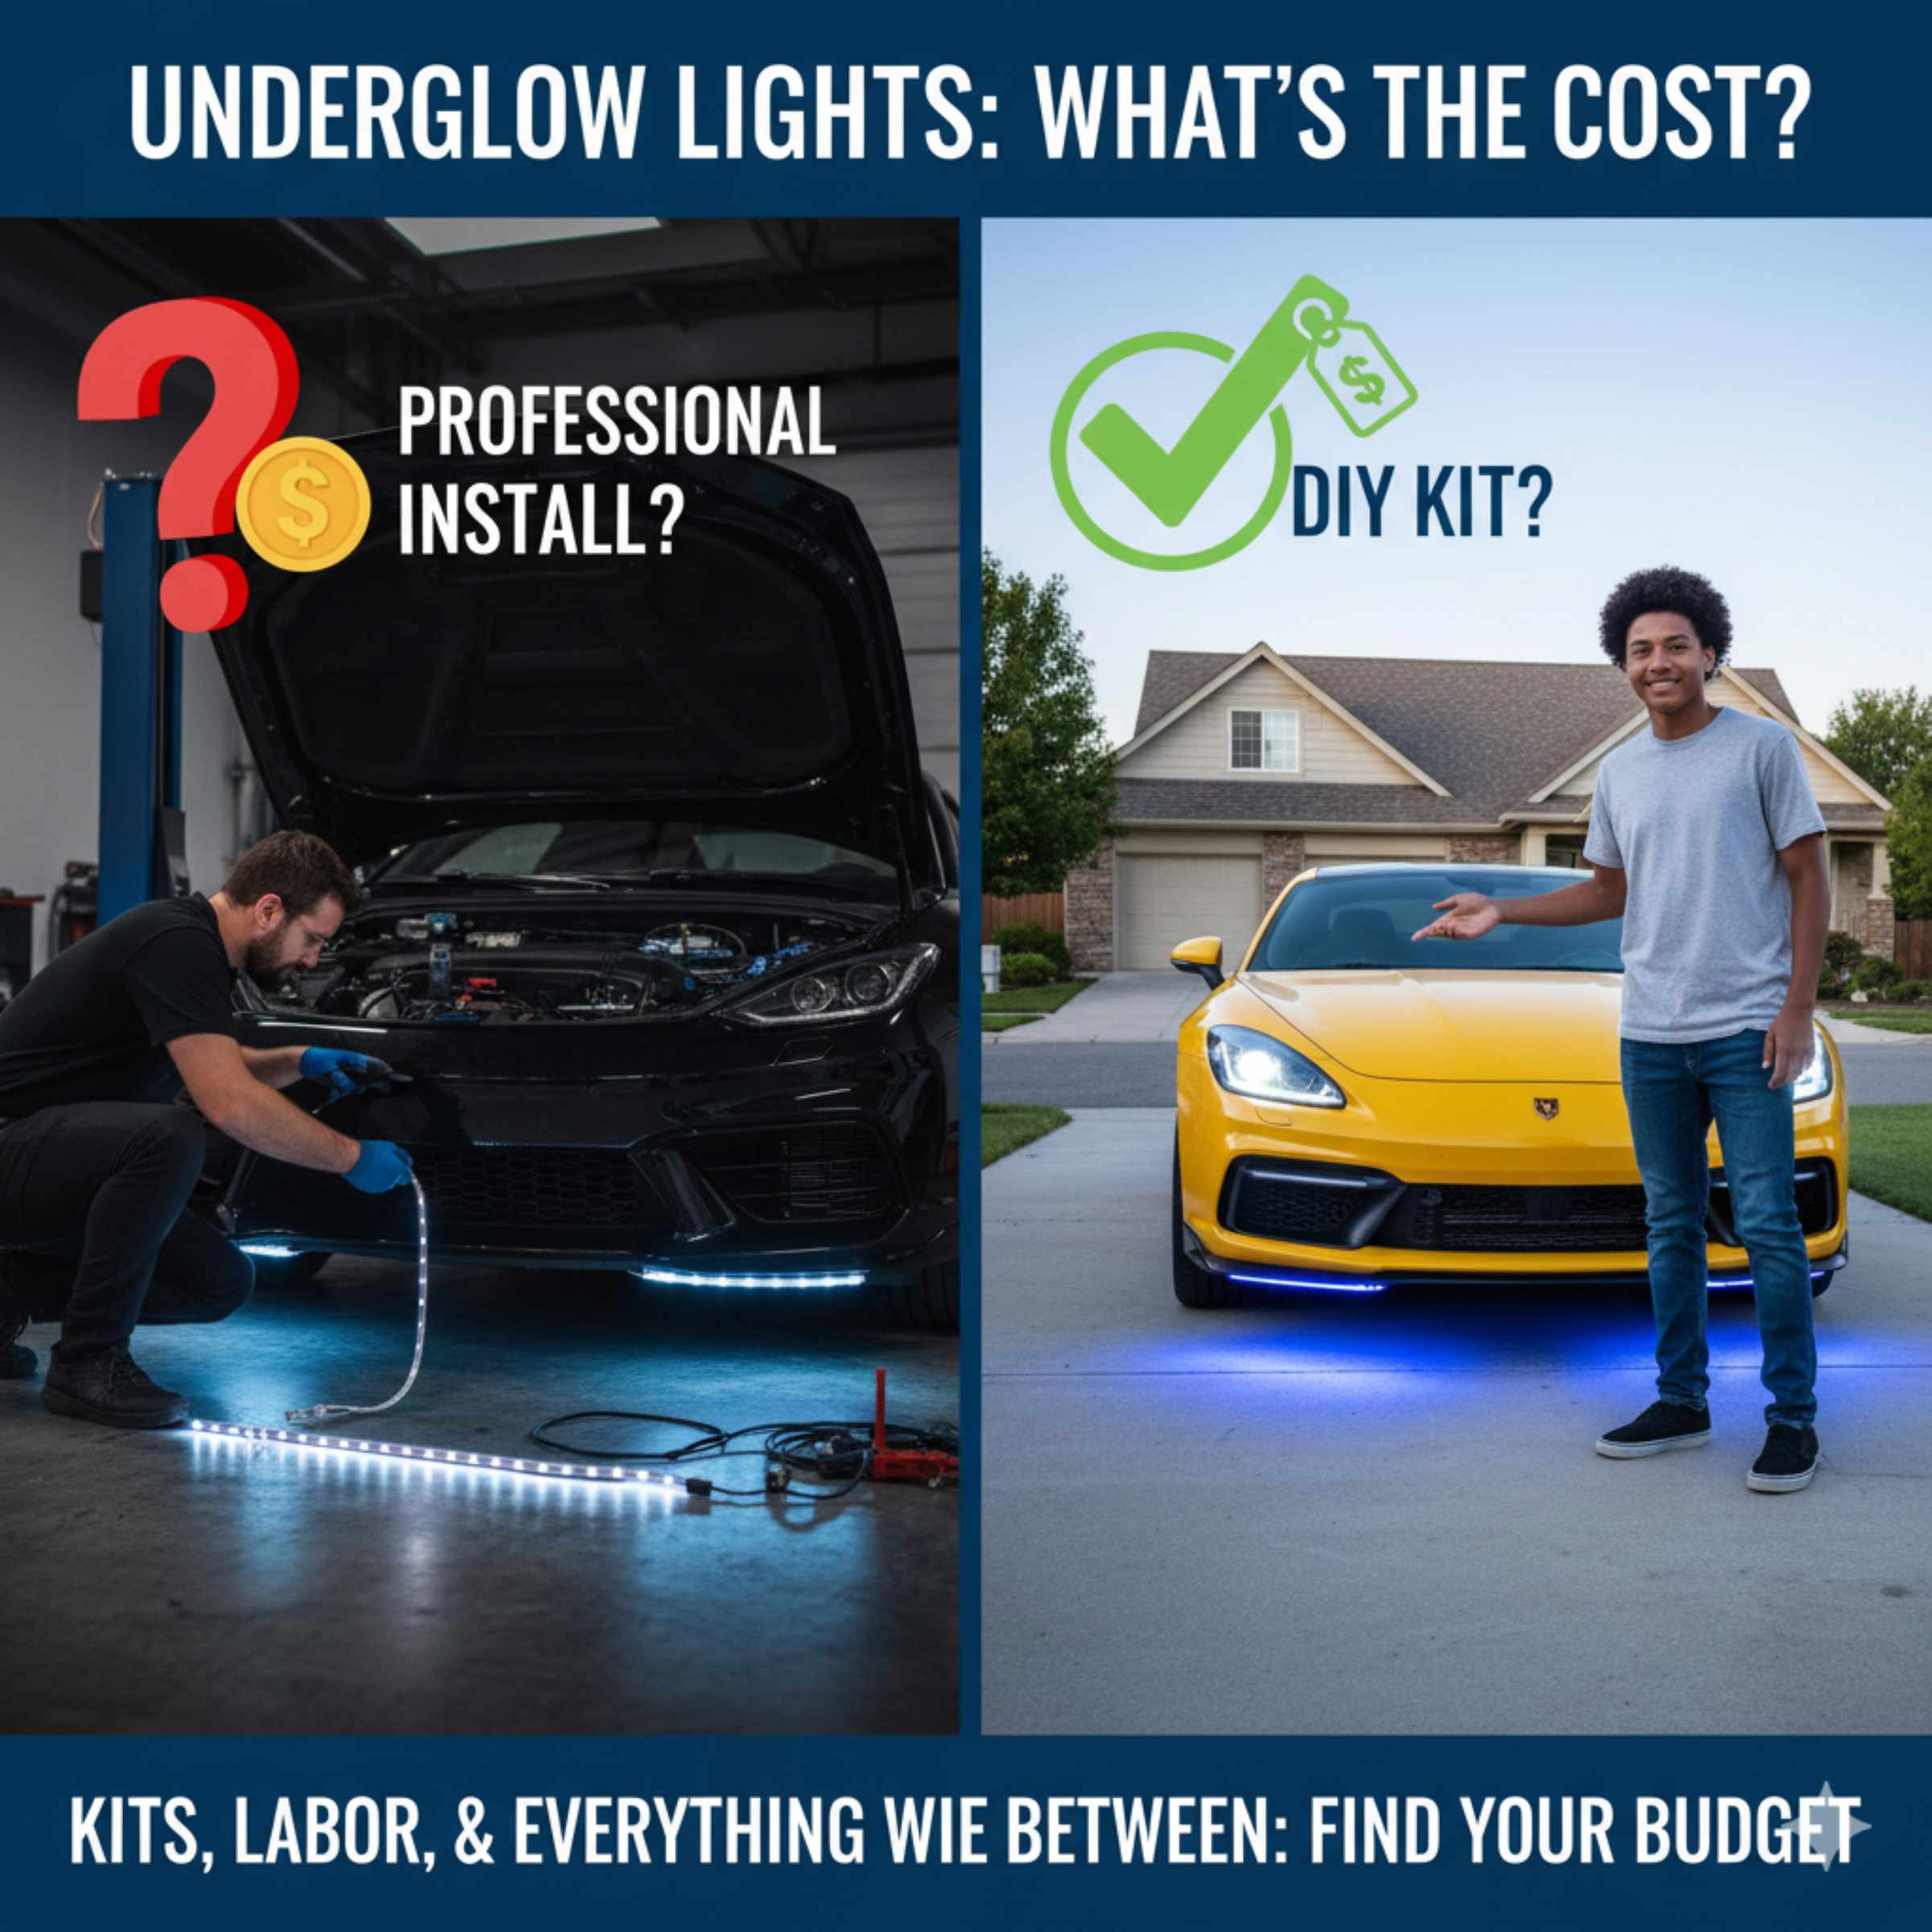
2. Installation Method: DIY vs. Professional
This is a critical decision that impacts both cost and complexity.
DIY Installation:
If you’re comfortable working with your car’s electrical system and have some basic tools, you can save a significant amount by installing the lights yourself. The cost here is primarily the kit plus any small miscellaneous items.
- Pros: Significant cost savings, personal satisfaction, learning new skills.
- Cons: Requires time, patience, and some technical know-how. Potential for errors if not done carefully.
Professional Installation:
Hiring a professional auto customizer or a reputable car audio/electronics shop will ensure a clean, reliable installation but will add to the overall cost.
- Pros: Expert installation, warranty on labor, no stress for you.
- Cons: Higher overall expense.
3. Installation Labor Costs
If you opt for professional installation, labor rates vary widely by region and by the shop’s specialization.
- Hourly Rates: Shops might charge anywhere from $50 to $150 per hour.
- Flat Rate for Underglow: Many shops offer a flat rate for underglow installation. This can range from $100 to $300 or more, depending on the complexity of the job and the type of lights.
A typical professional installation might take 2-4 hours. For example, at $75/hour, 3 hours of labor would add $225 to your bill.
Estimated Total Costs
Let’s put it all together to see potential total cost ranges. These are estimates and can fluctuate.
Cost Ranges Summary Table
| Installation Type | Light Kit Cost | Estimated Labor Cost | Total Estimated Cost |
|---|---|---|---|
| DIY: Basic Single-Color | $30 – $80 | $0 (your time!) | $30 – $80 |
| DIY: Smart RGB/RGBW | $150 – $350+ | $0 (your time!) | $150 – $350+ |
| Professional: Basic Single-Color | $30 – $80 | $100 – $250 | $130 – $330 |
| Professional: Smart RGB/RGBW | $150 – $350+ | $150 – $350+ | $300 – $700+ |
As you can see, going the DIY route for a high-end kit can still cost more than a professional installation of a basic setup. The “sweet spot” for many people looking for a good balance of features and cost might be a mid-range RGB kit installed professionally, often falling in the $250-$400 range.
Factors That Can Increase Costs
Beyond the basic kit and installation, other elements can bump up the final price.
- Customization and Extra Features: Adding extra LED strips for wheel wells, interior lighting, or specialized effects will increase the price of the kit and installation time.
- Wiring Complexity: If your car has very limited space under the chassis or a complex underbody layout, it might take longer to run wires, increasing labor costs.
- High-End Brands/Off-Road Specific Kits: Some premium brands or kits designed for heavy-duty use (like off-roading) are built with more robust materials and advanced features, commanding higher prices. For instance, kits designed to withstand extreme conditions from companies like Rigid Industries, though often used for off-road applications, exemplify higher build quality and corresponding cost.
- Control Options: While app control is common, some advanced systems might use dedicated control boxes with more buttons or features, which can add to the kit cost.
- Power Source Integration: Some installations might require more complex wiring to tap into the car’s power source, especially if you want the lights to be controlled by specific vehicle functions (though this is rare for simple underglow).
DIY Installation: A Closer Look
If you’re thinking about tackling this yourself, here’s what you’ll need and a general overview of the process. This can help you gauge if it’s truly for you.
Tools You’ll Likely Need:
- The Underglow Kit: Essential!
- Wire Strippers/Crimpers: For making secure electrical connections.
- Assorted Screwdrivers and Socket Set: For removing any necessary panels.
- Zip Ties and/or Mounting Clips: To secure the wiring and light strips neatly.
- Drill (optional): Might be needed for running wires through the firewall or securing mounting points.
- Multimeter (optional but recommended): To test voltage and continuity, ensuring correct connections and troubleshooting. You can find affordable ones at most hardware stores or online retailers like The Home Depot.
- Electrical Tape or Heat Shrink Tubing: For insulating connections.
- Safety Glasses: Always protect your eyes!
- Car Jack and Jack Stands: To safely lift your car for access underneath. Never work under a car supported only by a jack. Ensure you understand proper vehicle lifting and support procedures from resources like the National Highway Traffic Safety Administration (NHTSA).
Basic DIY Steps (Simplified):
- Plan Your Layout: Decide where you want to run the strips. Typically, they run along the frame rails or edges of the chassis.
- Prepare the Surface: Clean the mounting areas thoroughly to ensure the adhesive or clips hold securely.
- Mount the Lights: Attach the LED strips or pods according to the kit’s instructions. Use zip ties or provided clips to secure them away from moving parts or exhaust.
- Run the Wiring: Carefully route the power wires from the lights towards the cabin or engine bay. Use existing grommets or drill small holes (seal them afterwards) if necessary. Keep wiring away from the exhaust manifold and hot components.
- Connect Power: This is the most critical step. Connect the power wire to a suitable 12V source. Common options include:
- Tapping into an accessory wire that gets power when the ignition is on (so lights turn off with the car).
- Connecting to the battery with an inline fuse for constant power (requires a switch to turn off).
- Using a relay system for cleaner power delivery.
Ensure you use fuses correctly to prevent damage. Fuse taps can be an easier way to draw power from an existing fuse slot.
- Install a Switch (Optional but Recommended): If you’re not hardwiring to turn off with the car, install an inline switch so you can turn the lights on and off manually.
- Test and Secure: Turn on the lights to ensure everything works. Neatly secure all wiring with zip ties and electrical tape to prevent sagging or snagging.
Safety First: Always disconnect your car’s battery before starting any electrical work. If you’re unsure about any step, especially the electrical connections, it’s best to consult a professional. Incorrect wiring can damage your car’s electrical system or even cause a fire.
Professional Installation: What to Expect
When you take your car to a shop, they’ll handle all the planning and execution.
- Consultation: You’ll discuss the type of lights you want, the desired look, and any specific features.
- Shopping for Parts: Some shops will provide the kit, while others will install a kit you purchase yourself. Clarify this upfront.
- Mounting: Technicians will mount the lights securely, often using specialized brackets or heavy-duty adhesive.
- Wiring: They’ll expertly run and conceal wiring, ensuring it’s safely protected from road elements and vehicle components.
- Power Connection: They will typically tap into your car’s electrical system using methods that ensure safety and reliability, often using relays and proper fusing.
- Testing and Demonstration: You’ll see the finished product and get a demonstration of how to operate the lights.
A good shop will also offer a warranty on their work, giving you peace of mind.
Legal Considerations for Underglow Lights
Before you buy and install, it’s crucial to know the laws in your area. Regulations regarding underglow lights vary significantly by state and even by city.
- Color Restrictions: Many places prohibit red underglow lights because they can be mistaken for brake lights or emergency vehicle lights. Blue is also restricted in some states.
- Brightness and Visibility: Laws might dictate that lights cannot be excessively bright or distracting to other drivers.
- When They Can Be Used: Some areas only allow underglow to be on when the vehicle is parked.
It’s always best to check your local Department of Motor Vehicles (DMV) or equivalent transportation authority website for the most accurate information. Failing to comply with these laws can result in tickets and fines.

Frequently Asked Questions (FAQ)
Q1: Is putting lights under my car legal?
It depends on your location. Many areas allow underglow lights, but some have restrictions on colors (especially red and blue) or when they can be used. Always check your local laws or state statutes.
Q2: Can I put underglow lights on any car?
Yes, underglow lights can be installed on virtually any car, truck, or SUV, regardless of age or model. The installation process might vary slightly depending on the vehicle’s underbody design.
Q3: How long do LED underglow lights typically last?
High-quality LED underglow kits can last for tens of thousands of hours. Under normal use, they can last for many years, often outlasting the car itself. However, physical damage from road debris or improper installation can shorten their lifespan.
Q4: What’s the difference between RGB and RGBW lights?
RGB (Red, Green, Blue) lights combine these three primary colors to create a wide spectrum of colors. RGBW adds a dedicated White LED, which allows for purer white light and more nuanced color mixing compared to RGB, which might produce a less pure white by combining red, green, and blue.
Q5: Do underglow lights drain my car battery?
If the lights are connected to always-on power and left on without the engine running, they will drain your battery. Most modern kits are designed to be wired to turn off with the ignition or to be manually switched off. Using a relay and a properly rated fuse is crucial for safe power draw.
Q6: How do I sync my underglow lights with music?
Many advanced RGB or RGBW kits come with a built-in sound-activated controller or connect to a smartphone app that has a music sync feature. This controller or app listens to the ambient sound or music playing and makes the lights flash, pulse, or change color in rhythm.
Q7: What’s the most common color for underglow lights?
Historically, blue and purple were very popular choices. Today, with RGB kits, people use a wide variety of colors. However, many states restrict the use of red and blue lights to avoid confusion with emergency vehicles when the car is in motion.
Conclusion
Adding underglow lights to your car is a fun way to make it stand out. When you’re asking “how much does it cost to put lights under your car?”, remember to factor in the type of lights, whether you’re installing them yourself or paying a professional, and any potential legal requirements or additional customization you desire.
For a simple, single-color LED kit installed by yourself, you could be looking at under $100. On the other hand, a high-end, feature-rich smart RGBW kit installed by a professional could easily reach $500-$700 or more. Most popular setups, offering a good mix of color and control without breaking the bank, tend to fall in the $250-$400 range, especially if opting for professional installation with a mid-tier kit.
By understanding these cost components, you can budget effectively and choose the underglow solution that best fits your style and your wallet. Happy customizing, and enjoy the glow!