For beginners, start using a pedal exerciser for short sessions—aim for 5 to 10 minutes, two or three times a day—and gradually increase the duration by only a few minutes each week as your comfort and stamina improve. Focus on consistency over intensity initially.
Have you picked up a new pedal exerciser, maybe to keep your legs moving while you work or watch TV? That’s a fantastic step toward better health! But now comes the big question: How long should you actually sit there pedaling? It’s easy to overdo it when you’re excited, which can lead to sore muscles or giving up too soon. Don’t worry, figuring out the right starting routine is simple. We are going to break down a safe, step-by-step plan so you can use your new device confidently and make it a long-term habit. Let’s get your pedaling journey started right!
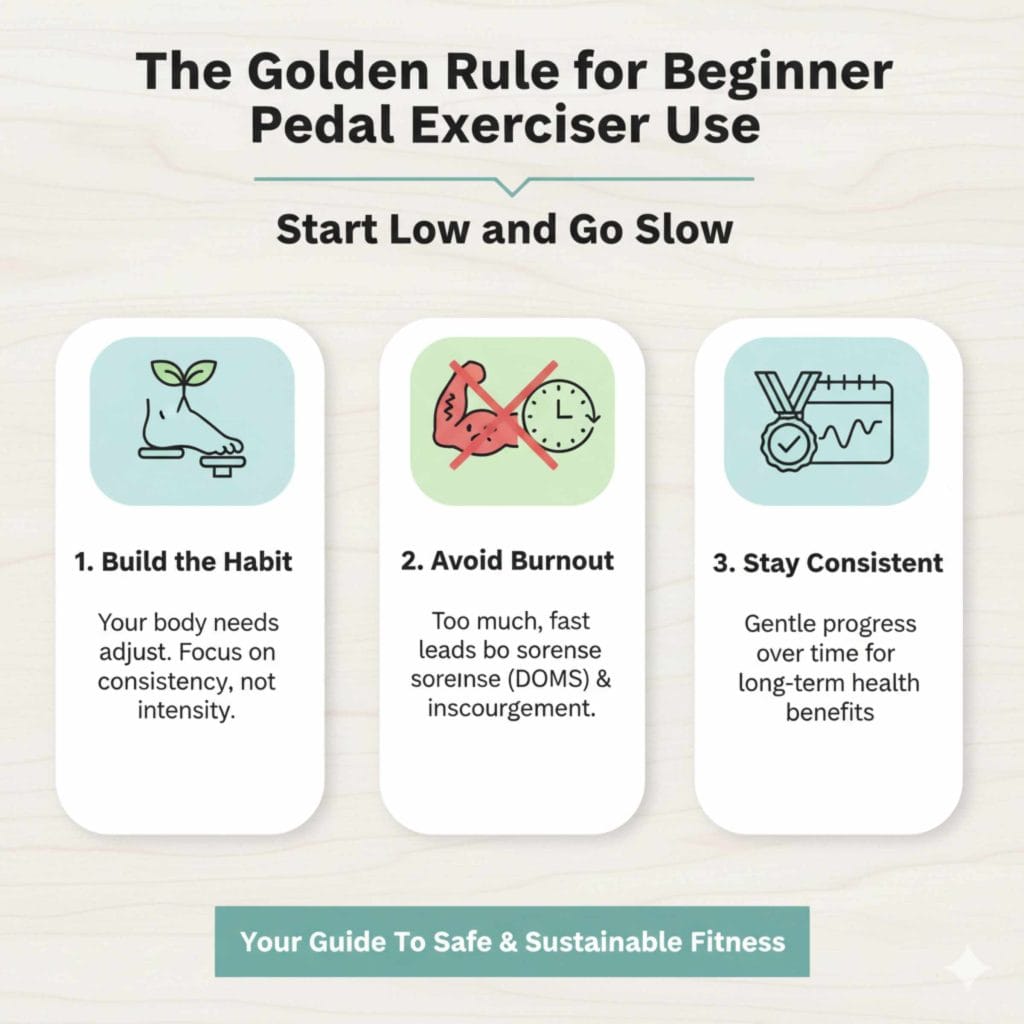
The Golden Rule for Beginner Pedal Exerciser Use: Start Low and Go Slow
When you first bring home any fitness gear, the most important thing to remember is that you are building a habit, not training for a marathon today. Your muscles, joints, and even your circulation need time to adjust to this new, repetitive movement. Pushing too hard, too fast is the quickest way to cause unnecessary soreness (Delayed Onset Muscle Soreness, or DOMS) and feel discouraged.
This guide is designed to give you the confidence to use your new machine safely, making sure you stay consistent for months, not just days. We’ll cover exactly how long to start, how to know when to increase the time, and simple ways to track your progress safely.
Why Pedal Exercisers Are Great for Beginners (and What Not to Expect)
Pedal exercisers (often called under-desk ellipticals or mini-bikes) are truly beginner-friendly tools. They offer low-impact movement, which is much easier on your knees and ankles than running or jumping. They are excellent for circulation, especially if you spend long hours sitting down.
However, it is important to set realistic expectations. These machines are designed for light activity and increasing Non-Exercise Activity Thermogenesis (NEAT)—the energy expended for everything we do that is not sleeping, eating, or sports-like exercise. They won’t replace a dedicated gym session, but they are the perfect complement to a sedentary day.
Pros and Cons for the New User
When starting out, understanding the trade-offs helps you stick to the plan.
| Pros (Why You Should Use It) | Cons (What to Watch Out For) |
|---|---|
| Extremely low impact; easy on joints. | Resistance levels are often limited compared to full bikes. |
| Can be used while sitting (desk, couch). | May cause slight discomfort in chair seating after very long sessions. |
| Improves blood flow and reduces stiffness. | Requires consistent effort; easy to forget if not scheduled. |
| Highly portable and easy to store. | Not ideal for high-intensity cardiovascular training alone. |
Phase 1: The Initial Break-In Period (Weeks 1 & 2)
For the absolute beginner, we recommend focusing entirely on forming the habit. The goal here is simply to get used to the motion and prevent any soreness that might derail your new routine. Think of this as teaching your legs a new, gentle rhythm.
How Long to Start? The Sweet Spot
For the first two weeks, your goal should be short, frequent sessions rather than one long session.
- Frequency: Aim for 2 to 3 separate sessions per day.
- Duration Per Session: Start with 5 minutes for each session. If 5 minutes feels too long or causes any strain, reduce it to 3 minutes initially.
- Resistance Setting: Keep the resistance at the absolute lowest setting—Level 1 or “Easy.” You should feel almost no effort required to move the pedals.
This approach keeps the demands low. If you pedal for 5 minutes three times a day, you’ve logged 15 minutes of activity without feeling overly fatigued. This consistent micro-burst of movement prevents the deep muscle fatigue that often happens when someone tries to jump straight into a 30-minute session.
Safety Check: The “Talk Test”
Because pedal exercisers are low-intensity, the talk test is your best friend. If you can hold a full, comfortable conversation without feeling breathless, you are in the right zone for a beginner. If you find yourself gasping for air mid-sentence, slow down immediately or stop for a break. We want light movement, not a struggle.
Phase 2: Gradual Increase and Consistency Building (Weeks 3–6)
Once you have successfully completed your 5-minute sessions (2–3 times daily) for at least a week without soreness, your body is ready for a slight boost in challenge. This is where we start integrating the concept of “progressive overload”—the principle of gradually increasing the demand placed on the body during exercise.
When and How to Increase Session Time
Do not increase both time and resistance at the same time. You should only change one variable per week.
- Week 3: If you were doing 5 minutes, try increasing each session to 7 or 8 minutes. Keep the resistance level the same (Level 1).
- Goal for Week 4: Aim to sustain 10 minutes per session, 2 to 3 times daily.
- Introducing Resistance (Week 5/6): Once you can comfortably complete 10 minutes at the lowest setting, you can slightly increase the resistance (e.g., move from Level 1 to Level 2). Hold this new resistance for a full week before trying to increase time again.
A Sample Progression Timeline for Beginners
This table illustrates a safe, slow build-up plan:
| Week | Frequency (Sessions/Day) | Duration Per Session (Minutes) | Resistance Level Goal |
|---|---|---|---|
| 1–2 | 2–3 | 5 | Minimum (Level 1) |
| 3 | 2–3 | 7–8 | Minimum (Level 1) |
| 4 | 2–3 | 10 | Minimum (Level 1) |
| 5–6 | 2–3 | 10–12 | Slight Increase (Level 2) |
| 7+ | 2–3 | 15+ | Continue slight increases |
How to Determine Your Maximum Comfortable Time
Unlike a treadmill, where you might aim for a 30-minute continuous session, the beauty of the pedal exerciser is its flexibility. For beginners, the maximum time isn’t about hitting a high number; it’s about finding the duration that you can perform sustainably without interrupting your day or causing other issues.
Listen to Your Supporting Structures
While the pedal exerciser is low impact, if you are sitting for hours on end, you might run into issues related to posture, not the pedals themselves.
Chair Comfort: If your bottom starts feeling sore or fatigued from sitting still, that’s your signal to stop, regardless of how long you’ve been pedaling. Take a 5-minute break, stand up, stretch your hips, and then you can resume pedaling for a shorter session later.
Knee Tracking: Pay close attention to your knees. If they start tracking inward or outward, or if you feel any sharp aches above or below the joint, stop pedaling immediately. This usually means the resistance is too high for your current strength or your foot placement needs adjustment. Check that your feet are centered on the pedals.
The Long-Term Target
Once you are comfortable and consistent, many physical therapists and health organizations suggest aiming for chunks of movement throughout the day. A realistic long-term goal for using a pedal exerciser alongside a desk job might be reaching a total of 45 to 60 minutes of cumulative pedaling time spread across your day. Whether that’s four 15-minute sessions or six 10-minute sessions is entirely up to your schedule.
For more general advice on incorporating physical activity into your workday, resources from organizations like the Centers for Disease Control and Prevention (CDC) often recommend breaking up long periods of sitting. While they focus on general movement, the principle applies perfectly here: consistency in small doses beats infrequent long sessions.
Pedaling Technique: Adding Efficiency and Safety
Spending more time on the machine doesn’t help if your technique is wrong. Proper form prevents strain and ensures you are engaging the correct muscles (mostly your quads and hamstrings).
Correct Foot Placement
This is crucial for joint health, similar to adjusting the seat height on a standard bicycle.
1. Center Alignment: Your foot should rest flat on the pedal platform. The ball of your foot (the widest part, just behind your toes) should align roughly over the center axis of the pedal.
2. Avoid Toes Only: Do not pedal only on your toes, as this puts too much strain on your Achilles tendon and calf muscles.
The Motion Explained
Keep the motion smooth and controlled in both directions.
Downward Stroke (Pushing): This is the power phase. Focus on pushing smoothly down through your entire heel, not just your toes.
Upward Stroke (Pulling): While lower body exercise is primarily about pushing, try to actively lift your heel slightly on the way up. This engages the hamstrings more effectively and prevents just rocking back and forth without working the whole leg.
Remember, if you feel it pulling too much in your hip flexors (the front of your hips), you are likely sitting too low or pushing too hard. Try raising your chair slightly if possible.
Troubleshooting Common Beginner Hurdles
Even with a perfect plan, things can go wrong. Here is what to do when your confidence dips:
Soreness Management
If you wake up with sore quads after your first week:
Do not stop completely. Stopping restarts the adaptation process.
Go back a step. Reduce your next session back to 3 minutes at the lowest resistance.
Active Recovery: If you are sore, doing a 3-minute session at the easiest setting actually helps pump blood to the muscles, which speeds up recovery. Get moving gently!
The “I Forgot” Dilemma
It’s easy to forget the mini-sessions when buried in work.
Set Visual Cues: Place a sticky note directly on your computer monitor that just says “Pedal.”
Use Tech Reminders: Set recurring calendar alerts on your phone or computer for “Pedal Time 1,” “Pedal Time 2,” etc. Treat these reminders like important work meetings.
Dealing with Boredom
Long stretches of silent pedaling can become tedious quickly, leading people to quit.
Entertainment Pairing: The best way to use a pedal exerciser is to strictly pair it with an activity you enjoy but usually don’t have time for.
Listen to your favorite podcast series.
Watch the second half of a TV show episode.
Read an audiobook or even a physical book (if your coordination allows).
Understanding the Mechanics: Resistance and Cadence
As you progress past the first few weeks, you will start to think about two key factors: Resistance and Cadence (speed). The duration (how long) is important, but the context matters too.
Resistance vs Duration
Resistance controls how hardeach pedal stroke feels. Duration controls how longyour muscles are working.
Low Duration, High Resistance: Builds immediate strength but increases the risk of strain if your form isn’t perfect yet. Not recommended for beginners.
* High Duration, Low Resistance: Builds endurance, improves circulation, and forms the habit without taxing the muscles. This is the beginner focus.
Think of it like driving a car: You want to stay in first gear (low resistance) while you learn the route (build the habit/duration), rather than slamming it into fifth gear (high resistance) right away.
Cadence (Speed)
Cadence in this context is simply how many rotations you complete per minute (RPM). For beginners, don’t actively count this unless your machine has a display. If you are comfortable and the motion is smooth, your cadence will naturally be whatever feels right. As you increase resistance, your cadence will naturally slow down—and that is perfectly fine.
Expert Tip: Integrating with Other Daily Movement
To maximize the benefit of your pedal exerciser without relying solely on it, pair your seated pedaling with opportunities to stand and move your whole body. This holistic approach is recommended by health professionals. For example:
1. Morning: 10 minutes pedaling while reviewing emails.
2. Mid-morning Break: 5 minutes of standing/stretching.
3. Lunch: 15 minutes pedaling while eating or reading the news.
4. Afternoon Break: Take a 10-minute walk, if possible, or do some simple desk stretches.
5. Evening: 10 minutes of pedaling while watching TV.
This combination ensures that even on days you can’t get out for a walk, you have achieved targeted lower body movement.

Frequently Asked Questions (FAQ) for Pedal Exerciser Newbies
Q1: Can I use my pedal exerciser while standing up?
A: Generally, no. Most under-desk pedal exercisers are designed for seated use only. Trying to stand on them can cause them to tip over, slip, or break, leading to injury. Only use models explicitly labeled as standing ellipticals or mini-steppers, and approach those with caution regarding balance.
Q2: Should I feel a burning sensation in my legs when using it?
A: No, not as a beginner. A slight warmth is fine, but a burning sensation indicates that your muscles are working very hard or you are building up lactic acid too quickly. If you feel burning, immediately turn the resistance down to zero and pedal slowly for a few minutes to cool down.
Q3: How often is it okay to use my pedal exerciser in one day?
A: For beginners, 2 to 3 sessions spread throughout the day is highly effective. Consistency in short bursts (like 5–10 minutes) is better than one long, exhausting session. Once you are advanced, you might use it for 30 minutes continuously, but start small.
Q4: Is there a specific time of day that is best for pedaling?
A: The best time is whenever you are most likely to stick with it! Many people find success using it during slow work periods or while watching evening news. Morning sessions can help wake up your circulation, while afternoon sessions combat the dreaded post-lunch slump.
Q5: What if my feet keep slipping off the pedals?
A: Slipping usually means the resistance is too low, causing your foot to “coast” past the top of the stroke, or your shoe choice is poor. Ensure you are wearing shoes with a relatively flat, grippy sole (sneakers are best). If slipping persists even with good shoes, slightly increase the resistance until the motion feels more controlled.
Q6: How long until I see noticeable benefits from using it?
A: Physical fitness is rarely instant, but you should notice improvements in general stiffness and improved blood flow within the first week or two. Significant endurance gains (being able to pedal longer without tiring) typically appear after 4 to 6 weeks of consistent, scheduled use.
Conclusion: Making Pedal Exercising a Simple Part of Your Life
You’ve taken the first, most important step by choosing to introduce more movement into your routine. Remember, the secret to success with a pedal exerciser as a beginner isn’t about speed or high resistance; it’s about gentle consistency.
Stick to those initial short sessions—5 to 10 minutes, two or three times daily—using the lowest setting. This allows your body to adapt without stress. As you feel stronger, use the slow, single-variable progression outlined above to gradually add a minute or two to your sessions, or slightly increase the resistance every few weeks. Treat your pedal time like a necessary appointment, pair it with something enjoyable, and trust the process. You have everything you need now to start pedaling confidently toward better health, one small, easy rotation at a time!